Hello! In this video, I’m talking all about Wax Seals – what to do, what not to do, and how to have fun while you are at it.
Like this project? Pin it and save for later | Curious about my project photography? Click for details.
VIDEO TUTORIAL
Watch the video below or on my Youtube channel.
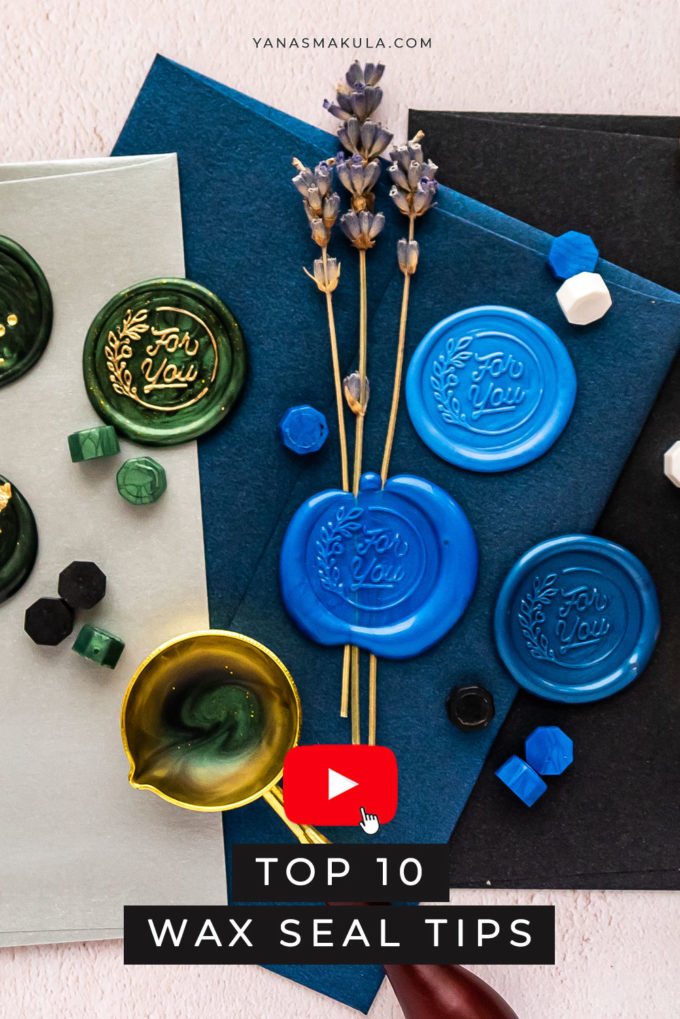
TOP 10 WAX SEAL TIPS
TIP #1 Trim the wick the of tea light candle to prevent soot from forming on the back of the spoon. This is something I didn’t do when I unboxed my Wax Seals Starter Kit from Spellbinders, and I had soot everywhere. A simple solution is to trim the wick a little bit, this will keep the fire a bit further from the spoon, and thus you’ll have no soot buildup.
TIP #2 Use various amounts of wax beads. If you are making a wax seal for the first time, and starting with a clean spoon, use 4 beads to have a decent size seal. Once you have leftover wax in your spoon, add 3 beads for the next seal. If you are pouring your wax onto a dimensional surface, by this I mean a gift where you have ribbon, or a card where you have dried flowers, try using 5 or even 6 beads, and don’t pour your wax all at once, pour a bit to level the surface and secure the pieces together if they aren’t secured, then pour the rest and add your stamp.
TIP #3 Mark the bottom or top part of your seal. You can use a sharpie or any permanent marker. This is especially handy when you are creating a seal directly on your project. For example on a card or a gift, or even an envelope and your seal has a sentiment to it or the design is directional, you don’t want it upside down.
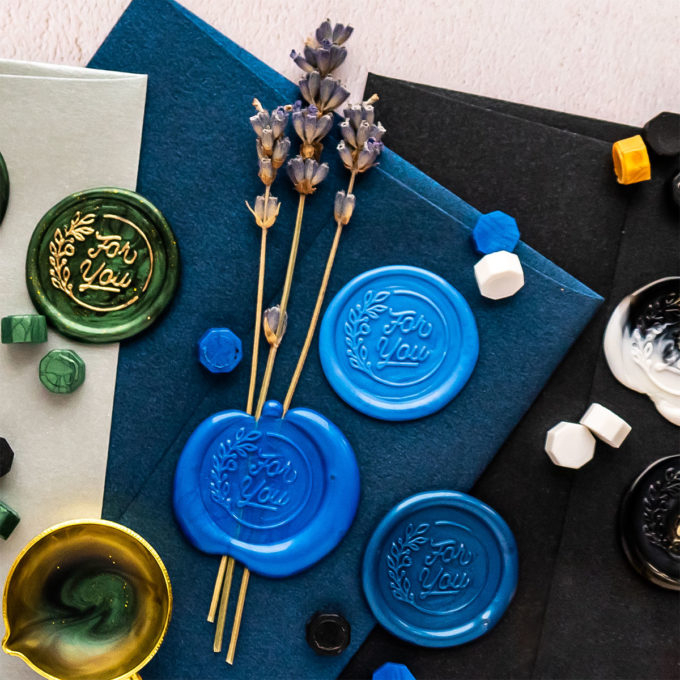
TIP #4 Press or don’t press. Typically, you don’t want to press your seal into the wax. This is not a clear block with a stamp on it or a MISTI where we need to use all of our body force to press that stamp and really get that onto the paper. 99% of the time you don’t want to press at all, you just need to gently position the seal over the wax and let gravity pull it down. The only case where you’d want to press the stamp into the wax is if you are sealing over ribbon or dried flowers or any bulk. In this case, the surface you are placing the seal over is not flat, it is bulky, so you do need to apply a little bit of force to press the seal into that wax, just for a few seconds to let the wax cool.
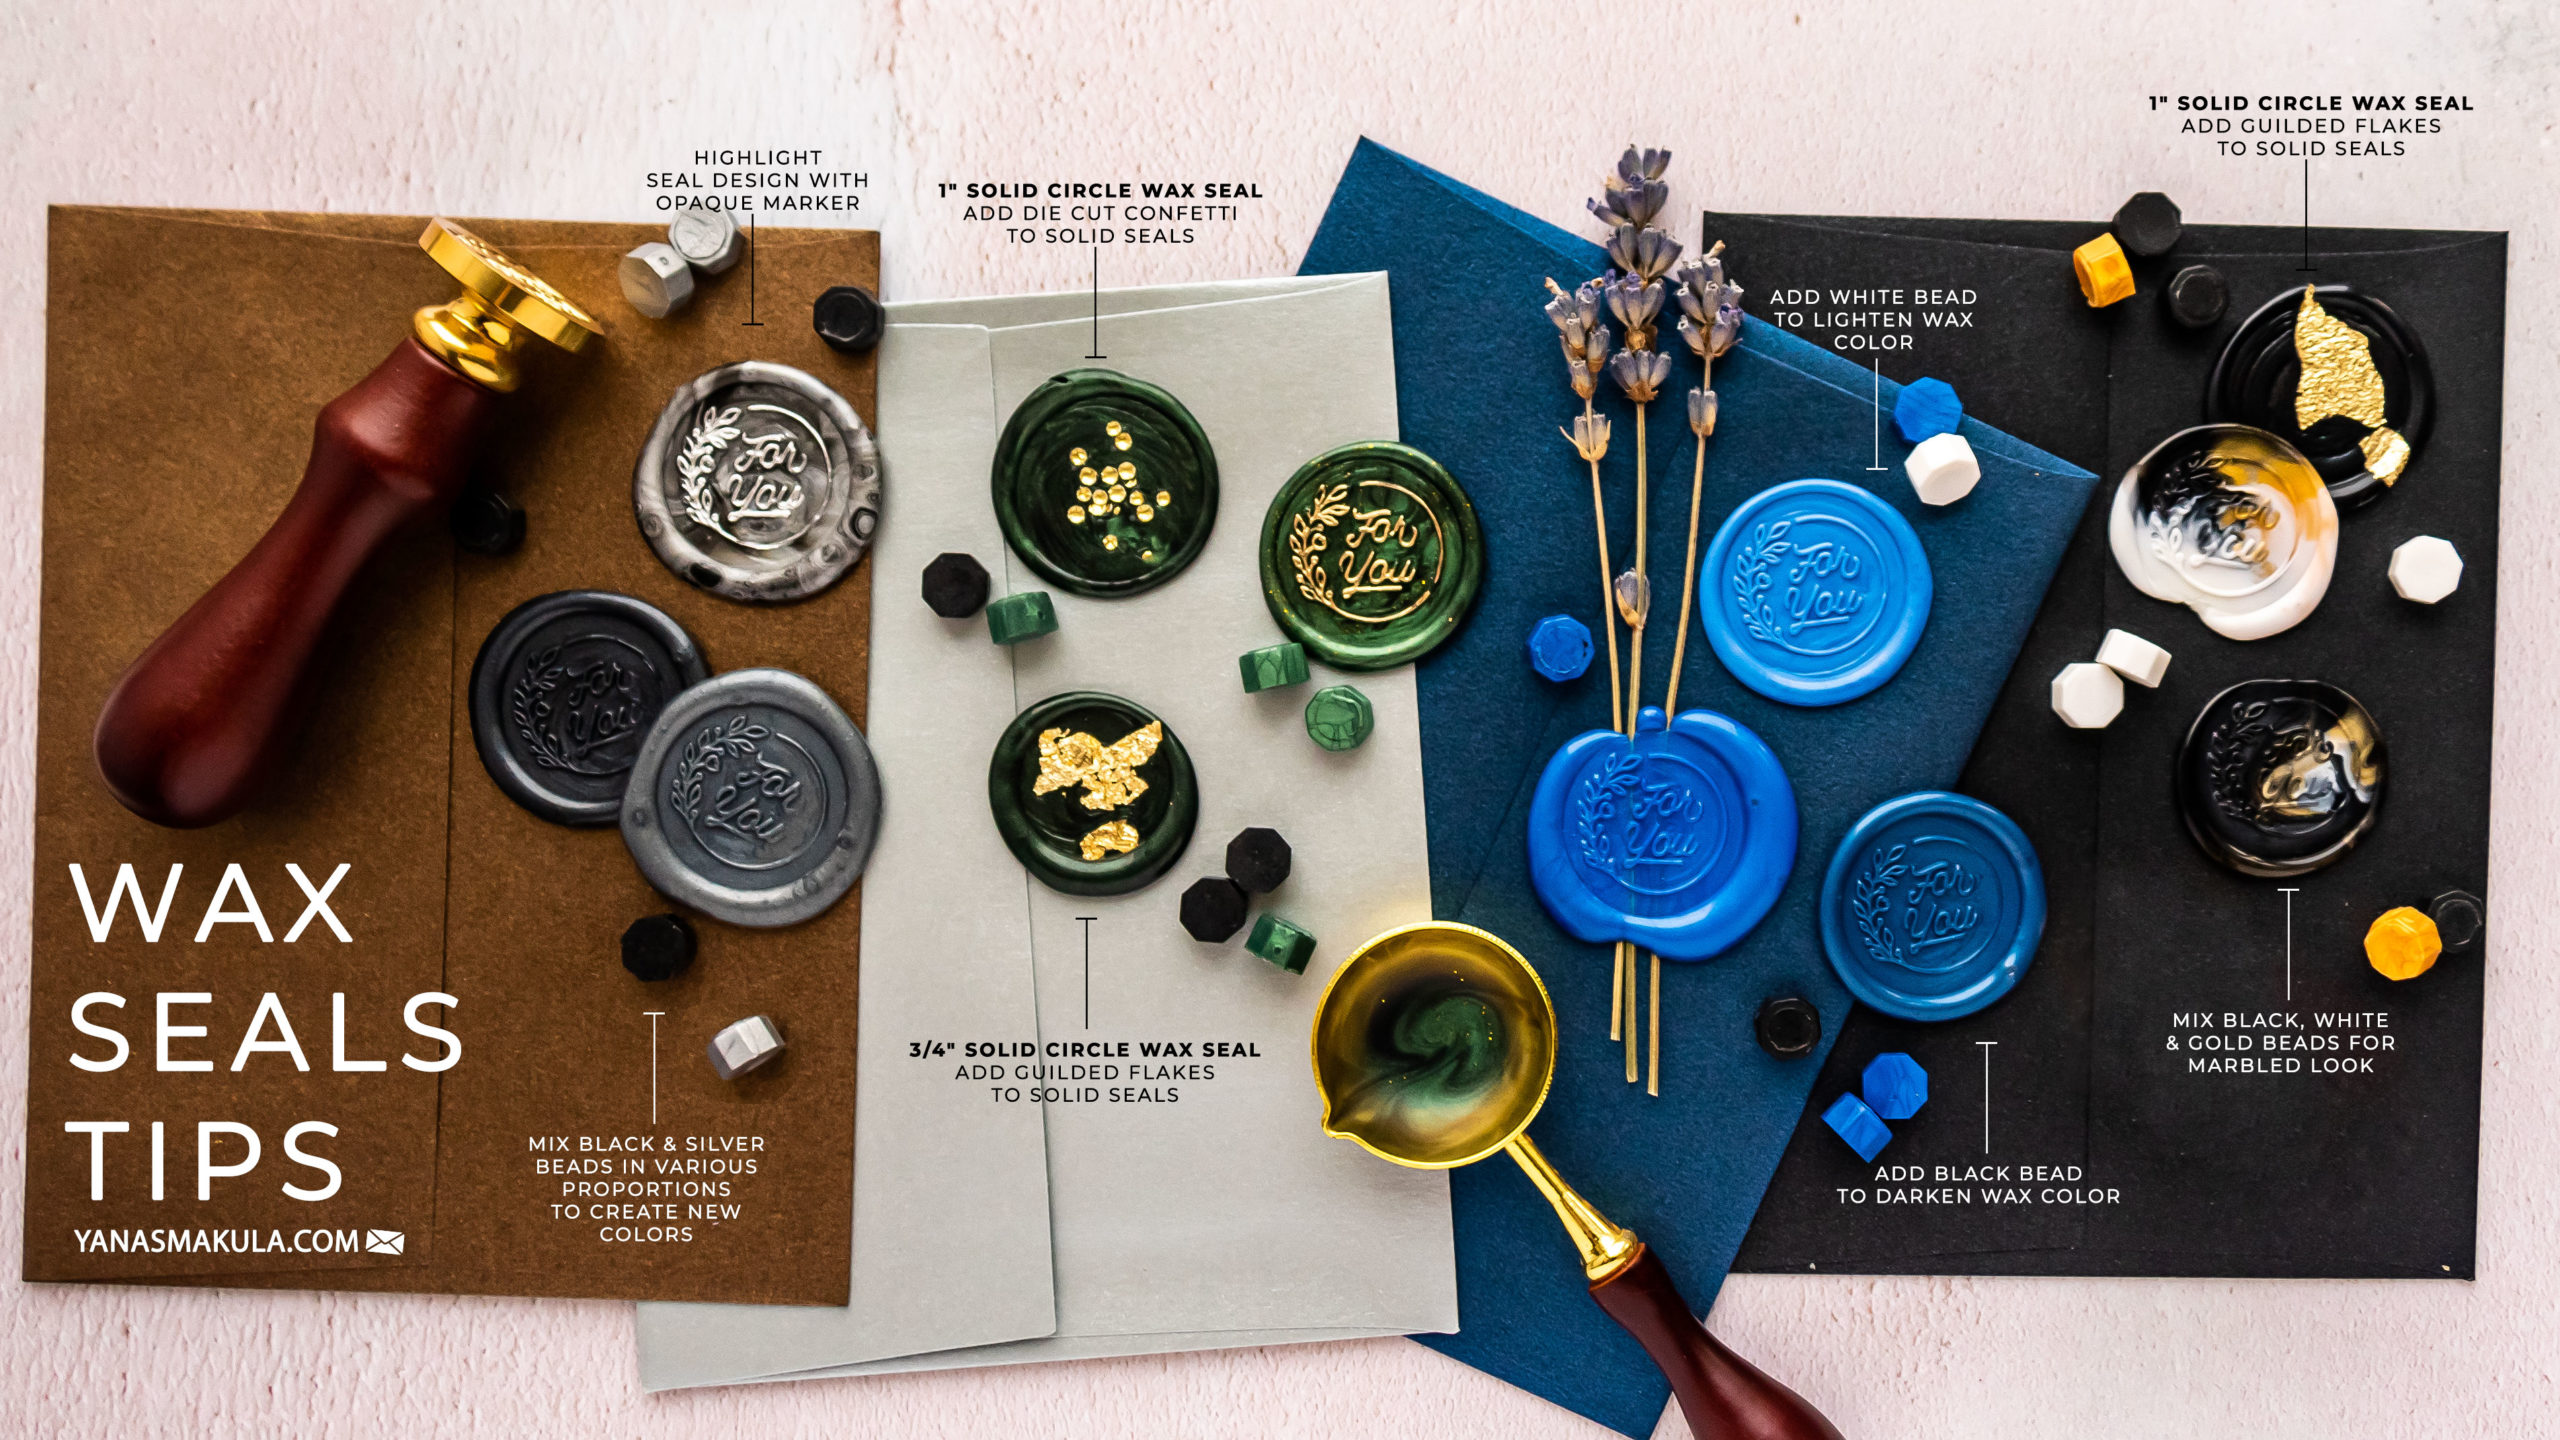
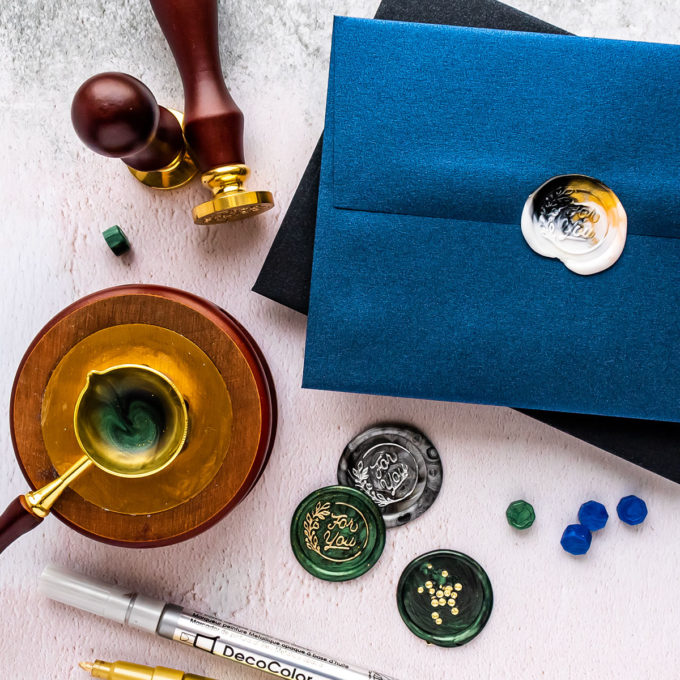
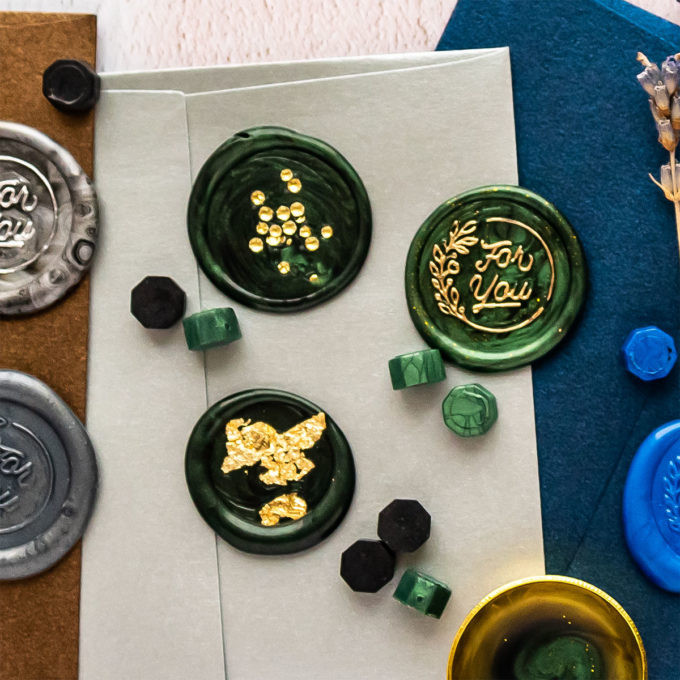
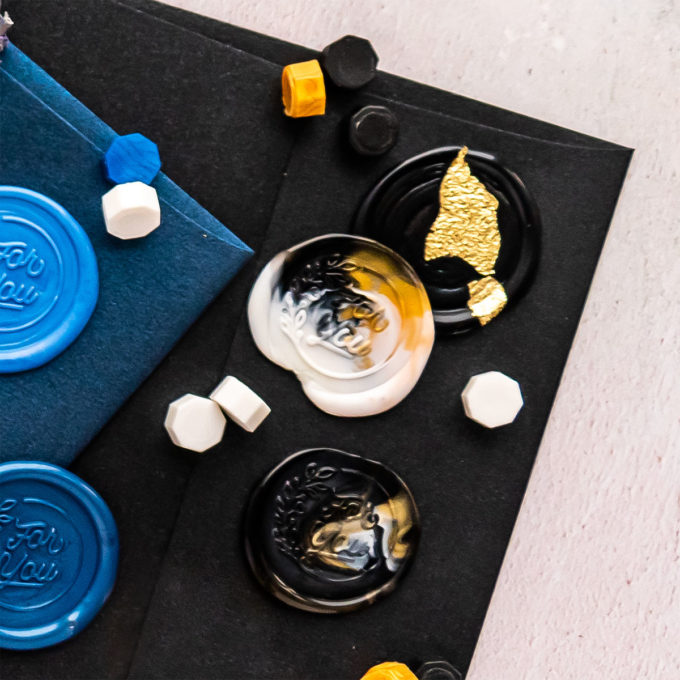
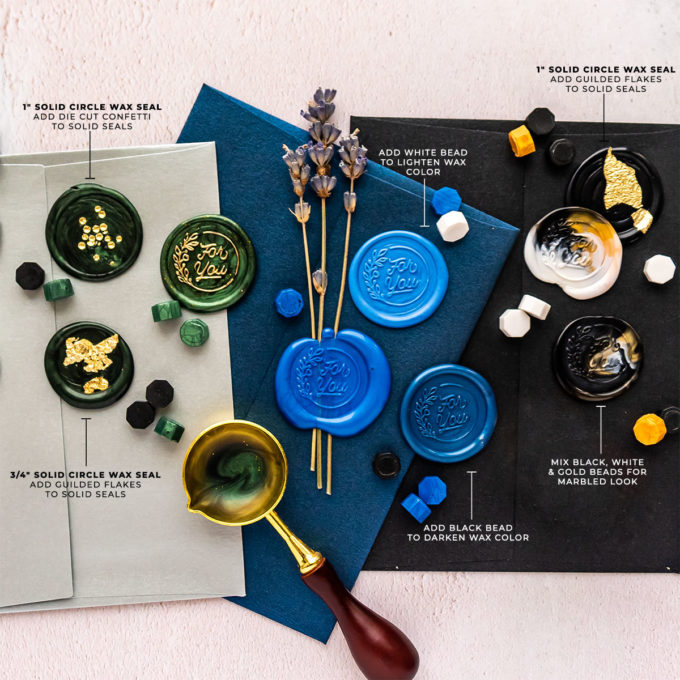
TIP #5 Mix your wax colors. There are 2 ways to go about it. You can mix different colors to create new colors. This is very addictive. A little bit of color theory will go a long way here allowing you to create new colors of wax to match the colors of your projects. The other way to mix wax is to not actually mix it, but rather combine various color beads in the spoon and pour them all together for a marbled look.
TIP #6 Re-melt your failed seal. Yes! You poured a seal, you didn’t like, don’t throw it away, cut it into pieces, and re-melt to create a new seal. Or save the cut-up pieces to re-melt later. You don’t have to waste anything, you can reuse it all.
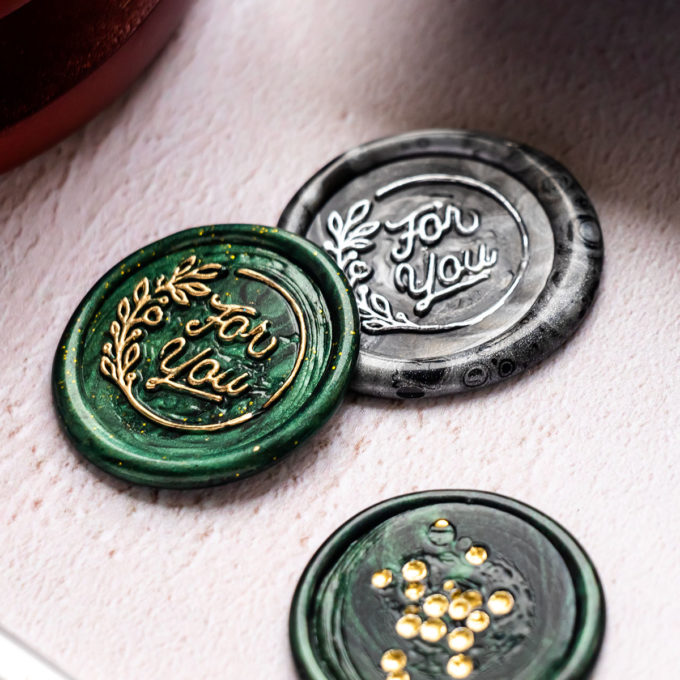
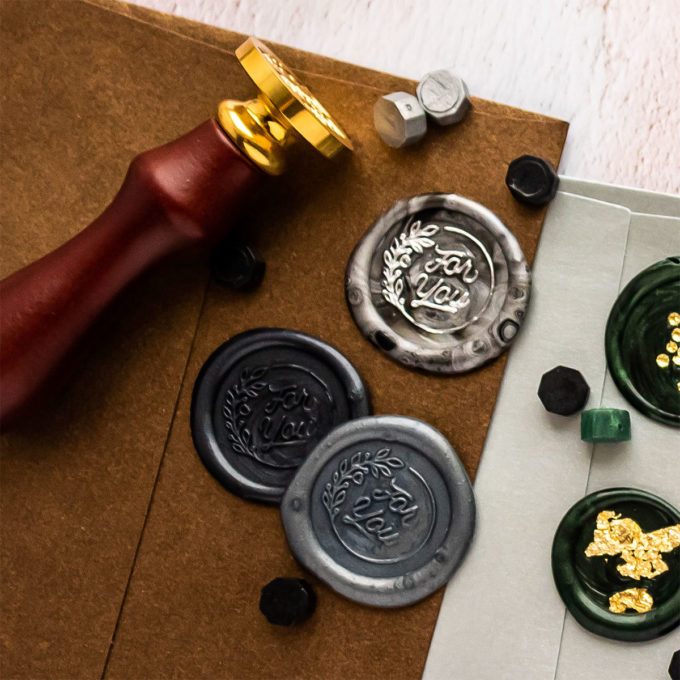
TIP #7 Add stuff to your seals. You can add gilded flakes over your seal to spice it up, especially if you are using a solid seal (but don’t drop the flakes into the spoon while you are still melting the wax, add it only once you’ve poured it), you can also drop tiny die-cut confetti or glitter. We all have loads of glitter – try adding it to your wax seals for a cool result. I prefer to add it to the spoon, where I can mix it with the wax.
TIP #8 Use a paper towel to clean the leftover wax in your spoon. But be careful, as the spoon is hot.
TIP #9 Let your stamp cool off. I noticed that if I mass-produce seals and keep using the same stamp to make seals, the stamp warms up and becomes hot from contact with the wax. This affects the end result. I find the stamped designs degrade, and become less prominent.
TIP #10 Use markers to highlight the seal design. Any opaque marker or pen can be used for this to help the seal design pop.
Have fun with your wax seals!
SUPPLIES
I’m listing the products I used below. Click on the link to go directly to the product. Where available I use compensated affiliate links which means if you make a purchase I receive a small commission at no extra cost to you. Thank you so much for your support!
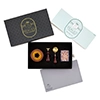 Spellbinders Wax Seal Starter Kit Shop at: SSS | SC | SB USA | SB UK | AMZ |
 Spellbinders Wax Bead Warmer Spoon Shop at: SSS | SC | SB USA |
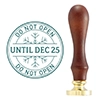 Spellbinders Do Not Open Wax Seal Stamp Shop at: SSS | SC | SB USA |
Spellbinders Joy Swag Wax Seal Stamp Shop at: SSS | SC | SB USA |
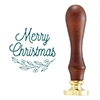 Spellbinders Merry Christmas Wax Seal Stamp Shop at: SSS | SC | SB USA |
 Spellbinders Gifts on Arrival Wax Seal Stamp Shop at: SSS | SC | SB USA |
 Spellbinders Sending a Hello Wax Seal Stamp Shop at: SSS | SC | SB USA |
 Spellbinders Christmas Truck Wax Seal Stamp Shop at: SSS | SC | SB USA |
 Spellbinders 3/4″ Solid Circle Wax Seal Stamp Shop at: SSS | SC | SB USA |
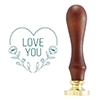 Spellbinders Love You Heart Wax Seal Stamp Shop at: SSS | SC | SB USA |
 Spellbinders 1″ Solid Circle Wax Seal Stamp Shop at: SSS | SC | SB USA |
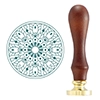 Spellbinders Mandala Wax Seal Stamp Shop at: SSS | SC | SB USA |
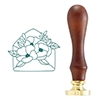 Spellbinders Sending Flowers Wax Seal Stamp Shop at: SSS | SC | SB USA |
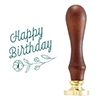 Spellbinders Sweet Happy Birthday Wax Seal Stamp Shop at: SSS | SC | SB USA | SB UK |
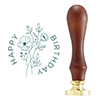 Spellbinders Wildflower Happy Birthday Wax Seal Stamp Shop at: SSS | SC | SB USA |
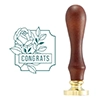 Spellbinders Framed Congrats Wax Seal Stamp Shop at: SSS | SC | SB USA |
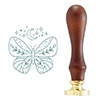 Spellbinders Mystic Butterfly Wax Seal Stamp Shop at: SSS | SC | SB USA |
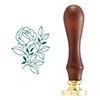 Spellbinders Forever Rose Wax Seal Stamp Shop at: SSS | SC | SB USA |
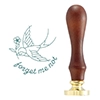 Spellbinders Forget Me Not Wax Seal Stamp Shop at: SSS | SC | SB USA |
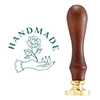 Spellbinders Handmade Wax Seal Stamp Shop at: SSS | SC | SB USA |
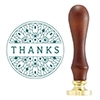 Spellbinders Thanks Mandala Wax Seal Stamp Shop at: SSS | SC | SB USA |
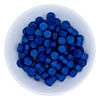 Spellbinders Royal Blue Wax Beads Shop at: SSS | SC | SB USA | SB UK |
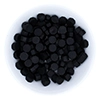 Spellbinders Black Wax Beads Shop at: SSS | SC | SB USA |
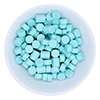 Spellbinders Pastel Blue Wax Beads Shop at: SSS | SC | SB USA |
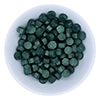 Spellbinders Green Wax Beads Shop at: SSS | SC | SB USA |
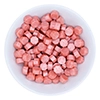 Spellbinders Peachy Pink Wax Beads Shop at: SSS | SC | SB USA |
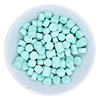 Spellbinders Pastel Aqua Wax Beads Shop at: SSS | SC | SB USA | SB UK |
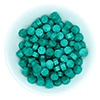 Spellbinders Teal Wax Beads Shop at: SSS | SC | SB USA |
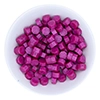 Spellbinders Fuchsia Wax Beads Shop at: SSS | SC | SB USA | SB UK |
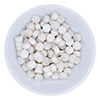 Spellbinders Pearl White Wax Beads Shop at: SSS | SC | SB USA | SB UK |
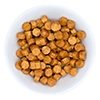 Spellbinders Gold Wax Beads Shop at: SSS | SC | SB USA |
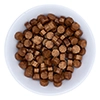 Spellbinders Antique Gold Wax Beads Shop at: SSS | SC | SB USA |
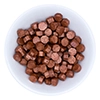 Spellbinders Copper Wax Beads Shop at: SSS | SC | SB USA |
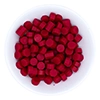 Spellbinders Red Wax Beads Shop at: SSS | SC | SB USA | SB UK |
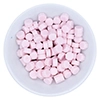 Spellbinders Pastel Pink Wax Beads Shop at: SSS | SC | SB USA | SB UK |
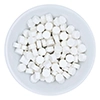 Spellbinders White Wax Beads Shop at: SSS | SC | SB USA | SB UK |
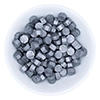 Spellbinders Silver Wax Beads Shop at: SSS | SC | SB USA |
 Decocolor Premium Rose Gold Metallic Marker Shop at: SSS | SC | SB USA | SB UK |
 Decocolor Premium Gold Metallic Marker Shop at: SSS | SC | SB USA | SB UK |
 Decocolor Premium Silver Metallic Marker Shop at: SSS | SC | SB USA | SB UK |
 Spellbinders Tool ‘n One – White Shop at: SSS | SC | SB USA | SB UK |
 Glassboard Studio True White Glass Craft Mat | YANA20 for 20% Off Shop at: GBS |
 Guilded Flakes Shop at: SSS |
 Spellbinders Sealed Confetti Etched Dies Shop at: SSS | SC | SB USA |


Thanks for the tips. If I ever get into these wax seals, I will appreciate knowing this info. Good video. Love ya, Yana!!
Lori S in PA
Thanks for all the really helpful tips! Today I will try making my first wax seals and these tips will be very useful, especially the one about letting the stamps cool. I am mass producing cards so need lots of seals with the same design.
What great tips. Thank you so much!
Great tips, thank you!!