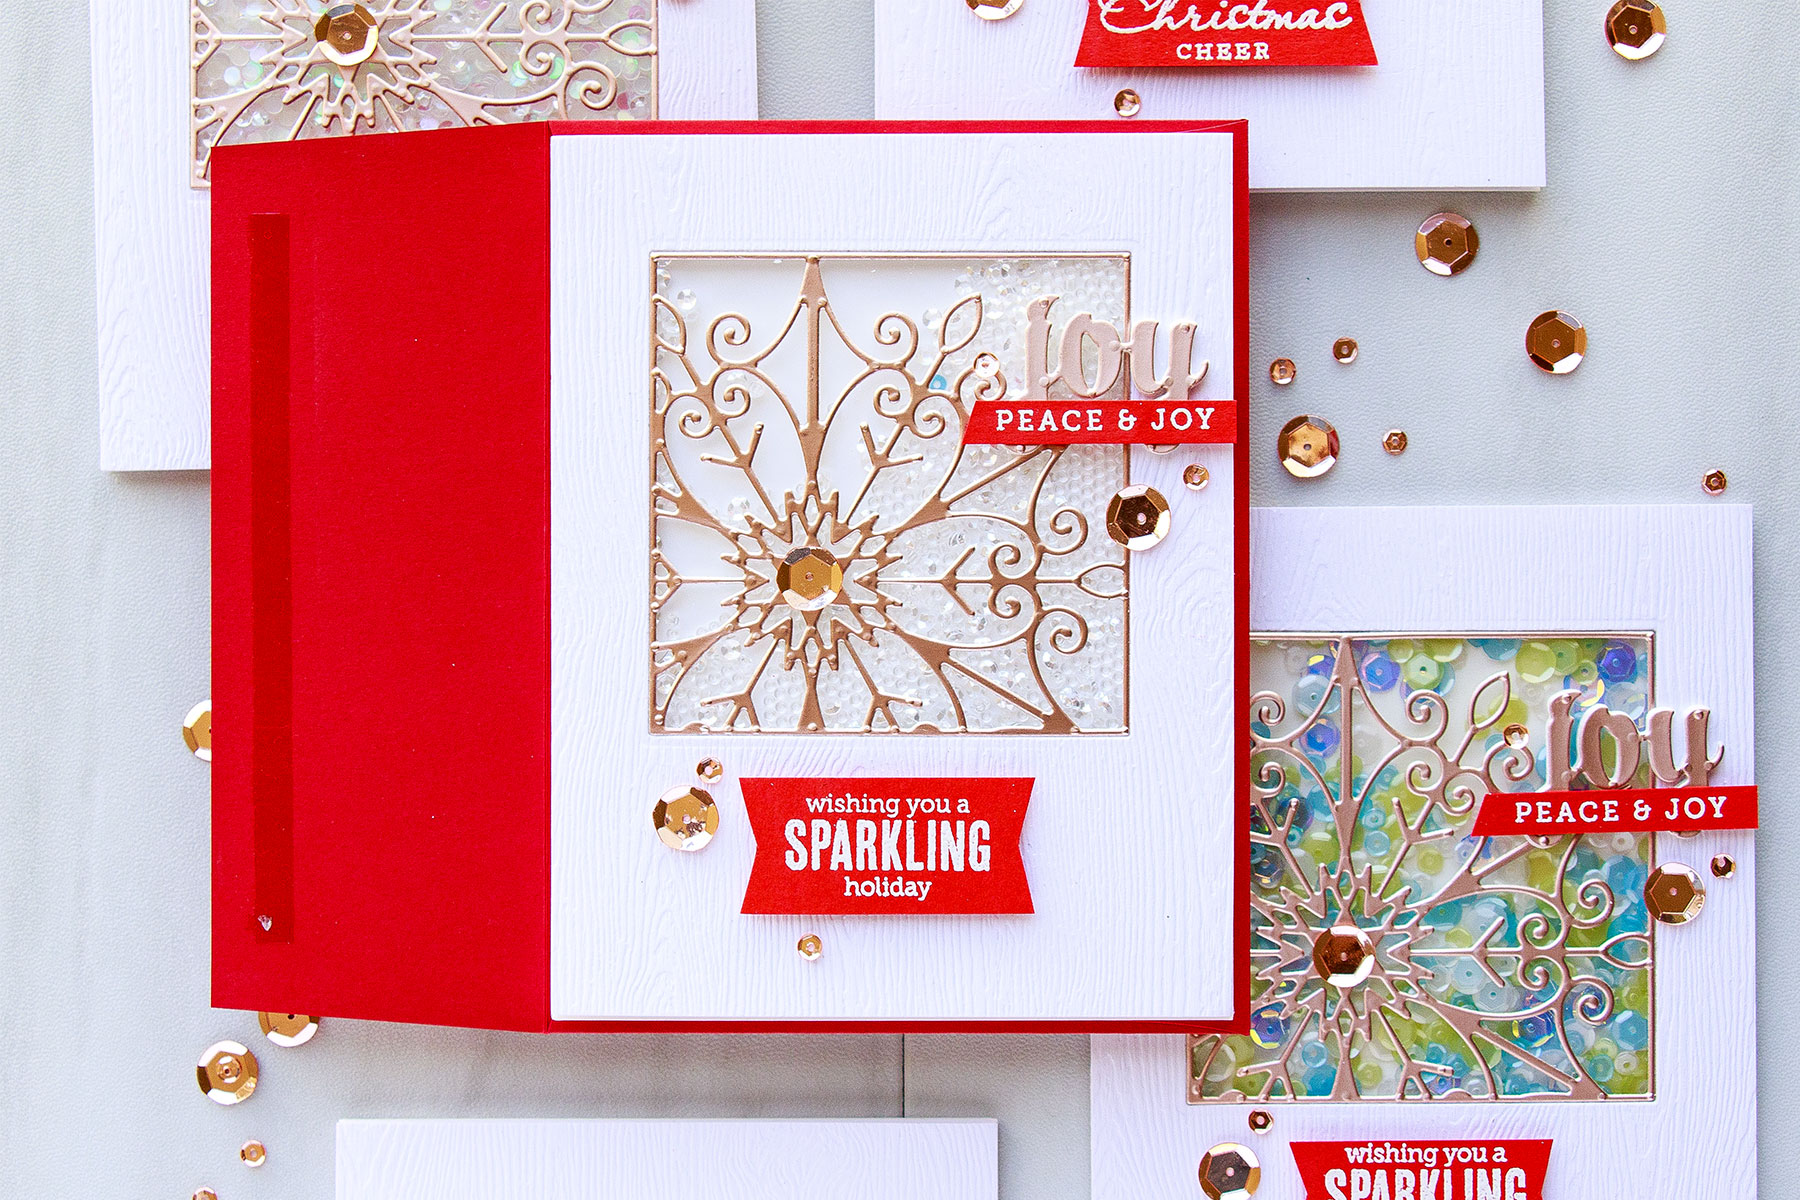
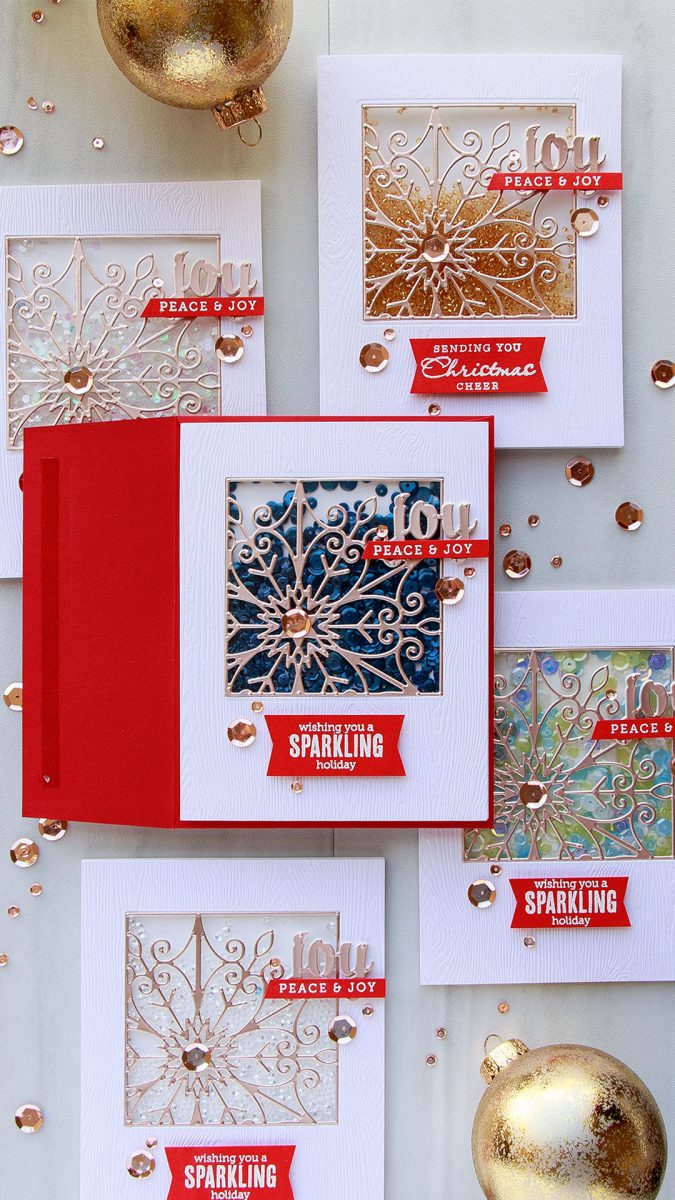
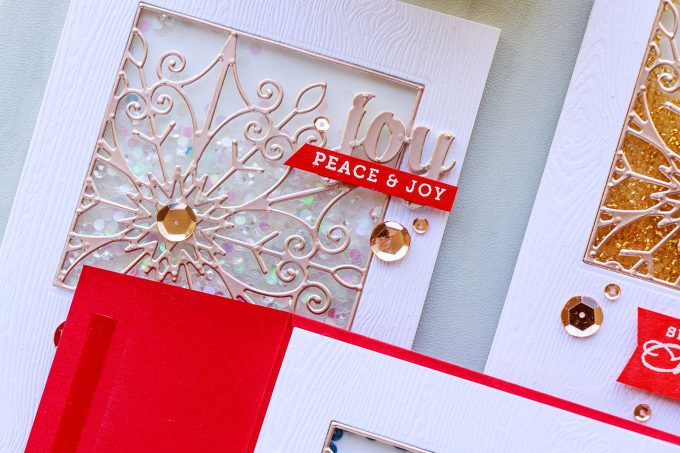
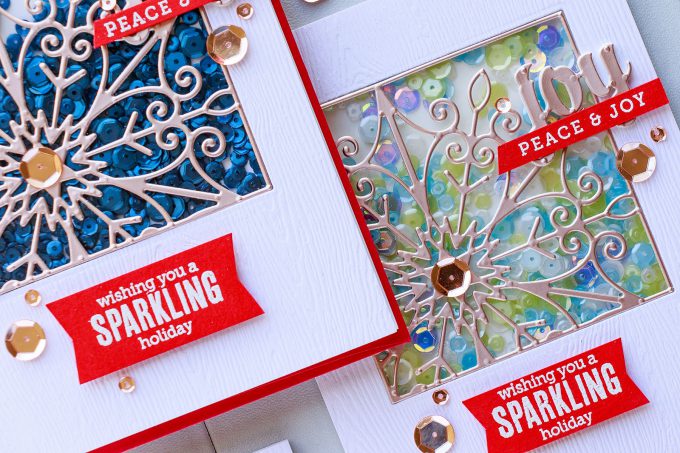
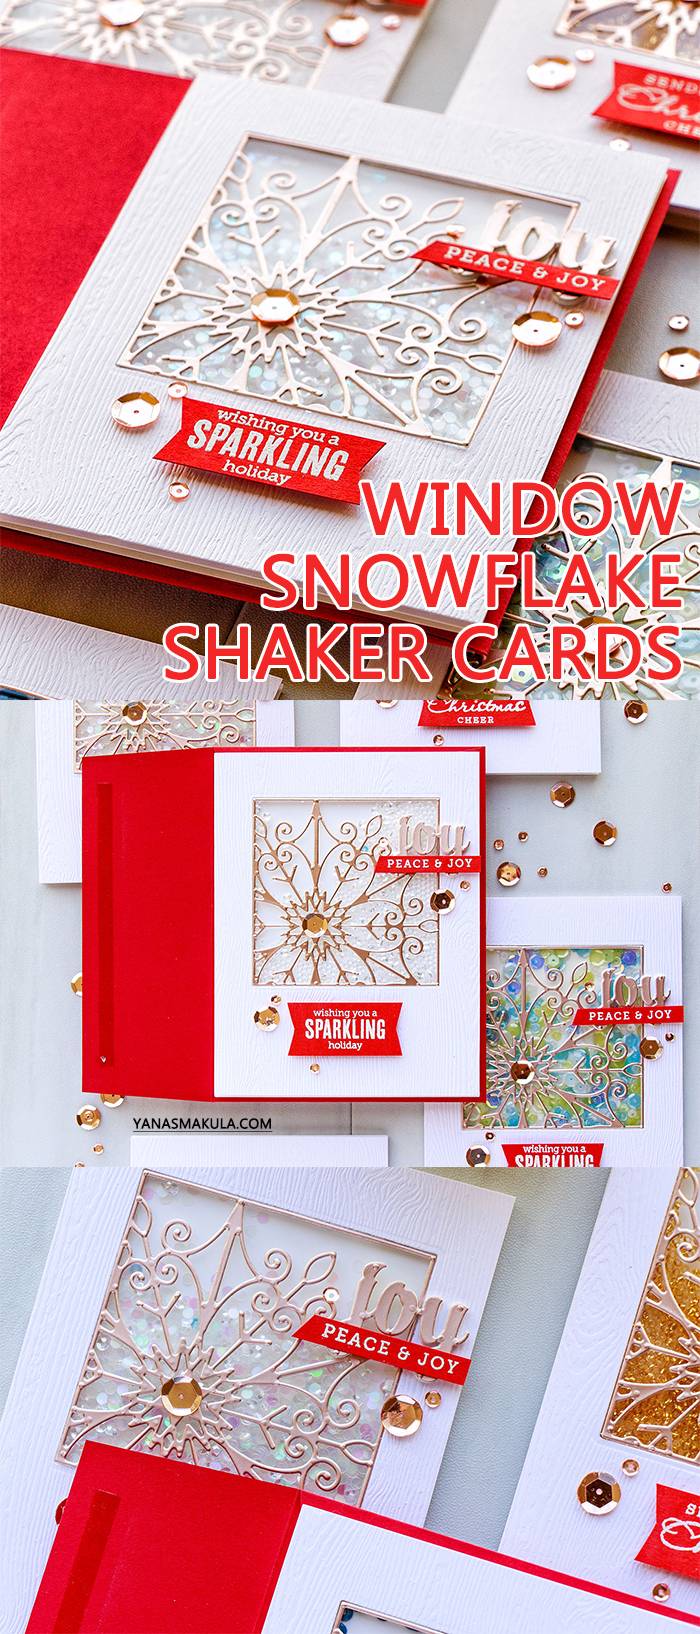
Hello everyone and thank you so much for joining me today for Spellbinders December inspirational blog hop! More about the hop and giveaway below. Today I have several easy to make Holiday Snowflake Window Shaker Cards made with the help of Spellbinders dies.
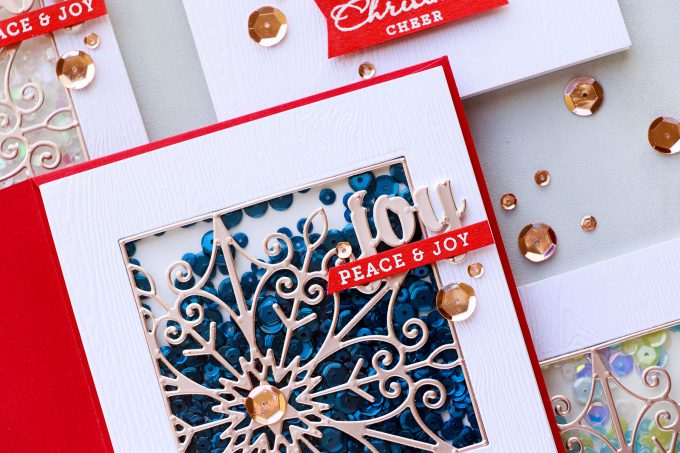
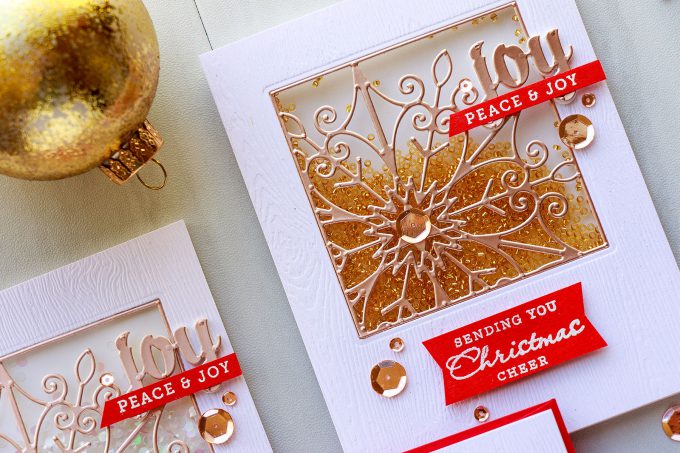
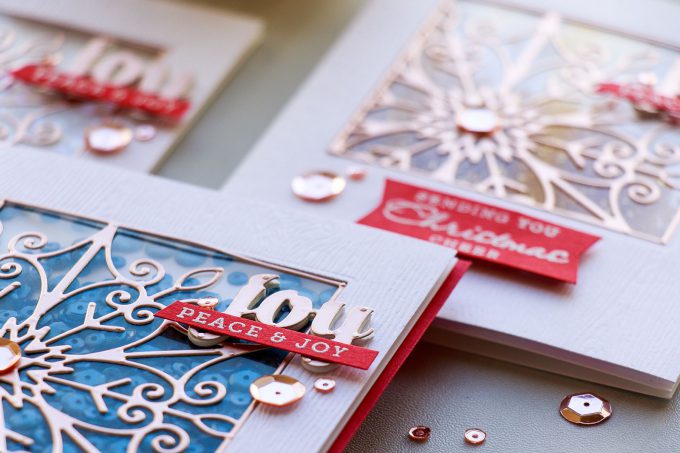
I couldn’t decide which color sequins and beads I wanted to use for my shaker element so I ended up making a bunch of cards using different colors. All cards are absolutely identical, just the shaking bits are different.
As of September 2016 I work as an in-house creative designer at Spellbinders office in Phoenix. While I do a lot of work for them and create a number of different projects I am only sharing what I truly love made using their products here on my blog. I do not and never will share projects or mention products I not love.
Like this project? Pin it and save for later | Curious about my project photography? Click for details.
If you are visiting my blog for the first time or have not yet subscribed – be sure to do so! I share lots of handmade projects every week delivering them straight to your inbox! I also occasionally share information about crafty sales and new product releases I love. Subscribe here.
VIDEO TUTORIAL
As always, I filmed a video tutorial showing how to create this project from start to finish. I’m hoping you’ll enjoy it. Watch it below or on my Youtube channel.
Like this video? Please give it a big thumbs up (you can do this on Youtube video page right under the video) and share with a crafty friend! Leave me a comment too, I love hearing from you!
CARD DETAILS
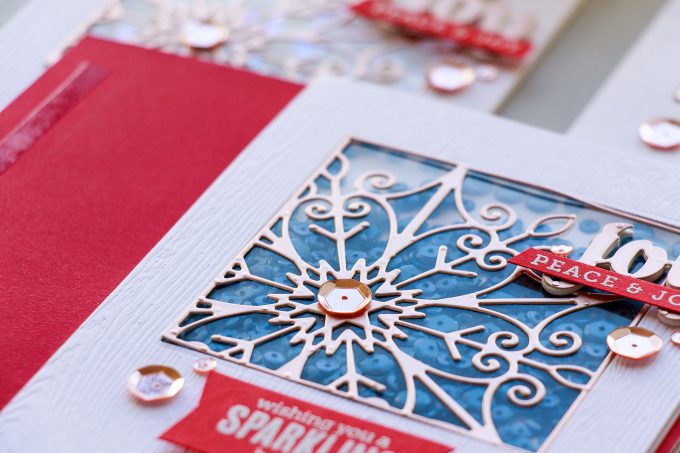
I started working on my card by die-cutting the beautiful Snowflake Snippet die (I used the largest die from the set) in a white woodgrain cardstock panel cut to 4 1/4 x 5 1/2″, after cutting I ended up having a positive snowflake die cut (I set it aside to use for another project) and a negative panel with a window opening. I then used the woodgrain panel as a guide and die-cut identical square opening in my white A2 side folding card base.
I recently got a question about die cutting wood grain textured cardstock. The question was – will the wood grain flatten if you run it through the machine? The answer is no, it will not flatter at all. If you use a shim it will flatten a bit, not too much, it will still be visible. If you cut it normally as you usually do with your dies you should have any problems with the woodgrain texture getting flattened and you can always use a small piece of this paper and test it in your machine just to be sure. All machines are slightly different, it didn’t flatten in mine.
While I had my Platinum 6 die cutting machine out (I prefer to use my large Platinum and I always have it sitting on my desk off to the side, but because it doesn’t fit in my video frame I used a smaller machine when filming this video) I die-cut the actual snowflake piece and a word Joy out of fabulous Burnished Rose Mirror Cardstock from Tonic Studios, it has satin finish to it and it is absolutely fabulous paper. I think I had a sheet of this paper in one of my Simon’s kits and I just had to get more of it. If you know me – you know I love to use Mirror Cardstock for all of my die cutting projects.
To make it easier to adhere my die cut piece in place I added a layer of double sided sticky to the back of my paper and simply die cut a sticker. I used Scrapbook Adhesives Adhesive Sheets, you can also use Stick It from Ken Oliver, Easy Cut Adhesive from Thermoweb or if you have neither of those you can use spray adhesive or glue.
To pop the Joy die cut up I cut identical piece out of white fun foam. I made sure to add sticky sheet to both sides of the fun foam to once again make it easier to adhere everything in place.
To create a shaker element I adhered a sheet of clear acetate from Hero Arts cut slightly larger than my window. Next, I adhered my snowflake piece – I didn’t have to fuss around with glue since I had the sticky on the back of the die cut. To build the shaker walls I used new to me product from Darice – double sided sticky strips. It’s foam adhesive, but not squares or circles or tape, but in a form of convenient strips.
To fill my shaker I used various beads and sequins from Pretty Pink Posh and I also used Rose Gold sequins in 2 sizes to later embellish my card. I heat embossed some additional messages in white embossing powder onto red cardstock – I used stamps from Hero Arts here, trimmed them into a banner and a skinny strip and foam mounted onto the card along with the die cut joy.
I love the way these cards turned out and they weren’t that hard to make. I didn’t make all of them into window shakers, some are just shakers, so you can’t see through to the inside of the card.
HOP ALONG WITH US!
Spellbinders
Simon Says Stamp
Yana Smakula – you are here
Laura Bassen
Stephanie Low
Svitlana Shayevich
Sharyn Sowell
May Sukyong Park
Elena Salo
GIVEAWAY! (NOW CLOSED)
To celebrate this release, Spellbinders is giving away a $50 gift certificate to FIVE lucky winners. Please leave a comment on Spellbinders blog by Sunday, December 10th 11:59 pm EDT for a chance to win. The winners will be announced in the blog hop post on Spellbinders blog the following day.
I also have one $25 gift card to give away to one lucky hopper! For your chance to win, please leave a comment below and let me know if you like to make shaker cards! I’ll pick a winner on Sunday, December 10th and will announce winner here in this post.
Winner is: Stephanie Jens (Stephanie, I’ve emailed you)
SUPPLIES
I’m listing the products I used below. Click on the link to go directly to the product. Where available I use compensated affiliate links which means if you make a purchase I receive a small commission at no extra cost to you. Thank you so much for your support!
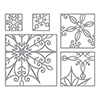 Spellbinders Snowflakes Snippets Dies Shop at: SSS | SC | SPEL |
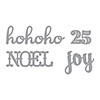 Spellbinders Ho Ho Ho Dies Shop at: SSS | SC | SPEL |
 Spellbinders Platinum 6 Die Cutting Machine Shop at: SSS | SC | SPEL |
 Spellbinders Platinum Die Cutting Machine Shop at: SSS | SC | SPEL |
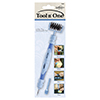 Spellbinders Tool ‘n One Shop at: SSS | SC | SPEL |
 Spellbinders Magnetic Handy Mat Shop at: SSS | SC | SPEL |
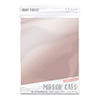 Tonic Burnished Rose Mirror Card Satin Effect Cardstock Shop at: SSS | SC |
 Hero Arts Decorative Woodgrain Cardstock Shop at: SSS | SC |
 Simon Says Stamp Woodgrain Cardstock White Shop at: SSS |
 Tim Holtz Distress Woodgrain Cardstock Shop at: SSS | SC |
 Hero Arts Acetate Cards 5 X 6 Inches Shop at: SSS | SC | HA |
 Simon Says Stamp Schoolhouse Red Cardstock Shop at: SSS |
 Neenah 110 Lb Solar White Cardstock Shop at: SSS |
 Darice Adhesive Foam 33 Double Sided Strips Shop at: SSS |
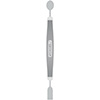 Tonic Craft Spoon Nuvo Shop at: SSS | SC |
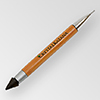 Crystal Ninja Crystal Katana Mixed Media Pick Up Tool Shop at: SSS |
 Hero Arts Heat Embossing Gun PW200 Shop at: SSS | SC | HA |
 Hero Arts White Embossing Powder PW110 Shop at: SSS | SC | HA |
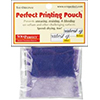 ScraPerfect Crafting Pouch Shop at: SSS |
 Pretty Pink Posh Autumn Seed Bead Bundle Shop at: PPP |
 Pretty Pink Posh 3mm Sparkling Clear Sequins Shop at: SSS |
 Pretty Pink Posh Gold Shimmer Seed Beads Shop at: SSS |
 Pretty Pink Posh Sparkling Clear Seed Beads Shop at: SSS |
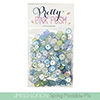 Pretty Pink Posh Spring Meadow Mix Sequins Shop at: SSS |
 Pretty Pink Posh 6mm Navy Sequins Shop at: SSS |
 Pretty Pink Posh 4mm Navy Sequins Shop at: SSS |
 Simon Says Stamp Envelopes Schoolhouse Red Shop at: SSS |
 Versamark Watermark Emboss Ink Pad Shop at: SSS | HA |
 Hero Arts Holiday Messages and Tags Shop at: SSS | SC | HA |
 Hero Arts Christmas Messages CM100 Shop at: SSS | SC | HA |
 Scrapbook Adhesives Adhesive Sheets Shop at: SSS |
 Scor-Tape 1/8 Inch Crafting Tape Shop at: SSS |
 Tonic Deluxe Adhesive Nuvo Glue Shop at: SSS | SC |
 Scor-tape 2 1/2 Inch Crafting Tape Shop at: SSS |
 White Fun Foam 12 Pack 9 x 12 Shop at: SSS |
 Scrapbook Adhesives White Foam Squares Shop at: SSS | SC |
PIN THIS PROJECT
Are you on Pinterest? I’d love for your to pin this project if you like it! Thanks!


Gorgeous cards! I love shaker cards, and I really like how different your cards look with just a change in the shaker elements 🙂
Gorgeous cards! I love those dies – perfect for beautiful shaker cards
Stunning projects. I love all of the different effects the shakers give to each card design. Thanks for the beautiful inspiration
These cards are exquisite, so elegantly eye-popping! The dies are amazing for these shaker cards….I’ll have to try this!
Your shaker cards are great! The useful thing I picked from them was the foam strips – so much more convenient than ANYTHING else. Having the right materials makes all the difference. Thanks.
Beautiful cards! I can’t believe how changing the colors of the sequins changes the look of the card! The snowflake die is gorgeous!
These holiday shaker cards a beautiful!!!
Your shaker cards are beautiful. TFS
I like how you experimented with different shakers for the inside- I think the navy and silver are my favorite! Plus we see how different it can look from just one version/combination. And we know it can be done via a production line method for us who like to create in mass quantities. I like the combination of the wood grain paper, the silver or rose paper, and the white on red embossing. Kudos to you and Thank you so much for sharing!!!!!
Stunning!! Saw it on your youtube channel first – gorgeous!
Yana, I look forward to seeing what you create. I really love your cards and this idea of a shaker window card. Beautiful die set too.
Oh my goodness Yana ! Your set of cards is absolutely magical, magnificent ! And yes, I like to make shaker cards ! margessw@icloud.com
Love the snowflake snippets dies. Your cards are so pretty!!
Mirror papers just bring ” life” to everything! Thanks for the inspiration! Merry Christmas!
Your cards are beautiful. I love the snowflake dies. Thanks for sharing your creativity with us.
WOW! I love the gorgeous snowflake!! Stunning cards! Very Elegant!!
I love the red & gold on the card….and I love making shaker cards!!!
I like shaker cards. It is one of the easiest way to make card playful and interesting)
I absolutely love making shaker cards and yours is breathtaking! The snowflake window die gives a new way to place the snowflakes into the window and add the “glitter” behind. I’m impressed by the different styles you showed using the same materials – shows just how much you can get from your dies and other materials.
Amazing shaker cards. I have not made any shaker cards yet but would like to try making them.
Beautiful card and perfect tutorial. Love that your video is concise – giving the perfect amount of information quickly! Good written directions and product links. I will be trying a shaker card for the first time this weekend.
This is beautiful! So elegant and detailed!
Gorgeous card! I love shaker cards, but I always seem to do something wrong when I’m assembling them. I need more practice!
Absolutely beautiful cards!! I love all of them. I’ve never tried a shaker card but would love to give it a try.
These cards are so lovely and elegant. I will practice making them and thank you for the ideas and the tips.
These dies (and your creations with them) are what made me go to Spellbinders to check out their latest products. These snowflakes are phenomenal. I love the off-the-edge design!
Yana, you make this shaker card look SO EASY!!! The gold snowflake die just went in WITHOUT ANY HITCH AT ALL!! STUNNING WORK!!! Your cards are WONDERFUL! I too would have trouble picking out what color of sequins to use! I AM IN AWE of your cards!!! 😉 (I have seen a few SB tools & others I’m needing here too! ;))
Your Card are So Beautiful Thank you for Sharing with all of us.
These are gorgeous in every colour you’ve used!
Your shaker cards are beautiful. The design element is professional and suitable for framing.
I make shaker cards occasionally. Thanks for the video and the great ideas.
I love your shaker cards. They are stunning.
Had to buy this die to make these beautiful cards. Thank you for the inspiration and also for showing us how. I’m sure that everyone that will receive one will love it as much as I do.
These are stunning shaker cards…love them so much!!
These cards are so beautiful! Love, love, love them!
Amazing card thank you for the great tutorial
I lovetge card and hope to make it!
Thanks for sharing! Love shaker cards but have never really learnt to make them till I watched the video you posted. Thanks so much!!!