Hello, everyone! This blog post and video continues the monthly feature I’m hosting on Spellbinders blog and Youtube channel called “Shaped Cards with Spellbinders”. Once a month I am posting a card and and video tutorial featuring a shaped card base using Spellbinders dies! You can catch the first episode here.
Like this project? Pin it and save for later | Curious about my project photography? Click for details.
VIDEO TUTORIAL
As always, I filmed a video tutorial showing how to create this project from start to finish. I’m hoping you’ll enjoy it. Watch it below or on my Youtube channel.
Like this video? Please give it a big thumbs up (you can do this on Youtube video page right under the video) and share with a crafty friend! Leave me a comment too, I love hearing from you!
CARD DETAILS
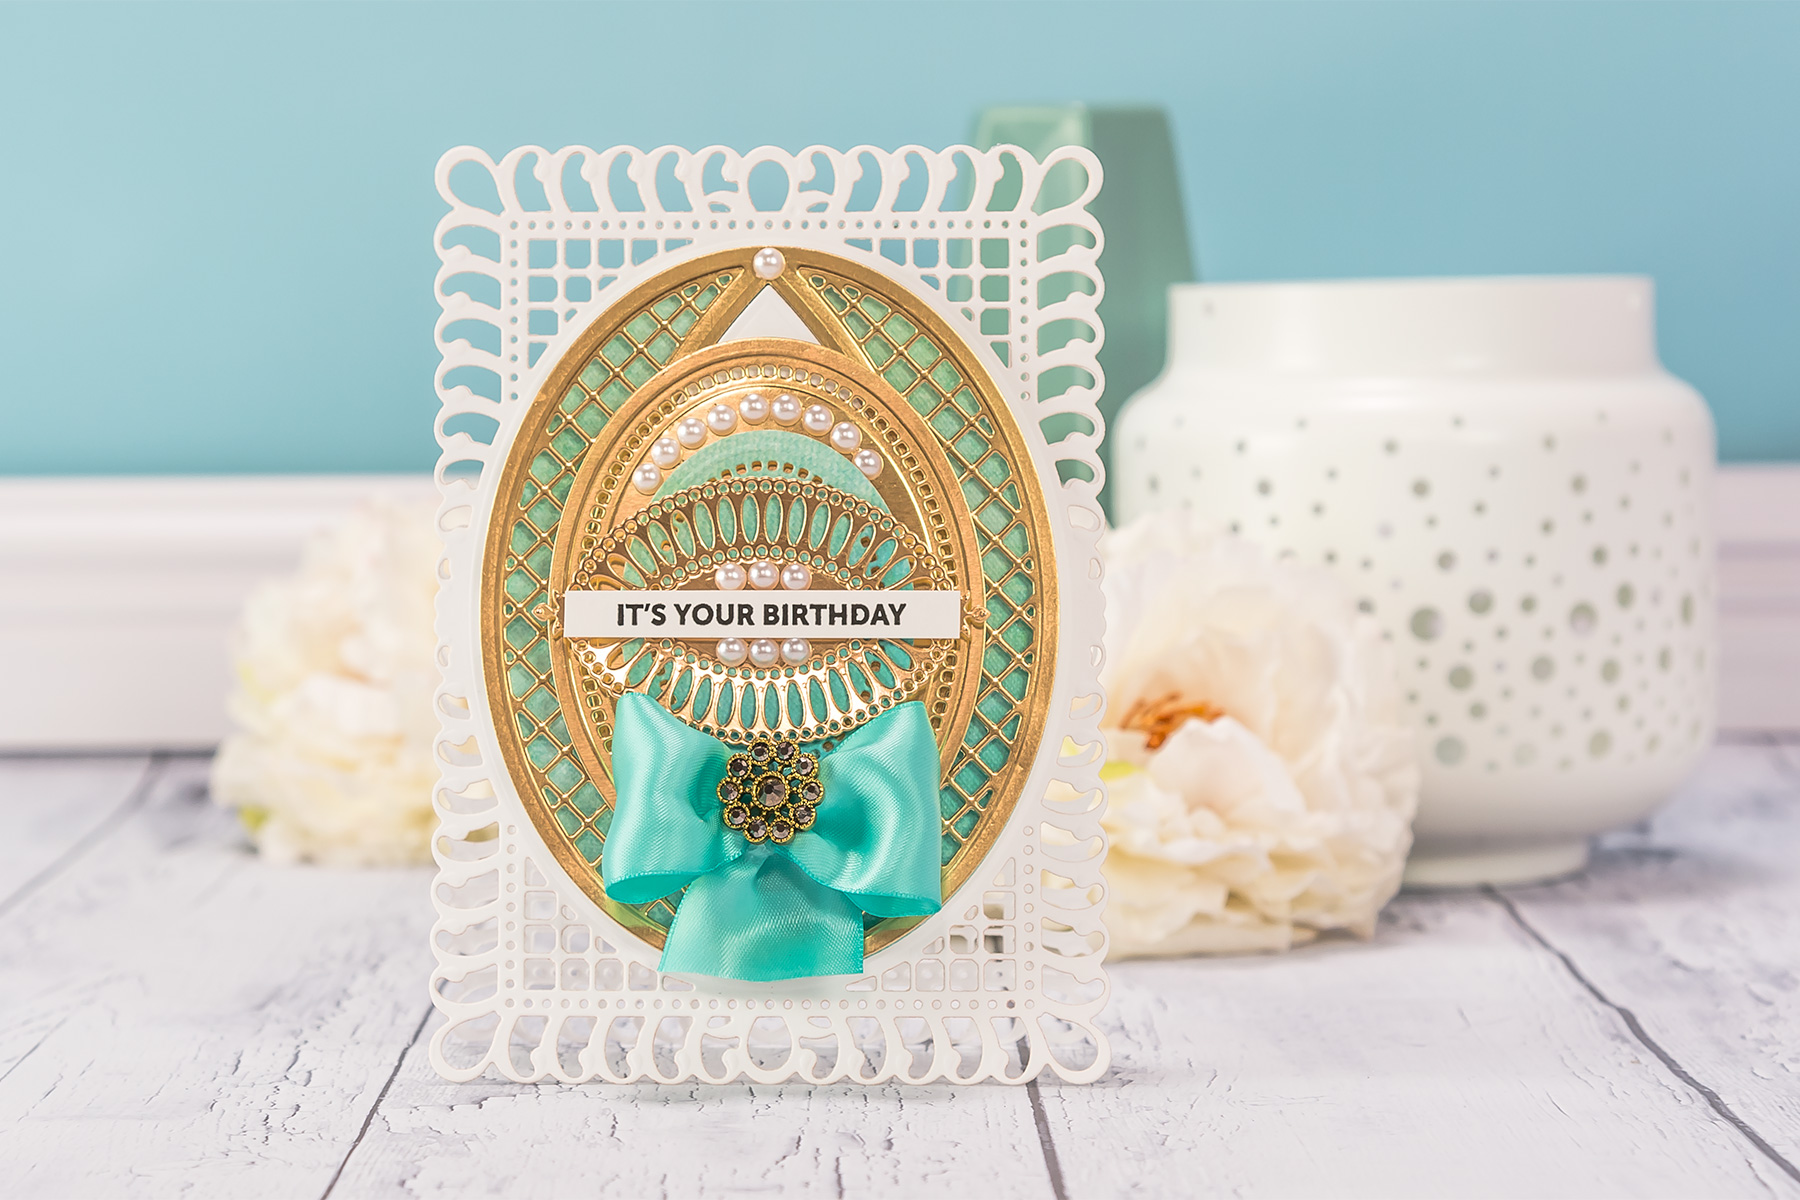
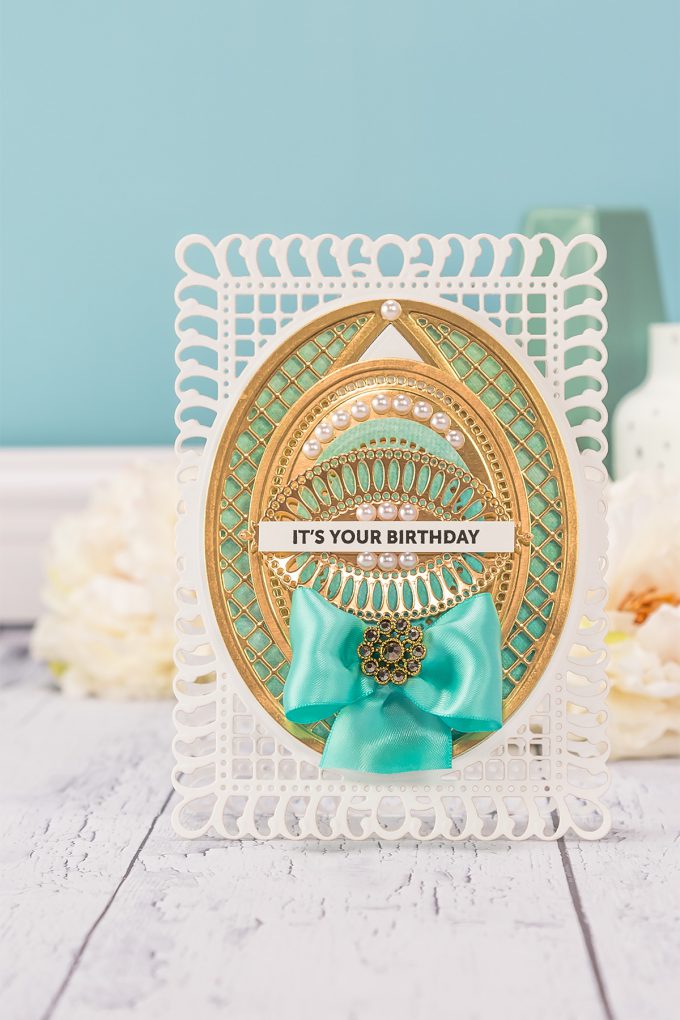
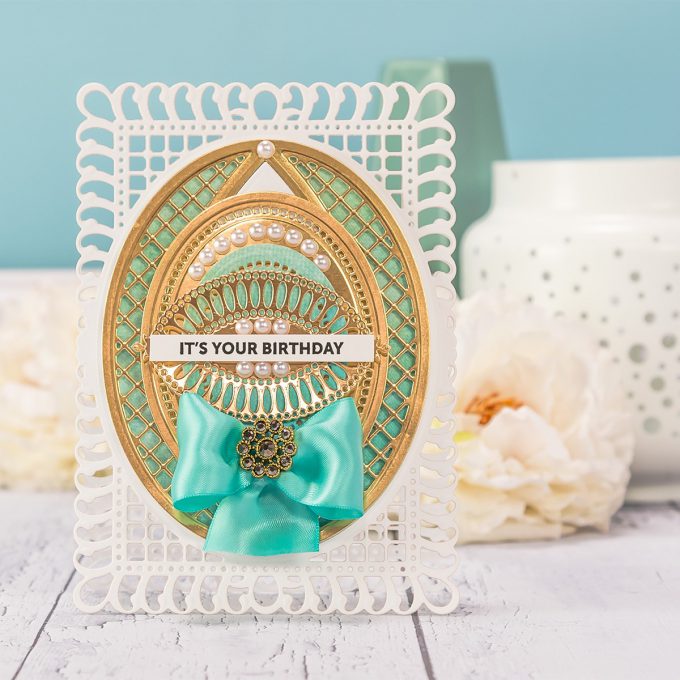
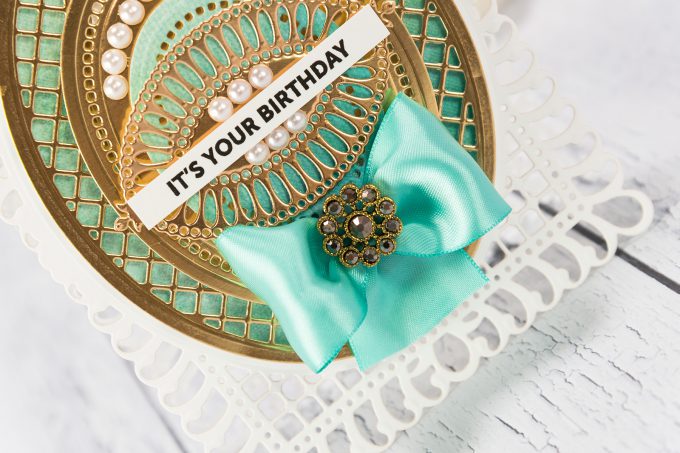
I started working on this card by creating a card base. I decided to use the largest die from the Bella Rose Lattice Layering Frame Large set – this die measures 5×7” so it makes a full size 5×7” card.
There are several ways to create a shaped card base. In my previous episode I was using an outer frame die, so not a detailed die, and was able to die cut through a piece of cardstock folded in half to create a base. Today, since I am using a much more detailed die for my card base I am taking a slightly different approach.
To create my card base I cut 2 identical pieces, scored one and used glue to adhere them together to create a base. Because I needed my die cut and my card base to be sturdy I used 110 LB white cardstock. Since this is an intercut die and because of how thick of cardstock I used it was a bit difficult to cut through it in a single pass, but running die through my Platinum Die Cutting machine a few times cut the piece out no problem. If you are having problems cutting this design out of 110LB you can use thinner 80LB cardstock.
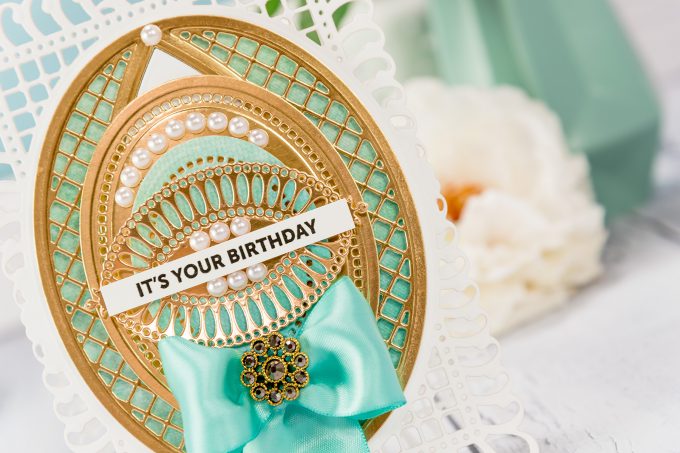
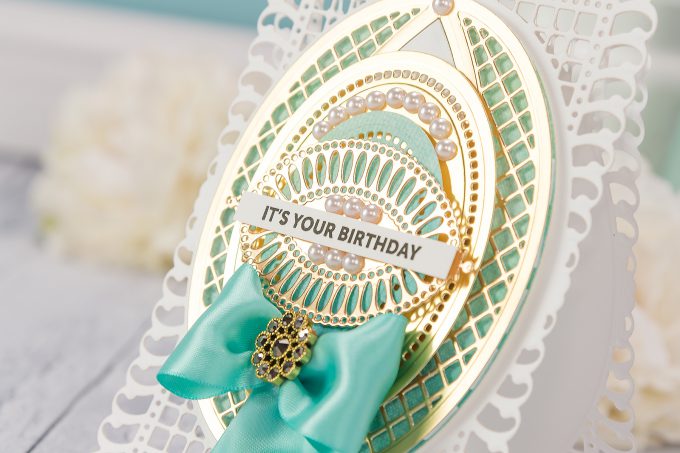
I went with teal, gold and white color combo for this card (I think it’s one of my favorite color combinations for this kind of cards) and alternated blue and gold cardstock for my die cuts. I made sure to use foam adhesive for every layer to help my elements stand out and be more defined on my finished piece.
I added a simple “It’s Your Birthday” sentiment in black ink although this card design easily works for other occasions, it can even be a wedding card!
SUPPLIES
I’m listing the products I used below. Click on the link to go directly to the product. Where available I use compensated affiliate links which means if you make a purchase I receive a small commission at no extra cost to you. Thank you so much for your support
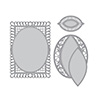 Spellbinders Bella Rose Lattice Layering Frame Large Dies Shop at: SSS | SC | SPEL | AZ |
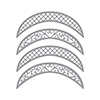 Spellbinders Lunette Arched Borders Dies Shop at: SSS | SC | SPEL |
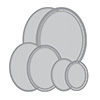 Spellbinders Hemstitch Ovals Dies Shop at: SPEL | AZ |
 Spellbinders Tool ‘n One Shop at: SSS | SC | SPEL | AZ |
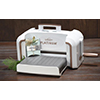 Spellbinders Platinum Die Cutting Machine Shop at: SSS | SC | SPEL | AZ |
 Neenah 110 Lb Solar White Cardstock Shop at: SSS | AZ |
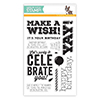 Simon Says Stamp Big Birthday Wishes Stamp Set Shop at: SSS |
 Altenew Gold Mirror Cardstock Shop at: AN |
 Tsukineko VersaFine Onyx Black Ink Shop at: SSS | AZ |
 Neenah 80LB Solar White Cardstock Shop at: SSS | AZ |
 Scor-tape 2 1/2 Inch Crafting Tape Shop at: SSS |
 Scrapbook Adhesives White Foam Squares Shop at: SSS | SC | AZ |
 Tonic Polished Gold Mirror Card Gloss Cardstock Shop at: SSS |
 Tonic Honey Gold Mirror Card Satin Effect Cardstock Shop at: SSS |
 Tonic Gold Pearl Mirror Card Satin Effect Cardstock Shop at: SSS |



Fantastic card!! Love the gold and the teal with all those intricate details!
Stunning card!
Oh this is gorgeous!
Love the colors.
Carla from Utah
Love your eye for elegance and these are my favorite colors for this type of card also.
I have been making cards for about 25 years. I recently joined the 21st century and got WiFi on my phone. And then I found you. Wow. I love every thing you make. I have been following your work on you tube. This card is stunning. I love Spellbinders.
And this card is exactly the style I wish I could make. Gorgeous.
Very pretty
Ohh la la! I would not have thought to put gold and blue together (I always think blue and silver), but they make a very pretty color combo. Thanks, Yana.
So Beautiful.
That’s another jewel-card !