Hello friends! This blog post and video marks the start of yet another monthly feature I’m hosting on Spellbinders blog and Youtube channel called “Shaped Cards with Spellbinders”. Once a month I will be posting a card and and video tutorial featuring a shaped card base using Spellbinders dies!
Like this project? Pin it and save for later | Curious about my project photography? Click for details.
I was happy to see you enjoy the first few episodes from my original video series, Layered Dimensional Die Cutting, so I decided to introduce additional series and share even more tutorials using Spellbinders dies. I hope you’ll enjoy these videos just as much!
In the past I never cared much for shaped cards and only made standard square or rectangular projects, but after making a few I was hooked. This is something different, yet not hard to make. So let’s jump right in!
The card I am sharing in this post and video first appeared in the Die-cutting Essentials Magazine Issue 25, I have more cardmaking ideas in that issue in case you’d like to check it out.
VIDEO TUTORIAL
As always, I filmed a video tutorial showing how to create this project from start to finish. I’m hoping you’ll enjoy it. Watch it below or on my Youtube channel.
Like this video? Please give it a big thumbs up (you can do this on Youtube video page right under the video) and share with a crafty friend! Leave me a comment too, I love hearing from you!
CARD DETAILS
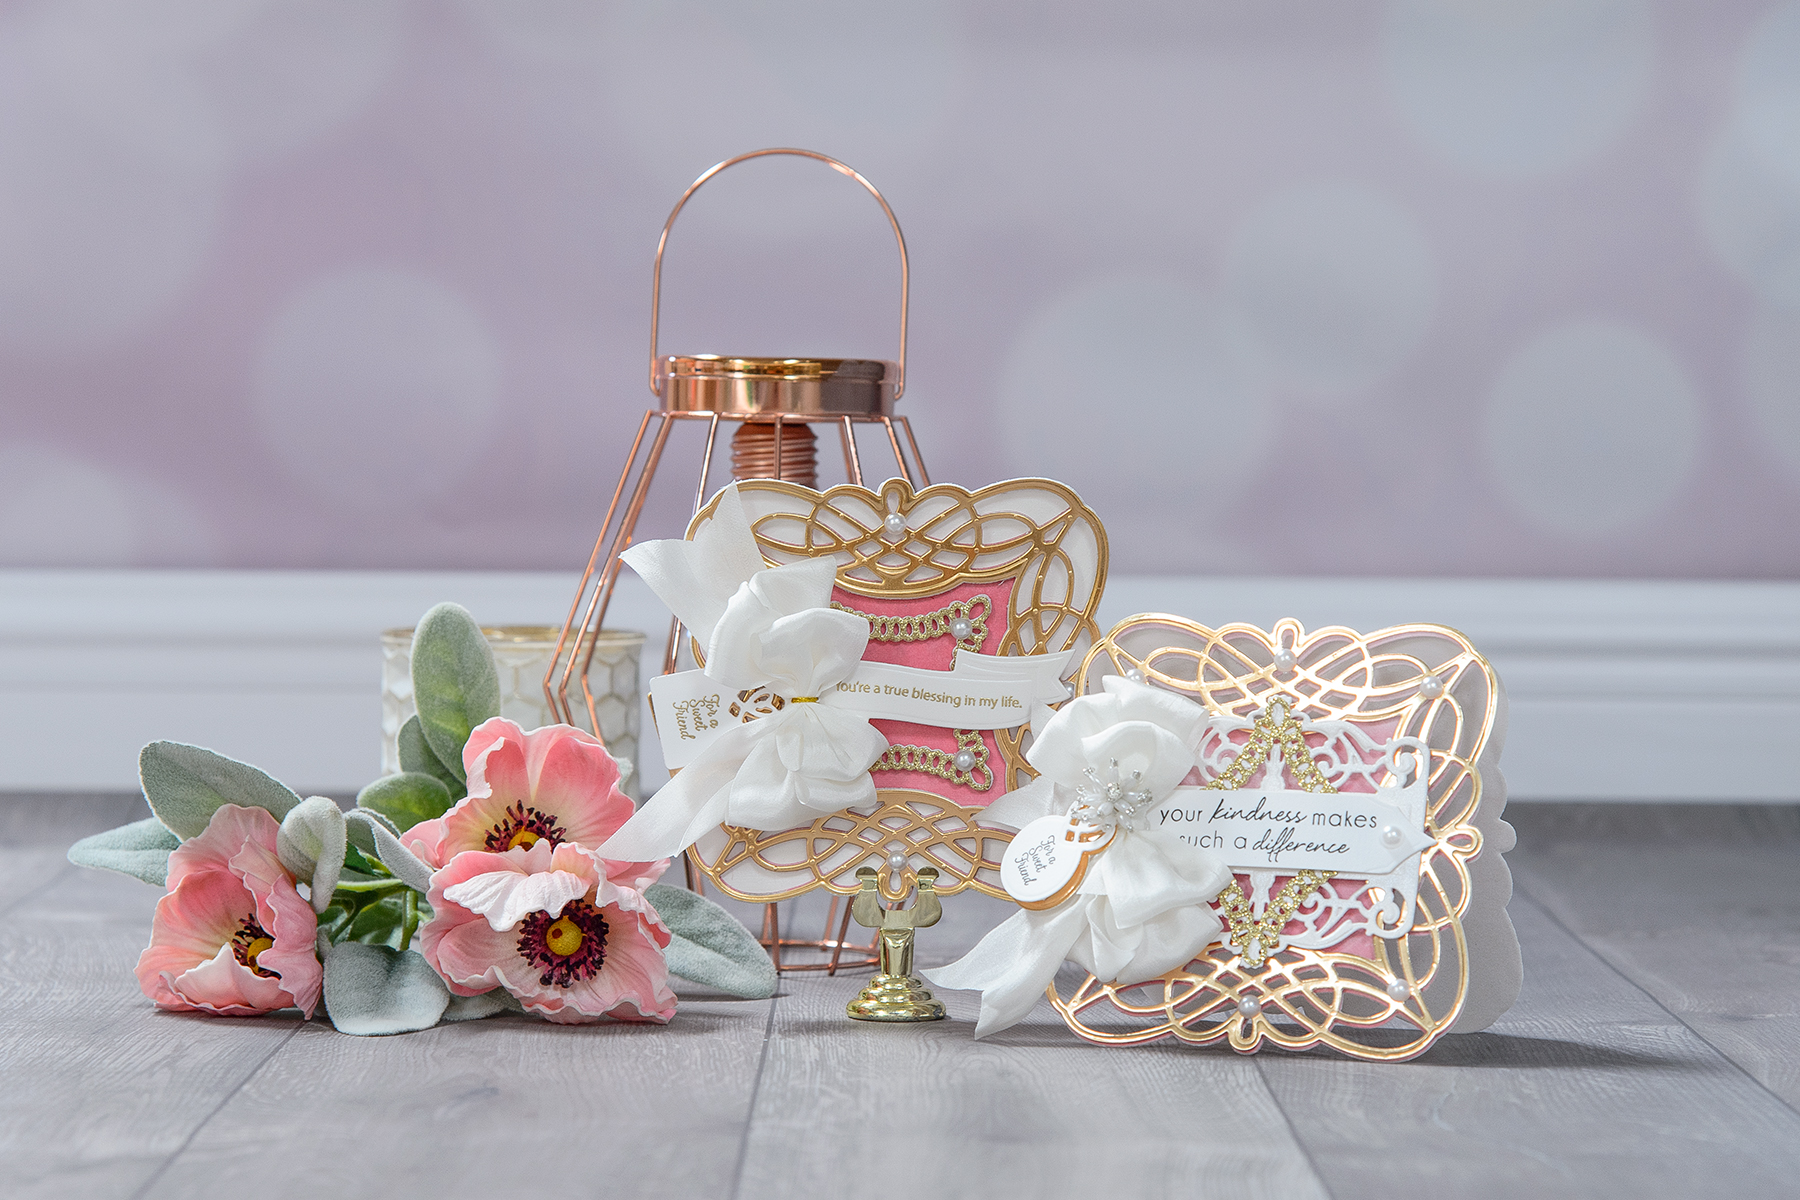
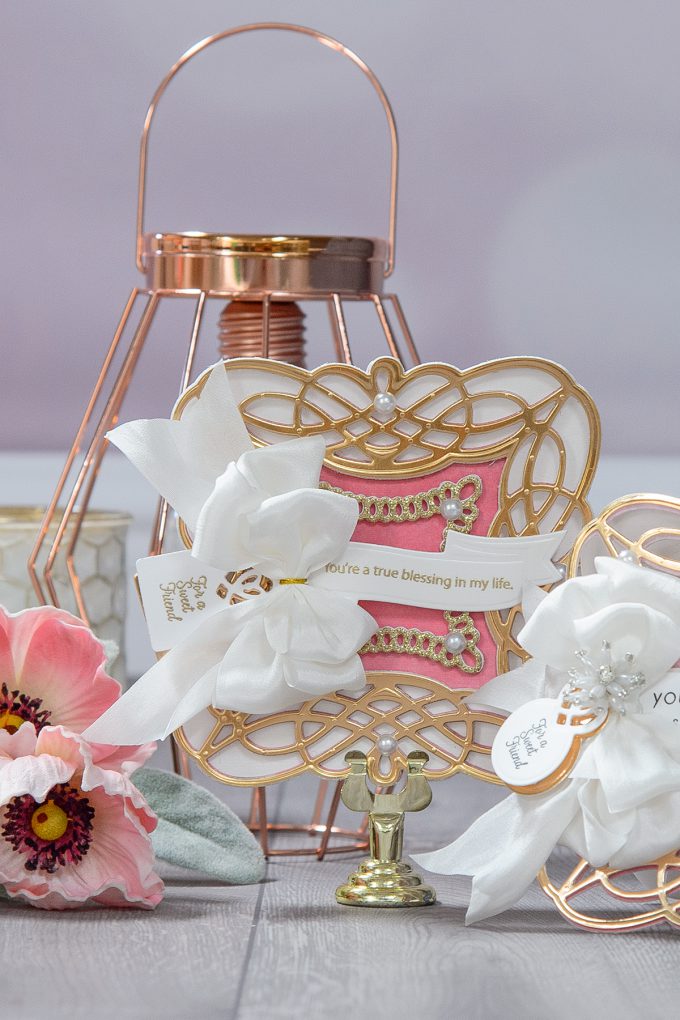
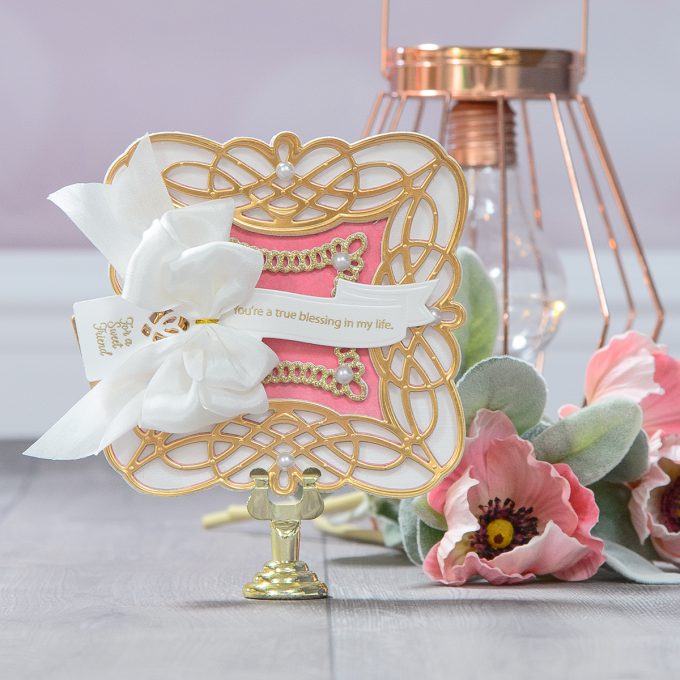
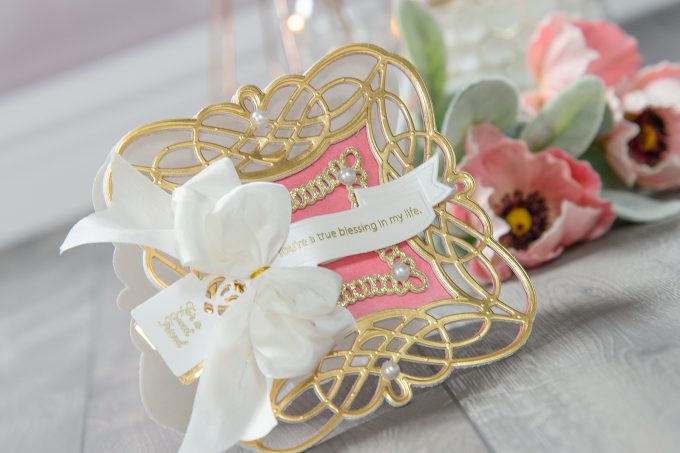
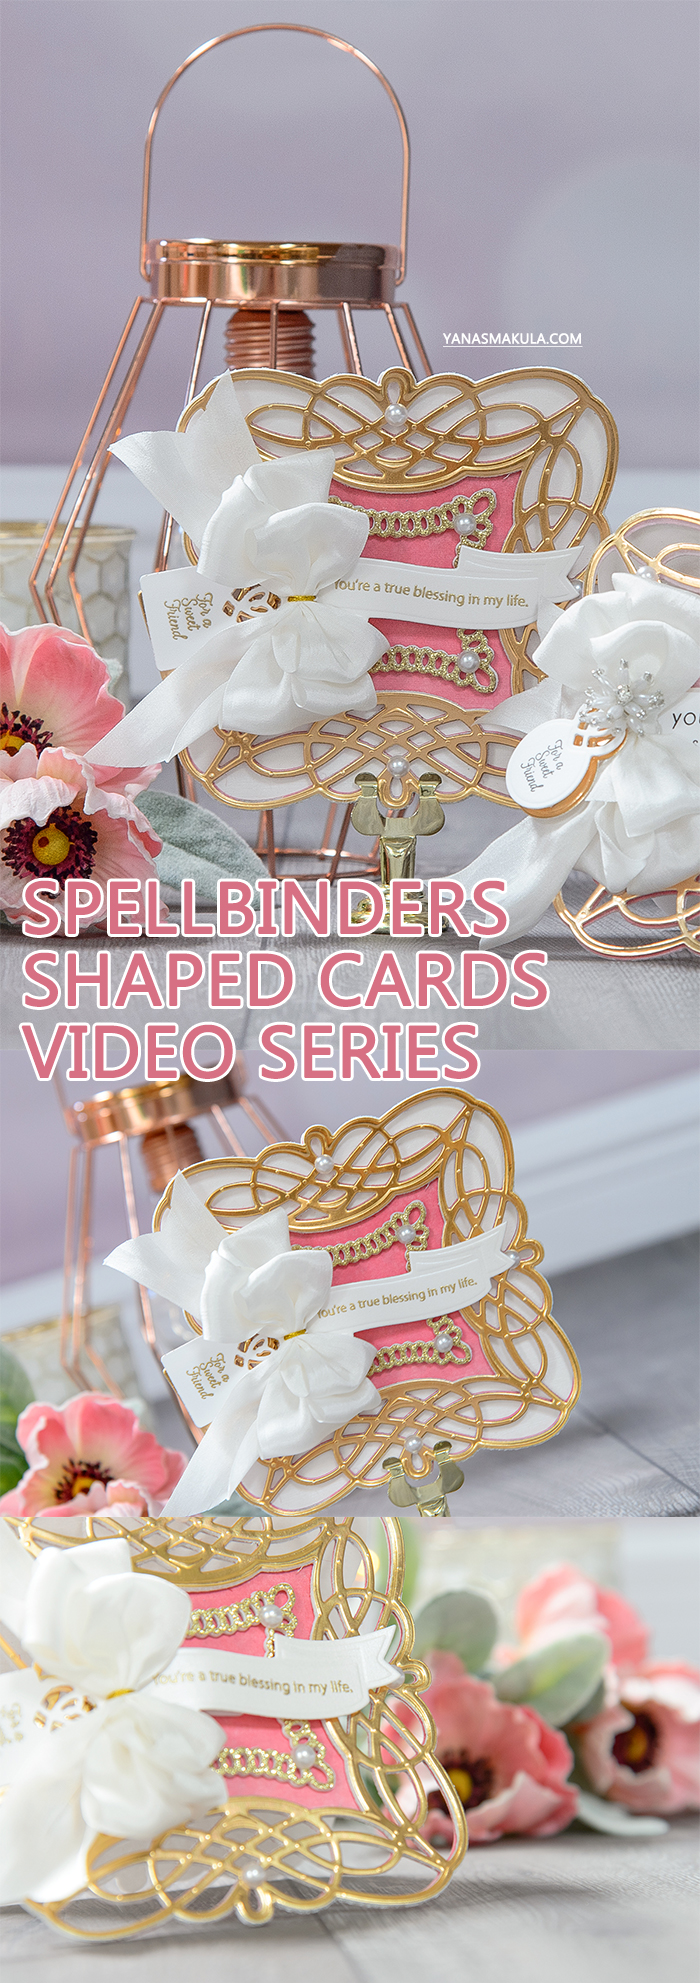
I started working on my project by creating a card base. This, after all, is the most important part of a shaped card! I used pearlescent white cardstock from WorldWin, trimmed a 5 x 12” strip, scored it and folded at 5 inches. To create the base for my card I used an outer die from the Braided Grace Square set.
I love to use die sets where there’s an outer outline die and also a detail die. Sets like this offer you lots more die cutting options. To make sure I kept the fold in place and did not accidentally cut it off I taped my die onto my paper and I positioned it so that the top cut edge of the die went a bit outside the fold.
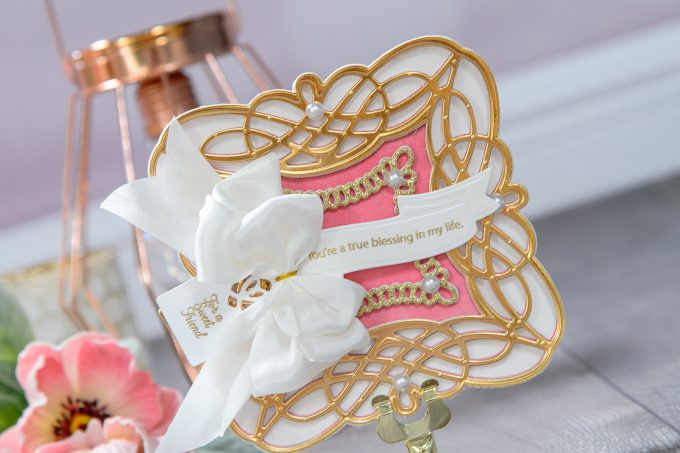
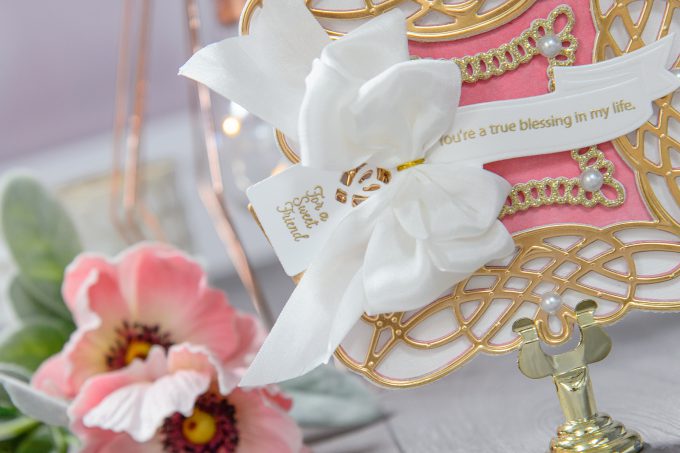
After you cut the base out you can keep it as is, or you can add detail onto the front of the card. I used the Inlaid Braid die – I opened my card base up (you’ll need to do this not to cut through both the front and back), positioned my die and send it through the machine and cut. This added gorgeous decorative detail to the front of the card base.
The bottom edge of this card base is rather flat so it stands no problem on its own. Be sure to watch my video tutorial above for a full set of instructions.
Have fun die-cutting!
SUPPLIES
I’m listing the products I used below. Click on the link to go directly to the product. Where available I use compensated affiliate links which means if you make a purchase I receive a small commission at no extra cost to you. Thank you so much for your support
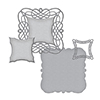 Spellbinders Braided Grace Square Dies Shop at: SSS | SC | SPEL | AZ |
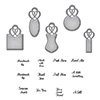 Spellbinders Graceful Tiny Tag Stamp & Die Set Shop at: SSS | SC | SPEL | AZ |
 Spellbinders Tool ‘n One Shop at: SSS | SC | SPEL | AZ |
 Spellbinders Platinum 6 Die Cutting Machine Shop at: SSS | SC | SPEL | AZ |
 Neenah 110 Lb Solar White Cardstock Shop at: SSS | AZ |
 Hero Arts Gold Embossing Powder PW100 Shop at: SSS | SC | HA | AZ |
 Hero Arts Heat Embossing Gun PW200 Shop at: SSS | SC | HA | AZ |
 Altenew Gold Mirror Cardstock Shop at: BL |
 Versamark Watermark Emboss Ink Pad Shop at: SSS | HA | AZ |
 Scrapbook Adhesives Adhesive Sheets Shop at: SSS | AZ |
 DMC Metallic Gold Embroidery Thread Shop at: SSS | AZ |
 First Edition 12×12 Paper Pad – Sweet Nothings Shop at: AZ |
 White Fun Foam 12 Pack 9 x 12 Shop at: SSS | AZ |
 Scrapbook Adhesives White Foam Squares Shop at: SSS | SC | AZ |
 Mama Elephant Clear Stamps His Love Shop at: SSS |
PIN THIS PROJECT
Are you on Pinterest? I’d love for your to pin this project if you like it! Thanks!


Yana this card is gorgeous!!!! I have always loved creating shaped cards with different dies! This die set is very similar to another that I have by Spellbinders that I use a lot to create cards! Love your card!
Hugs,
JO
Oh, what a beautful card!!! It looks so intricate but you made it look so easy to make!
I am going to have to try these die cuts :o)
Many thanks for the tutorial.
Wow! What an amazing elegant card!! Love this one! And thanks for starting the new series! I’m a recent follower of your works, and it is addicting now 🙂 Love watching your tutorials 🙂
Wow !! This is absolutely gorgeous, luxurious and very impressive card !!
Hi Yana,
This card is out-of this world! I don’t think I’ve seen a card with so many layers that creates such a beautiful card. It was a good idea to put sticky backing on each of the layers; otherwise you would have spent a lot of time putting wet adhesive on all the little sections of the die cut pieces. If this is the start of what is to come I certainly will enjoy the rest; thanks Yana. :O)
Just stunning! I too have never made a shaped card but you’ve inspired me to give it a try. Thanks for this wonderful inspiration.