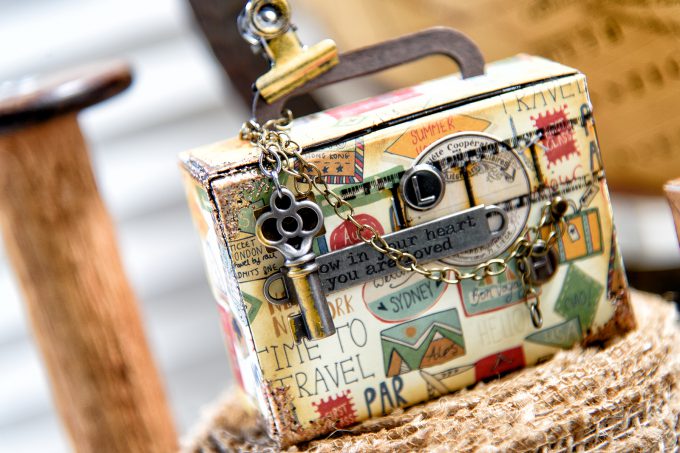
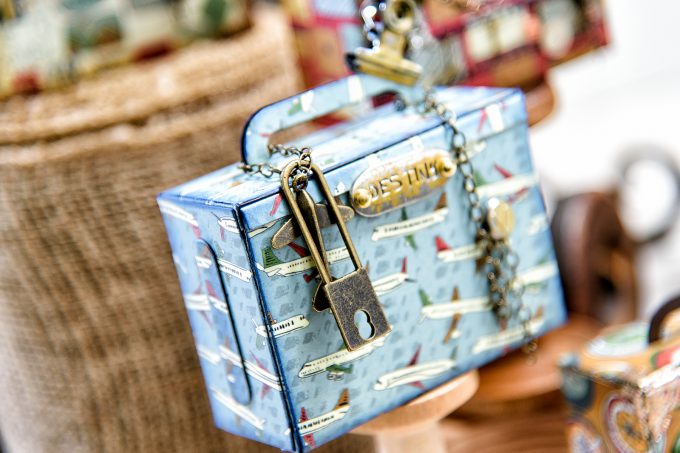
I shared a few projects using Spellbinders’ Steel Rule dies on my blog before (3D Christmas Trees out of Triangle Boxes and Easy Holiday Mittens) and I was happy to see that you enjoyed them quite a bit. So today I’d like to share one of my favorite projects to date – travel-themed gift boxes using Travel Much Steel Rule Die.
Unlike thin dies, thick steel rule dies can cut things that are a lot thicker, like several layers of cardstock or fabric, thick fun foam etc so they make it very easy to create dimensional home decor items.
Like this project? Pin it and save for later
VIDEO TUTORIAL
I have a video tutorial to show you how to put the box together (this video is a part of a series I do for Spellbinders where I show how to assemble all sorts of their box dies). The video doesn’t show how to decorate the box. Watch video here or on Spellbinders Youtube Channel.
Like this video? Please give it a big thumbs up and share with a crafty friend! Drop me a comment too, I love hearing from you!
PROJECT DETAILS
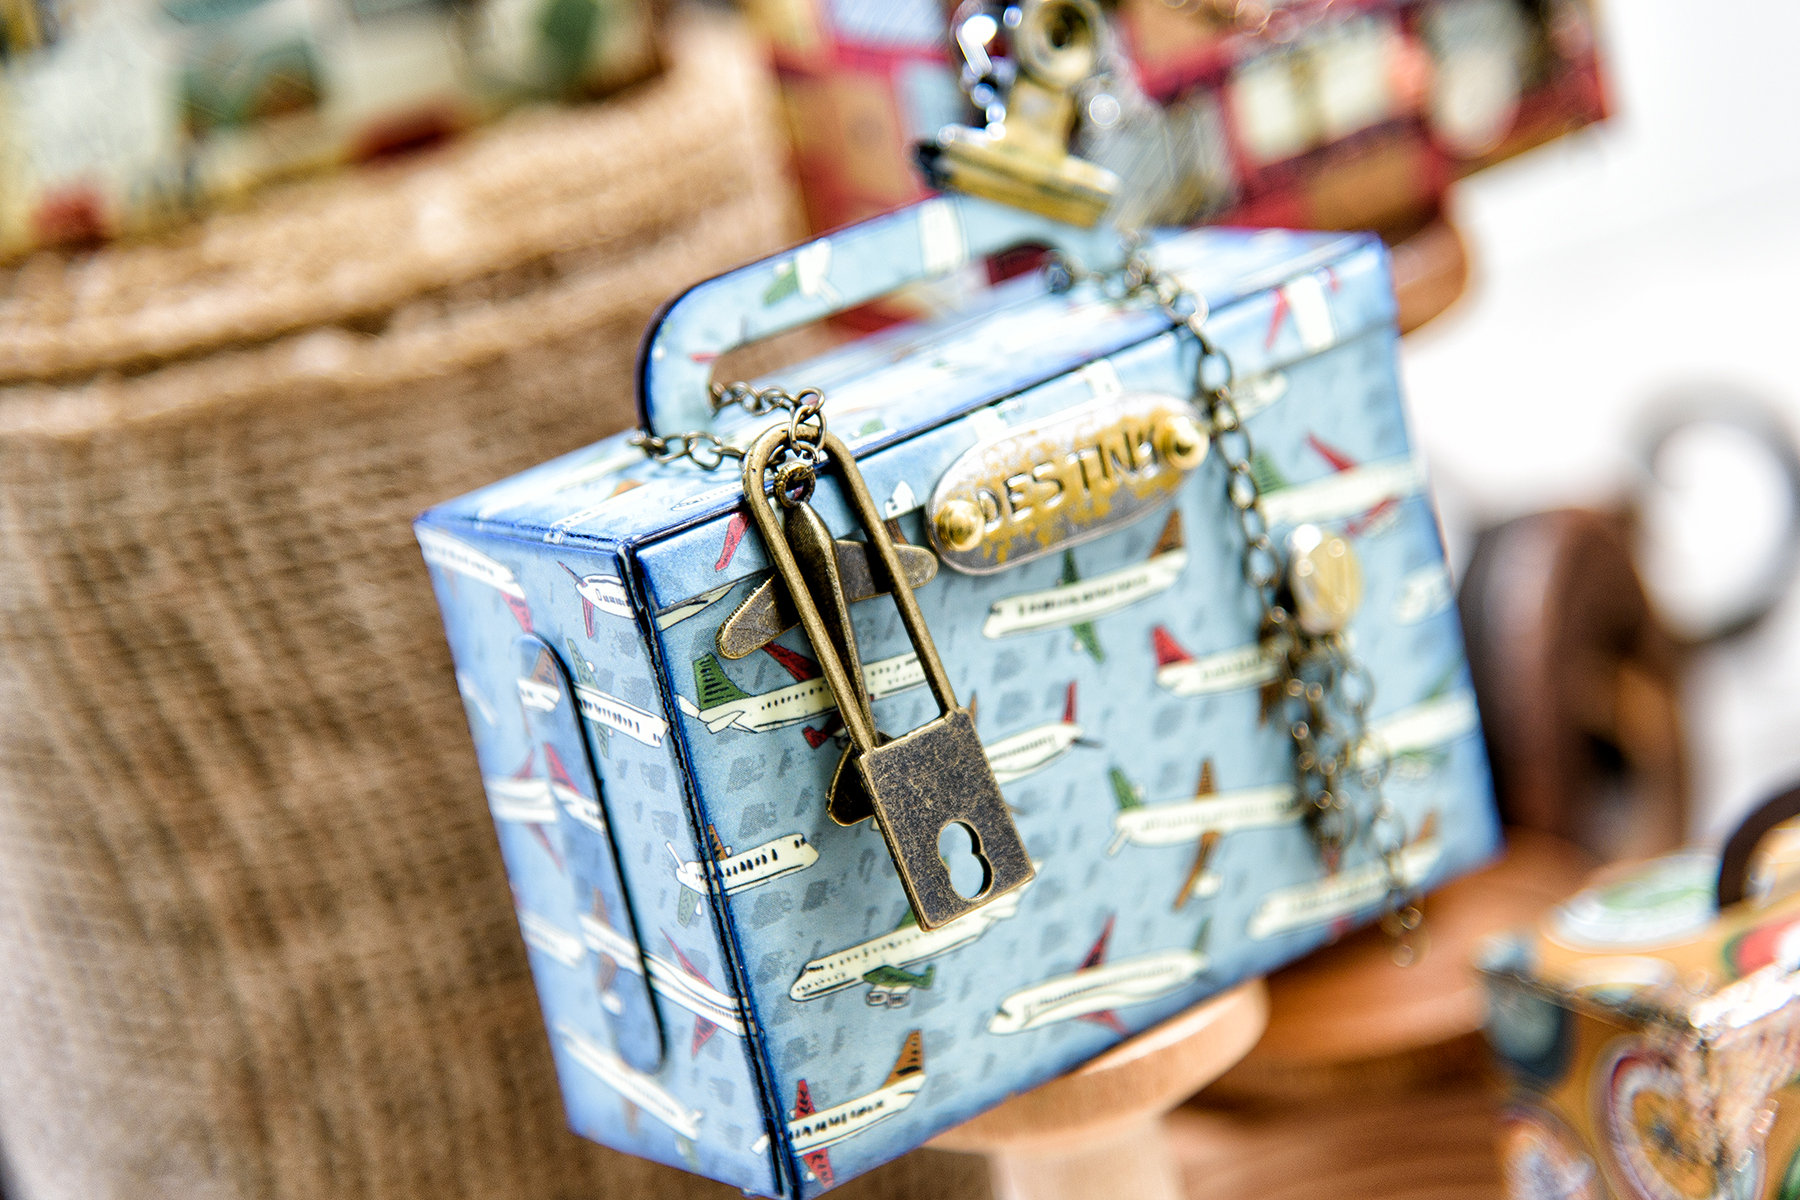
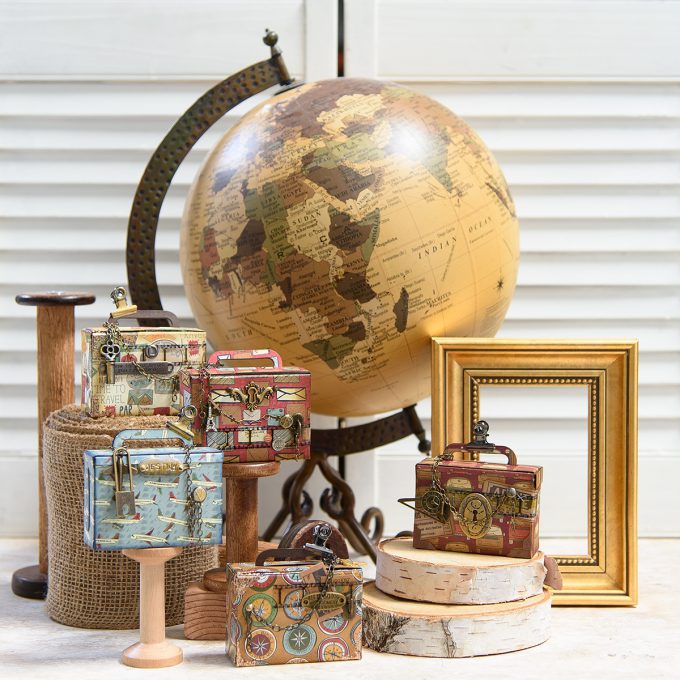
Let me start by saying that you can make these boxes any way you like. You can-die cut them out of plain cardstock or fancy patterned paper and have a blast decorating them. They don’t have to be just gift boxes, you can use these as a little home decor item and proudly display on a shelf next to your travel photos.
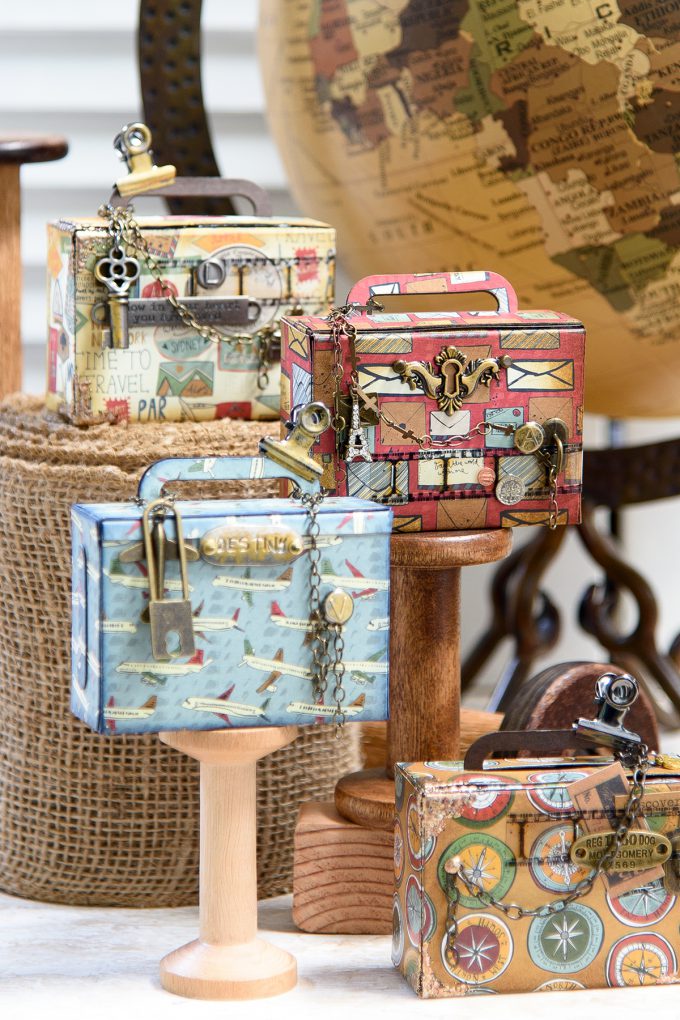
I used First Edition Travel Notes papers to create boxes I am sharing today. I love this brand of paper (and you’ve probably seen me use it a million times for my Spellbinders cards) because of its “special effects”. This paper comes in large pads in 6×6, 8×8 and 12×12 sizes. Half the sheets in each pad are single-sided with “special effects” like embossing, gloss, fabric texture, no-shed glitter etc and other half is double-sided. Truly fabulous papers for die cutting projects and more.
I picked a few different sheets – some regular, some with glossy finish and adhered those onto brown cardstock. I didn’t want to die-cut my boxes just out of patterned papers as I needed them to be a bit more sturdy. I used Distress inks in various colors to darken the edges of the boxes and make them look a bit worn-out. To decorate these I picked all sorts of metal trinkets and pieces (keys, plates, brads, chains, corners etc), colored some using alcohol inks and adhered or attached onto boxes before putting them together.
I love the way these turned out and had I had more time – I would have made probably 20 more of these (I did make more 5 just for fun).
SUPPLIES
I’m listing the products I used below. Click on the link to go directly to the product. Where available I use compensated affiliate links which means if you make a purchase I receive a small commission at no extra cost to you. Thank you so much for your support!
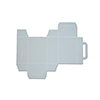 Spellbinders Travel Much Steel Rule Die Shop at: SC | AZ |
 Spellbinders Crease Plate Shop at: SC | AZ |
 Spellbinders Tool ‘n One Shop at: SSS | SC | AZ |
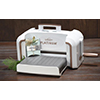 Spellbinders Platinum Die Cutting Machine Shop at: SC | AZ |
 First Edition Premium Travel Notes Paper Pad Shop at: AZ |


These are just precious.
These boxes are fantastic – thanks so much for the video!! Happy New Year to you!!!
Wow! What a great project!! Adorable suitcases!!!!
My vintage loving heart is beating!