Hello crafters! I love to color. I love to color my stamped images, I love to color my die cuts and I love to use all the different mediums out there that are available for coloring.
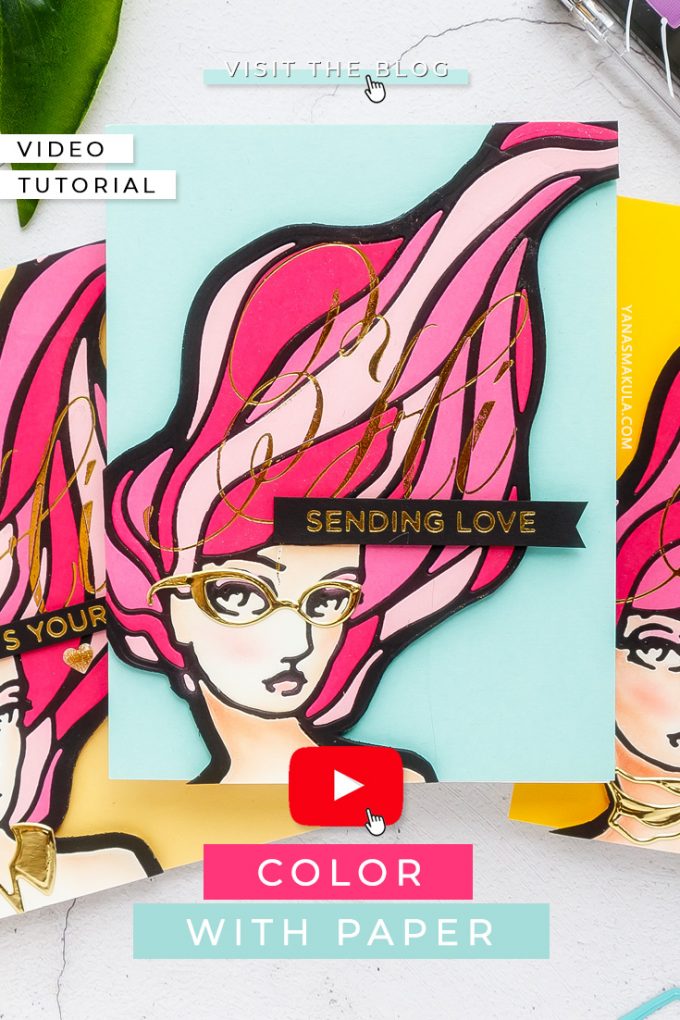
I also LOVE to color with paper. In this video, I’m going to show you how you can color with paper using the inlay die cutting technique and colored cardstock. Get all of those colored cardstock scraps ready! We are going to color!
Like this project? Pin it and save for later | Curious about my project photography? Click for details.
VIDEO TUTORIAL
Watch my video tutorial below or on Youtube to learn how I made the cards I’m sharing today.
Like this video? Please give it a thumbs up and share with a crafty friend! Drop me a comment too, I love hearing from you!
CARD DETAILS
I’m using a new die by Jane Davenport and Spellbinders called Marcia’s Makeover, many other dies can be used in the same way. I will recommend you use a die that is not too detailed as that will make inlaying all of the little pieces a very difficult task.
This die is rather large, in fact, it is bigger than an A2 card, but it can still be used for a project of that size, or it can be used on a larger project as well.
To color with paper you’ll, of course, need to decide on the colors of cardstock to color with. I had several groups picked out, although I only used the one with pinks. For each group I picked a cream sheet, to create skin, a black sheet to make the outline and 3 colored sheets to actually color with.
To make adhering the pieces in place an easier task I started by adding double-sided tape to a sheet of cardstock that will make the base of my die cut. I first used white cardstock, but later on, I discovered that using black cardstock works better as it hides any imperfections you might have when inlaying the pieces together to color your image. If you have a black die cut outline, I suggest you go with a black base, but if you have a white outline – go with a white base.
I used wide tape to add adhesive to my paper, there are also large sticky sheets out there – doesn’t matter what product you use, you just need something to add stickiness to your die cut base. Next, I die cut this shape out in my die cutting machine with the adhesive side facing up, die cut the black outline and adhered the two together.
Because I am using 3 colors of cardstock to color with I can actually color 3 die cuts at once and have no leftover die cut pieces whatsoever. If you want to minimize the waste, minimize the leftover die cut pieces consider making several die cuts at once to utilize every little piece of paper.
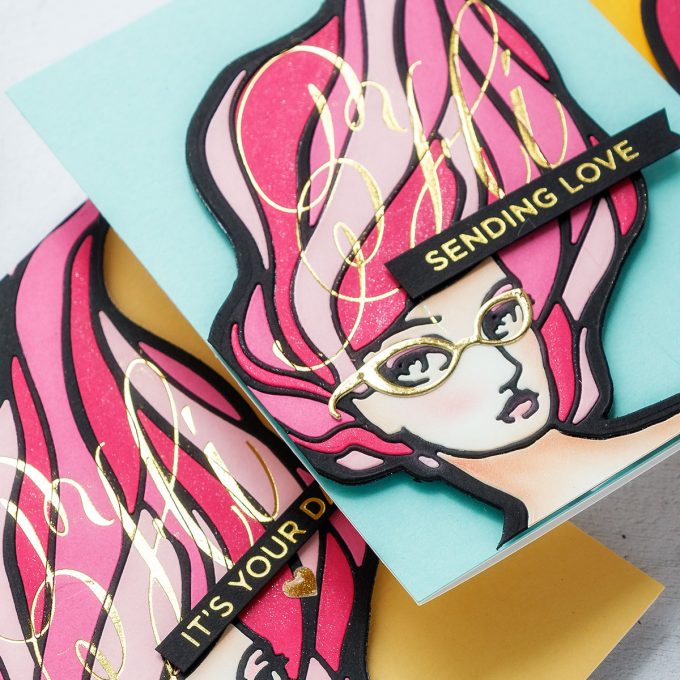
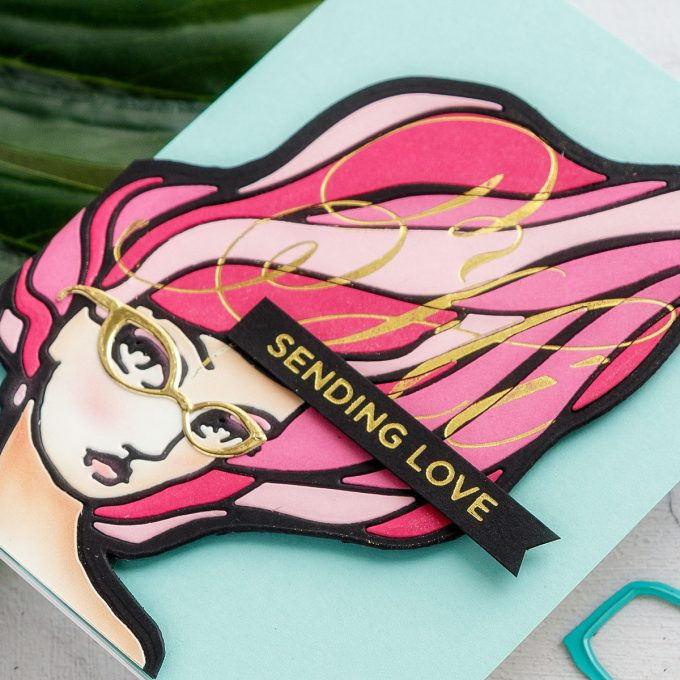
Once I inlay the final hair pieces you can see how gorgeous the hairs turned out! If you are not into coloring using the traditional coloring mediums – be sure to give this coloring with paper idea a try! It’s absolutely easy to do, all you need is some colored cardstock.
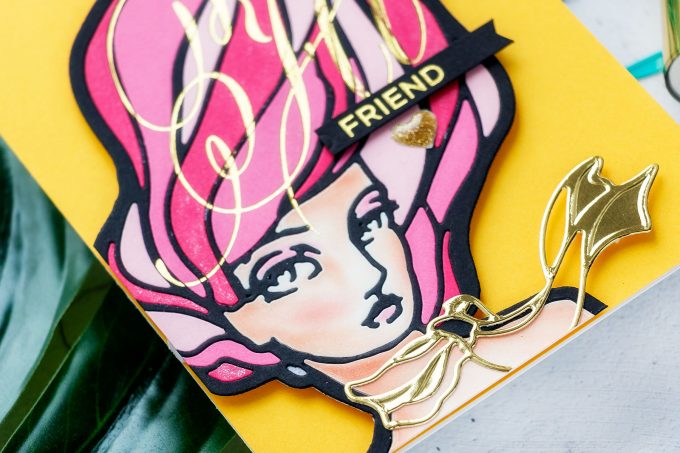
Now before I inlay the faces I want to add some color to them. For this, I am using supplies from Jane Davenport Making Faces collection and those are various coloring mediums that look very much like makeup. I’m using Jane’s Palette Pastels in Birthday Suit and also one of her blenders to apply color to the die cut. This in a way, is like doing makeup but on paper on the paper face. I first added a light blend of color and next applied some shadows. I also added some blush and some color to her lips and eyelids.
I went with a very nude look, not much makeup at all, but you can certainly go wild and give Marcia a very bold and colorful makeover if you want.
Once I inlay the final face pieces you can really see this die cut come to life.
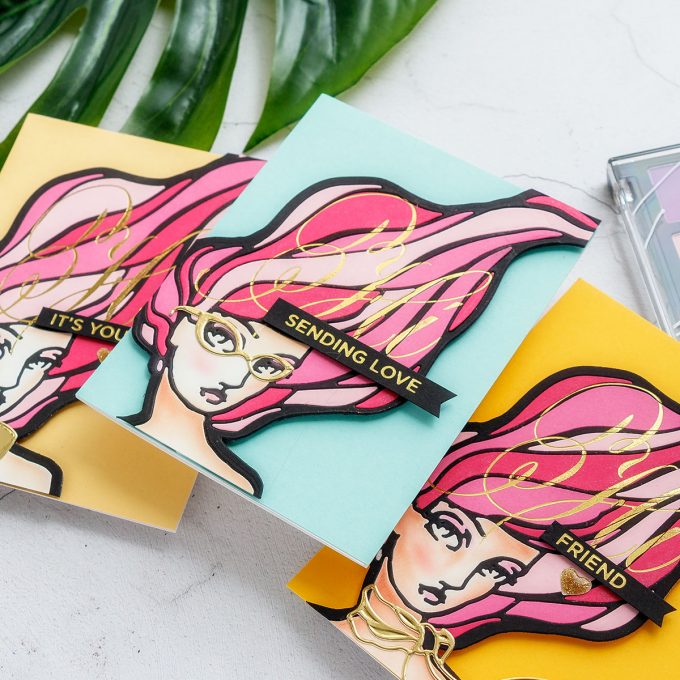
Having colored all of the girls today I also decided to add some foiling going across their hair. If you missed my 7 Hot foil Stamping tips video – be sure to watch it as I share a lot of tips in that video in regards to hot foil stamping.
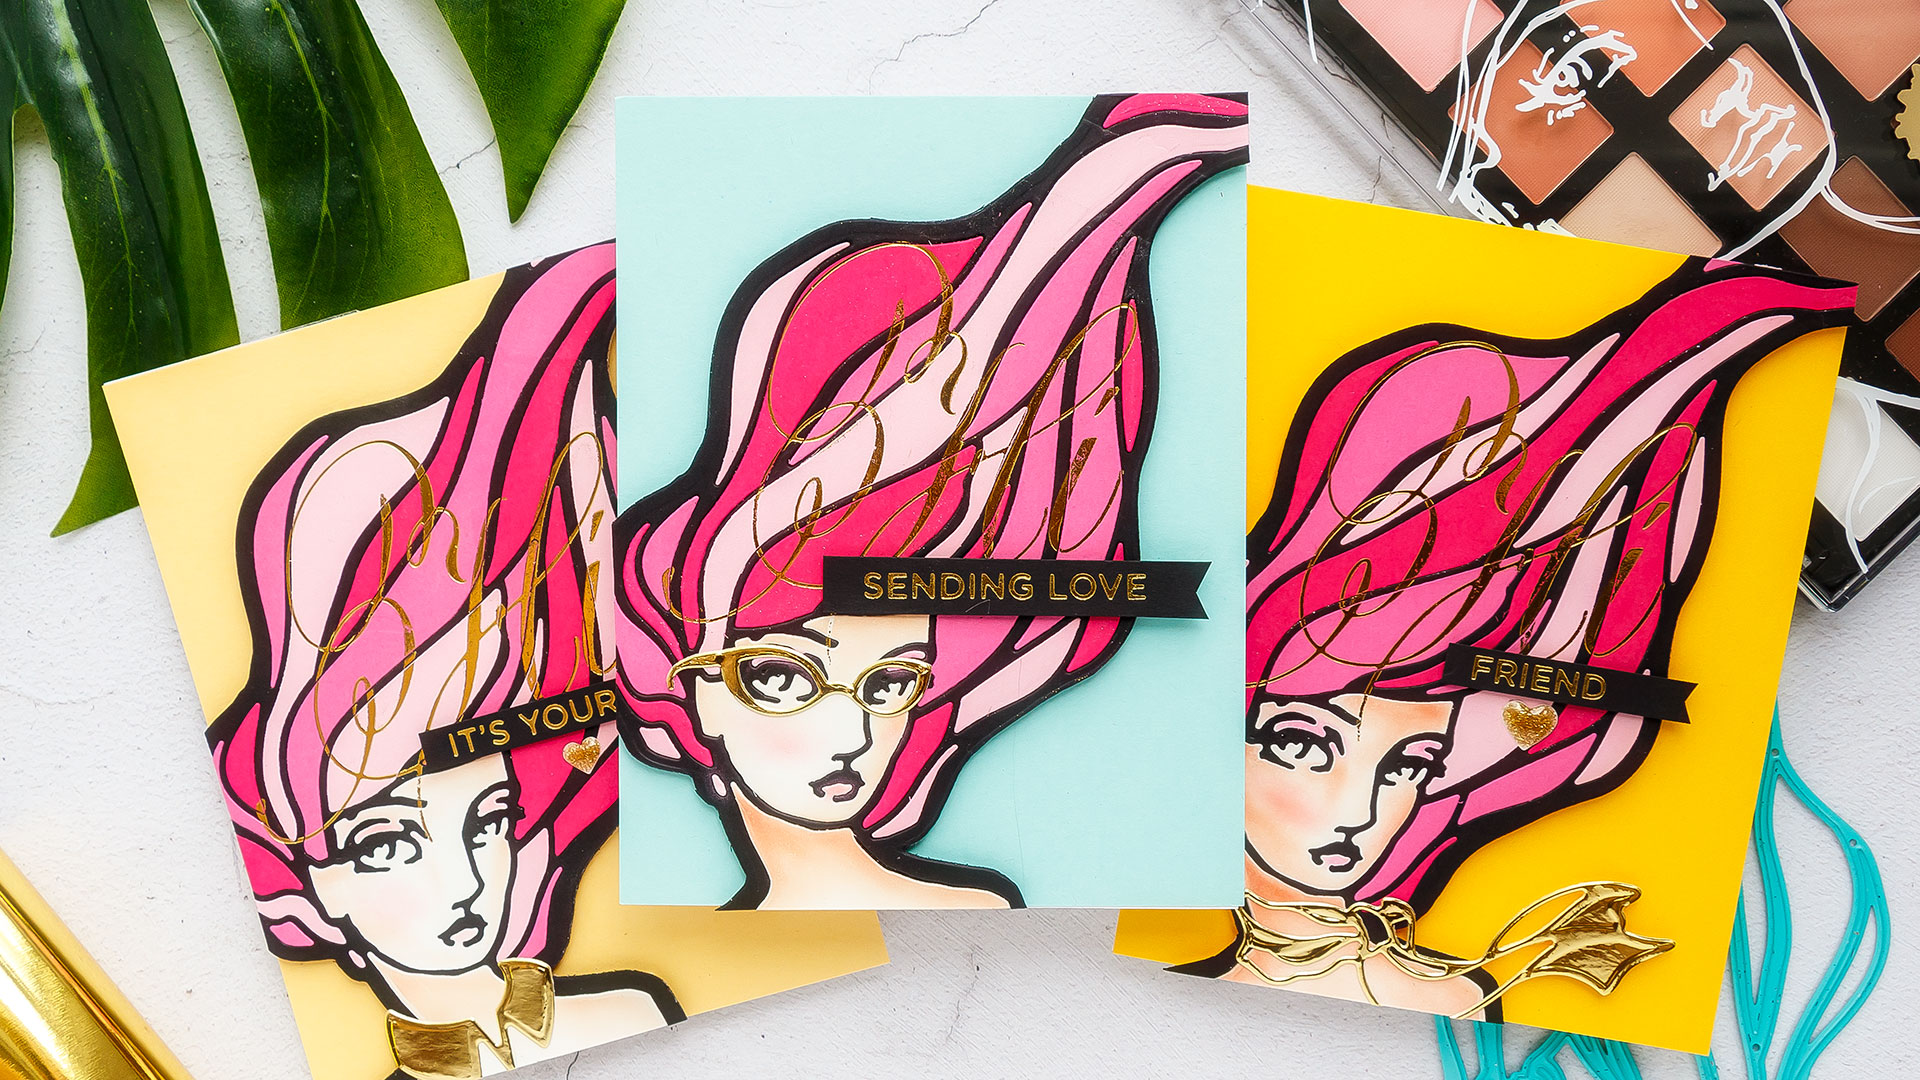
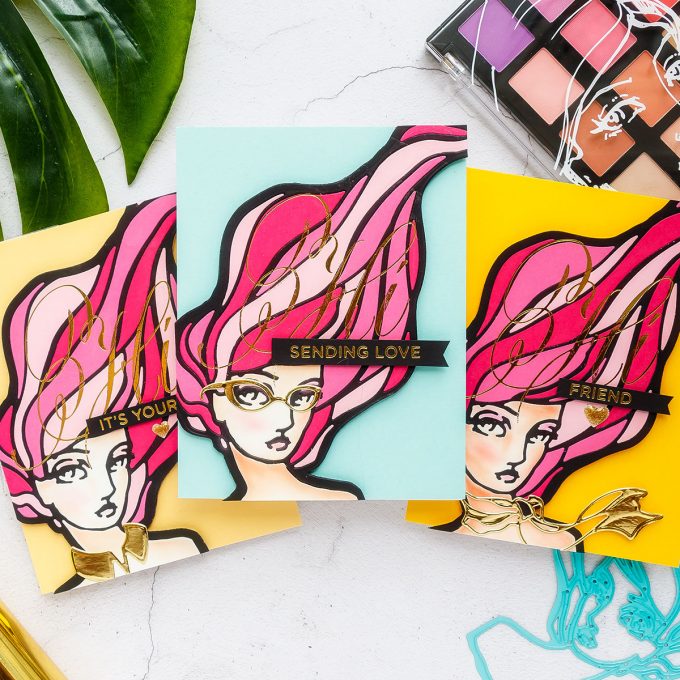
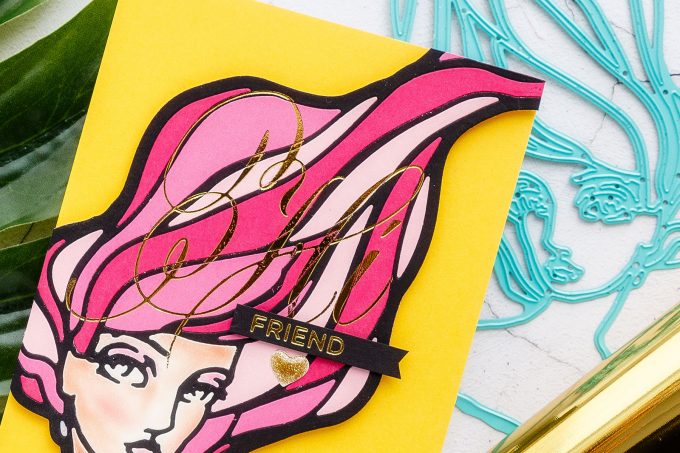
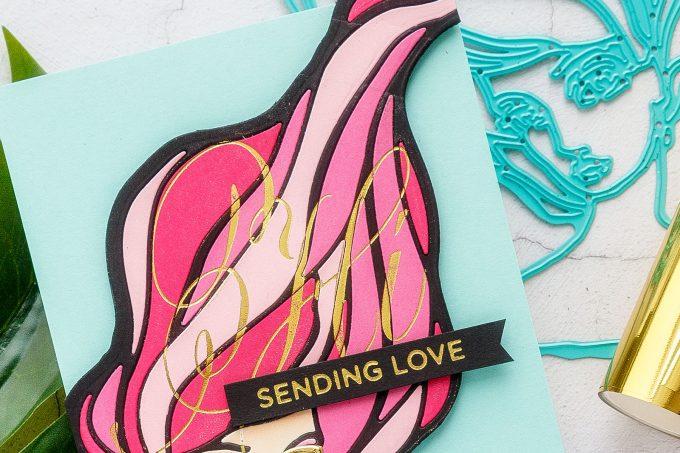
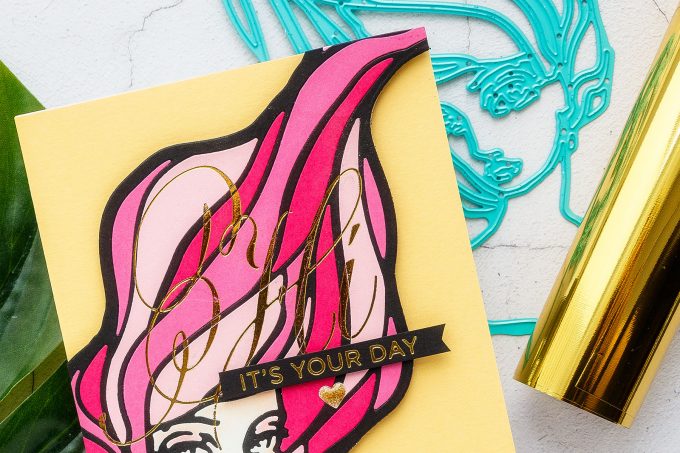
Next, I foiled “Hi” on all of the girls and I also added a sub sentiment to each of them. I foam mounted my die cuts onto A2 card bases covered with colored cardstock in various colors. I also added some accessories to the girls – the first one has a gold die cut collar, the 2nd one a scarf and the 3rd one has glasses. I also used a shimmer pen from Tonic Studios to add some shimmer to the darkest pink cardstock and finally adhered a gold glitter enamel heart onto each one.
I hope you’ll give this idea a try! If you do, share online and tag me – I always love seeing what you guys are making.
Love you guys! I’ll see you next week!
SUPPLIES
I’m listing the products I used below. Click on the link to go directly to the product. Where available I use compensated affiliate links which means if you make a purchase I receive a small commission at no extra cost to you. Thank you so much for your support!
 Spellbinders Marcia’s Makeover Dies Shop at: SSS | SC | SB | AZ |
 Spellbinders Everyday Sentiments II Glimmer Hot Foil Plate Shop at: SSS | SC | SB | AZ |
 Spellbinders Hi Glimmer Hot Foil Plate Shop at: SSS | SC | SB | AZ |
 Spellbinders Glimmer Hot Foil System Shop at: SSS | SC | SB | AZ |
 Spellbinders Deep Sea Die Cutting Machine Shop at: SSS | SC | SB | AZ |
 Spellbinders Glimmer Hot Foil Gold Shop at: SC | SB | AZ |
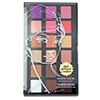 Birthday Suit Palette Pastel Set by Jane Davenport Shop at: SSS | SC | SB | AZ |
 Baton Blenders 30 Dual-tip Foam Applicators Shop at: SSS | SC | SB | AZ |
 Hero Arts Hero Hues Premium Cardstock Peony Shop at: SSS | SC | HA | AZ |
 FSJ Watermelon Fusion 8.5 X 11 Cardstock Shop at: SB |
 Hero Arts Hero Hues Cardstock Azalea Shop at: SSS | SC | HA | AZ |
 Neenah 110 Lb Solar White Cardstock Shop at: SSS | AZ |
 FSJ Summer Days 8.5 x 11 Cardstock Shop at: SB |
 FSJ Cool Pool 8.5×11 Cardstock Shop at: SB |
 FSJ Pineapple Smoothie 8.5 x 11 Cardstock Shop at: SB |
 Simon Says Stamp Black Cardstock Shop at: SSS |
 Tonic Aqua Shimmer Pen Nuvo Shop at: SSS | SC | AZ |
 Scor-tape 2 1/2 Inch Crafting Tape Shop at: SSS |
 White Foam Squares Shop at: SSS | SC | SB | AZ |
HOP ALONG FOR MORE INSPIRATION
I’m the last stop on this hop, but please start over on the Spellbinders blog for tons of crafty inspiration!
Spellbinders
Jane Davenport
Mayline Jung
Kate Palmer
Claudia White
Kathy Racoosin
Kathleen Graumüller
Bibi Cameron
Nina-Marie Trapani
Laura Volpes
Amy Rysavy
Svitlana Shayevich
Lynn Kramer-Put
Marie Heiderscheit
Yana Smakula – you are here!
GIVEAWAY
To celebrate this release, Spellbinders is giving away a $50 gift certificate to 3 lucky blog readers – selected from the comments across all of the blogs in the hop. Giveaway closes on Sunday, July 7th 11:59 pm EDT. Winners will be announced on the Spellbinders blog in the blog hop post the following Monday. The winner is responsible for shipping cost, duties, and taxes.

Thank you for this instruction with video!!! I missed the video in the first read and was struggling to understand how to do it 🙂 Great idea I can’t wait to try.
Great coloring!
Your cards are so stylish! The touches of gold add so much class.
How lovely! Thanks for sharing this with us!!!
Such a gorgeous card!! Loving your design!! I always love to see your creations Yana! Thank you for sharing your talent with us!
Yana you are so talented I’m so happy I found your videos. They are inspirational. Adding gold foil always makes things look elegant and really makes them stand out. Outstanding
Wow! Amazing!