Hello, friends! I’m back sharing a few simple friendship cards today using a few goodies from Simon Says Stamp. I feel I can never have enough of those to give or mail to friends of mine.
When I am making cards I always try to look for a fun technique to incorporate into my projects and today I’m sharing one for background inking.
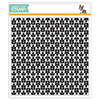
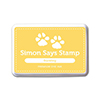
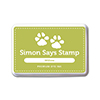
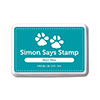
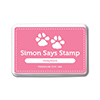
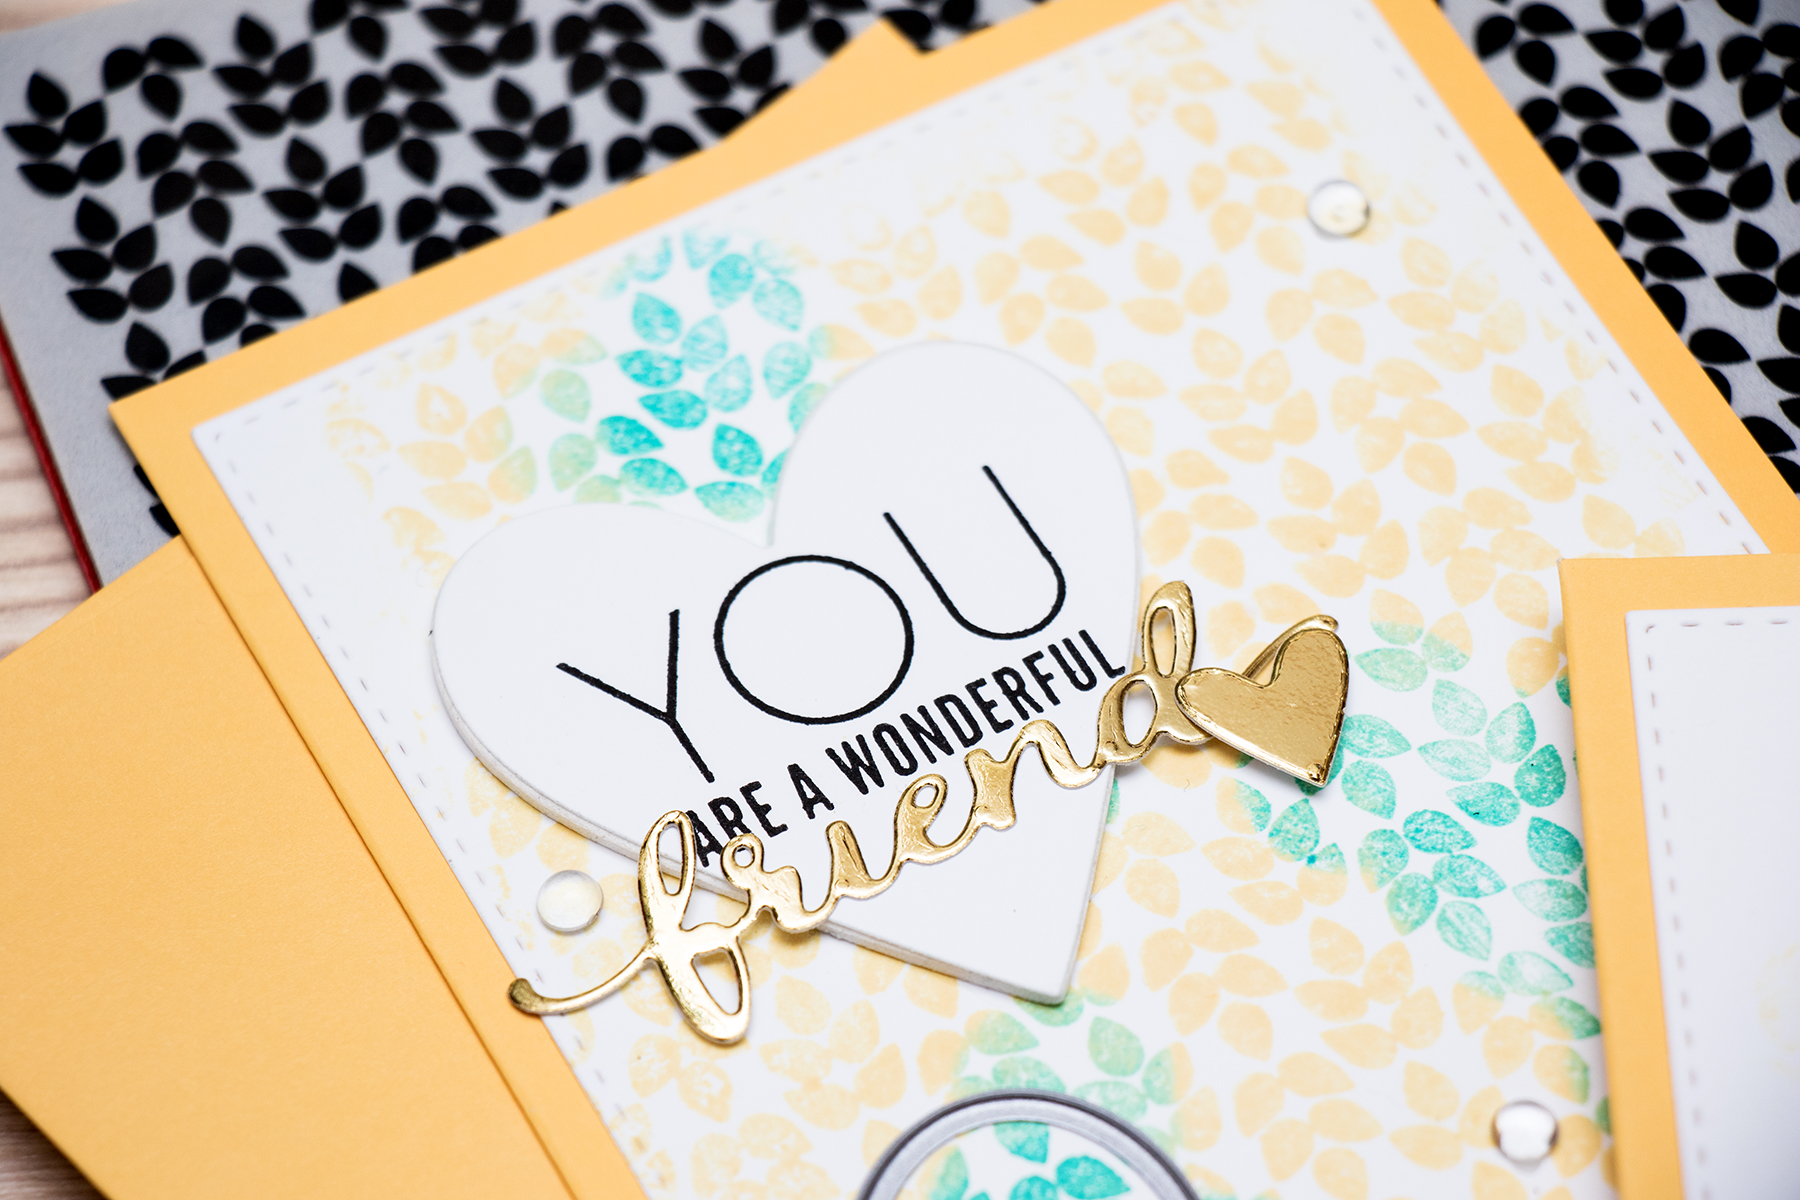
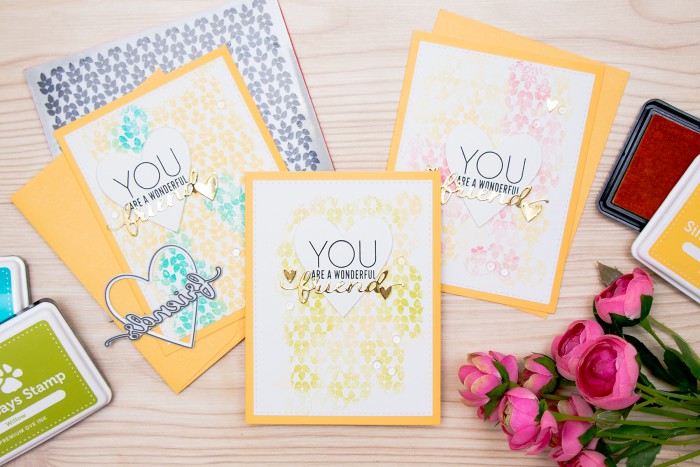
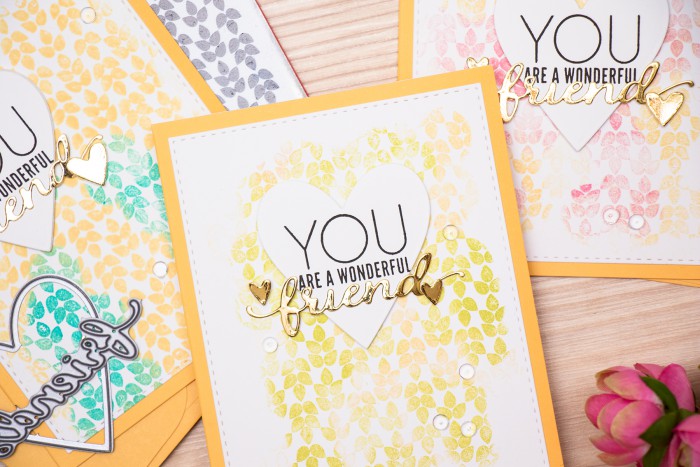
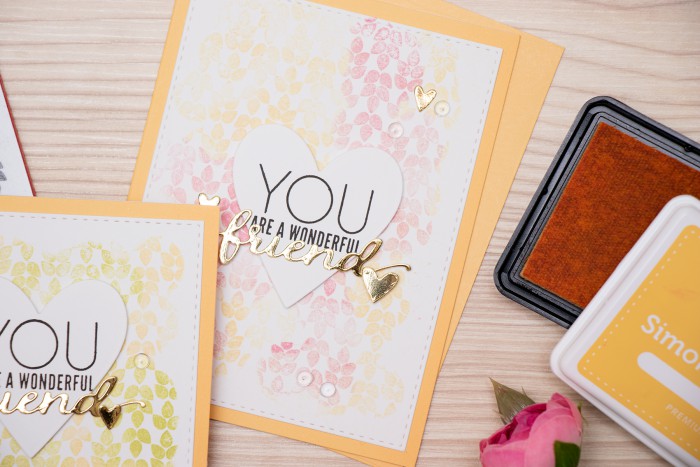
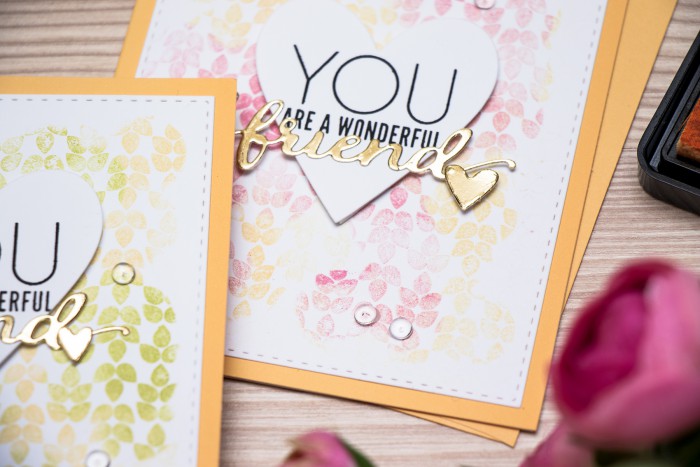
So the idea is to use more than one color of ink to ink up a background stamp. I like to use somewhat similar colors for best results, today I paired Simon’s Duckling with Willow, Duckling with Hollyhock and Duckling with High Dive.
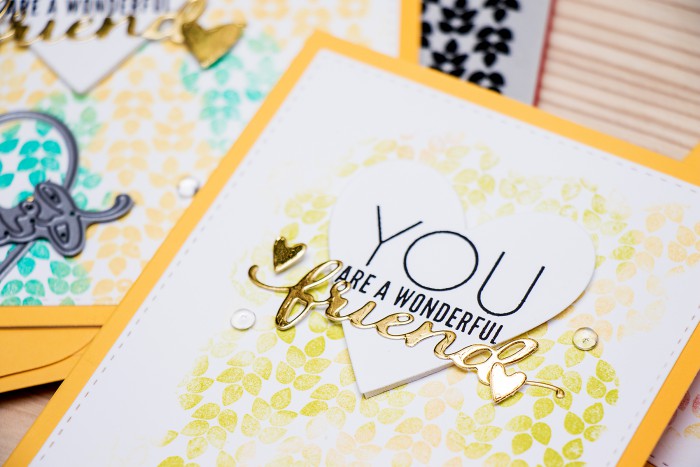
The first one, Duckling and Willow turned out to be my favorite because the colors are very similar and you can’t see a defined line in between them. However, the other two color combinations are as just as fun. I think I will try this using other colors as well, such as light and dark yellow or light and dark pink.
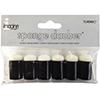
I also experimented with different ways of applying ink onto a stamp. First I used just mini sponge daubers to ink up a stamp, my second background was done using an inkpad and a sponge dauber and the third one was done using just ink pads to apply ink. Every time I got a slightly different look. I prefer using sponge daubers for this technique, but now that I’m writing this blog post I think I can also try to use ink blending tools for this.
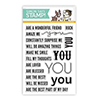
I kept the rest of my cards fairly simple – I die cut my backgrounds using Simon’s Stitched Rectangle die (I don’t even put it away anymore, use it almost on every card) and adhered those onto yellow card bases from Hero Arts. I also die cut hearts out of white cardstock and stamped my sentiments in black – You Are A Wonderful.
The “Friend” part of the sentiment was die cut out of gold mirror cardstock. I had to change it a bit as the die cuts the word Friends, not Friend, but it wasn’t difficult at all.
I covered the cut lines with little hearts on each of my cards, but honestly these aren’t that visible at all. Now if you don’t have this gold mirror cardstock you can try to gold foil a piece of white paper and die cut the Friend word and the hearts out of that.
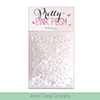
As always, I added small little clear droplets from Pretty Pink Posh, I am addicted to these lately and use them on almost every card of mine.
VIDEO TUTORIAL
I’m sharing a video tutorial today showing how easy it is to make these cards! You can watch it at the top of this post or on my Youtube channel. If you like it, I would appreciate you giving it a thumbs up and sharing. Thank you!
SUPPLIES
 SSS |
 SSS |
 SSS |
 SSS |
 SSS |
 SSS |
 SSS |
 SSS |
 SSS |
 SSS |
 SSS |
 SSS |
 SSS |
 SSS |
 SSS |
 SSS |
 SSS |
 SSS |
 SSS |
 SSS |


Great cards! Love background techniques!
These two colored ones looks beautiful!
Great attention to details with friend die cut tail!