A few weeks ago I asked a question on my blog about stamping patterns and was surprised to learn that a lot of my readers never stamp patters using stamps. I love to stamp all sorts of patterns so that inspired me to do a detailed video and share my tips for stamping floral patterns for cards.
Like this project? Pin it and save for later!
VIDEO TUTORIAL
I am sharing video tutorial along with a few tips on how to stamp floral patterns. Watch video below or on my Youtube Channel:
Like this video? Please give it a big thumbs up and share with a crafty friend! Drop me a comment too, I love hearing from you!
CARD DETAILS
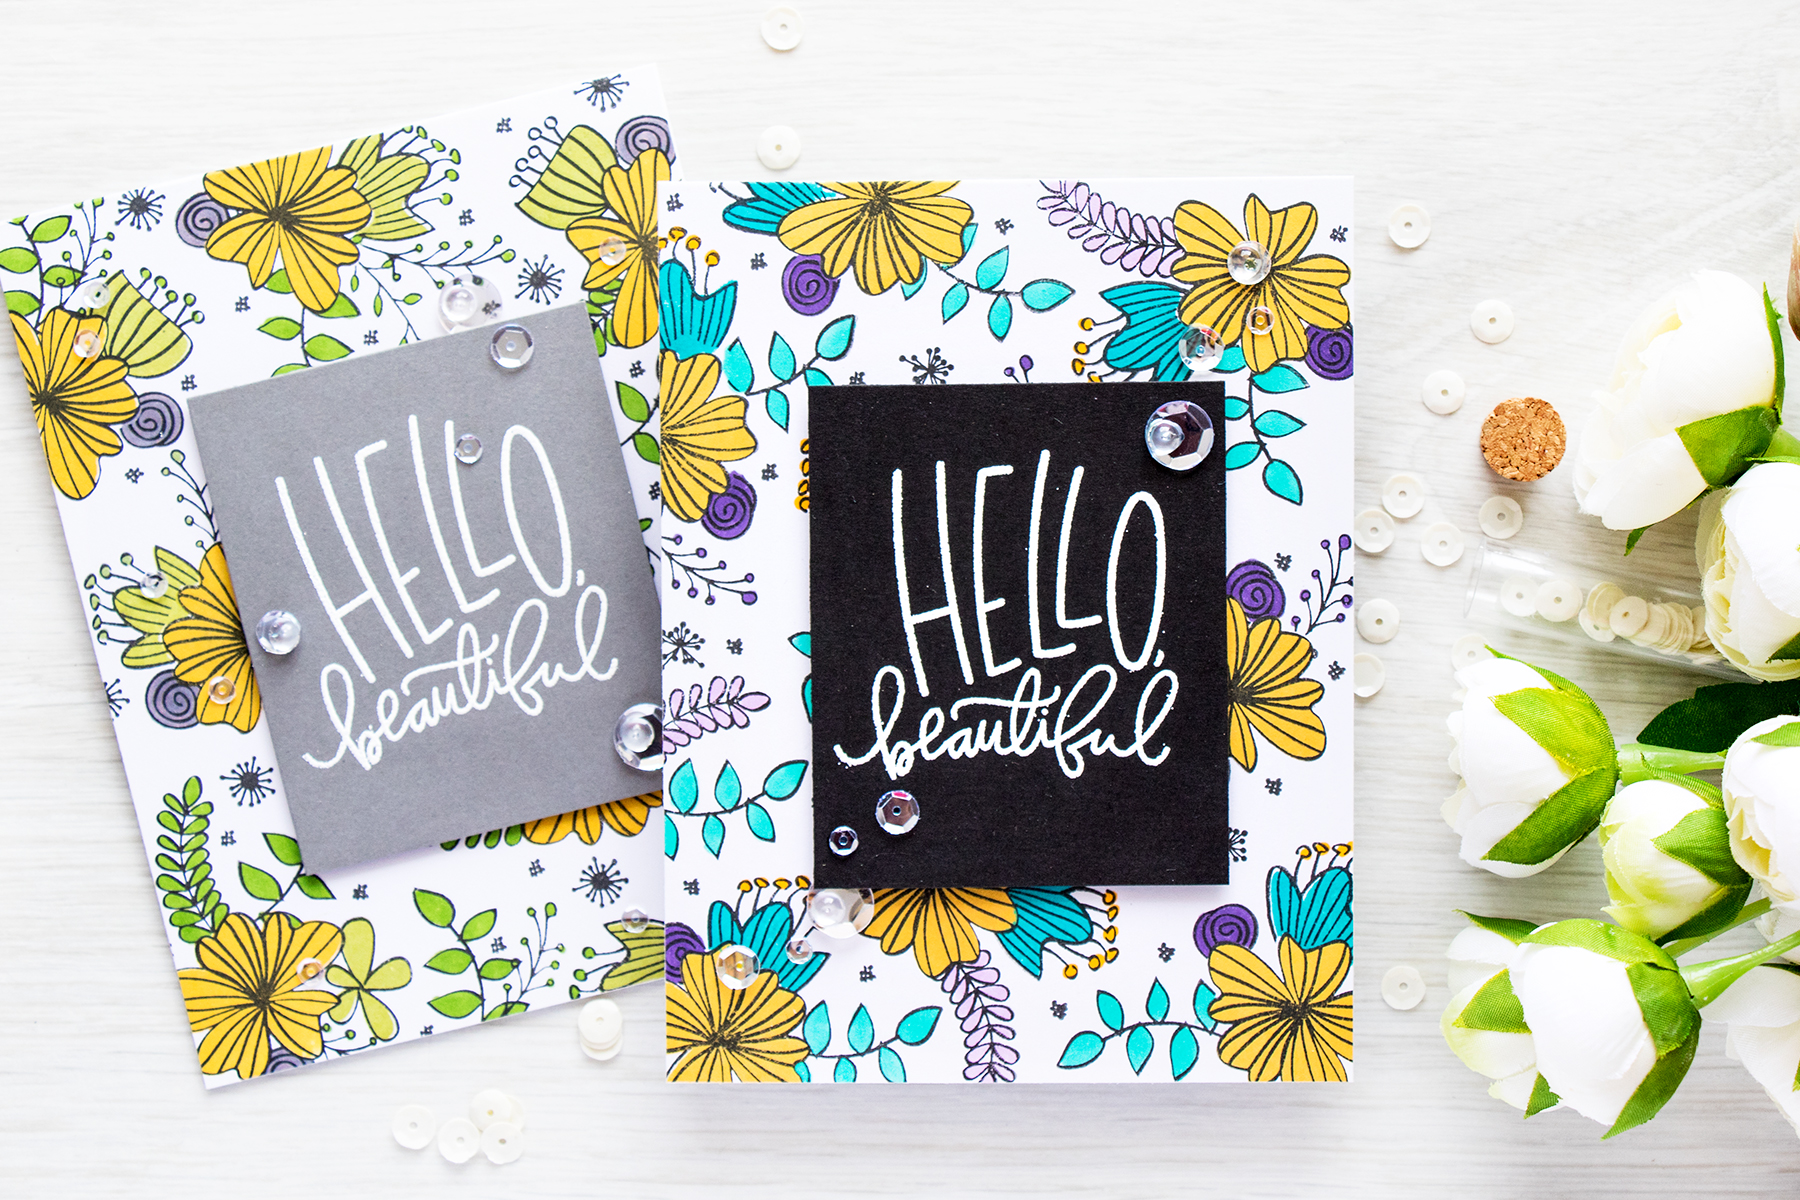
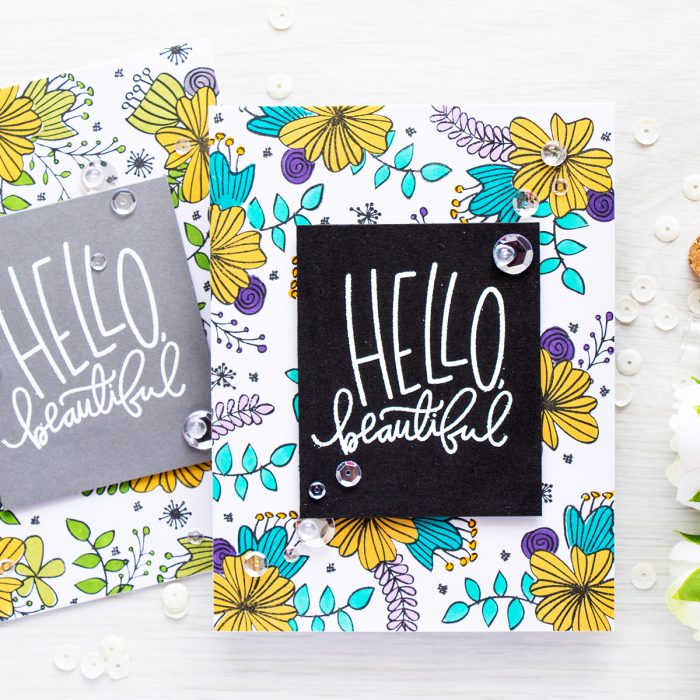
To stamp my patterns today I used Simon’s Wild Beauty stamp set, a few colors of ink and Copic markers (I have all colors listed at the end of this post).
I started by creating a mask for the largest flower in my cluster. I am not really a big fan of masking, but masking really lets you get a whole lot more out of your stamps. See THIS card for example, same stamps, but no masking – totally different look.
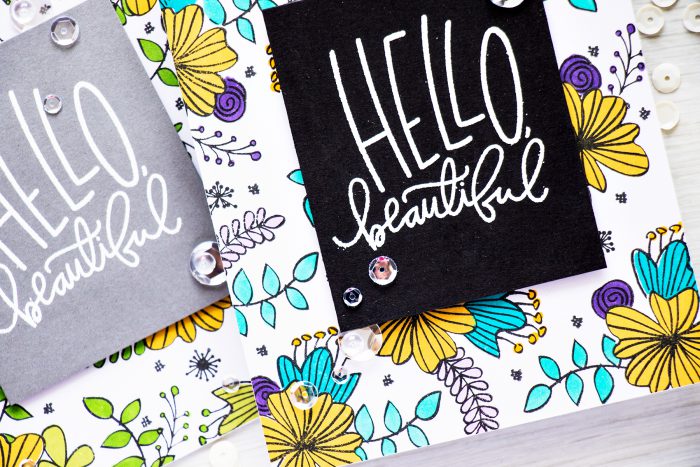
I stamped all of my image outlines using Simon’s Intense Black ink. This is a Copic-friendly ink and I knew I would be using Copic markers to color some of the images as a few flowers and none of the leaves in the Wild Beauty stamp set have matching layers to add color. You can however use Copics, or watercolor or colored pencils to color the entire thing.
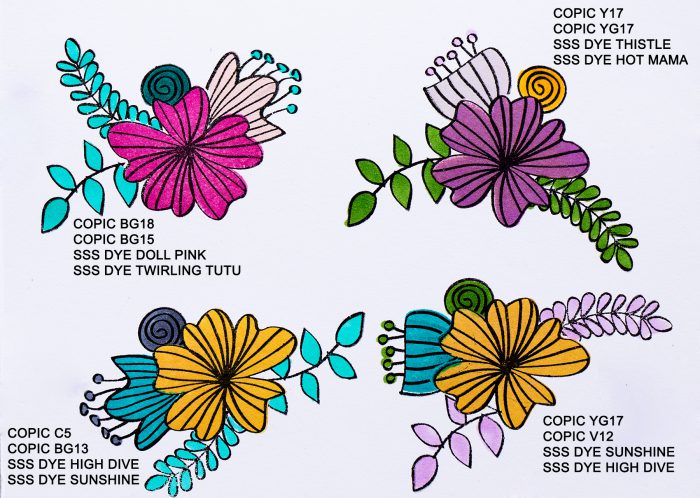
I was struggling a bit with colors for my card, so I created a practice sheet where I stamped several clusters and tried different color variations. If you plan stamping something similar I hope this will be of use to you:
Before I filmed my video and created the card I share above I stamped a test pattern where I experimented with image placement and tested how many and which images I wanted to use, you can see details below:
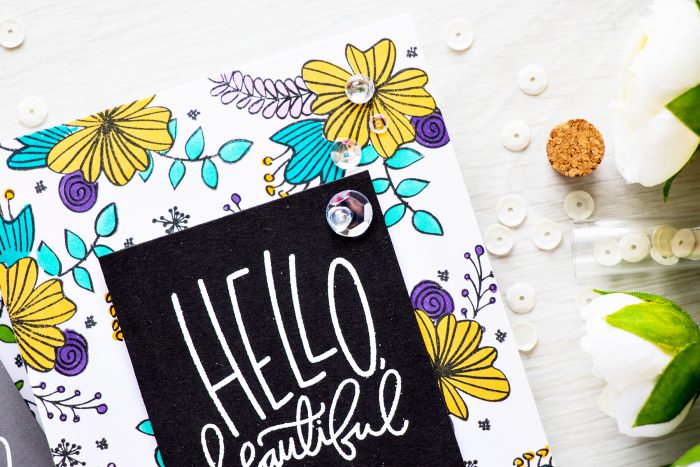
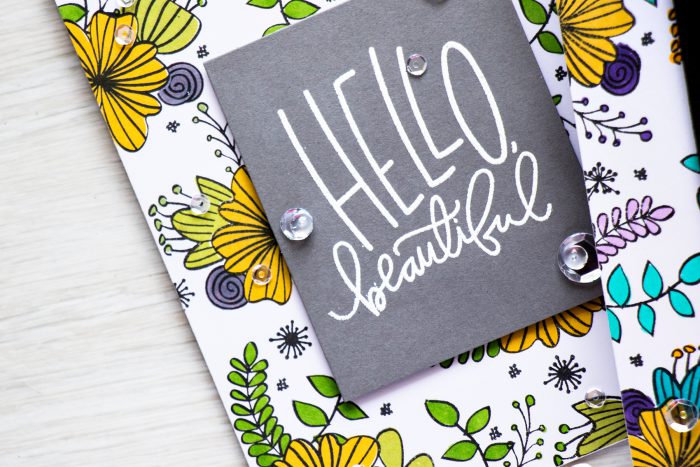
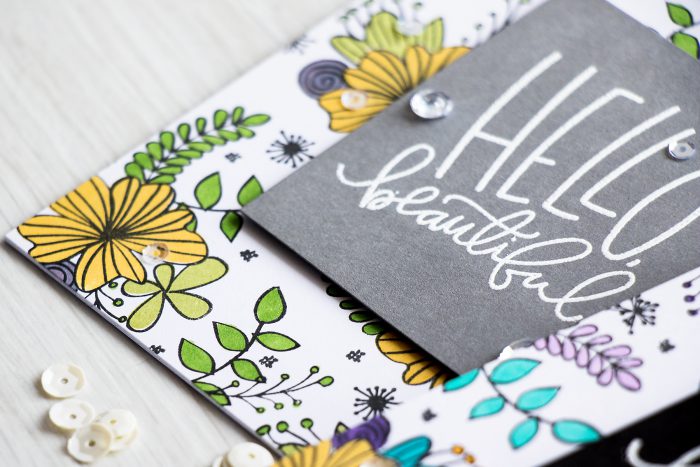
I used a simple Hello Beautiful sentiment for both of my cards and heat embossed it in Hero Arts White embossing powder. I also added several clear sequins and droplets to finish my projects.
SUPPLIES
I’m listing the products I used below. Click on the link to go directly to the product. Where available I use compensated affiliate links which means if you make a purchase I receive a small commission at no extra cost to you. Thank you so much for your support!
 Simon Says Stamp Sunshine Dye Ink Shop at: SSS |
 Neenah 80 Solar White Paper Pack 250 Sheets Shop at: SSS |
 Ranger .5 Oz. Multi Medium Matte Adhesive Shop at: SSS |
 Hero Arts White Embossing Powder PW110 Shop at: SSS |
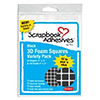 3D Foam Squares – Black Mix Shop at: SSS |
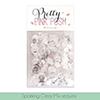 Pretty Pink Posh Sparkling Clear Sequins Mix Shop at: SSS |
 EK Success Powder Tool Applicator Shop at: SSS |
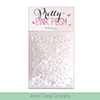 Pretty Pink Posh 4MM Clear Droplets (small) Shop at: SSS |
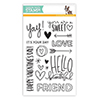 Simon Says Stamp Hello Beautiful Stamp Set SSS101603 Shop at: SSS |
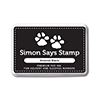 Simon Says Stamp Intense Black Ink Pad INK065 Shop at: SSS |
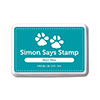 Simon Says Stamp High Dive Dye Ink Pad Shop at: SSS |
 Copic Sketch Marker Y17 Golden Yellow Shop at: SSS |
 Be Creative Tape 3MM ROLL Double Sided Sookwang Shop at: SSS |
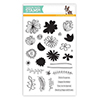 Simon Says Stamp Wild Beauty Stamp Set SSS101625 Shop at: SSS |
 Copic Sketch Marker BG13 Mint Green Shop at: SSS |
 Copic Sketch Marker V12 Pale Lilac Shop at: SSS |
 Copic Sketch Marker V17 Amethyst Violet Shop at: SSS |


I love your videos they give invaluable information and inspiration. Thank you.
thank you so much, Lynda!
What beautiful cards and such a wonderful technique. I will try this . Thank you for sharing.
thank you, Barbara! Have fun!
I saw this on the SSS block. The cards look great and the video was well done. I learned some new tricks today. Thanks so much.
LOL. I meant blog not block.
thank you, Jean! Glad it was useful 🙂
Thank you again Yana for a great video full of tips. Such beautiful backgrounds. TFS!
thank you, Teresa!
Beautiful; so nicely done. I really like to create my own background patterns, but often have a hard time getting it look well balanced. Yours are perfect! Great video too; very helpful. Thanks so much!
thank you, Sue!
Very beautiful cards. Love your patterns. And it amazes me how much work you put in your cards. All these preparations.. But of course the perfect result is totally worth it!
I simply love what I do 🙂 thank you, Svitlana!