Hello crafters. Back in September, during Simon’s STAMPtember event I shared THIS card using one of Simon’s background stamps. I mentioned that this card started with a sheet of pink cardstock and I got a lot of questions about it and also a lot of requests to do a video to show how the card was made.
I finally have the video ready and happy to share it with you! This card was also shared during my latest Simon’s Instagram Takeover, and if you follow Simon on Instagram and watch their stories you might have already seen it. If you have haven’t – you are in luck! But even if you have – I hope you’ll enjoy this video as I go into details about that why and what’s and all that good stuff.
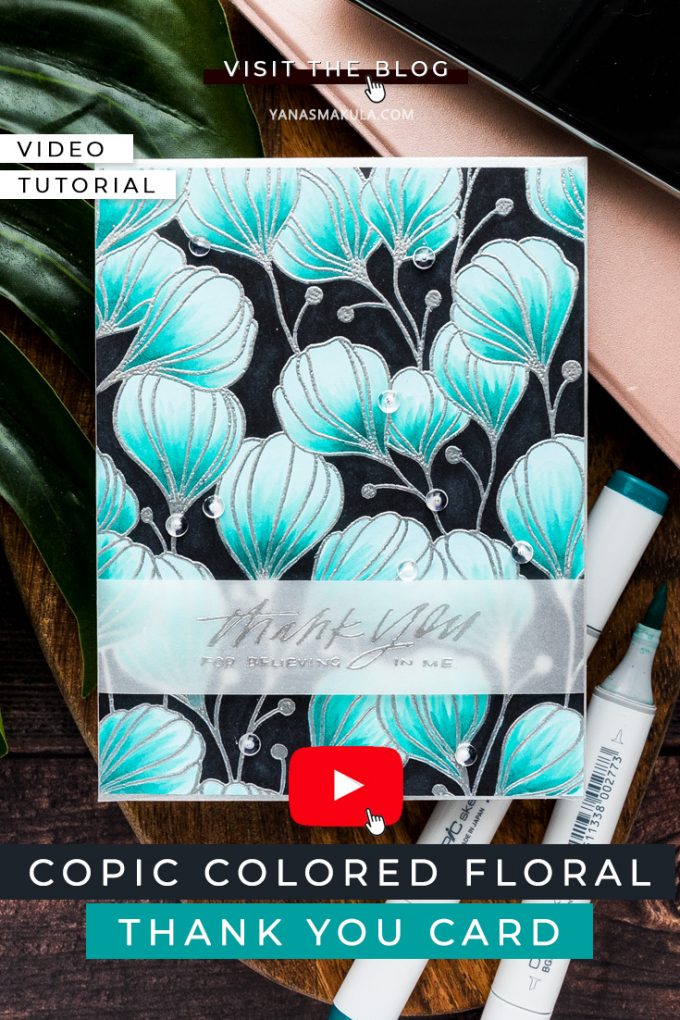
Like this project? Pin it and save for later | Curious about my project photography? Click for details.
VIDEO TUTORIAL
Watch the video below or on my Youtube channel.
Like this video? Please give it a big thumbs up (you can do this on Youtube video page right under the video) and share it with a crafty friend! Leave me a comment too, I love hearing from you!
CARD DETAILS
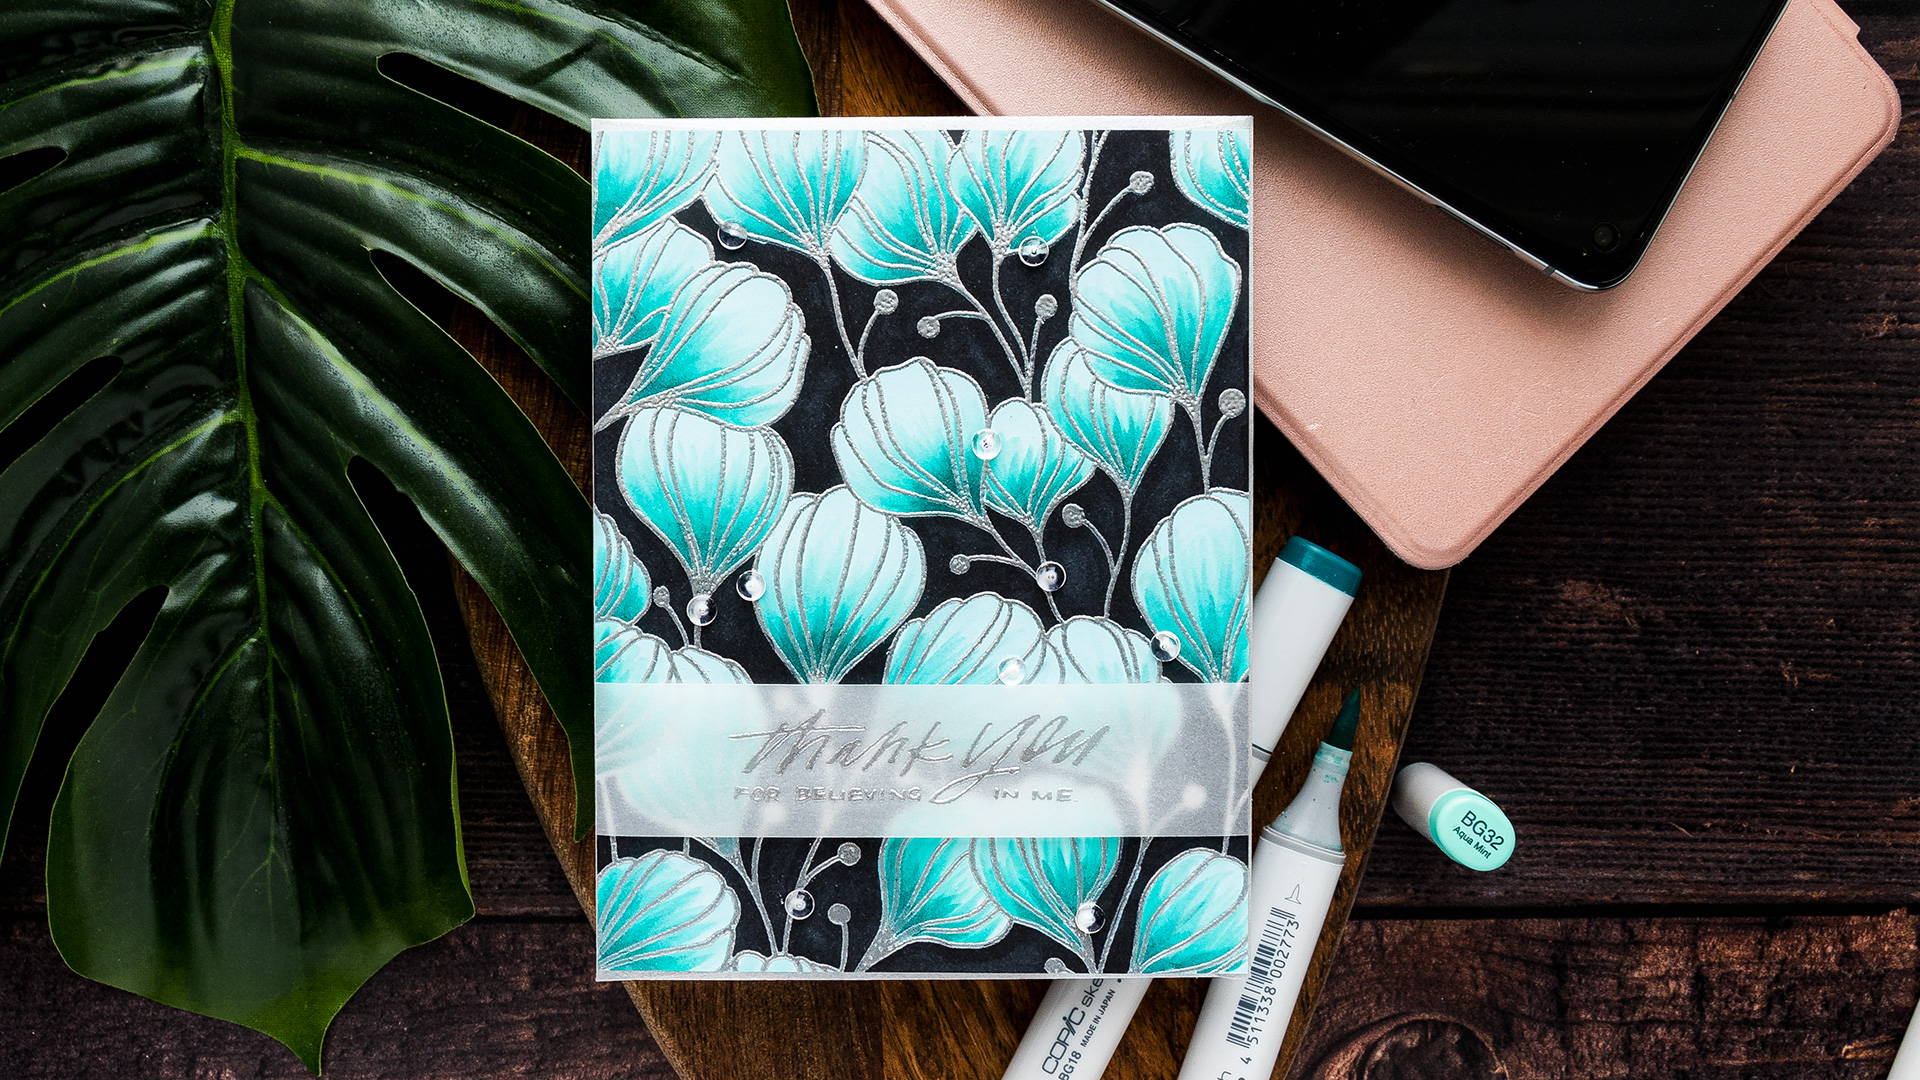
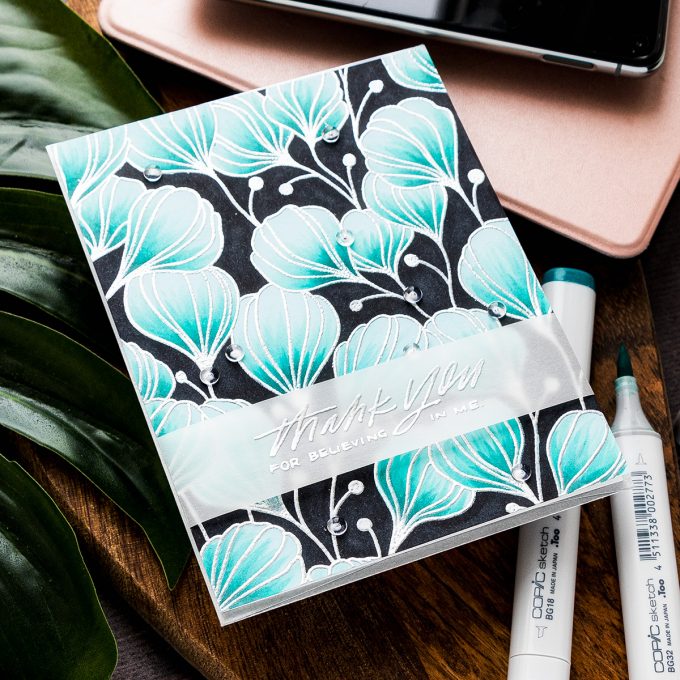
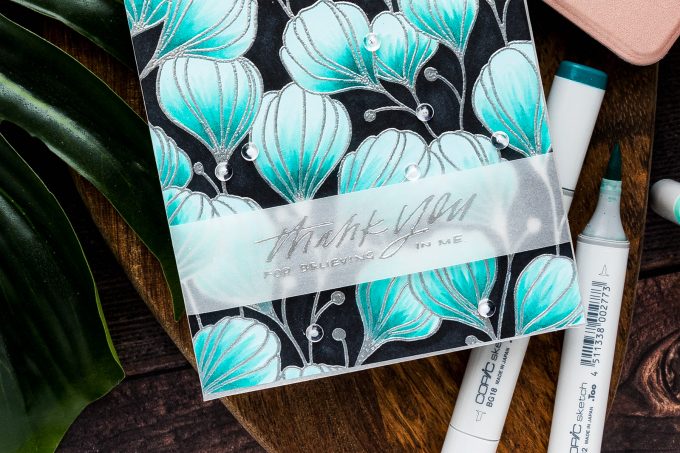
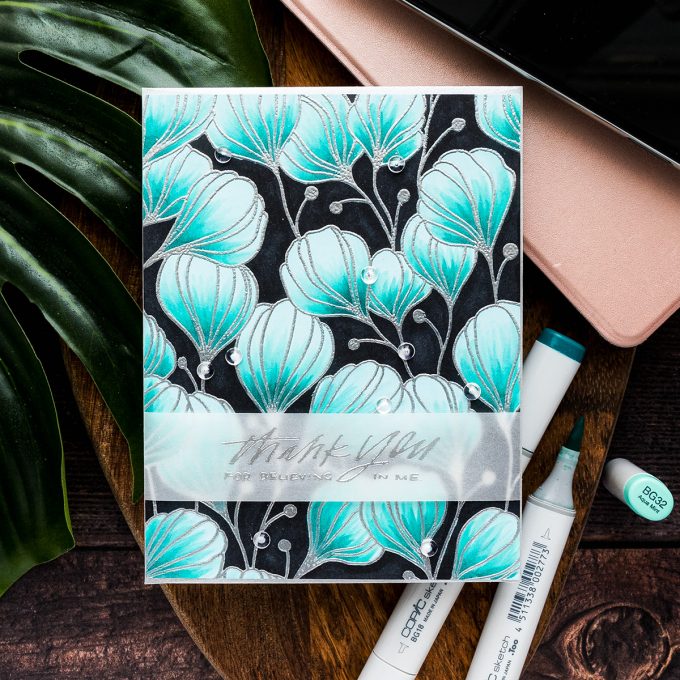
I started to work on my card by using a MISTI stamping tool and heat embossing the gorgeous Flora Background stamp in silver embossing powder on Surf Blue cardstock by Simon. You can change the colors and go with gold, rose gold, white, whatever your heart desires. I think this background looks stunning in any color.
I used my heat tool to heat set the powder and melt it in place; next, I trimmed the background to a more manageable size, to 4 1/4 x 5 1/2”. Next, I worked on coloring the background. It seems odd, very odd really, but the idea here is to use colored cardstock that will represent the colors of the flowers. So whatever color you want your flowers to be – use that color of paper for the background. For this card I used pink, here I want the flowers to be blue, so I’m using blue.
Why are we doing it this way – we are doing it this way, the reverse way, because you can’t color with Copics on dark cardstock. You can not take a light blue marker and color black paper to make it blue. But you can color blue paper to make it black. So we are just doing it backwards in a way to color the negative space and keep the positive space the color that we want.
If you aren’t comfortable coloring with Copic markers next to the heat embossing I do have a great video tutorial showing a workaround that, be sure to watch it.
I used a C9 marker, not a Black one, as I didn’t want a true black background. You can use any marker you color you like to color the background of your card. You can even go a step further and use several colors and add deeper shadows right next to the images, this will breathe life into your background, will make it more dynamic and interesting to look at.
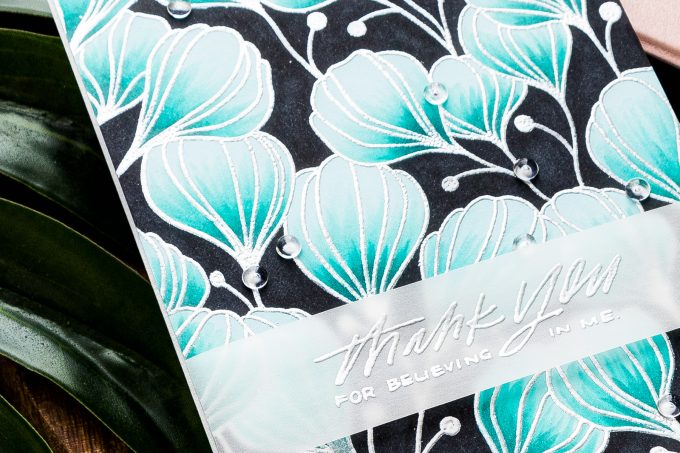
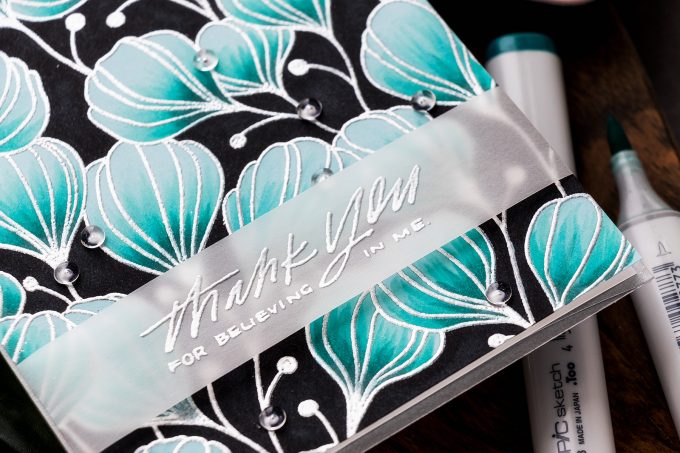
With the background colored I also colored the flowers. I wanted to preserve the main flower color, but at the same time, I wanted to add shading to the base of the flowers, to the base of the petals. I did this with the help of additional markers – BG18, BG15, BG32, BG11. As I add shading this instantly helped define the petals and made the flowers a lot more prominent on the background.
You can go as detailed as you like when coloring flowers, or just add simple strokes of color. Either way – this is a beautiful stamp and these images already look gorgeous. The background cardstock color provides a stunning base for the flowers and that allows us to spend a lot less time coloring them.
Next, I used a sentiment from the School Days Grow set and heat embossed it in same Silver embossing powder on a piece of vellum. Vellum is a tricky material to adhere without the adhesive showing, so I planned the vellum strip to be longer so that I could wrap it around the card panel and adhere from the back. Next, I adhered the background onto an A2 white card base and to dress this card up I used clear droplets from Pretty Pink Posh and adhered several here and there overlapping the embossing and the colored background. I used my Crystal Katana tool and Simon’s Craft Tacky glue to adhere embellishments in place.
And finally, I added some simple stamping on the back of the card. I hardly ever do this, but with the new stamp set from Simon, I can’t resist. It is simply perfect to add some simple messaging to the back of our handmade cards. This stamp set is called Handcrafted With Love. I picked a stamp that says “stamped with love” and stamped in black in on the bottom portion of the back panel of my card. And now the card is done!
Have fun stamping!
SUPPLIES
I’m listing the products I used below. Click on the link to go directly to the product. Where available I use compensated affiliate links which means if you make a purchase I receive a small commission at no extra cost to you. Thank you so much for your support!
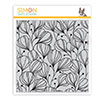 Simon Says Cling Stamp Flora Background Shop at: SSS |
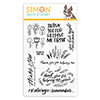 Simon Says Stamps School Days Grow Shop at: SSS |
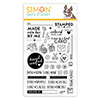 Simon Says Clear Stamps Hand Crafted With Love Shop at: SSS |
 Misti Stamping Tool Shop at: SSS |
 Neenah 110 Lb Solar White Cardstock Shop at: SSS |
 Simon Says Stamp Vellum Shop at: SSS |
 Simon Says Stamp Surf Blue Cardstock Shop at: SSS |
 Hero Arts Heat Embossing Gun Shop at: SSS |
 EK Success Powder Tool Applicator Shop at: SSS |
 Simon Says Stamp Embossing Ink Pad Shop at: SSS |
 Hero Arts Silver Embossing Powder Shop at: SSS |
 Tsukineko VersaFine Onyx Black Ink Shop at: SSS |
 Copic Sketch Marker BG11 Moon White Shop at: SSS |
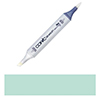 Copic Sketch Marker BG32 Aqua Mint Shop at: SSS |
 Copic Sketch Marker BG15 Aqua Blue Shop at: SSS |
 Copic Sketch Marker BG18 Teal Blue Shop at: SSS |
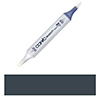 Copic Sketch Marker C9 Cool Gray Grey Shop at: SSS |
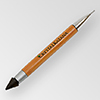 Crystal Ninja Crystal Katana Pick Up Tool Shop at: SSS |
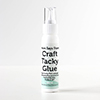 Simon Says Stamp Craft Tacky Glue Shop at: SSS |
 Scor-Tape 1/8 Inch Crafting Tape Shop at: SSS |
 Pretty Pink Posh 4MM Clear Droplets (small) Shop at: SSS |



This is simply gorgeous! TFS!
this is stunning I cannot wait to try this technique Thank you!!!