Hello there! I’m excited to bring you another episode from my by-monthly Yippee For Yana video series for Simon Says Stamp Blog! In today’s video I’m showing how to add shading and dimension to solid stamped images with the help of inks.
This card took me two attempts to make – when I was in the middle of stamping my first project I left a big grey fingerprint on the card base just below the sentiment and while I was trying to salvage the card I left two more inky prints on my paper and decided to re-stamp the entire thing. So a word of caution – when working with inks make sure your fingers are clean and you are not touching the card base all the time.
VIDEO TUTORIAL
As always, I filmed a video tutorial showing how to create this project from start to finish. I’m hoping you’ll enjoy it. Watch it below or on my Youtube channel.
Like this video? Please give it a big thumbs up and share with a crafty friend! Drop me a comment too, I love hearing from you!
CARD DETAILS
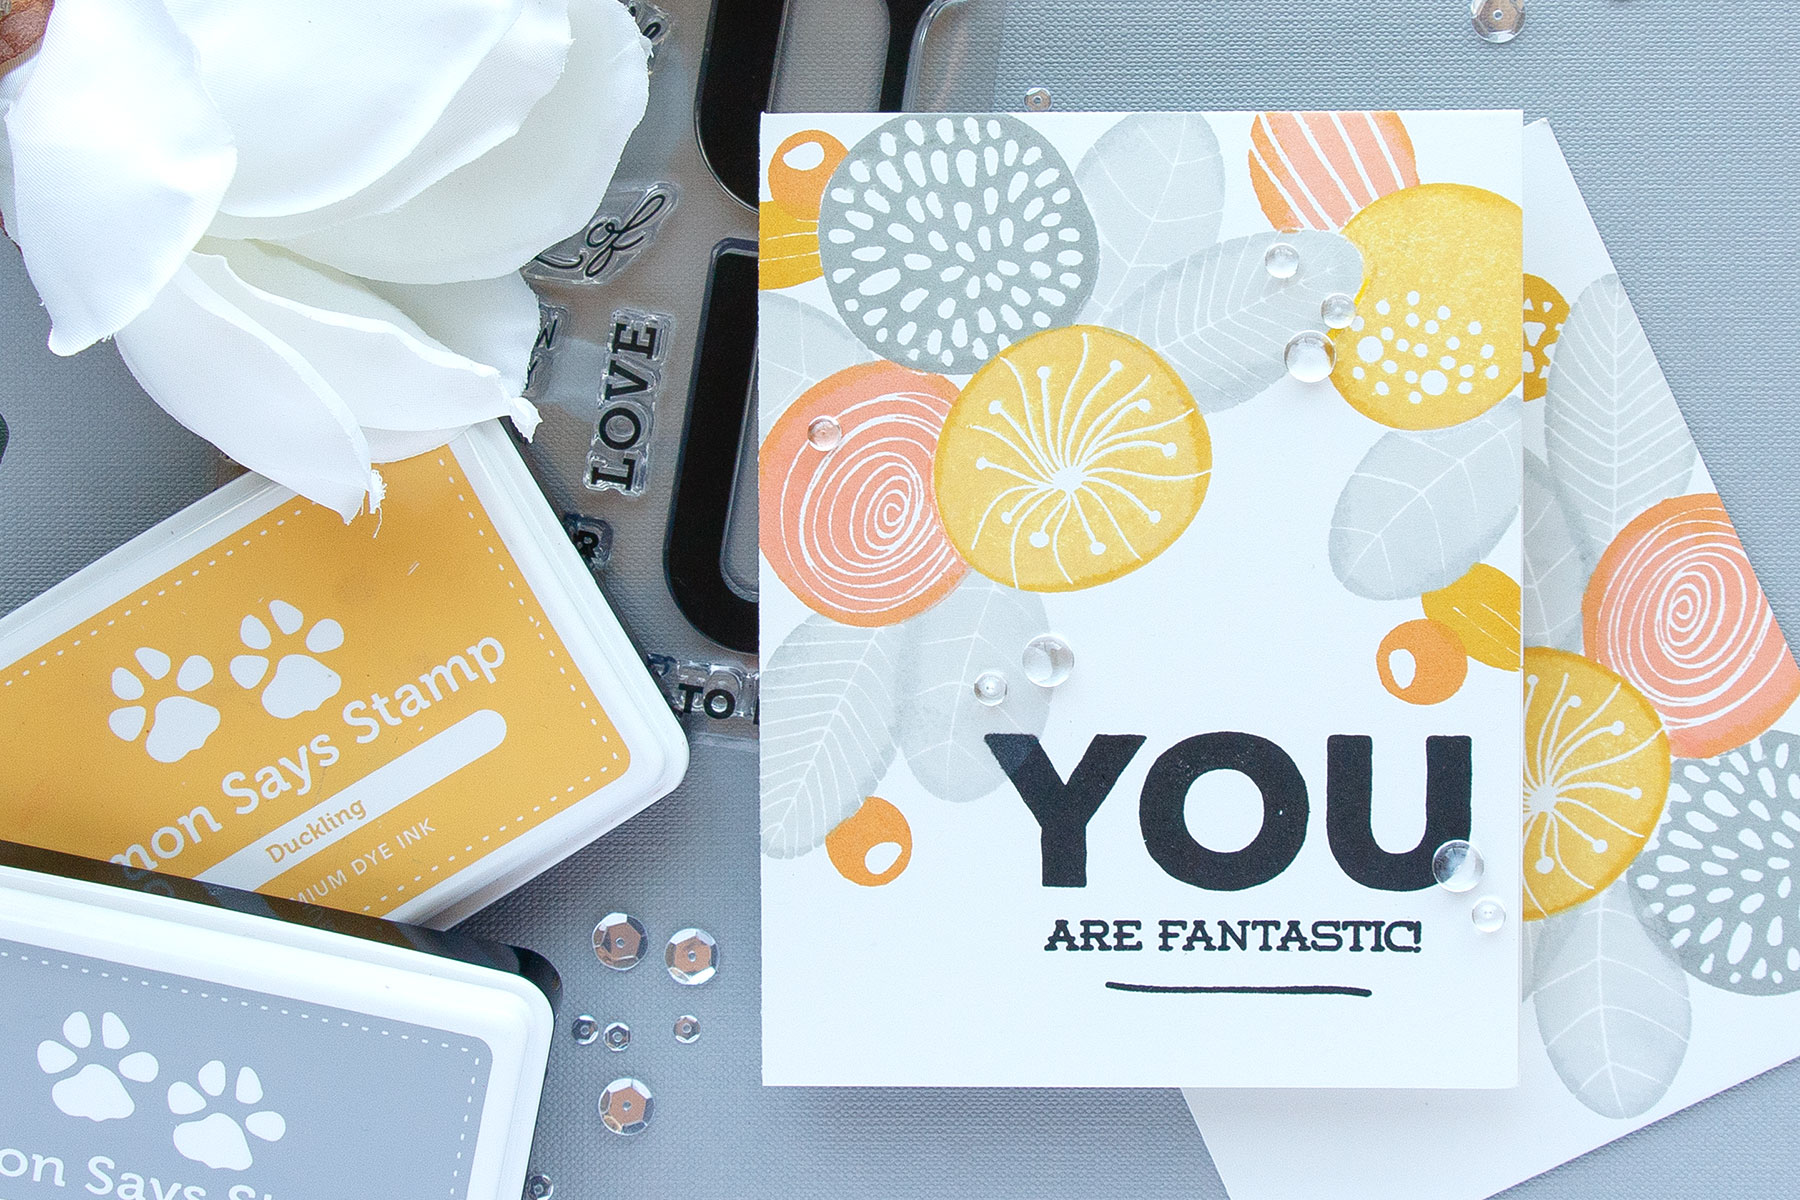
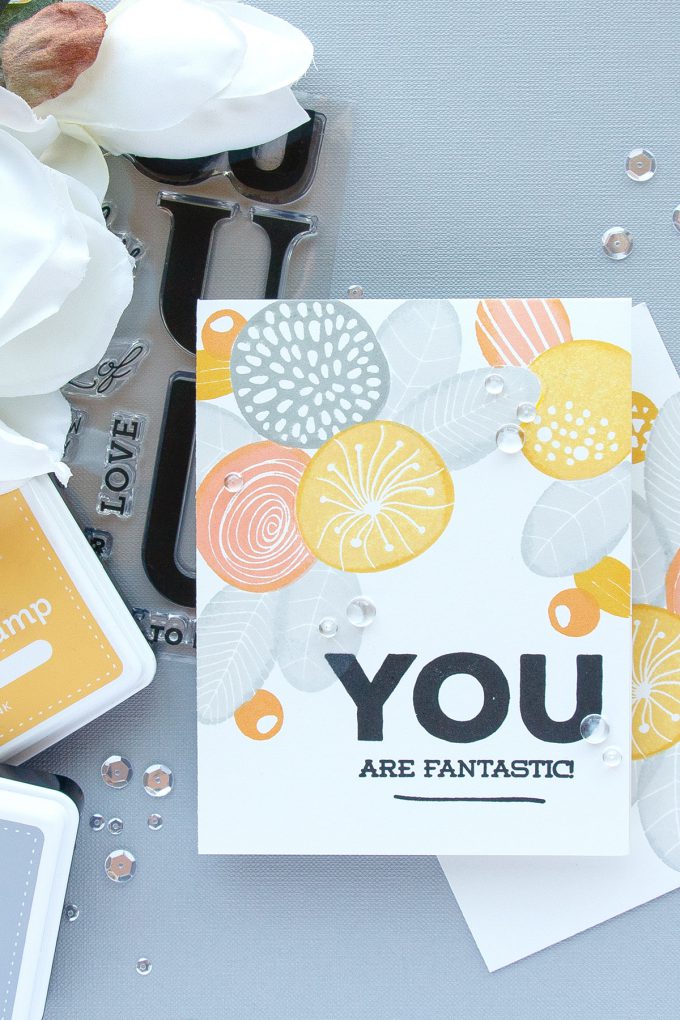
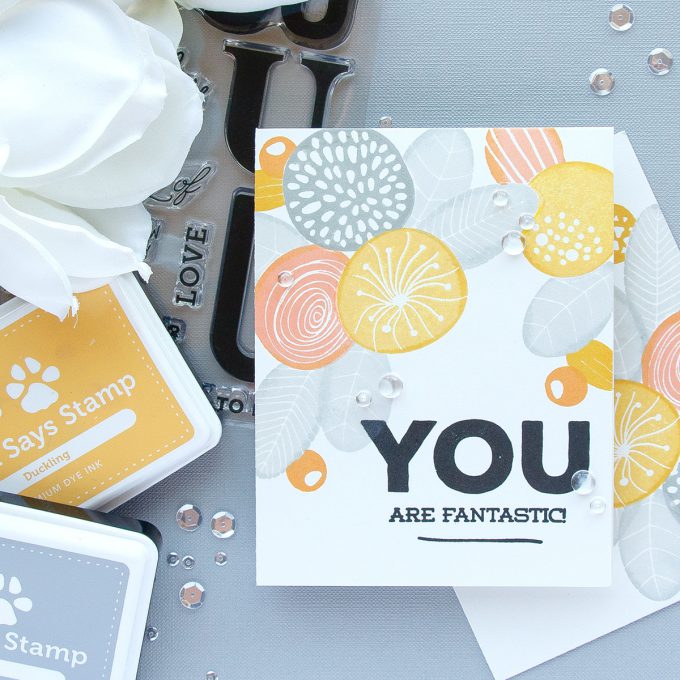
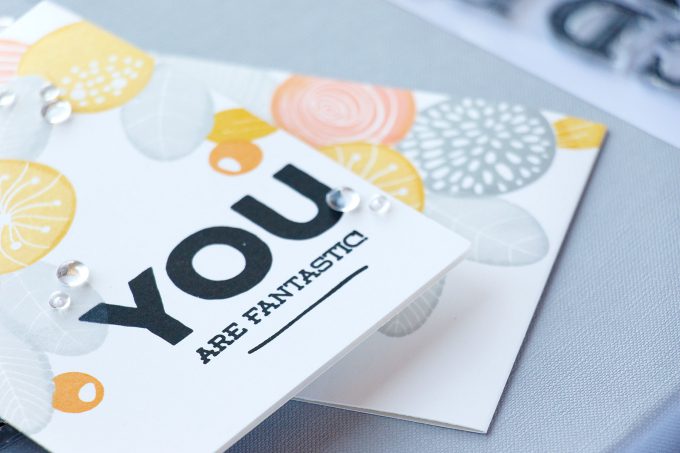
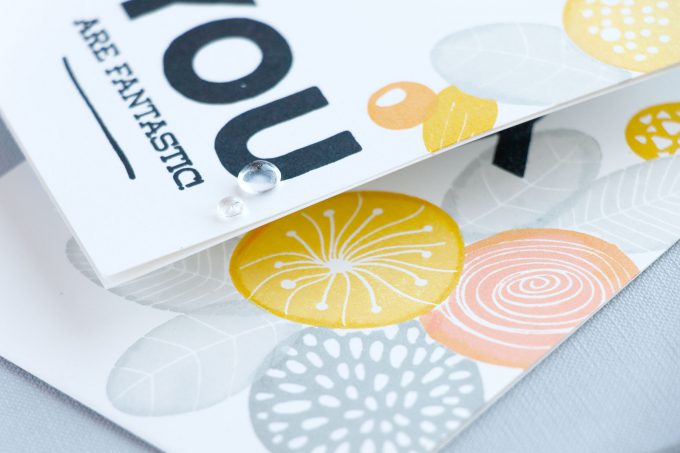
I started working on my card by stamping a big bold sentiment that reads You Are Fantastic in black ink. The sentiment comes from Simon Says Stamp Big U words stamp set and features a lot of messages you can pair with the word “you”. The line under the sentiment is actually a stem from a floral set from Altenew called Simple Flowers. I wanted to add something under the sentiment but I didn’t want it to be perfectly straight, I didn’t want the line to be perfectly straight so I used a stem instead.
Because I knew I would be doing quite a bit of stamping and since I knew my images would overlap I decided to create masks. Truth be told I am never one up for masking, I am a bit lazy when it comes to masking, so whenever possible I try to skip it, but for this project I decided it would be a good idea to make masks, plus the stamps I used were such simple shapes they were easy to cut out.
When it comes to stamping cards like this one the color combo is also very important and it’s essential to pick a nice mix of colors for great results. I often struggle with finding good color combinations so I look for color palettes I love. I have a board on Pinterest where I save various color palettes and later use them to help me pick out colors for my cards.
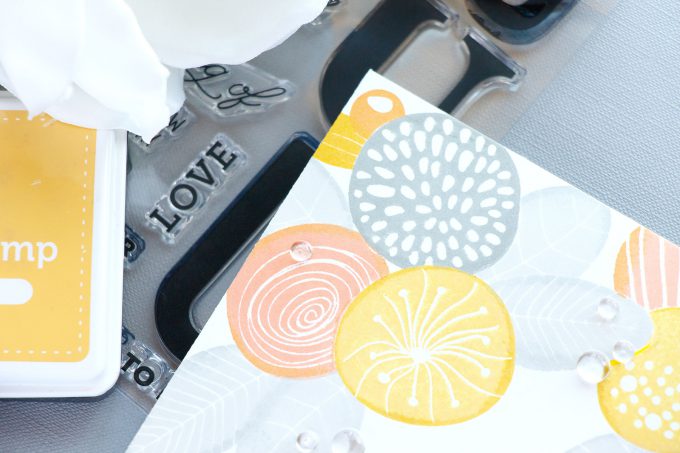
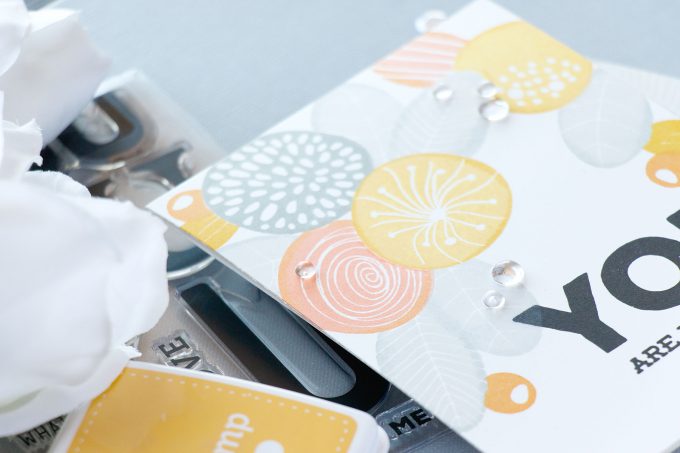
I am using yellow, orange and gray color combo. For each color I picked I have a lighter and a darker shade ink pad. So there’s Duckling and Sunshine for my yellows, Apricot and Orange Slush for the orange and 3 shades for the gray – there’s Fog and Smoke and also Smoke and Cobblestone – having 3 grays instead of 2 lets me have 2 gray color variations on my card.
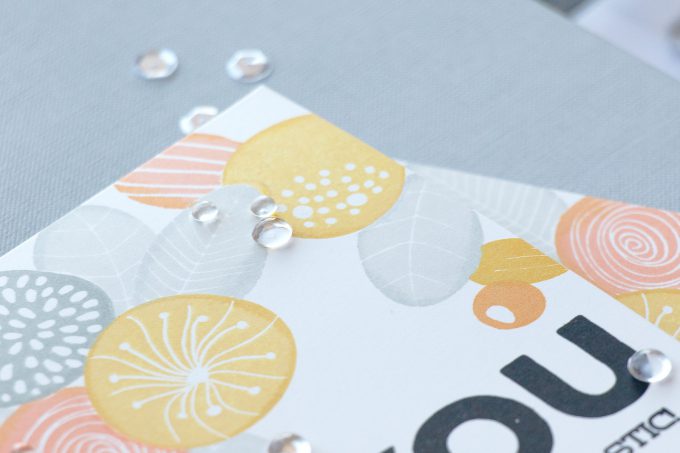
The trick here is to stamp the same image multiple times, 2 or sometimes 3 times in the same spot and thus using a stamp positioner is important to have great results. I first inked up my first flower using light yellow shade and stamped it onto my card base placed inside the MISTI. To add some depth to my flower I darkened the edges and keep the center light. I used a dark yellow shade and inked up just the edges of the stamp and stamped. Finally I stamped the same image once again using the lightest ink color. This helped the ink blend a bit and create a slightly smoother transition of color. And keep in mind as the ink absorbs into the paper it smoothes out even more.
You can use this technique with many other floral stamps sets, the key here is using solid images. I find this technique to be a simple and quick way to add a bit of shading and dimension to flat images.
I always tend to add something to my one layer cards that makes them not so one layer anymore and I couldn’t resist adding clear droplets to this card here. I used droplets from Pretty Pink Posh in small and medium sizes and just adhered a few here and there onto my card front.
SUPPLIES
I’m listing the products I used below. Click on the link to go directly to the product. Where available I use compensated affiliate links which means if you make a purchase I receive a small commission at no extra cost to you. Thank you so much for your support!
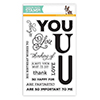 Simon Says Stamp Big U Words Shop at: SSS |
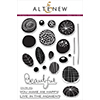 Altenew Simple Flowers Stamp Set Shop at: SSS |
 Simon Says Stamp Duckling Dye Ink Pad Shop at: SSS |
 Simon Says Stamp Sunshine Dye Ink Pad Shop at: SSS |
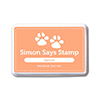 Simon Says Stamp Apricot Dye Ink Pad Shop at: SSS |
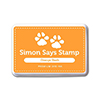 Simon Says Stamp Orange Slush Dye Ink Pad Shop at: SSS |
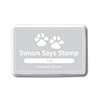 Simon Says Stamp Fog Dye Ink Pad Shop at: SSS |
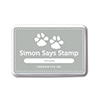 Simon Says Stamp Smoke Gray Dye Ink Pad Shop at: SSS |
 Simon Says Stamp Cobblestone Dye Ink Pad Shop at: SSS |
 Simon Says Stamp Intense Black Ink Pad Shop at: SSS |
 Simon Says Stamp White Cardstock 120 LB Shop at: SSS |
 Simon Says Stamp Masking Paper Shop at: SSS |
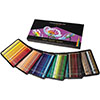 Prismacolor 150 Premier Colored Pencils Shop at: SSS |
 Mini Misti Stamping Tool Shop at: SSS |
 Pretty Pink Posh 4MM Clear Droplets (small) Shop at: SSS |
 Pretty Pink Posh 6MM Clear Droplets (medium) Shop at: SSS |


I love this color combination! And your card came out wonderfully – thanks for the tip of using colored pencils when the mask isn’t exactly right!
Beautiful. I love the colors and the idea of doing the pencil to fill in that white area.. Beautiful.
Great technique. I like how you added volume to your card staying within one layer.
How do you come up with so many wonderful ideas? Brilliant! xxx
I like both the flower stamps and your color choices.
Gorgeous card Yana! I love the color combo!