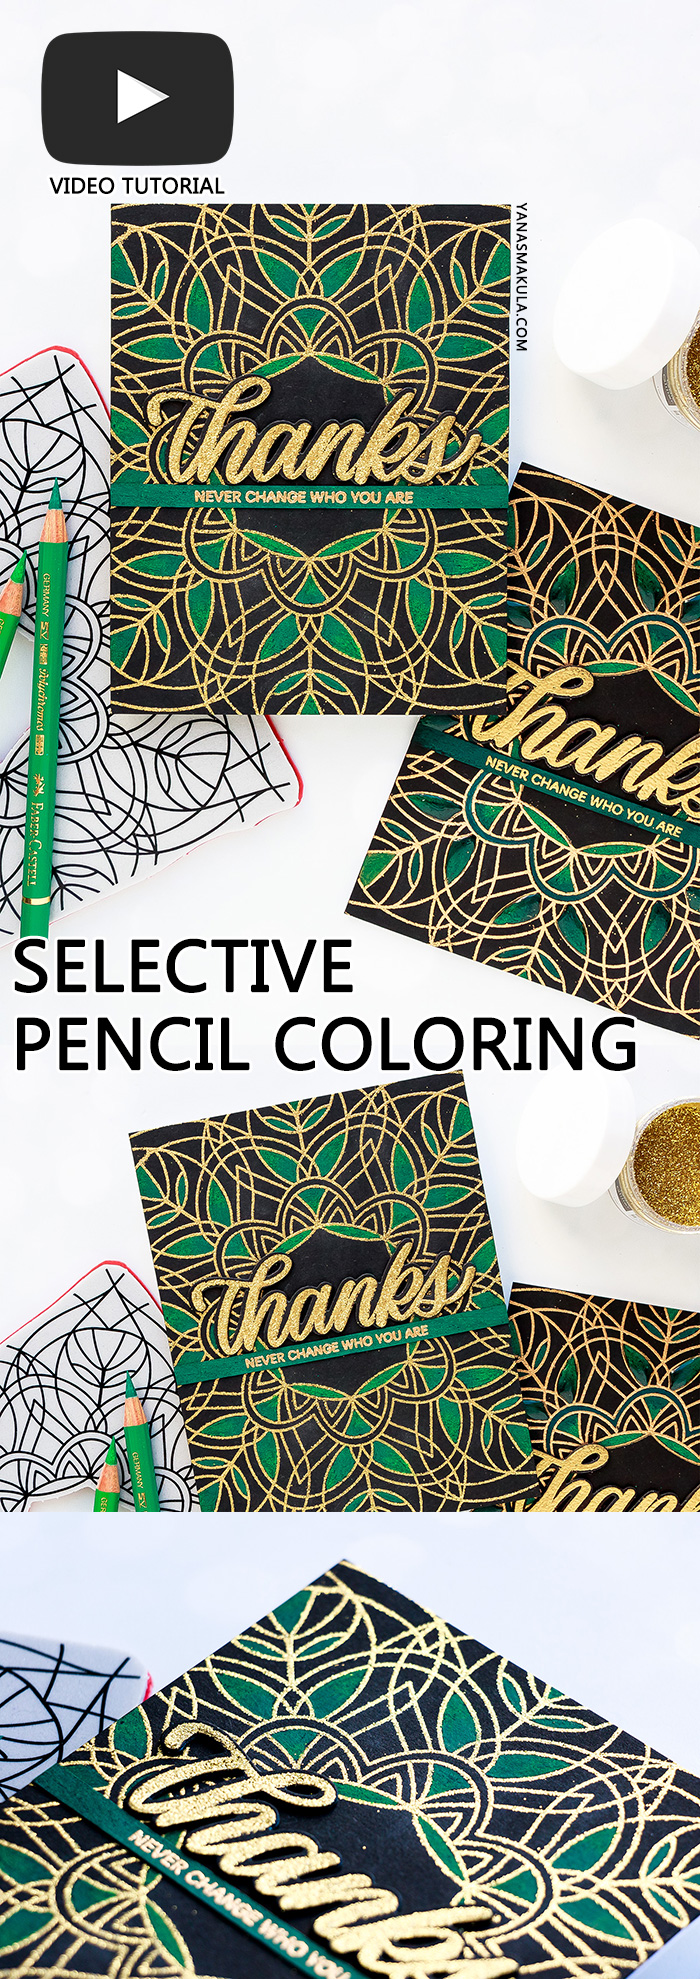
Hello friends, welcome back for another Yippee For Yana video! Today I’m sharing a card and a technique that is my favorite when it comes to background stamps and colored pencils. Over the last few month I’ve several several videos showing how to color using Polychromos pencils from Faber Castell, hoverer if you are a beginner in card making or coloring those might have seemed a bit intimidating. For today’s video I decided to go back to basics and do a simple selective background coloring, very similar to something I shared about 6 month ago.
Like this project? Pin it and save for later | Curious about my project photography? Click for details.
VIDEO TUTORIAL
As always, I filmed a video tutorial showing how to create this project from start to finish. I’m hoping you’ll enjoy it. Watch it below or on my Youtube channel:
Like this video? Please give it a big thumbs up (you can do this on Youtube video page right under the video) and share with a crafty friend! Leave me a comment too, I love hearing from you!
CARD DETAILS
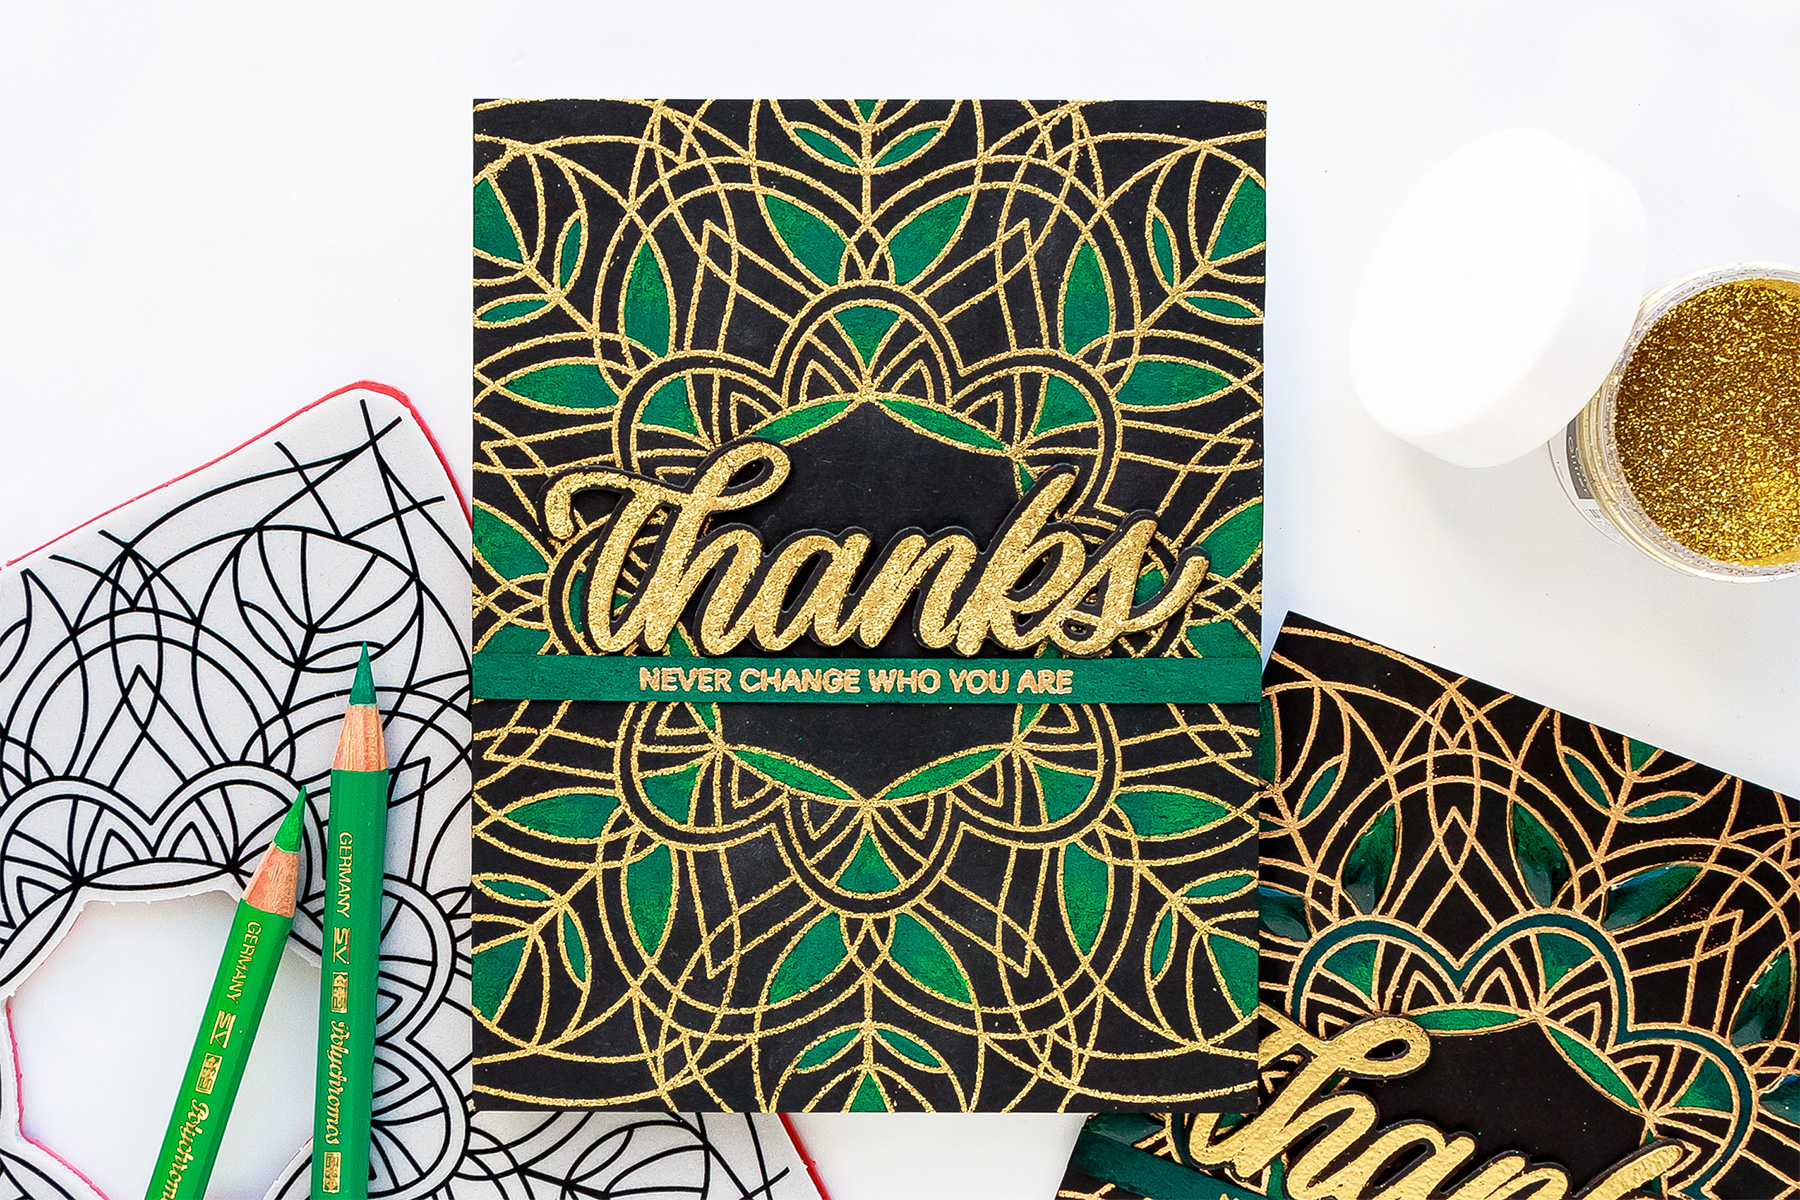
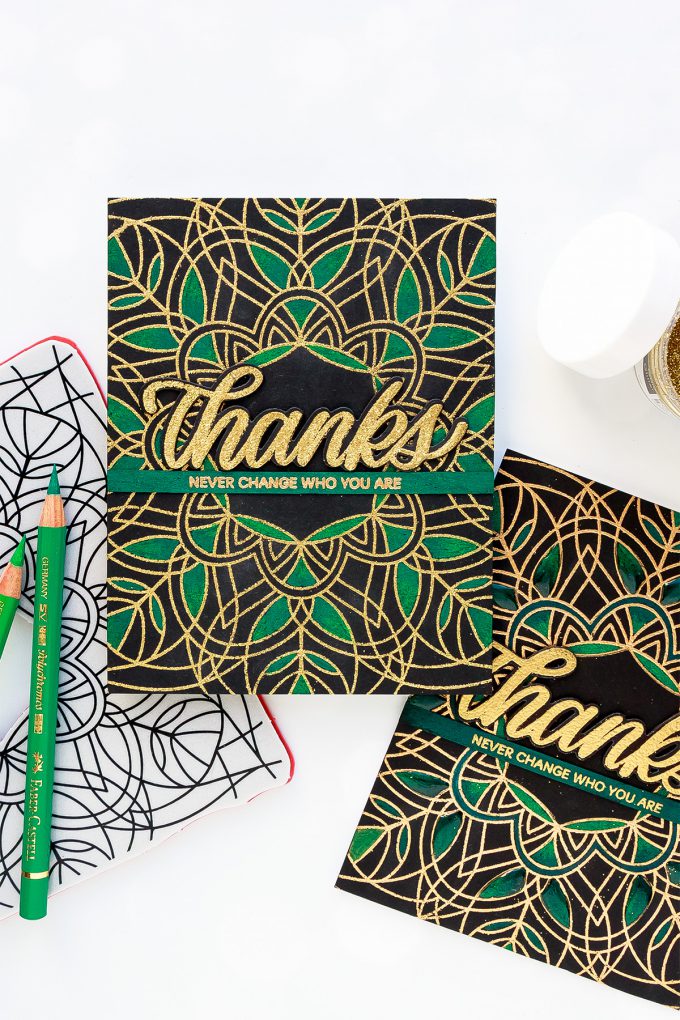
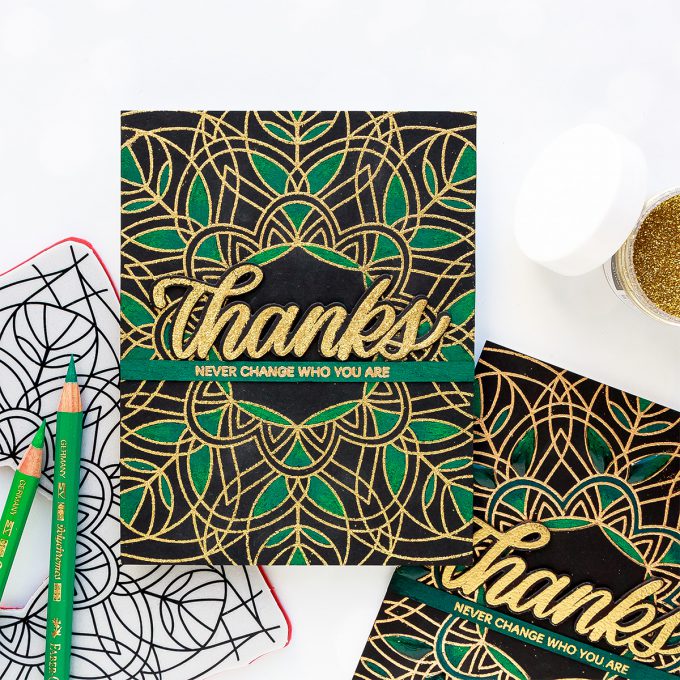
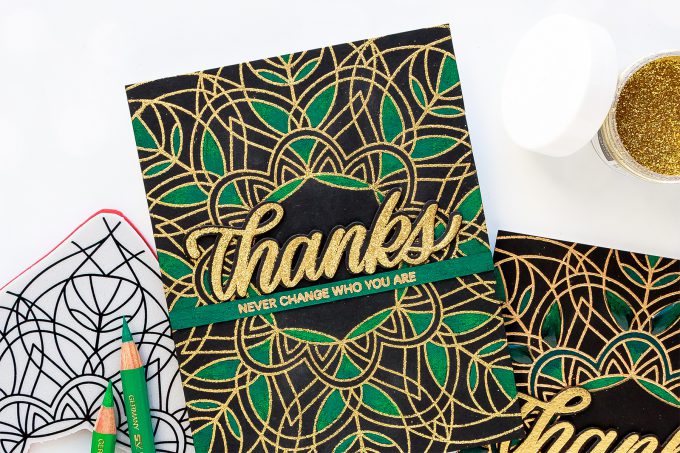
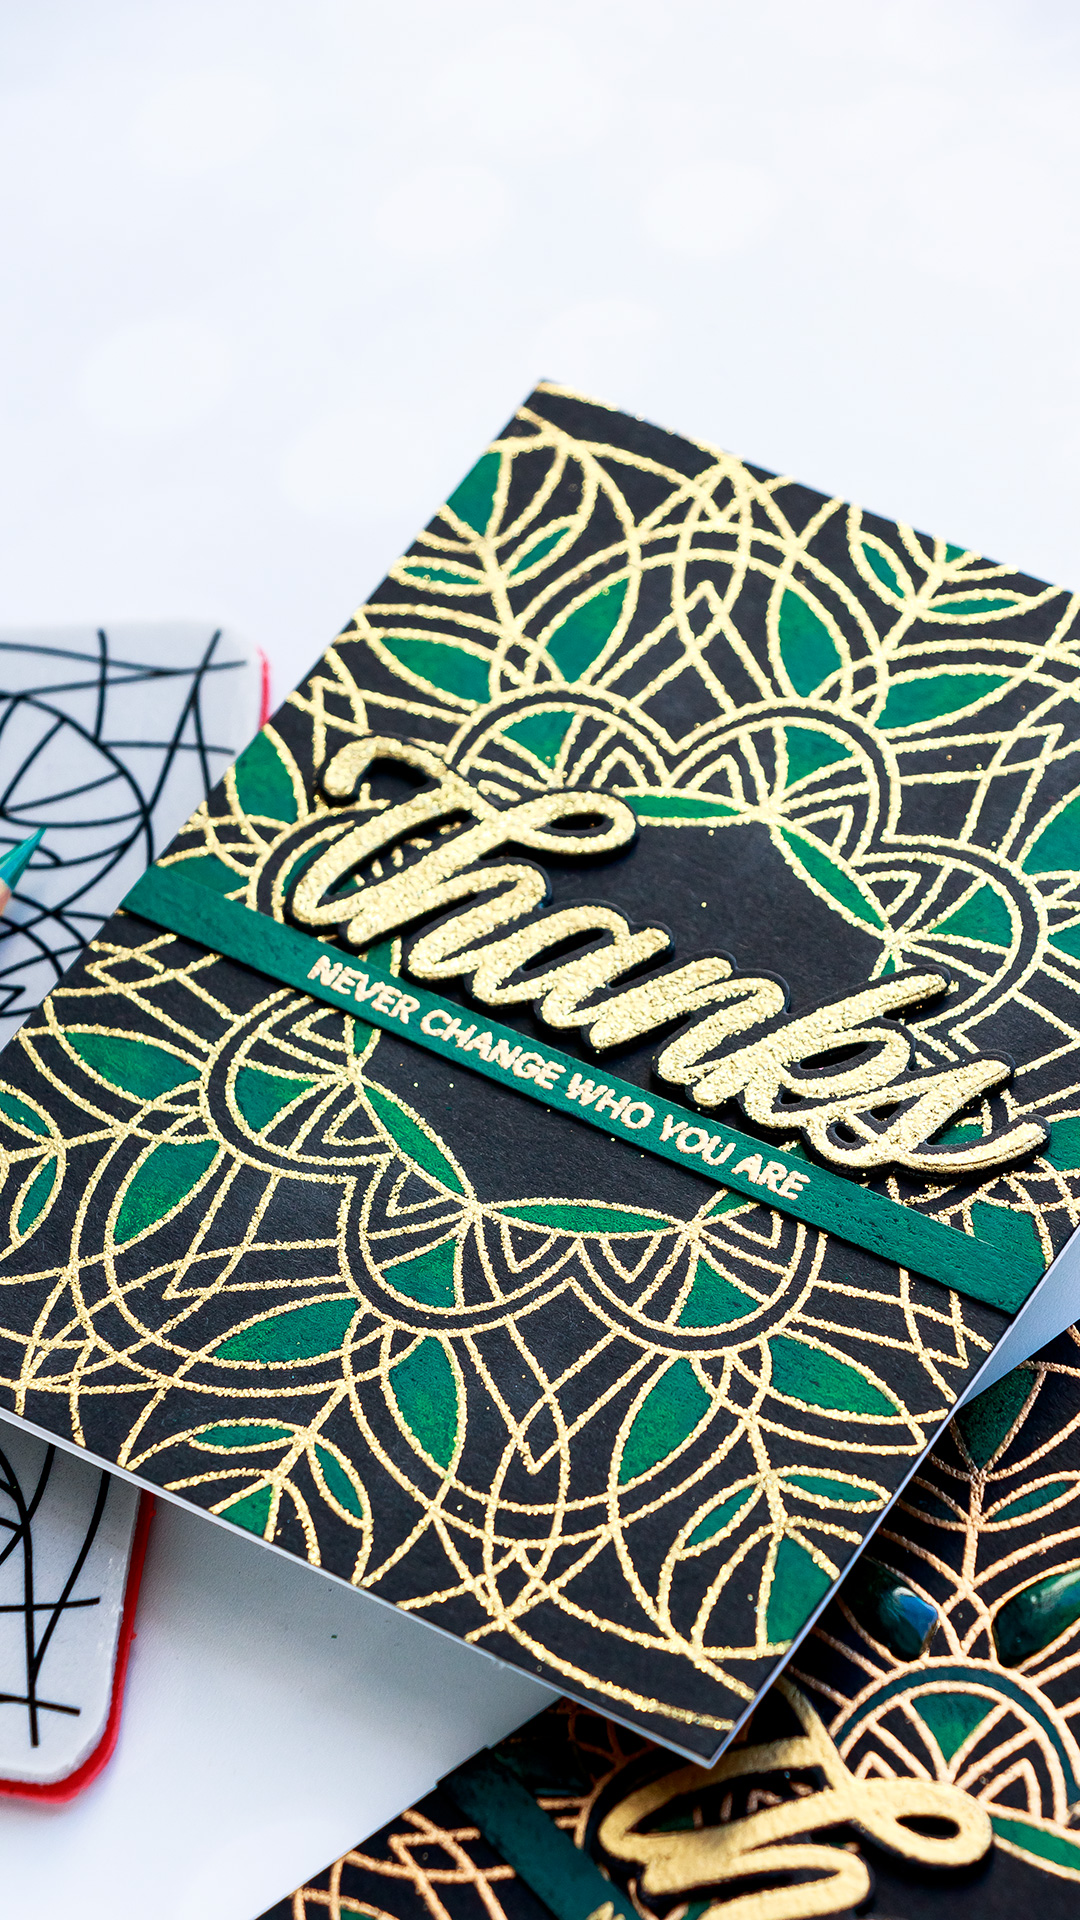
I picked Center Cut Kaleidoscope background stamp for my project, you can also use other background stamps. It’s best to use a stamp that has a bit of a pattern to it, something not totally random. I started to work on my card by covering a piece of black cardstock with anti static powder. This is an important step in heat embossing and something that shouldn’t be skipped if you aim for a clean heat embossed look.
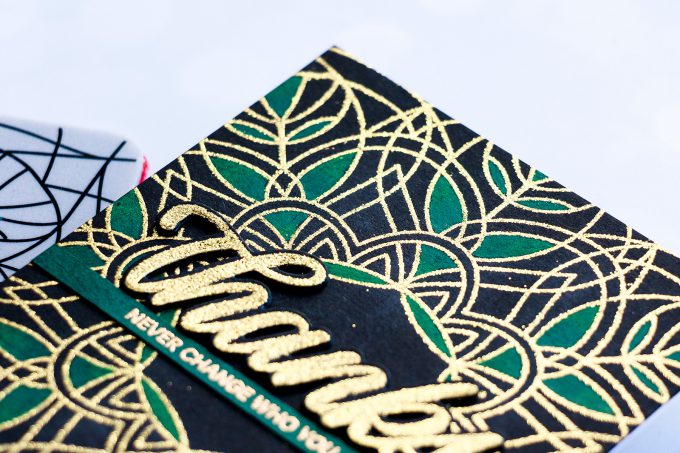
Next, I stamped my image in Versamark ink and covered with new Hero Arts Gold Glitter embossing powder (stop by tomorrow for another project using this embossing powder). I’ve been wanting to try this product and I absolutely loved it – this might be my new favorite gold embossing powder ever. By the way, Hero Arts also has the same glitter embossing powder in Silver.
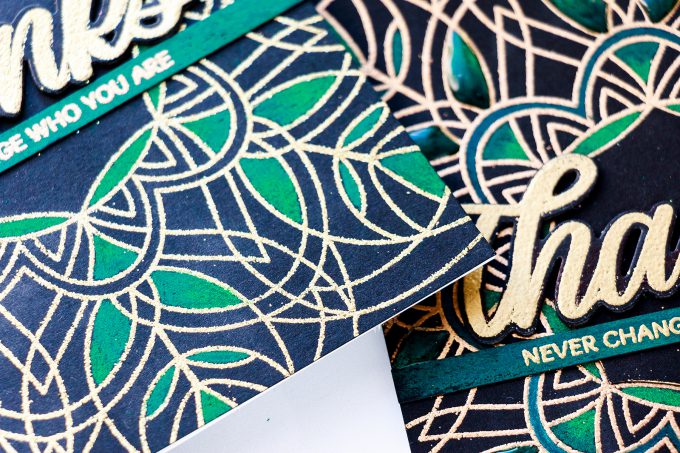
I used just 2 pencils to color today. Both are Polychromos from Faber Castell – #163 Emerald Green and #264 Dark Phthalo Green. Both of these come in the 36 pencil set.
Coloring a background like this on black paper is a good place to start with colored pencils if you’ve never used them before. Why? Because this black paper is forgiving and and it doesn’t take as much time or as much hand pressure to have nice colored surface. This pretty much is how I started using and getting to know my pencils – I colored on black paper. From there I slowly moved onto other colors of paper such as kraft and gray.
When you color the background like this it’s up to you to decide which section you want to color and which you’d like to keep as is. You can even color all of it if you like, I love to do just simple selective coloring and have a lot of black in the background for the contrast.
To create a sentiment I heat embossed Thanks from the Big Thanks Words stamp set on black paper using same Gold Glitter embossing powder. To have even more sparkle I’m actually double heat embossed it. I cut Thanks out using a coordinating die and also die-cut a fun foam layer out of black adhesive foam to pop this element up a bit. I also wanted to add another skinny strip with another message. I used my pencil to color a piece of black paper in the same color as the coloring on the background and heat embossed my sentiment over it in Antique Gold embossing powder. I used “Never Change Who You Are” sentiment from the You Got This stamp set.
Have fun stamping!
SUPPLIES
I’m listing the products I used below. Click on the link to go directly to the product. Where available I use compensated affiliate links which means if you make a purchase I receive a small commission at no extra cost to you. Thank you so much for your support!
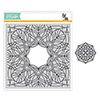 Simon Says Stamp Center Cut Kaleidoscope Background Shop at: SSS |
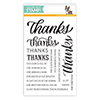 Simon Says Clear Stamps Big Thanks Words Shop at: SSS |
 Simon Says Stamp Big Thanks Wafer Dies Shop at: SSS |
 Simon Says Stamp You Got This Stamp Set Shop at: SSS |
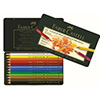 Faber-Castell Polychromos 12 Set Shop at: SSS |
 Faber-Castell Polychromos 36 Set Shop at: SSS |
 Simon Says Stamp Black Cardstock Shop at: SSS |
 Spellbinders Platinum Die Cutting Machine Shop at: SSS |
 Versamark Watermark Emboss Ink Pad Shop at: SSS |
 Simon Says Stamp Antique Gold Embossing Powder Shop at: SSS |
 Hero Arts Gold Glitter Embossing Powder Shop at: SSS |
 Hero Arts Silver Sparkle Embossing Powder Shop at: SSS |
 Hero Arts Heat Embossing Gun Shop at: SSS |
 Tim Holtz Tonic Craft Stamp Platform Shop at: SSS |
 EK Success Powder Tool Applicator Shop at: SSS |
 Scor-Tape 1/8 Inch Crafting Tape Shop at: SSS |
SAVE ME/PIN ME TO PINTEREST
Like this card idea? Be sure to save it to one of your Pinterest boards for future reference!

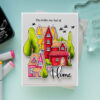


I’m in love with this gold embossing! Fantastic card!!
Great idea. I love the coloring on black!
ABSOLUTELY STUNNING!
Yana, thanks for tutorial. I’ve been watching you color for a long time, now, and I appreciate the step back to the basics!
Yana, as usual, your coloring projects are always first class! Gorgeous! I love them!
Gorgeous!!! Love the gold embossing on the black. Your selective coloring is stunning!
i’ve always enjoyed coloring but never thought to do it on black. how interesting this came out! thanks for the ideas!
Love these awesome colors! Thanks for sharing all your coloring tips!
I’ve never stamped on black before and now I have to try this! Thanks.
Yana this is just a “stunning” card! I absolutely love the look on black… never would have thought to do that. PLUS making the strip with of colored green for the sentiment is absolutely genius! I always learn something new from you.
Thanks for sharing! Hugs