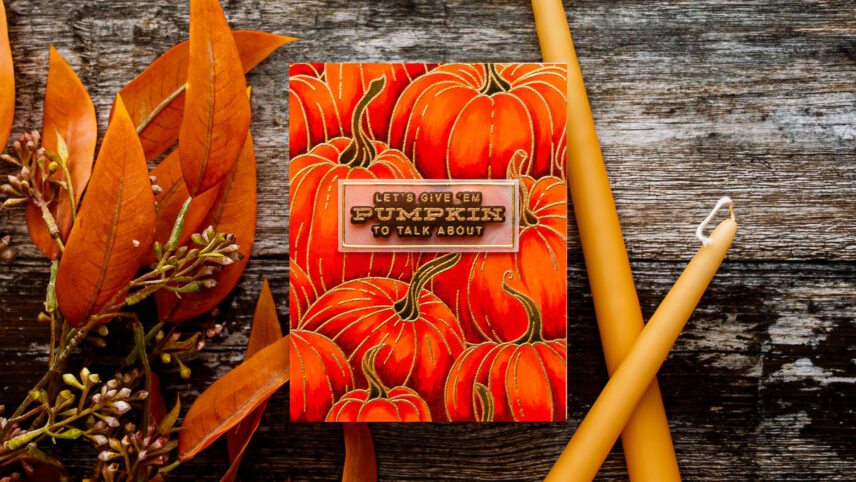
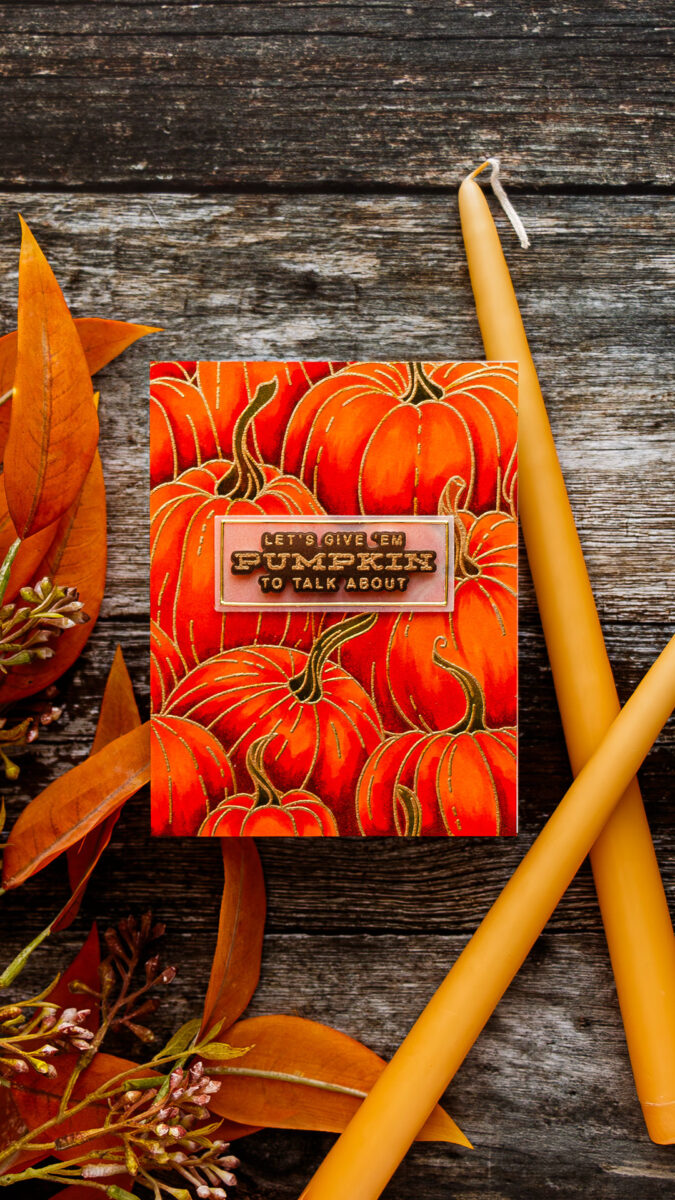
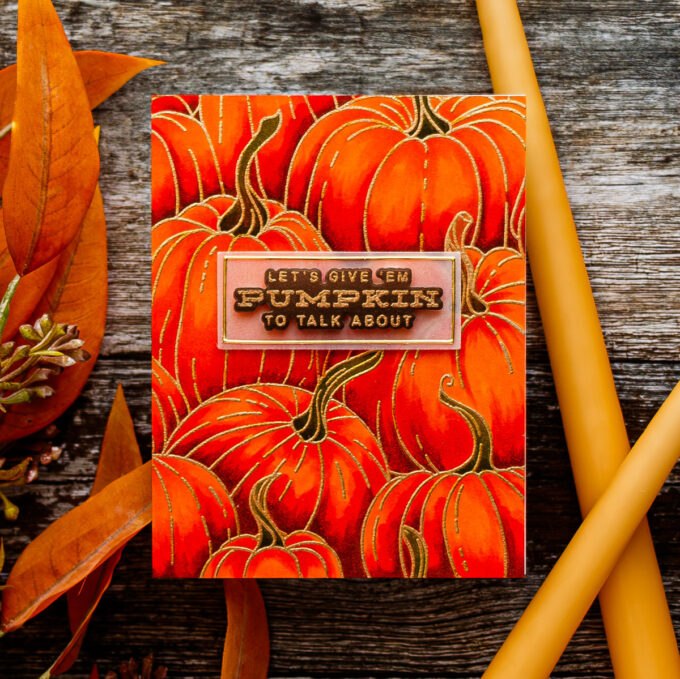
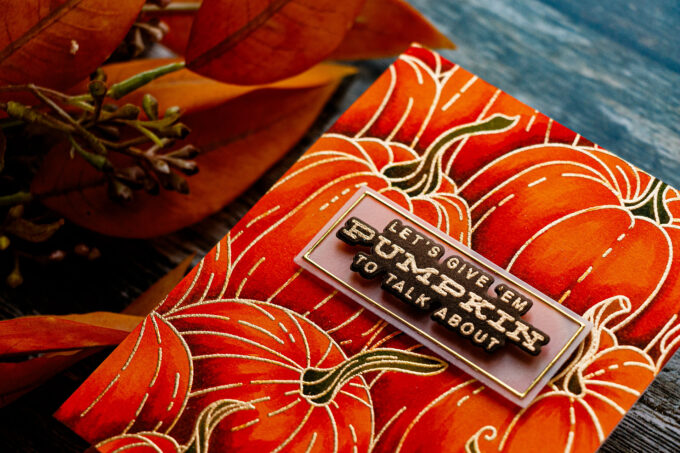
Hello and welcome back for another Yippee For Yana video! Today I’m creating a Fall card with the Simon Says Stamp Pumpkin to talk About stamp set.
I wanted to create a rich colorful background filled with gorgeous pumpkins. To make the coloring an task easier, I used a sheet of orange cardstock, providing a nice base for my coloring.
Like this project? Pin it and save it for later | Curious about my project photography? Click for details.
VIDEO TUTORIAL
Watch the video below or on my YouTube channel.
Like this video? Please give it a big thumbs up (you can do this on the Youtube video page right under the video) and share it with a crafty friend! Leave me a comment too, I love hearing from you!
CARD DETAILS
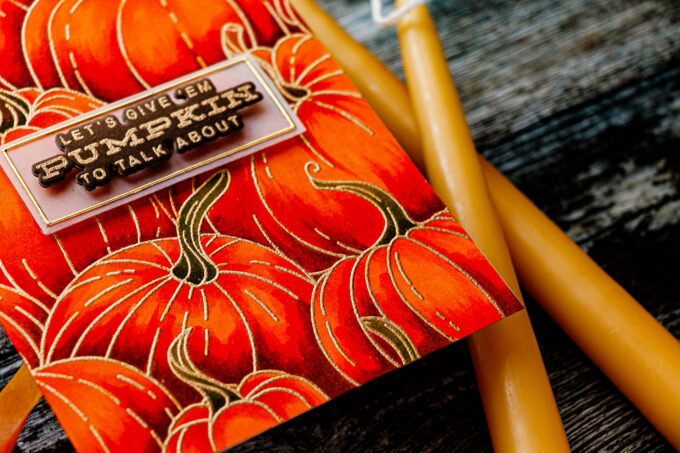
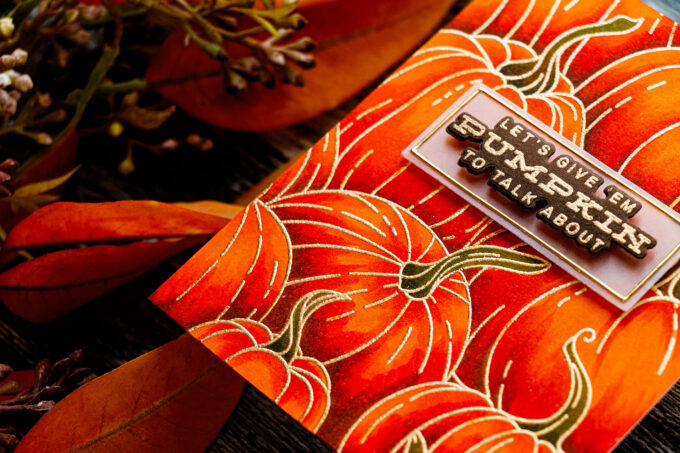
I heat embossed the image in Antique Gold embossing powder and next used Copic markers and did simple coloring. I used the following colors: YR09, YR18, YR16, Y35, E37, E33, G99, YG67, YG17.
When coloring over a heat-embossed image you want to be very careful and avoid going over the embossing powder, try to color next to it instead of over it. If you go over the embossing powder and color it, you can use a Colorless Blender marker to clean it up.
I used the same colors for all of my pumpkins, but you can make them all different. Think different shades of orange, or perhaps non-orange colors, too.
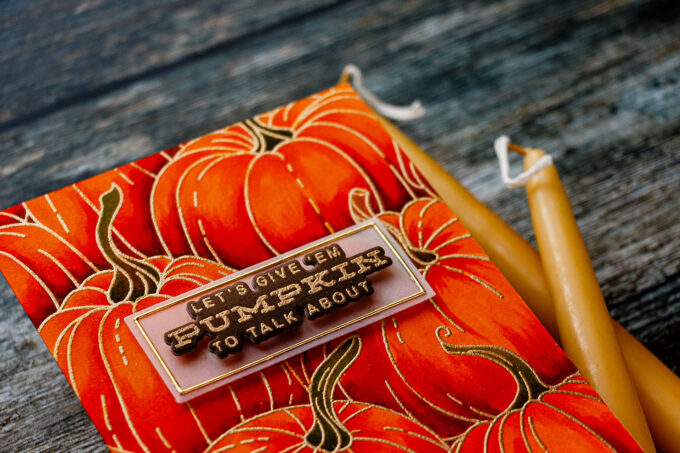
With the coloring done, I created a sentiment by heat embossing “Pumpkin to Talk About” in Antique Gold embossing powder on light brown cardstock. I added Mocha ink blending to help my sentiment stand out. I used a coordinating die and cut it out. I also used a rectangle die included in the coordinating die set and a frame die to create a backer for my sentiment – the background piece was cut from vellum and the thin frame from gold cardstock. I foam-mounted the sentiment in the center and I love this look!
I added my background colored panel to the A2 side folding card base and foam mounted my sentiment in the center. The card is done, I’m in love!
I hope you feel inspired to create! Have fun stamping!
SUPPLIES
I’m listing the products I used below. Click on the link to go directly to the product. Where available I use compensated affiliate links which means if you make a purchase I receive a small commission at no extra cost to you. Thank you so much for your support!
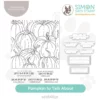 Simon Says Stamps and Dies Pumpkin to Talk About Shop at: SSS |
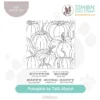 Simon Says Clear Stamps Pumpkin to Talk About Shop at: SSS |
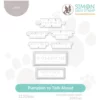 Simon Says Stamp Pumpkin to Talk About Wafer Dies Shop at: SSS |
 Neenah Classic Crest 80 Lb Desert Storm Shop at: SSS |
 Simon Says Stamp White A2 Side Fold Scored Cards Shop at: SSS |
 Simon Says Stamp Cardstock Matte Gold Mirror Shop at: SSS |
 Waffle Flower Grip Mats Shop at: SSS |
 MISTI Stamping Tool Shop at: SSS |
 Waffle Flower 4.25×5.5 Inch Grip Mat Wft076 Shop at: SSS |
 Simon Says Stamp Vellum Shop at: SSS |
 Simon Says Stamp Pawsitively Saturated Ink Pad Mocha Shop at: SSS |
 Simon Says Stamp Orange Peel Cardstock Shop at: SSS |
 Copic Colorless Blender Marker Shop at: SSS |
 Simon Says Stamp Antique Gold Embossing Powder Shop at: SSS |
 Copic Sketch Marker Y35 Maize Shop at: SSS |
 Copic Sketch Marker YR18 Sanguine Shop at: SSS |
 Copic Sketch Marker YG17 Grass Green Shop at: SSS |
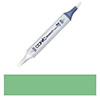 Copic Sketch Marker YG67 Moss Shop at: SSS |
 Copic Sketch Marker G99 Olive Green Shop at: SSS |
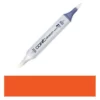 Copic Sketch Marker Yr09 Chinese Orange Shop at: SSS |
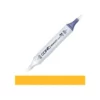 Copic Sketch Marker Yr16 Apricot Orange Shop at: SSS |
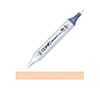 Copic Sketch Marker E33 Sand Shop at: SSS |
 Copic Sketch Marker E37 Sepia Shop at: SSS |
 Simon Says Stamp Blending Brush Set Large Shop at: SSS |
 Wagner Precision Heat Tool Shop at: SSS |
 Simon Says Stamp Brush Powder Tool Shop at: SSS |
 Bearly Art Mini Precision Craft Glue Shop at: SSS |
 Spellbinders New & Improved Platinum 6 Machine With Universal Plate System Shop at: SSS |
 Simon Says Stamp Thin White 3D Foam Squares Small Shop at: SSS |


This is stunning
Thank you! ❤️
Such a beautiful card Yana! I hope you are well. I’m going through some older posts and watched your video on coloring for this one. Question- why do you emboss before coloring? Would it be easier or change the finished card at all if you stamped the image in a light color; then colored it in; then went back and embossed it after? Assuming of course that you kept your image in the same position on your Misti.