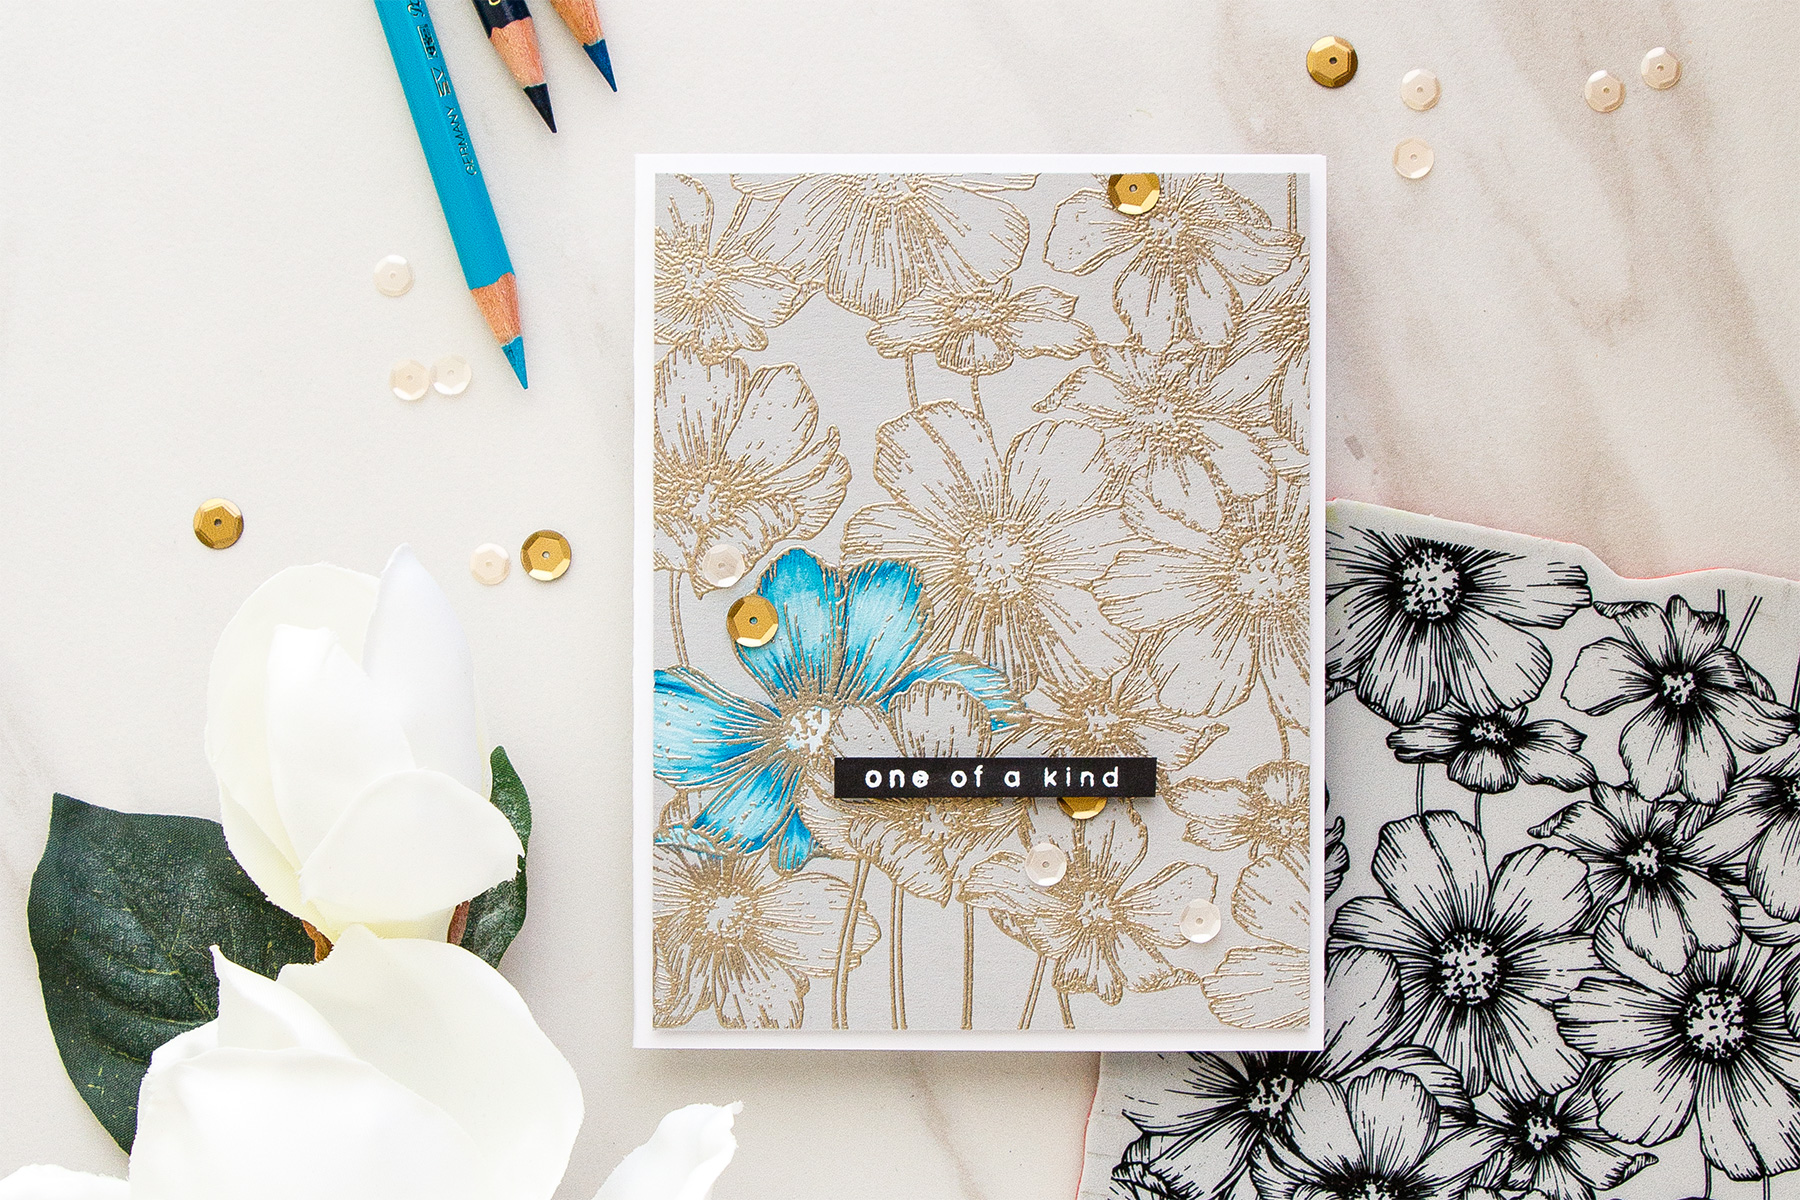
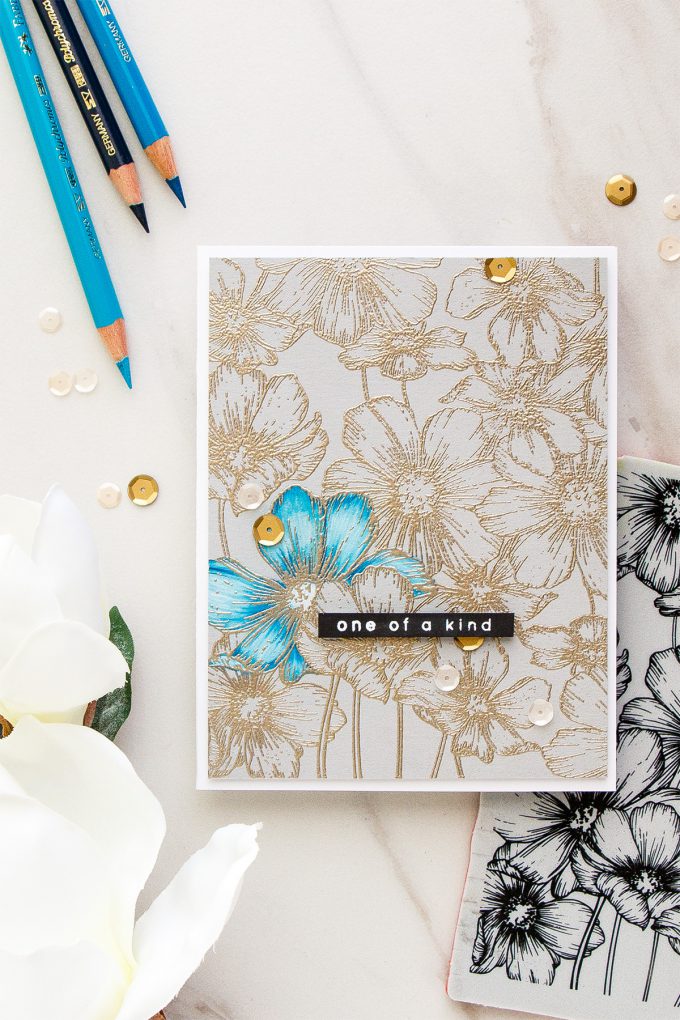
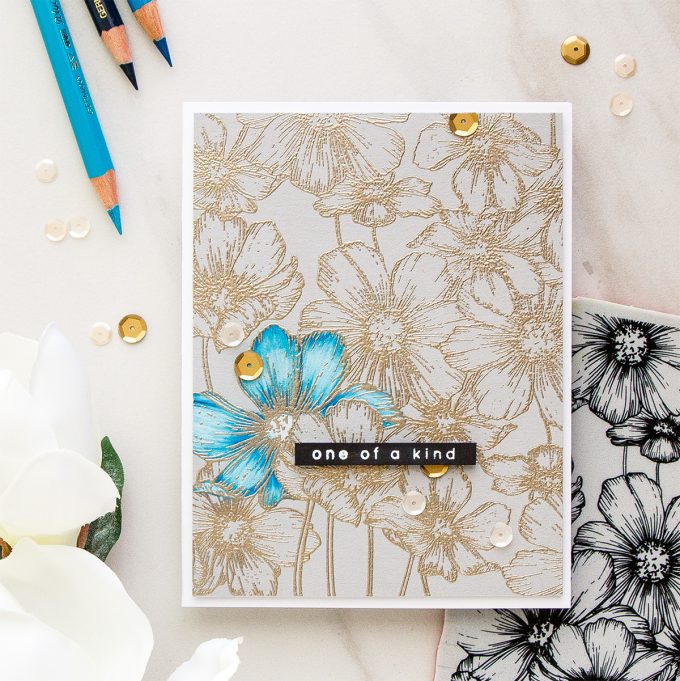
Hi everyone! Welcome back for another episode from my by-monthly Yippee For Yana video series for Simon Says Stamp Blog! In today’s episode I’m making a simple floral card showing some basic pencil coloring using Polychromos pencils.
If you’ve been following me for some time you might have noticed how in love I am with these pencils. Today I’m using just 4 pencils to color one of the flowers from Simon’s Cosmos background stamp.
Like this project? Pin it and save for later | Curious about my project photography? Click for details.
VIDEO TUTORIAL
As always, I filmed a video tutorial showing how to create this project from start to finish. I’m hoping you’ll enjoy it. Watch it below or on my Youtube channel.
Like this video? Please give it a big thumbs up (you can do this on Youtube video page right under the video) and share with a crafty friend! Leave me a comment too, I love hearing from you!
CARD DETAILS
I started to work on my card by stamping this beautiful background in Simon Says Stamp Fog ink onto a Smoke Gray cardstock panel. You’ll need to use any kind of stamp positioner tool if you’d like to recreate this card as later we will be heat embossing this image over the stamping and to make sure the stamped and heat embossed lines match up is crucial to have a stamp positioning tool.
I stamped this in Simon’s Fog ink although the ink color isn’t of much importance here as again, we will be heat embossing over it. I wouldn’t use a black ink for stamping especially if you plan to heat emboss this in white, but any neutral color of ink can work. You can also use embossing watermark ink at this point.
I used the following pencil colors – Cobalt Green #156, Cobalt Turquoise #153, Dark Indigo #157 and White #101 (these come in a 36 pencil set).
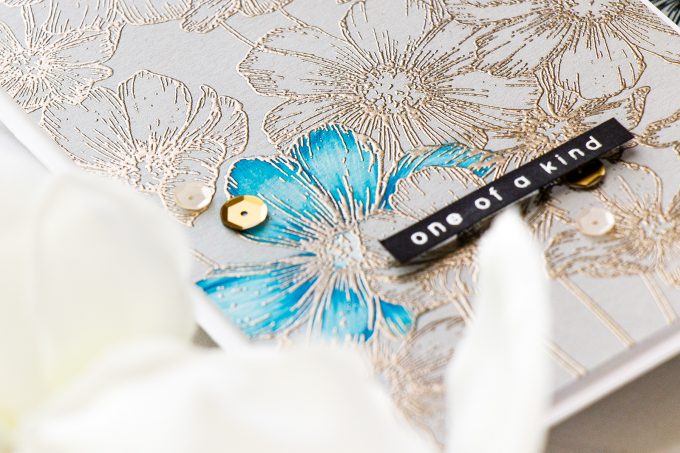
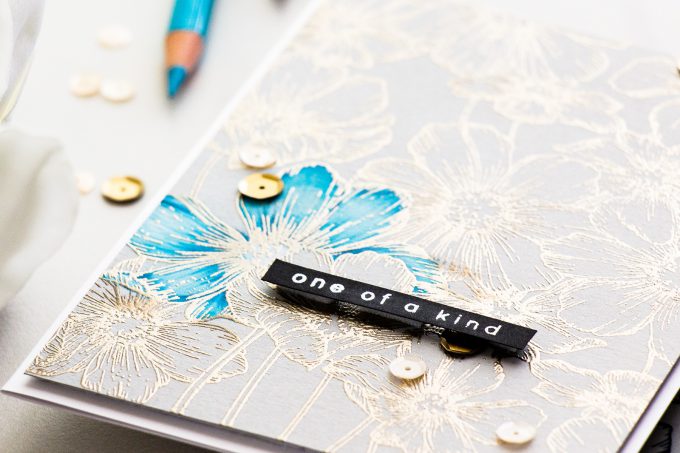
I started my coloring with white pencil and I lightly colored the section of each petal that will be the lightest or will be the highlight. Next, I added my colors beginning with the lightest color and working my way to the darkest. Finally, I came back to the white pencil or lightest colored pencil and used either to blend and smooth out the coloring.
If you are new to Polychromos pencils and would like to give these a try I always suggest starting small with a 12 or 24 pencil set and explore these pencils from there.
If you get the largest 120 pencil set right away it might feel intimidating and overwhelming, you might not know where to start and the worst part is – you might not like the pencils. So always start with a smaller set first – you can add to your collection as explore these pencils further. Also having a smaller set on hand will force you to stretch the colors that you do have to achieve those you don’t – so you will learn more about your pencils and ways to blend them when you have less. And therefore you’ll become more skillful at using them.
The kind of paper you use is very important. When you color with colored pencils, any kind of colored pencils, you need to use paper that has tooth to it as this is what the pencil grabs onto when you color. The tooth of the pencil and the pressure with which you apply the pencil matter. If you apply your pencil with a heavy pressure you will smooth out the tooth of paper right away and you won’t be able to apply any more pencil on top of it, you won’t be able to blend and add more color. Think of this as burnishing the surface of your paper with a tool to make it silky smooth. When your paper loses it’s texture, however fine that texture is, you lose the ability to blend with the pencils.
Watercolor paper is also another good paper to color on with colored pencils. It has texture and tooth to it and that allows the pencils to blend beautifully. That being said – you can always combine watercoloring and pencil coloring for adding fine details.
When you go to color start by applying the pencil with a light hand. Don’t press down too hard as you’ll have trouble adding additional color on top.
Anytime you want to preserve the area of your image white or as light as possible it’s best to apply white pencil prior to anything else. The order in which you apply the color matters, so you won’t have the same result or the same look if you color with colored pencils first and apply a white pencil later as a final layer. You’ll have darker colors. So if you need to have a very light area remember to first lay down a layer of white.
I use my white pencil a lot – its blender and a highlighter for me. Regardless of what other colors I used I almost always have white to go along with those colors to be able to stretch them and get more out of my pencils.
Once my coloring was done I placed my image back into my stamp platform. I treated my paper with an anti static tool and heat embossed in Platinum Embossing powder from Hero Arts. I think it complemented this Smoke Gray background paper nicely.
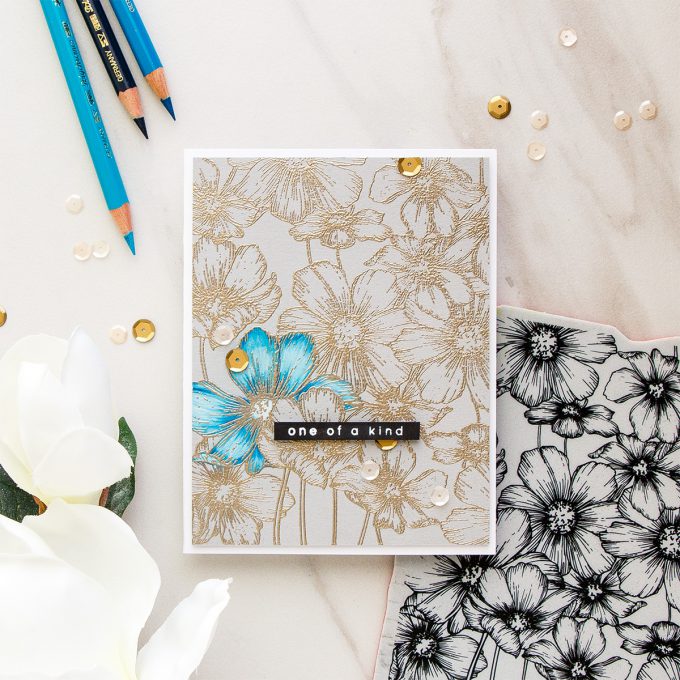
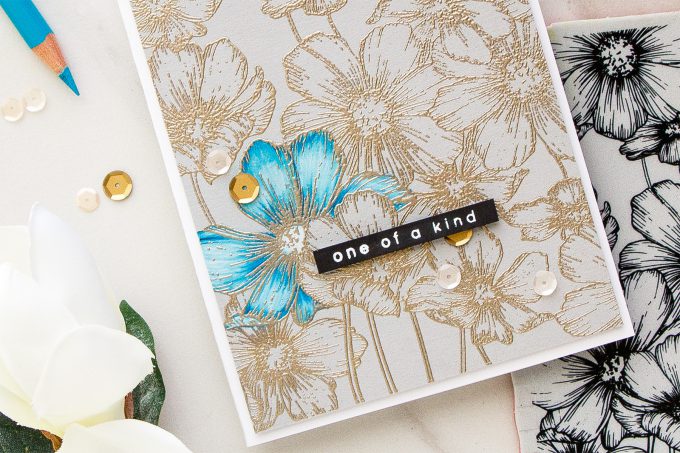
The rest was very simple – I foam mounted this panel onto an A2 side folding card base, I used white paper for this. I heat embossed One Of A Kind sentiment from the Fingerprint Doodles stamp set in white embossing powder onto a black cardstock strip and foam mounted it onto my card.
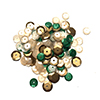
Lastly, I used sequins from the Satin Gown sequin mix from Simon Says Stamp to embellish my card. I cut some of them apart to be able to tuck under the sentiment panel and have just a partial sequin show.
Have fun stamping!
SUPPLIES
I’m listing the products I used below. Click on the link to go directly to the product. Where available I use compensated affiliate links which means if you make a purchase I receive a small commission at no extra cost to you. Thank you so much for your support!
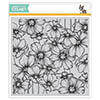 Simon Says Stamp Cosmos Background Shop at: SSS |
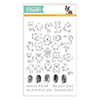 Simon Says Clear Stamps Fingerprint Doodles Shop at: SSS |
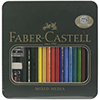 Faber-Castell Polychromos Colored Pencils Shop at: SSS |
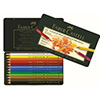 Faber-Castell Polychromos Colored Pencils 12 Piece Set Shop at: SSS |
 Simon Says Stamp Smoke Cardstock Shop at: SSS |
 Simon Says Stamp Black Cardstock Shop at: SSS |
 Neenah 110 Lb Solar White Cardstock Shop at: SSS |
 Simon Says Stamp Satin Gown Sequins Shop at: SSS |
 Hero Arts White Embossing Powder PW110 Shop at: SSS |
 Hero Arts Platinum Embossing Powder PW117 Shop at: SSS |
 Hero Arts Heat Embossing Gun PW200 Shop at: SSS |
 ScraPerfect Crafting Pouch Shop at: SSS |
 Simon Says Stamp Embossing Ink Pad Shop at: SSS |
 Tim Holtz Tonic Craft Stamp Platform Shop at: SSS |
 Tonic Studios 8.5 Inch Paper Trimmer Shop at: SSS |
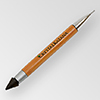 Crystal Ninja Crystal Katana Mixed Media Pick Up Tool Shop at: SSS |
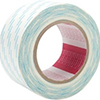 Scor-tape 2 1/2 Inch Crafting Tape Shop at: SSS |
 White Fun Foam 12 Pack 9 x 12 Shop at: SSS |
 Scrapbook Adhesives White Foam Squares Shop at: SSS |
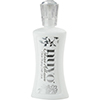 Tonic Deluxe Adhesive Nuvo Glue Shop at: SSS |



Beautiful!
Lovely coloring and beautiful spotlight 🙂 Thanks for the video!
I can see from the pencil size that you really do use your white pencil a lot!!!! The coloring came out SO beautiful. What a beautiful color combo. I really, really appreciate all the tips about coloring with pencils. Love to use them and you mentioned so many things I was unaware of — like paper. Thank you SO much for this video and all the tips. Much appreciated and I’ll be saving this video to watch a few more times as I learn more about using pencils to color. Yipppeee for Yana!!!!!!
Your card is gorgeous! I really love this look of coloring an image and then embossing the outline of the stamp 🙂
Your card is beautiful. I always love your color choices. I really love the background stamp and just coloring one flower. Great idea on the coloring then embossing. I remember this from before.. I will give this a try. Thanks to those position tools we can do this.
Oh so elegant!
This is just stunning Yana! Love the gold embossing on kraft with the bright, beautiful pop of color!
OmG Yana this is as always an amazing card and your video is really fantastic. Many thanks for sharing us.
Hugs
Angela
Beautiful!!!! Now I need to order supplies!! You are very clear with your videos sand it is much appreciated!! You are one of my favorite designers!!
Love how you featured these beautiful products!
I bought these pencils on your recommendation a few months ago, the 36 count, and I love them. Thank you for more tips on making the most of them. Love the card!
Hi Yana,
Really appreciate the help you provide us Card Makers in how to colour with coloured pencils and use this on our card designs too. Thank you. :O)
your card is so gorgeous, Yana – love to watch you color and have learned so much from you – i used your card as my inspiration today – hope that’s ok with you – http://createdbybjk.blogspot.com/2018/02/caseing-yana.html