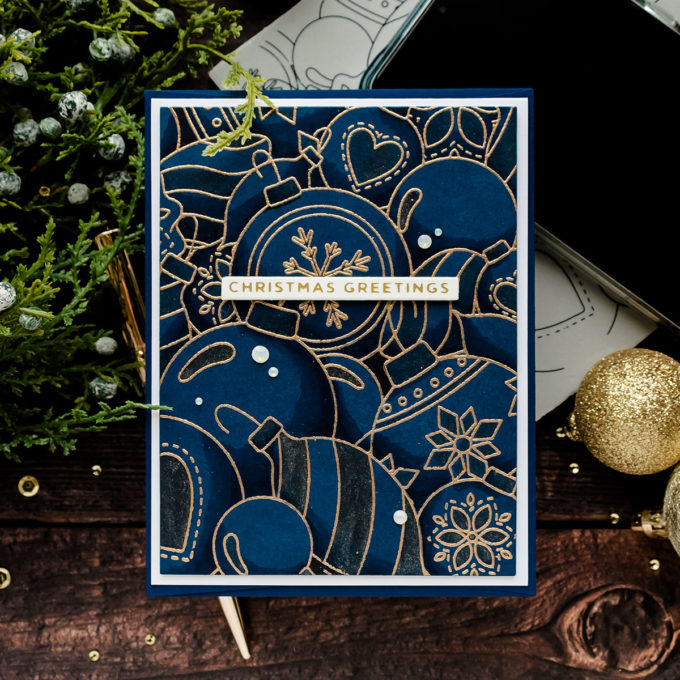
Hello and welcome back for another Yippee For Yana video! In this video, I have a simple and easy-to-mass-produce Christmas card idea featuring the Outline Ornaments background stamp. I’ll show you several simple tricks you can use to add color and interest to this background without really coloring it in a traditional sense.
Like this project? Pin it and save for later | Curious about my project photography? Click for details.
VIDEO TUTORIAL
Watch the video below or on my Youtube channel.
Like this video? Please give it a big thumbs up (you can do this on Youtube video page right under the video) and share it with a crafty friend! Leave me a comment too, I love hearing from you!
CARD DETAILS
I love to create with stamps like this – first of all, they allow you to easily make a stunning background for a card, the background itself is self-sufficient and you don’t need to add much to it to make a beautiful project, and lastly, even though this is an outline image, it doesn’t mean you have to color it from scratch or color or all.
I love to use colored cardstock when working with stamps like this. The colored cardstock provides a beautiful base color for my project and from there, if I want to, I can add additional color, some shading, or some special effects.
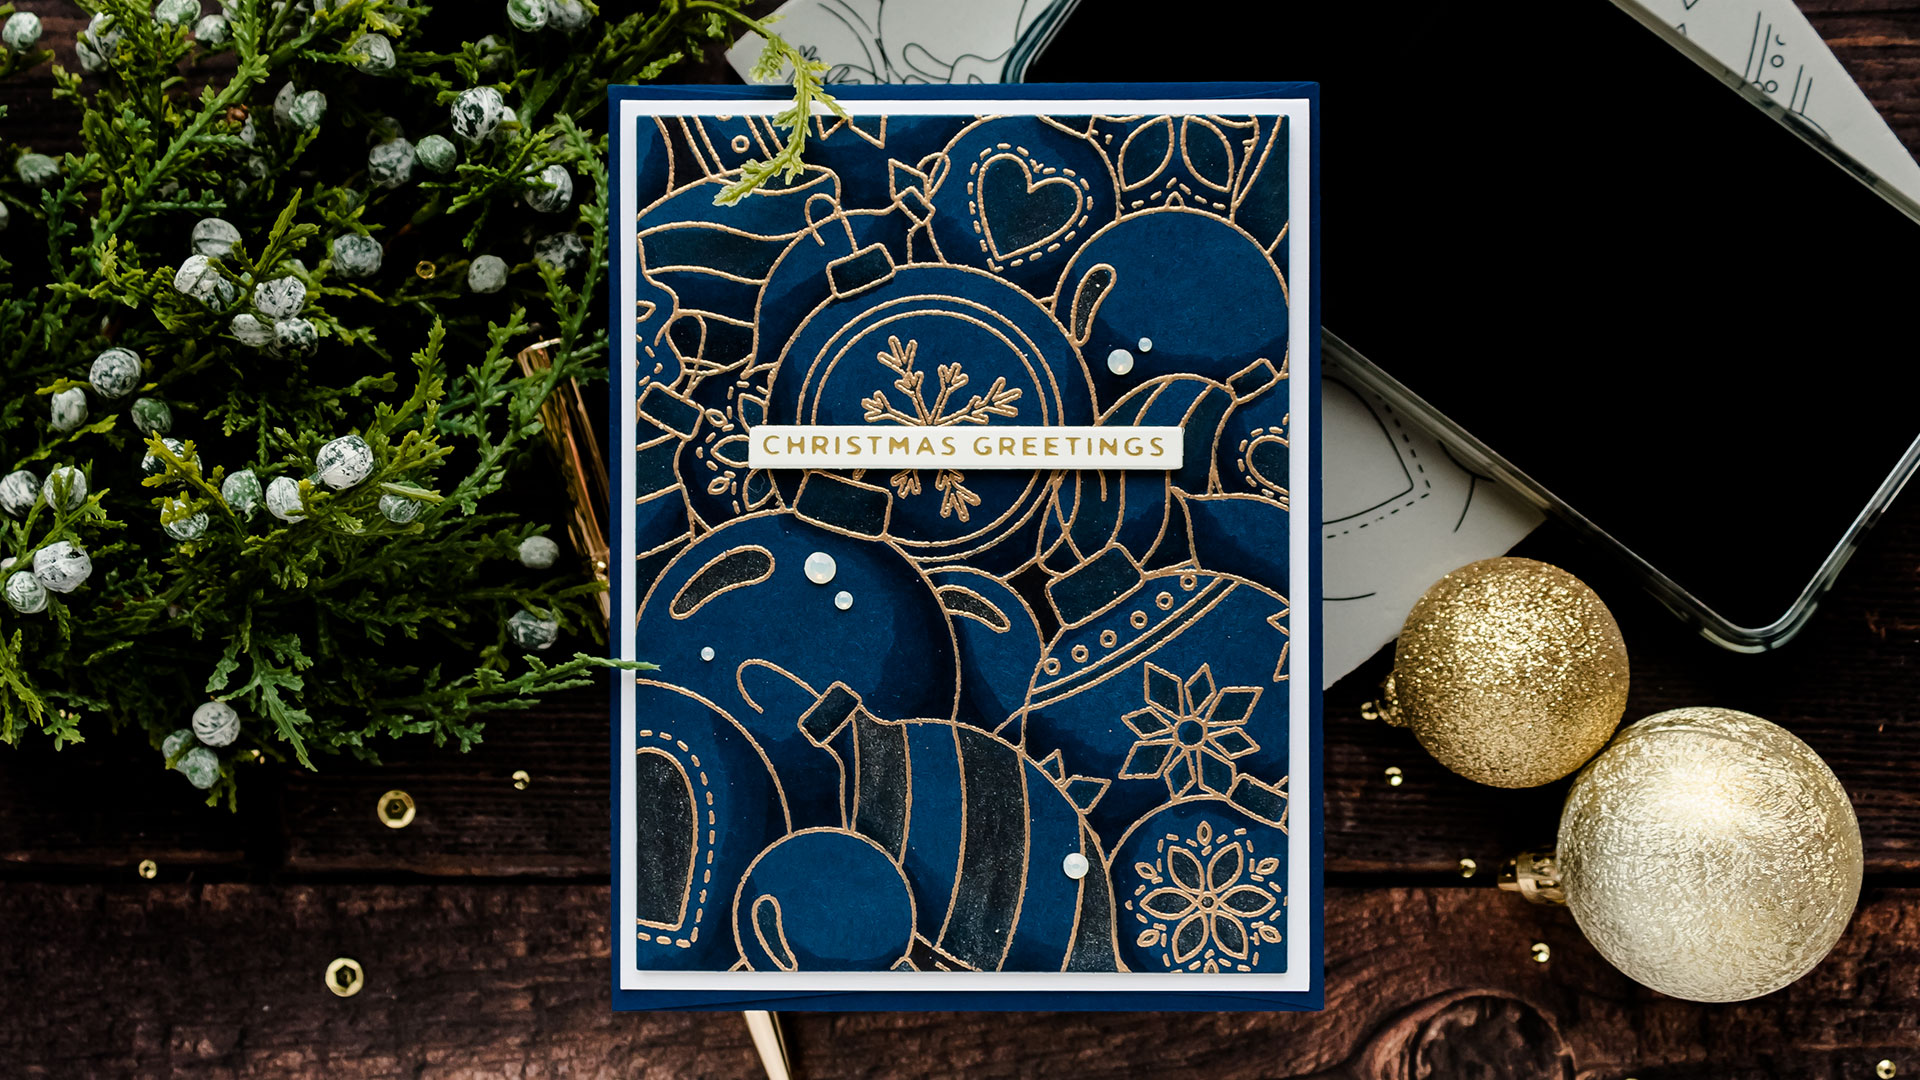
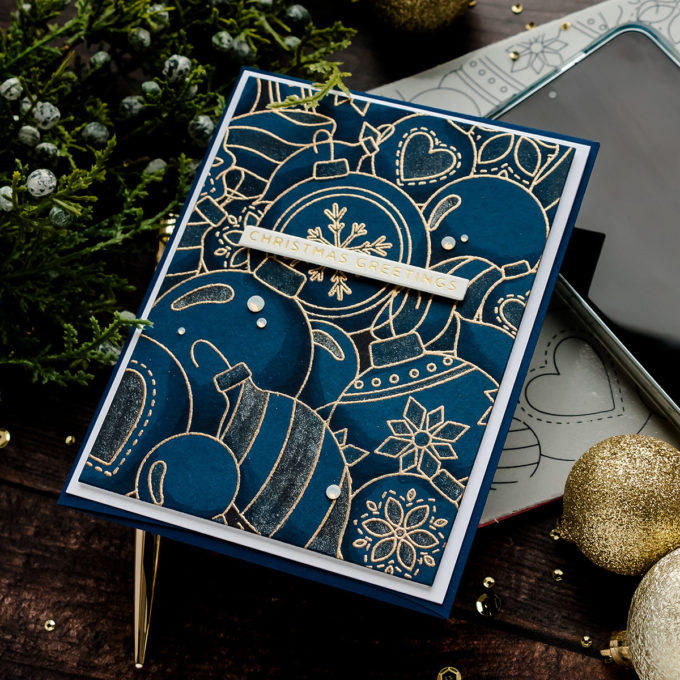
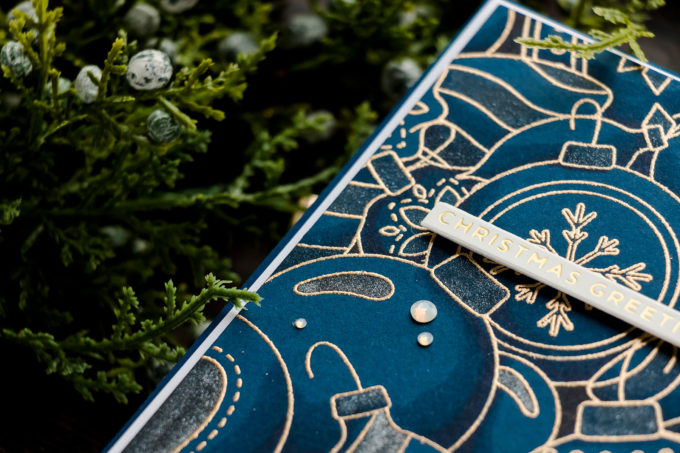
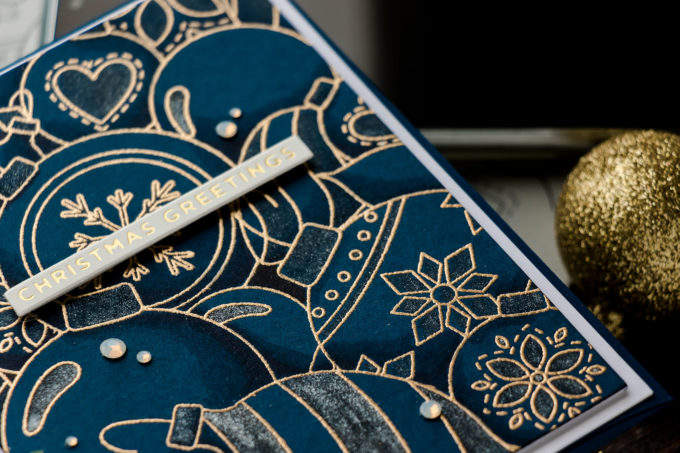
I stamped this background in clear embossing ink onto Simon’s Soft Navy cardstock and heat embossed it in Antique Gold embossing powder. I love the combination of these products – the Soft Navy is a beautiful dark blue, perfect for modern Christmas cards and Antique Gold embossing powder is simply an all-time favorite of mine, it goes well with just about anything.
Before we move on to the next step, I like to trim my background to size. I am making an A2 card, it measures 4 1/4 x 5 1/2” so I’ve trimmed this background to that size exactly. This way, if I decide to do any coloring in the next step, I am not coloring unnecessary areas. Whenever I work with colored cardstock I still like to use my Copic markers, but I also love to incorporate my shimmer pens and any specialty opaque pens I might have in my stash. Shimmer looks especially beautiful on dark colors of cardstock, the dark papers help it shine.
I mentioned I like to use Copic markers on colored cardstock. Copic markers or any alcohol markers are translucent, they are not opaque. So what does that mean? That means that if I used a light color marker, let’s say a light blue over this soft navy paper, it won’t be visible once the marker dries. Light colors of markers will leave no color on dark colors of paper. But, you can still use your card colors of markers to add shading.
For this paper, I’ve found I can use B34, which is the lightest blue in this particular color combination, B97, which is a medium blue, and B99, which is the darkest blue. I can use a combination of these 3 markers to add shading to my ornaments. It is very easy to do and it creates a beautiful effect. It also saves you a ton of time as you aren’t really coloring the entire background, you are simply adding shading.
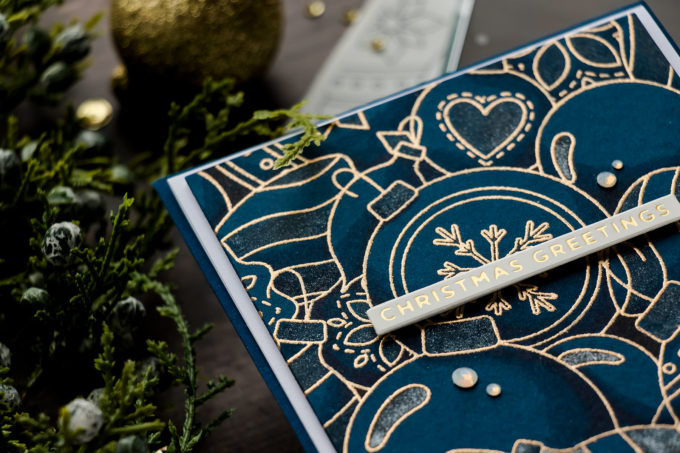
At this point, we can leave the background as is, but we can also keep working on it. For me, that’s where the shimmer pens come into play. I love to use shimmer pens over dark cardstock to add details.
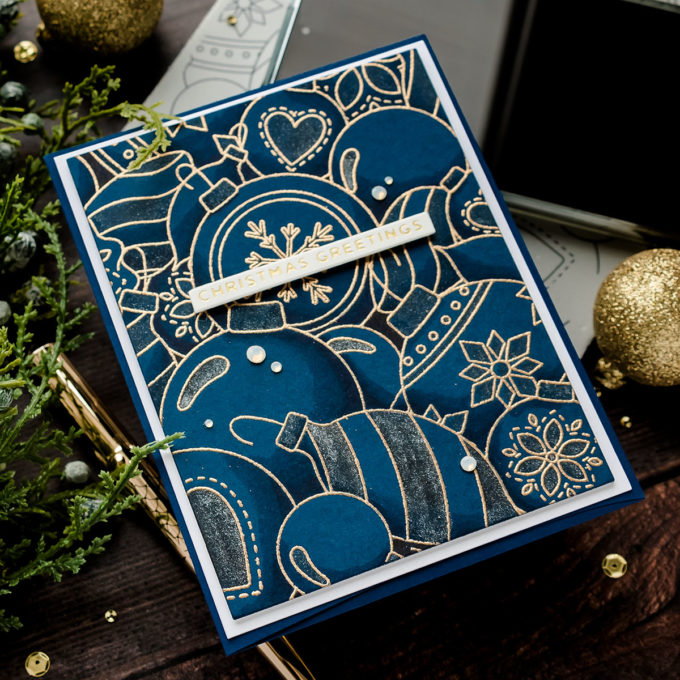
I trimmed this panel down a bit as I wanted to mount it onto a white card base and have a white border. It also looks amazing when adhered to a card front without any border at all.
With backgrounds like this, I prefer to stay away from large bulky sentiments and I often go for a skinny strip sentiment instead. It can be a stamped or a foiled sentiment or even one of those pre-printed sentiments from Simon. I do try to use something small so that it doesn’t cover much of the background and one can see all of the beautiful shading and shimmering.
I added several scrap panels of cardstock to the back of my main panel – this helps me to flatten it, and also to pop it up on the card and I also used the skinny foam adhesive strip to foam mount the sentiment.
Lastly, I opted to add some white gems from Spellbinders scattering them around the sentiment.
Have fun stamping!
SUPPLIES
I’m listing the products I used below. Click on the link to go directly to the product. Where available I use compensated affiliate links which means if you make a purchase I receive a small commission at no extra cost to you. Thank you so much for your support!
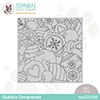 Simon Says Cling Stamp Outline Ornaments Shop at: SSS |
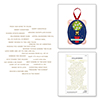 Spellbinders Mini Christmas Sentiment Strips Glimmer Hot Foil & Die Set Shop at: SSS |
 Simon Says Stamp White A2 Top Fold Scored Cards Shop at: SSS |
 Simon Says Stamp Soft Navy Cardstock Shop at: SSS |
 Spellbinders Glimmer Specialty Cardstock 10 Sheet Pack Shop at: SSS |
 Hero Arts Clear Embossing & Watermark Ink Shop at: SSS |
 Ek Success Powder Tool Applicator Shop at: SSS |
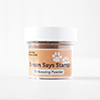 Simon Says Stamp Antique Gold Embossing Powder Shop at: SSS |
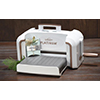 Spellbinders Platinum Die Cutting Machine Shop at: SSS |
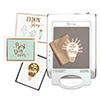 Spellbinders Glimmer Hot Foil System Shop at: SSS |
 Glimmer Hot Foil – Matte Gold Shop at: SSS |
 Spellbinders Tool ‘n One Shop at: SSS |
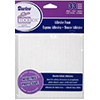 Darice Adhesive Foam 33 Double Sided Strips Shop at: SSS |
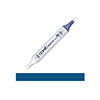 Copic Sketch Marker B99 Agate Dark Blue Shop at: SSS |
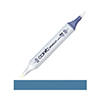 Copic Sketch Marker B97 Night Blue Shop at: SSS |
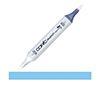 Copic Sketch Marker B34 Manganese Blue Shop at: SSS |
 Bearly Art Mini Precision Craft Glue Shop at: SSS |
 Wagner Precision Heat Tool Shop at: SSS |
 Spellbinders Crystal Mix Color Essential Gems Shop at: SSS |
 Spectrum Noir Clear Overlay Sparkle Pens Shop at: SSS |


Just STUNNING! I like how you added the shimmer and shine, it really makes a difference!
thank you, June! Yes, the shimmer pens really pop on dark colors of cardstock.
The Antique gold is a lovely embossing powder. This card is so WOW.
so glad you like it! thank you 🙂 And yes, Antique Gold is such an amazing color. It is my most used EP
I love this background stamp, and even more I love the steps you took to create such an amazing and beautiful card. The card is definitely one with a high WOW factor. Thanks for always inspiring and sharing your talents.
thank you, Penny. I’m so glad you like it! It is quite a simple card to make, but that shimmer does add a lot to it. Thanks again!
This is so lovely!
thank you so much!
Love this card – did you mention a lady “yazmine”. Trying to find her YouTube.