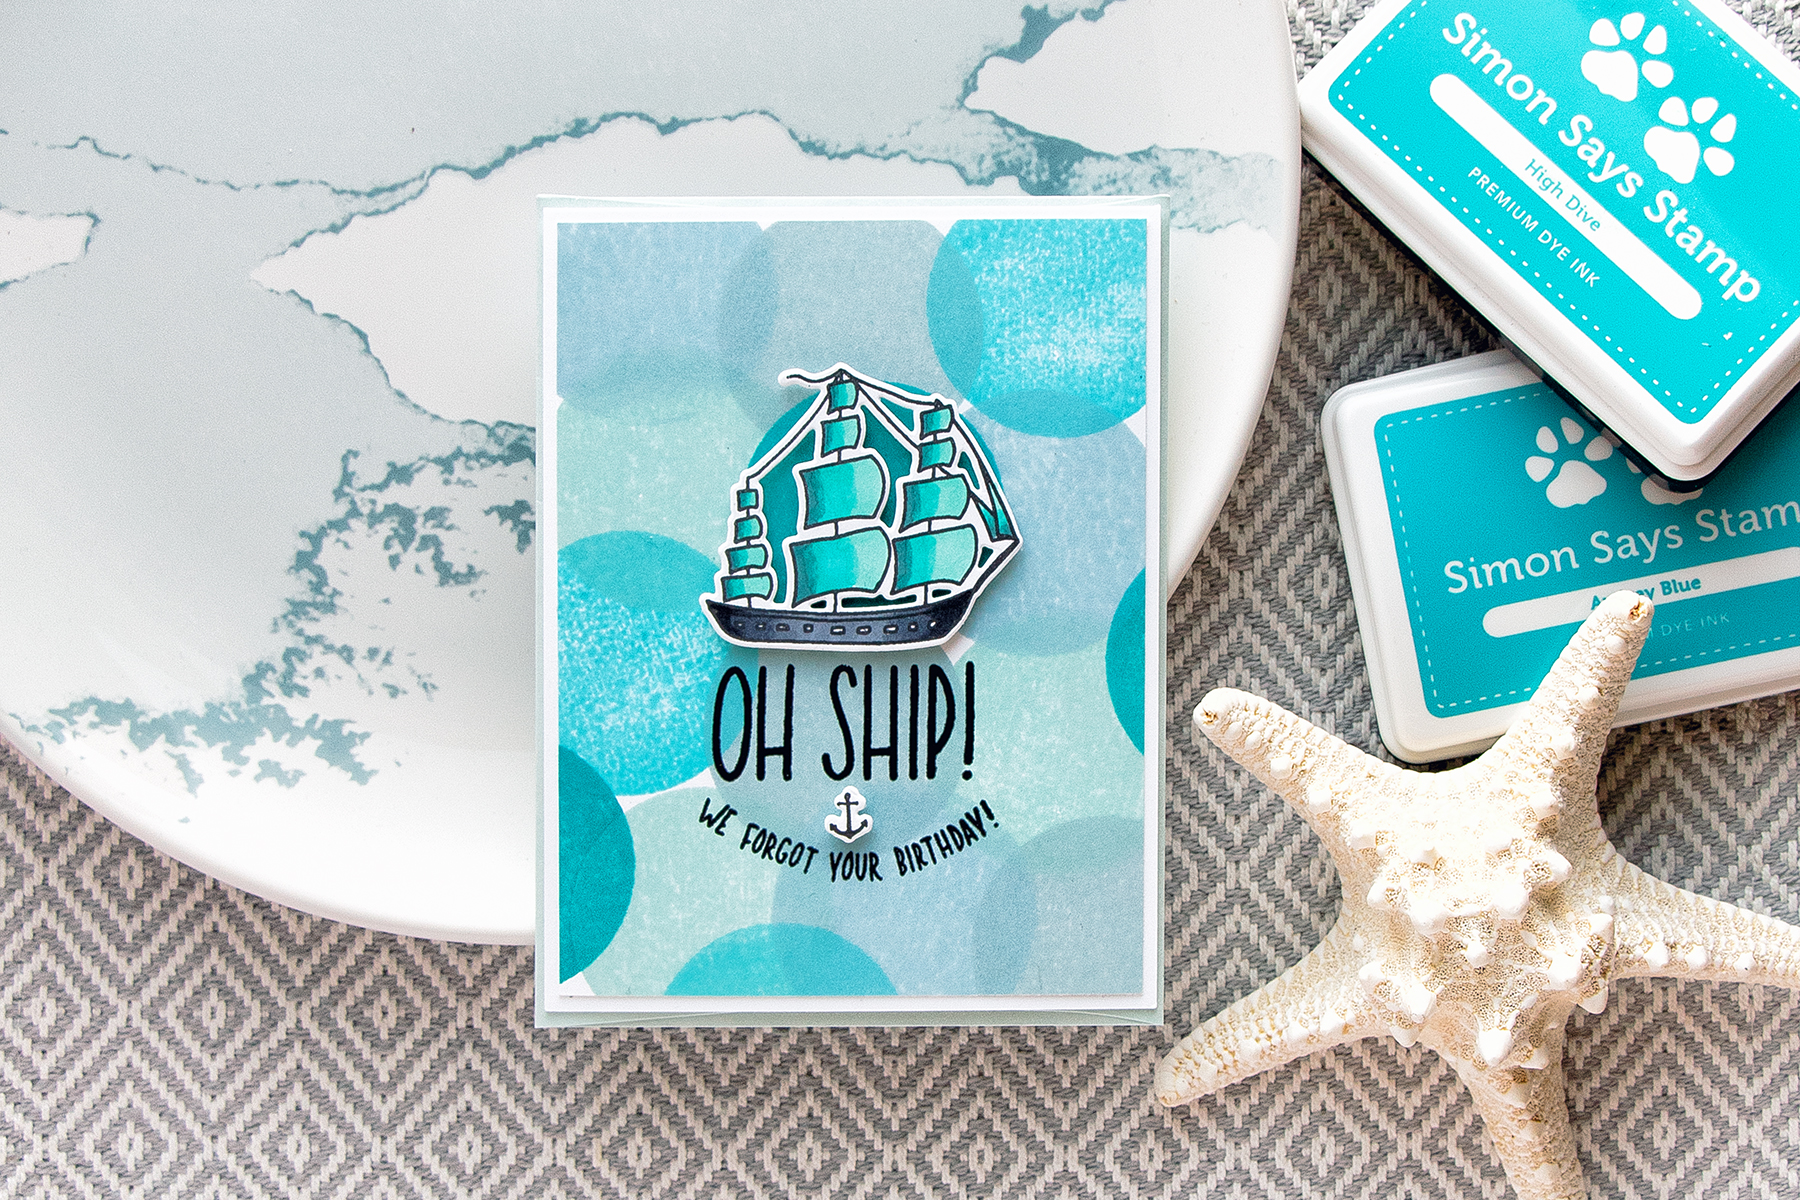
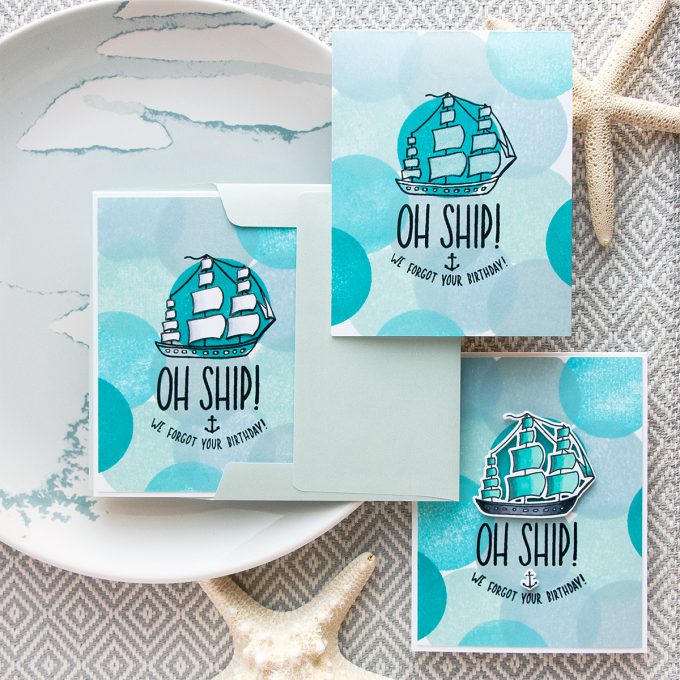
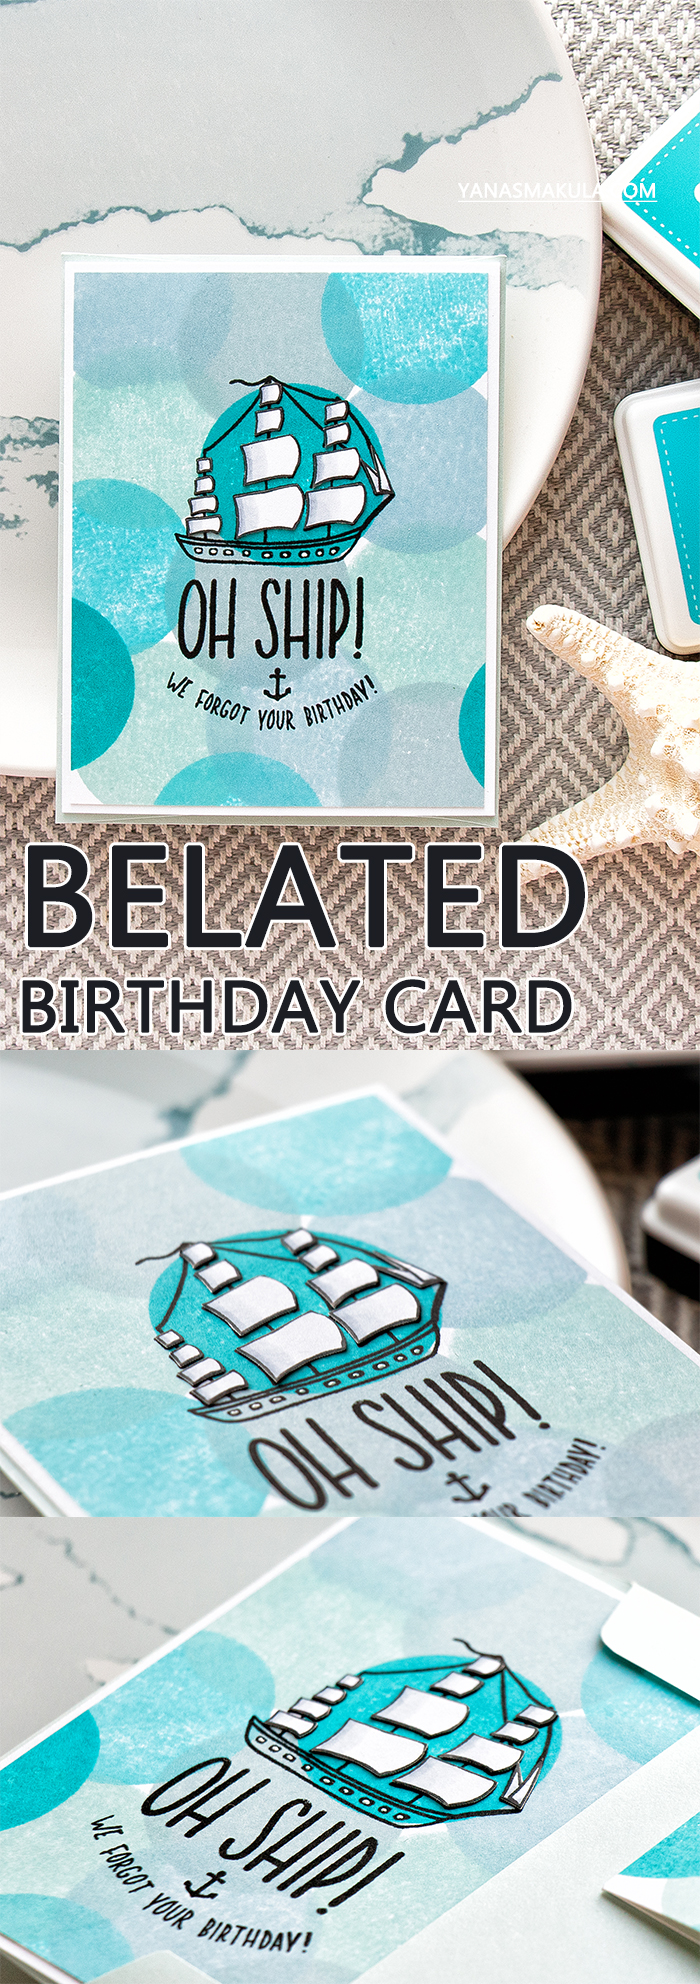
Hi everyone! I’m excited to bring you another episode from my by-monthly Yippee For Yana video series for Simon Says Stamp Blog! In today’s video I’m showing how to stamp a belated Birthday card. I am sharing one card 3 ways – from a very simple one layer mail friendly project to a slightly more layered dimensional card.
Like this project? Pin it and save for later | Curious about my project photography? Click for details.
VIDEO TUTORIAL
As always, I filmed a video tutorial showing how to create this project from start to finish. I’m hoping you’ll enjoy it. Watch it below or on my Youtube channel.
Like this video? Please give it a big thumbs up (you can do this on Youtube video page right under the video) and share with a crafty friend! Leave me a comment too, I love hearing from you!
CARD DETAILS
The stamp sets I picked for these cards are Enjoy The Journey from Hero Arts and Big Perfect Shapes from Simon. As for the colors of ink I went with Lake Shores, Winter Sky, Cloudy Sky, Audrey Blue and High Dive.
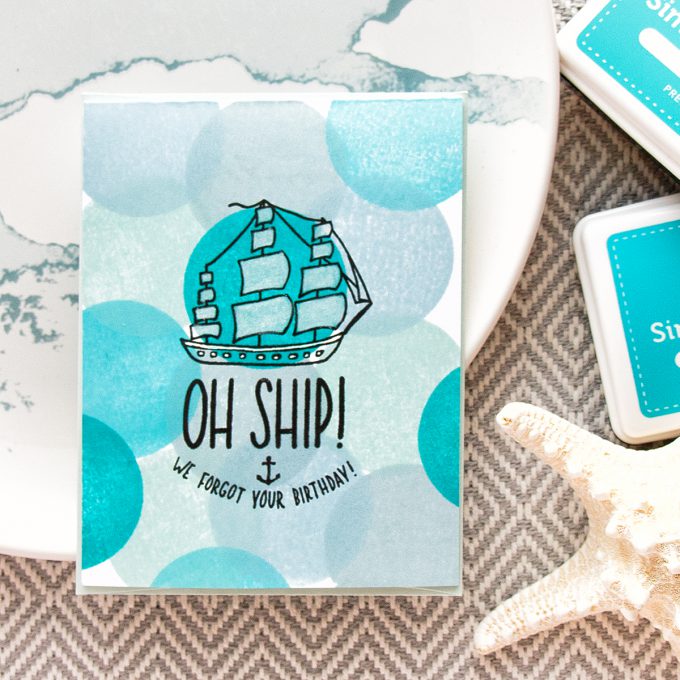
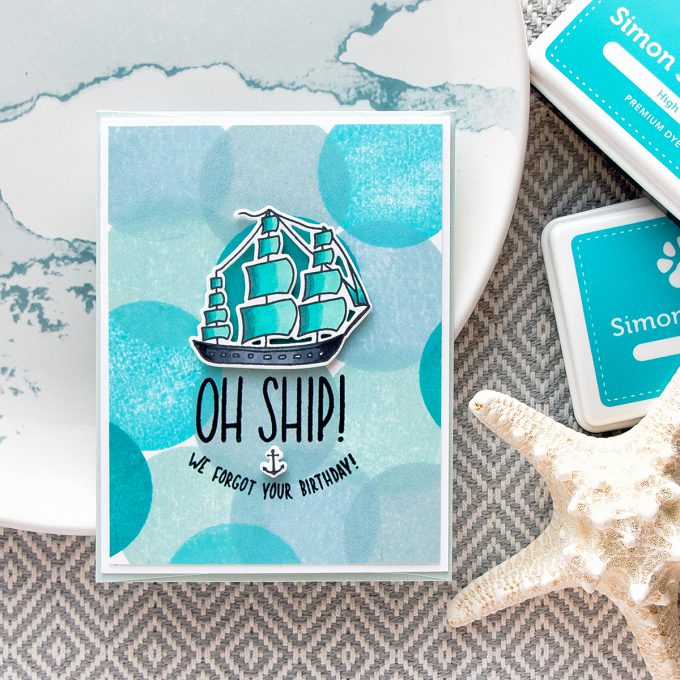
I started working on my cards by creating a background. I used a circle stamp and stamped a random looking pattern using all 5 ink colors. Each color was stamped 3 times. You’ll notice my images overlap a lot – this is the look I was going for.
After my backgrounds were done I used my mini MISTI and stamped the ship as well as the “Oh Ship!” message in Versafine Onyx Black ink. I also added an additional “We Forgot Your Birthday” sentiment at the bottom and I curved it for a more interesting look.
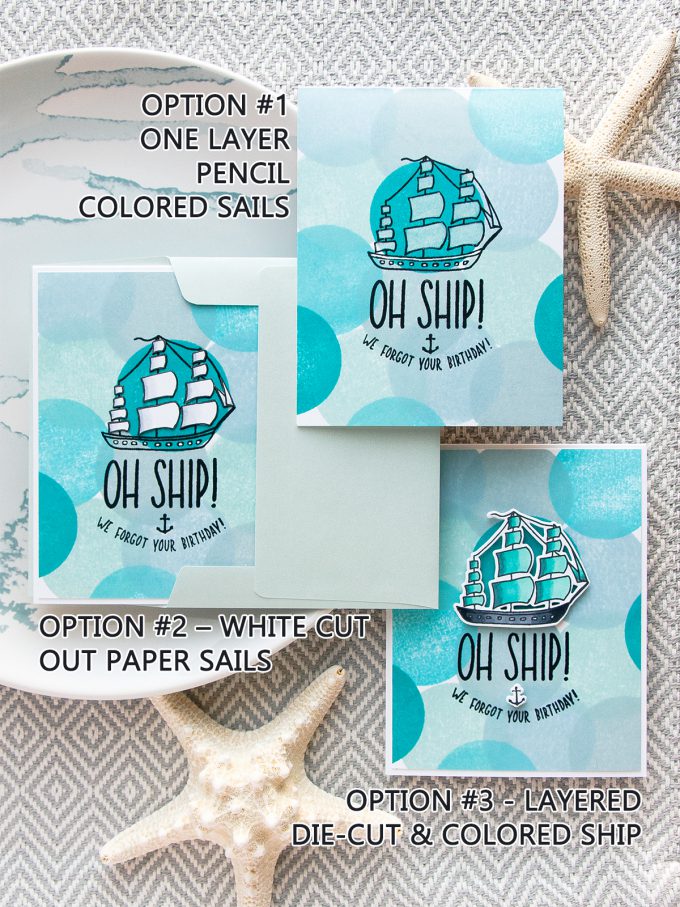
CARD OPTION #1 – ONE LAYER, PENCIL COLORED SAILS
From here I finished each card slightly different. The one layer stamped card front was left almost as is – I used a white Prismacolor pencil and whitened the sails of my ship.
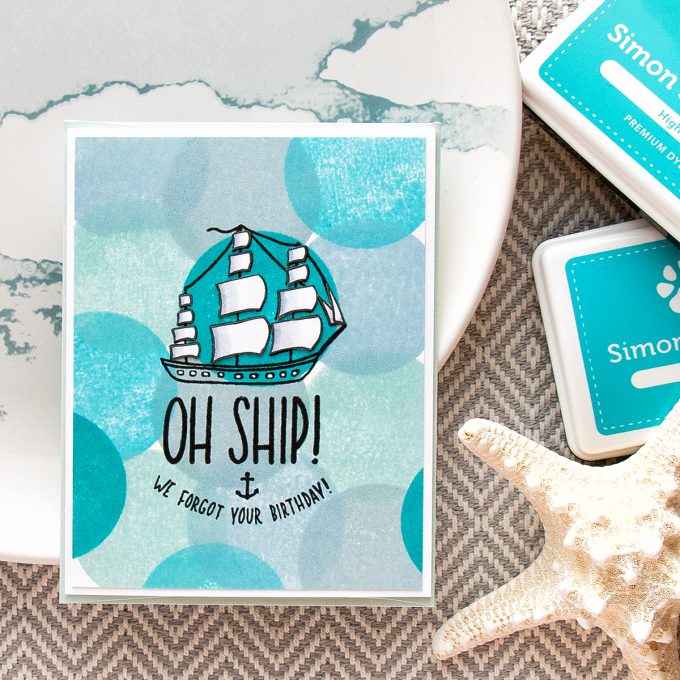
CARD OPTION #2 – WHITE CUT OUT PAPER SAILS
To complete my 2 and 3 cards I trimmed my panels down to 4 by 5 1/4 inches and adhere them onto A2 top folding card bases. I also stamped 2 more ship images and an anchor onto a separate piece of cardstock. I used my Simon’s Intense black ink this time as I knew I’d be coloring these images later.
Using coordinating dies I cut out one of the ships and also an anchor and I set those aside to use for the 3rd card. To complete my 2nd card I cut out the individual sail sections with scissors and adhered them onto the stamped sails on my panel. That took a bit of time, but the sail images aren’t detailed, so they weren’t difficult to cut out at all.
I used my Crystal Katana tool to pick up and move the cut out pieces and my Tonic Deluxe adhesive to add glue. I really loved the way this ship turned out – the white sails added a lot to the overall look and made the image pop off the colorful background. Because they were cut out and adhered they also added a little bit of dimension to this card without actually adding any physical dimension to the project.
I also used a C3 and C1 copic markers along with a colorless blender and added a bit of shading to each white piece to make it appear a bit more realistic.
CARD OPTION #3 – LAYERED DIE-CUT & COLORED SHIP
To complete my 3rd card I colored my die cut ship using Copic markers. The colors I picked were dictated by the colors I used for my background stamping, I wanted my ship to match in color as much as possible. I used BG18, BG15 and BG32 markers to color the sails.
For the hull of the ship I picked cool grays. You’d expect it to be brown since the hull of that kind of ship would be made out of wood, but I didn’t want to introduce additional color to these monochromatic cards, so I went with gray instead and I think that turned out rather nice. I used C9, C7 and C5 colors.
Using foam adhesive I adhered the ship and the anchor onto my last panel.
So here are 3 completed variations of one card – the one layer pencil colored one, the one with the white cut out sails and the 3rd card with the colored, cut out and foam mounted ship and anchor.
I am curios to hear which one you like best. My favorite is the 2nd one, but I do love that added dimension on the 3rd one as well.
SUPPLIES
I’m listing the products I used below. Click on the link to go directly to the product. Where available I use compensated affiliate links which means if you make a purchase I receive a small commission at no extra cost to you. Thank you so much for your support
 Simon Says Stamps and Dies Big Perfect Shapes Shop at: SSS |
 Simon Says Clear Stamps Big Perfect Shapes Shop at: SSS |
 Simon Says Stamp Big Perfect Shapes Wafer Dies Shop at: SSS |
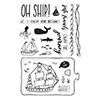 Hero Arts Clear Stamp Enjoy the Journey Shop at: SSS |
 Hero Arts Frame Cuts Enjoy the Journey Dies Shop at: SSS |
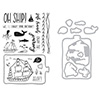 Hero Arts Enjoy the Journey Clear Stamp and Die Combo Shop at: SSS |
 Simon Says Stamp Intense Black Ink Shop at: SSS |
 Simon Says Stamp Cloudy Sky Dye Ink Pad Shop at: SSS |
 Simon Says Stamp High Dive Dye Ink Pad Shop at: SSS |
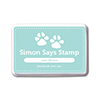 Simon Says Stamp Lake Shores Dye Ink Pad Shop at: SSS |
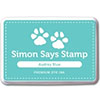 Simon Says Stamp Audrey Blue Dye Ink Pad Shop at: SSS |
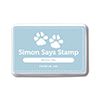 Simon Says Stamp Winter Sky Dye Ink Pad Shop at: SSS |
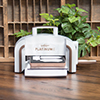 Spellbinders Platinum 6 Die Cutting Machine Shop at: SSS |
 Neenah 110 Lb Solar White Cardstock Shop at: SSS |
 Neenah 80LB Solar White Cardstock Shop at: SSS |
 Mini Misti Stamping Tool Shop at: SSS |
 Tsukineko VersaFine Onyx Black Ink Shop at: SSS |
 Uni-ball Pen Signo Gel White Two Pack Shop at: SSS |
 Crystal Ninja Crystal Katana Mixed Media Pick Up Tool Shop at: SSS |
 Copic Colorless Blender Marker Shop at: SSS |
 Copic Sketch Marker BG32 Aqua Mint Shop at: SSS |
 Copic Sketch Marker BG15 Aqua Blue Shop at: SSS |
 Copic Sketch Marker BG18 Teal Blue Shop at: SSS |
 Copic Sketch Marker C1 Cool Gray Shop at: SSS |
 Copic Sketch Marker C3 Cool Gray Grey Shop at: SSS |
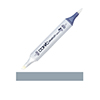 Copic Sketch Marker C5 Cool Gray Grey Shop at: SSS |
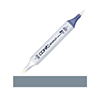 Copic Sketch Marker C7 Cool Gray Shop at: SSS |
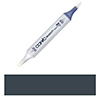 Copic Sketch Marker C9 Cool Gray Grey Shop at: SSS |
 Be Creative Tape 3mm Sookwang Shop at: SSS |
 Tonic Deluxe Adhesive Nuvo Glue Shop at: SSS |
 Scrapbook Adhesives White Foam Squares Shop at: SSS |
 Prismacolor Colored Pencil White Shop at: SSS |
PIN THIS PROJECT
Are you on Pinterest? I’d love for your to pin this project if you like it! Thanks!



I love the dimensional card the best.
I really do like them all Yana but I have to pick the third one, probably because of the dimension the little bit of colouring adds on the sails.
These are great! I really love the Oh Ship! sentiment; it makes me giggle all the time!. I love how card #2 turned out! Thanks for sharing!
All of them are a great way to use the stamps and make 3 different cards, love them
Love the three options. Great look.
They are all sweet! I also like the second one with the white sails. Love your videos! Keep them coming! Thanks Yana!
Stunning cards! Love the colors! Great tips on stretching a stamp set to easy get different look.