


Hello and welcome back for another Yippee For Yana video! Today, I’m sharing a fun technique using Simon Says Stamp’s gorgeous White Fusion stencil set from their latest release. This stencil set is perfect for creating a bold leaf design that really makes a statement on your cards.
Let’s dive right into it and see how to create a beautiful thank you card with this stunning stencil!

Like this project? Pin it and save it for later | Curious about my project photography? Click for details.
VIDEO TUTORIAL
Watch the video below or on my YouTube channel.
CARD DETAILS
Step 1: The Stencil Setup
I’m using the White Fusion stencil set to create an intricate leaf design. For this project, I’m blending four colors of ink: Carnation, Peony, Rose, and Cabernet from Simon Says Stamp. I’m working on Neenah Solar White cardstock cut to 4.25” x 5.5” and using a Positively Perfect Craft Tacky Mat to keep everything in place.
Step 2: Ink Blending the First Layer
Using a large blending brush, I applied a solid layer of Carnation ink to the stencil. I then added a darker shade (Peony and Rose) to the center of the leaf for shading, creating a more dimensional look.
Step 3: Adding Layers
Next, I added more depth using Peony for the second layer and Cabernet for shading. Once the third layer was done, I removed the stencil and loved how the vibrant colors really popped against the white paper.
Step 4: Stamping the Text Background
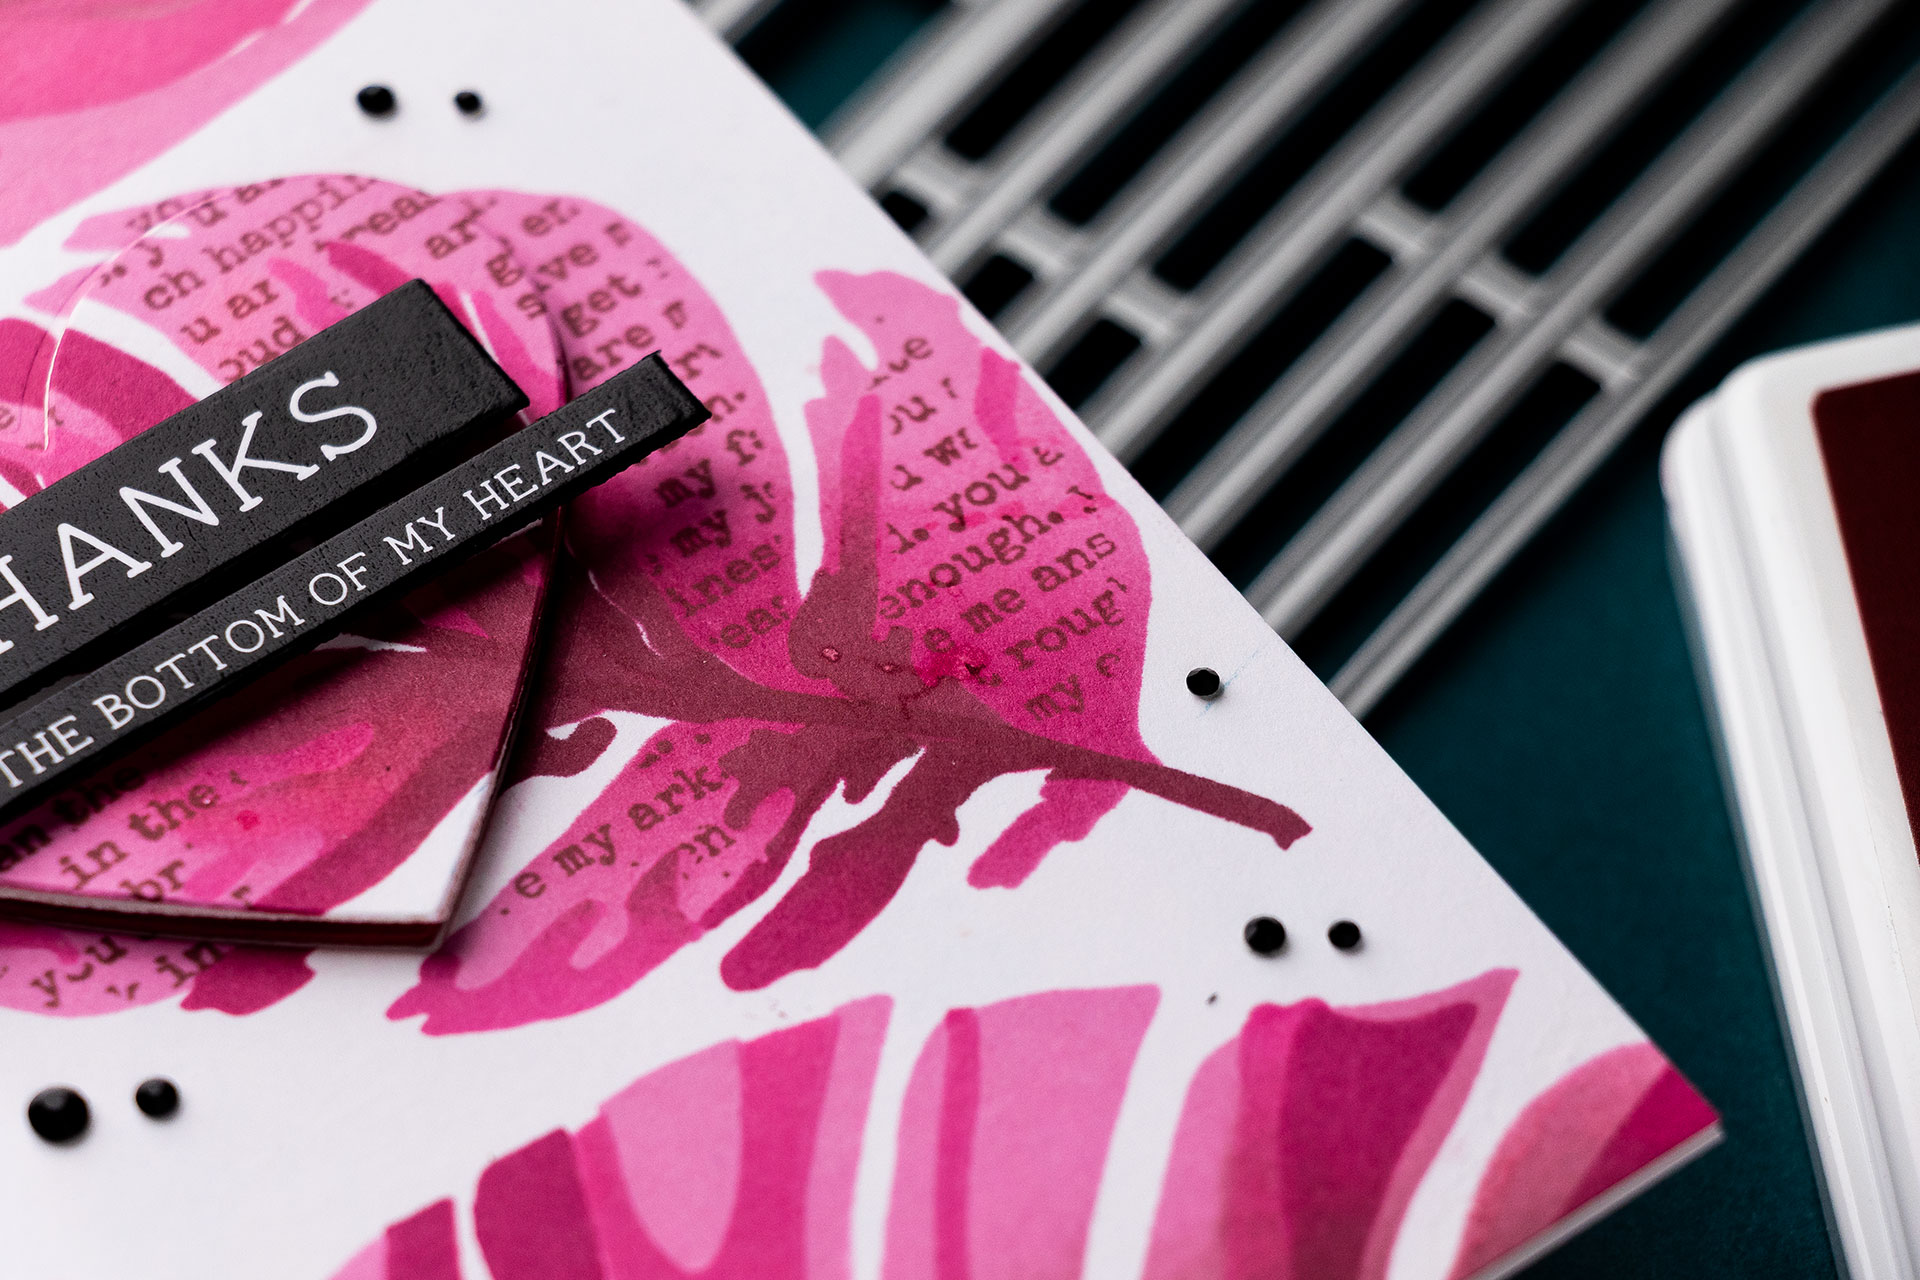
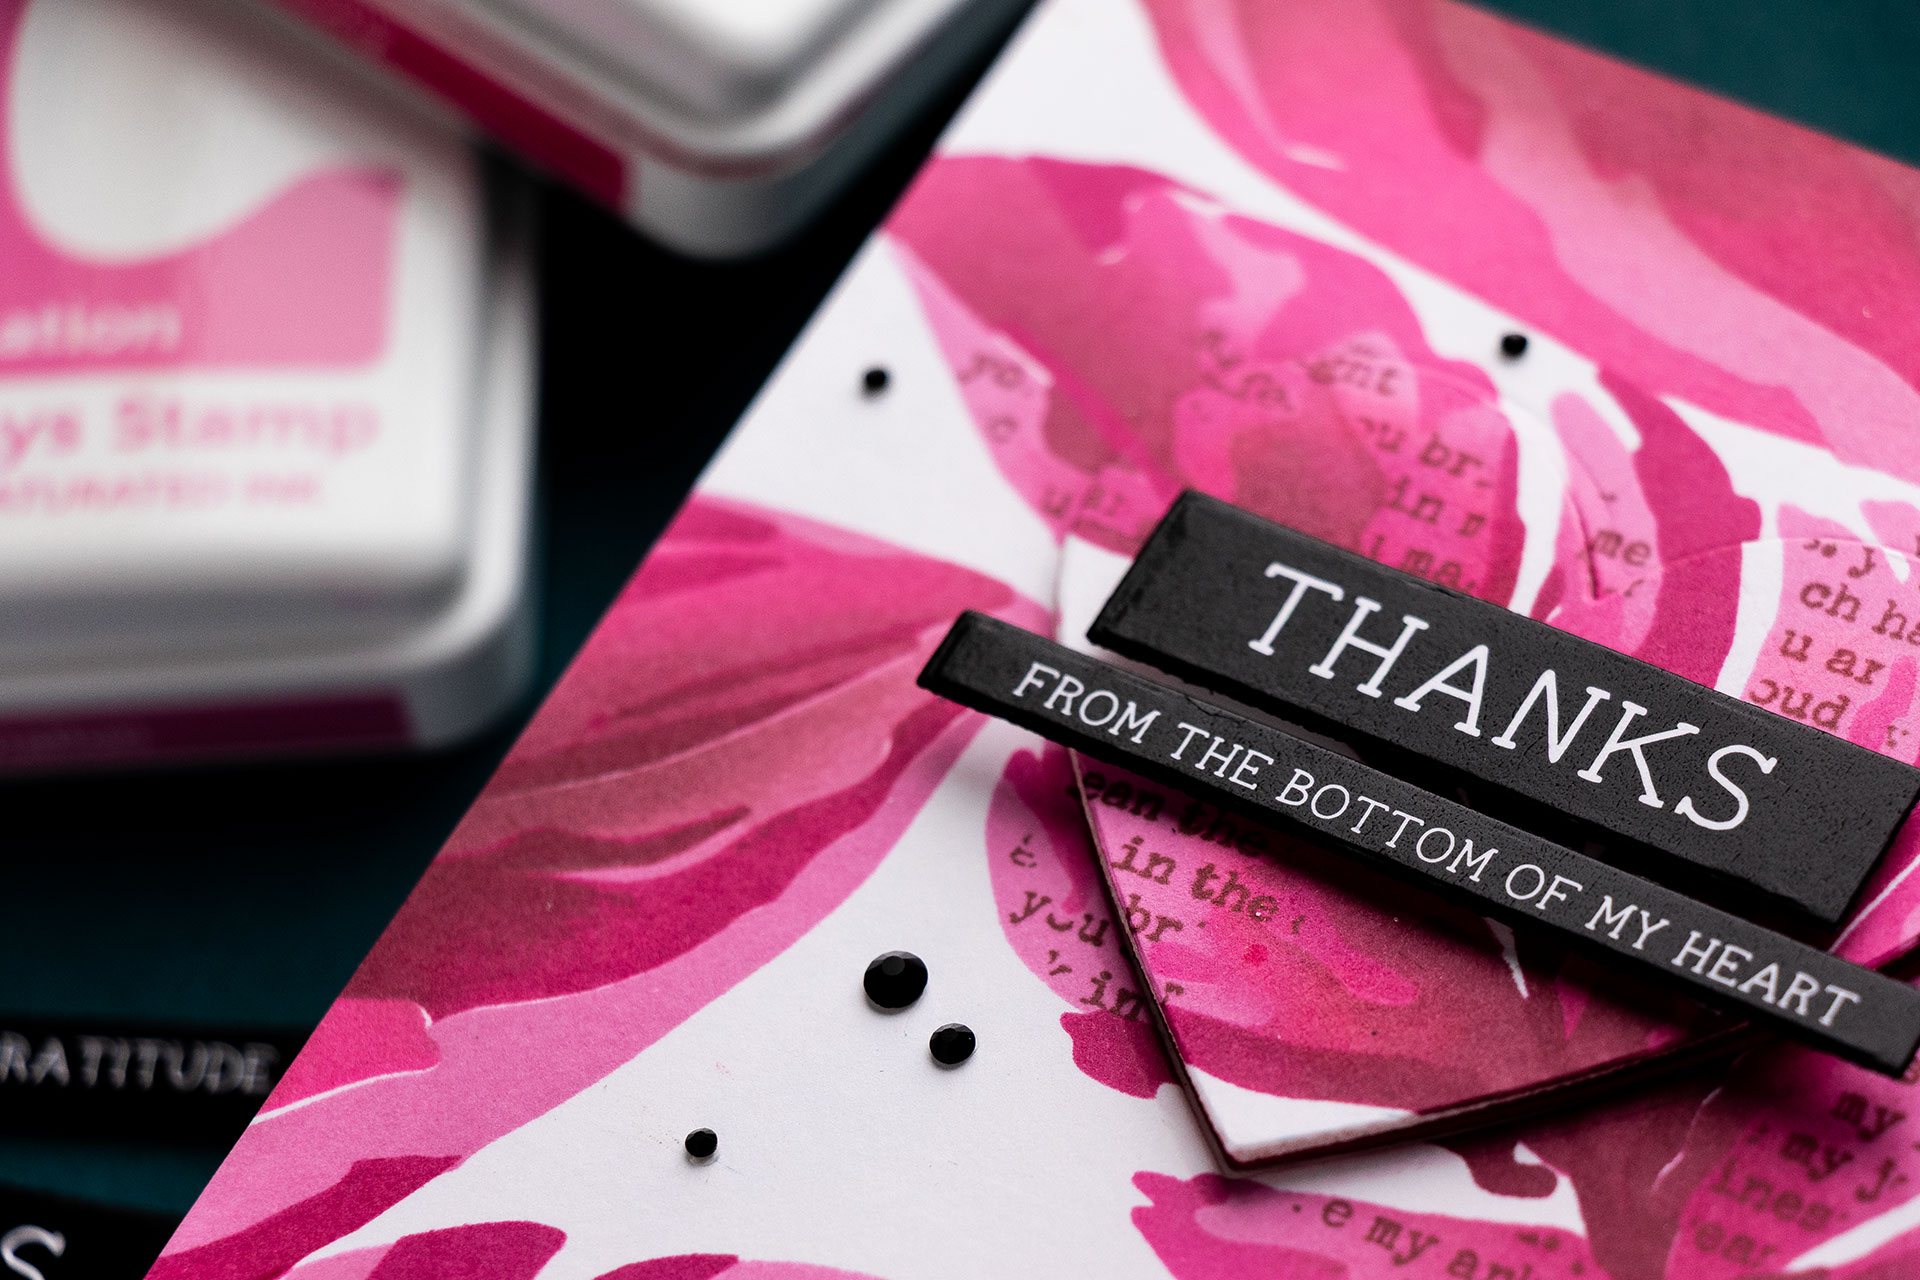
For extra dimension, I stamped a text background with Simon Says Stamp’s You Are background cling stamp. I used Cabernet ink, which blended beautifully with the inked leaf and created a softer contrast than black ink.
Step 5: Final Touches
I erased the pencil lines and added additional ink blending to fill the background using the Monstera and Stromanthe stencils. This helped create a monochromatic effect, and the background was filled with even more vibrant leaves.
Step 6: Die-Cutting the Heart
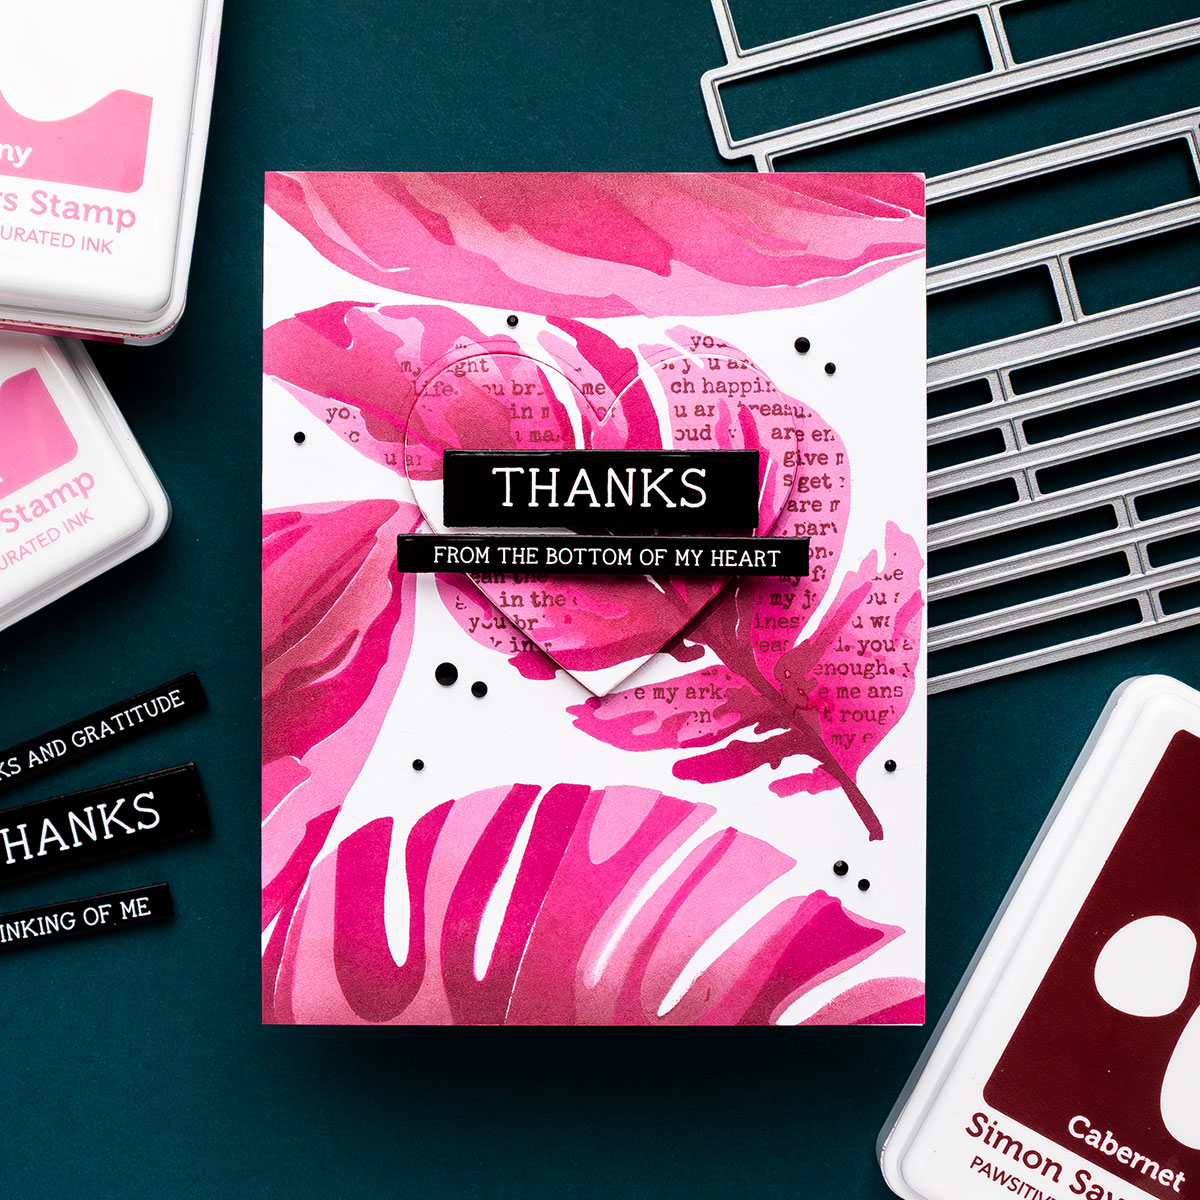
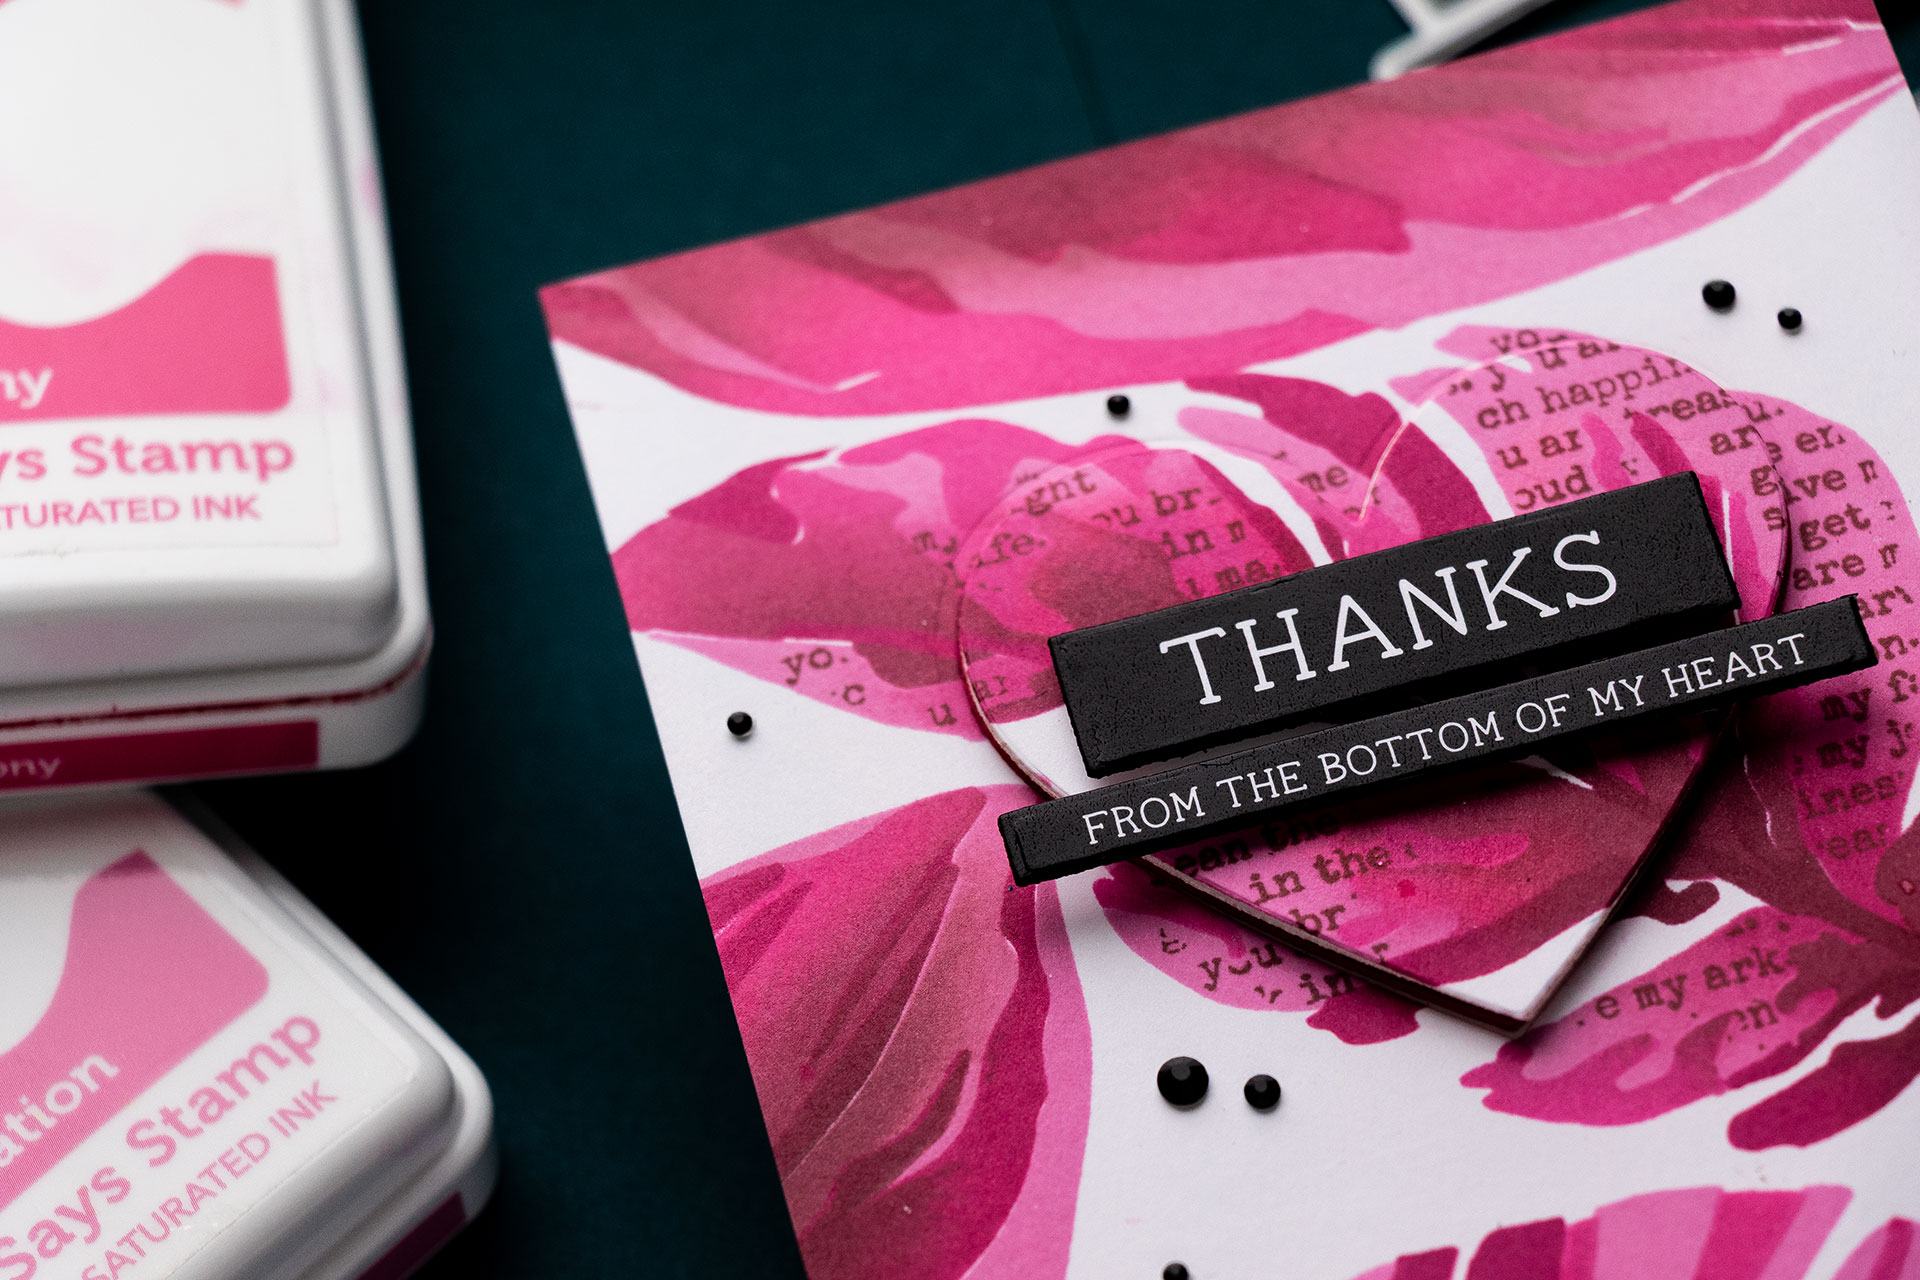
For a playful sentiment, I used a heart die from my stash to cut out a portion of the leaf. I paired it with a sentiment from Simon Says Stamp’s EZ Strips & Dies – Thank You set to say, “Thanks from the bottom of my heart.”
I adhered the inked panel to an A2 top-folding card base and foam-mounted the heart and sentiment. To finish, I added black gems to bring a little sparkle to the card.
And there you have it—an elegant thank you card, full of dimension and color! I hope you try out this technique, and feel free to mix up the colors for your own creative spin. Thanks so much for joining me, and I’ll be back with more fun ideas soon!
Happy stamping!
SUPPLIES
I’m listing the products I used below. Click on the link to go directly to the product. Where available, I use compensated affiliate links, which means if you make a purchase, I receive a small commission at no extra cost to you. Thank you so much for your support!
 Simon Says Stamp Set of 4 Stencils White Fusion Shop at: SSS |
 Simon Says Stamp Stencils Monstera Shop at: SSS |
 Simon Says Stencils Set of 4 Stromanthe Shop at: SSS |
 Neenah 80lb Solar White Cardstock Shop at: SSS |
 Simon Says Cling Stamp You Are Background Shop at: SSS |
 Simon Says Stamp White A2 Top Fold Scored Cards Shop at: SSS |
 MISTI Stamping Tool Shop at: SSS |
 Simon Says Stamp EZ Strips and Dies Thank You Shop at: SSS |
 Simon Says Stamp Pawsitively Saturated Ink Pad Peony Shop at: SSS |
 Simon Says Stamp Pawsitively Saturated Ink Pad Cabernet Shop at: SSS |
 Simon Says Stamp Pawsitively Saturated Ink Trio 12 Shop at: SSS |
 Simon Says Stamp Pawsitively Saturated Ink Pad Carnation Shop at: SSS |
 Simon Says Stamp Blending Brush SET SMALL Shop at: SSS |
 Simon Says Stamp Blending Brush Set Large Shop at: SSS |
 Spellbinders Onyx Mix Color Essential Gems Shop at: SSS |
 Simon Says Stamp 2 Dot Runner Refills Adhesive Shop at: SSS |
 Simon Says Stamp Dot Runner and 2 Refills Shop at: SSS |
 Simon Says Stamp 3D Foam Squares White Shop at: SSS |

This is gorgeous – the colours are amazing