Hi everyone! I’m excited to bring you another episode from my by-monthly Yippee For Yana video series for Simon Says Stamp Blog! In today’s video I’m showing you how to create a watercolor galaxy background. I’m linking to products I used below. Affiliate links used.
Like this project? Pin it and save for later
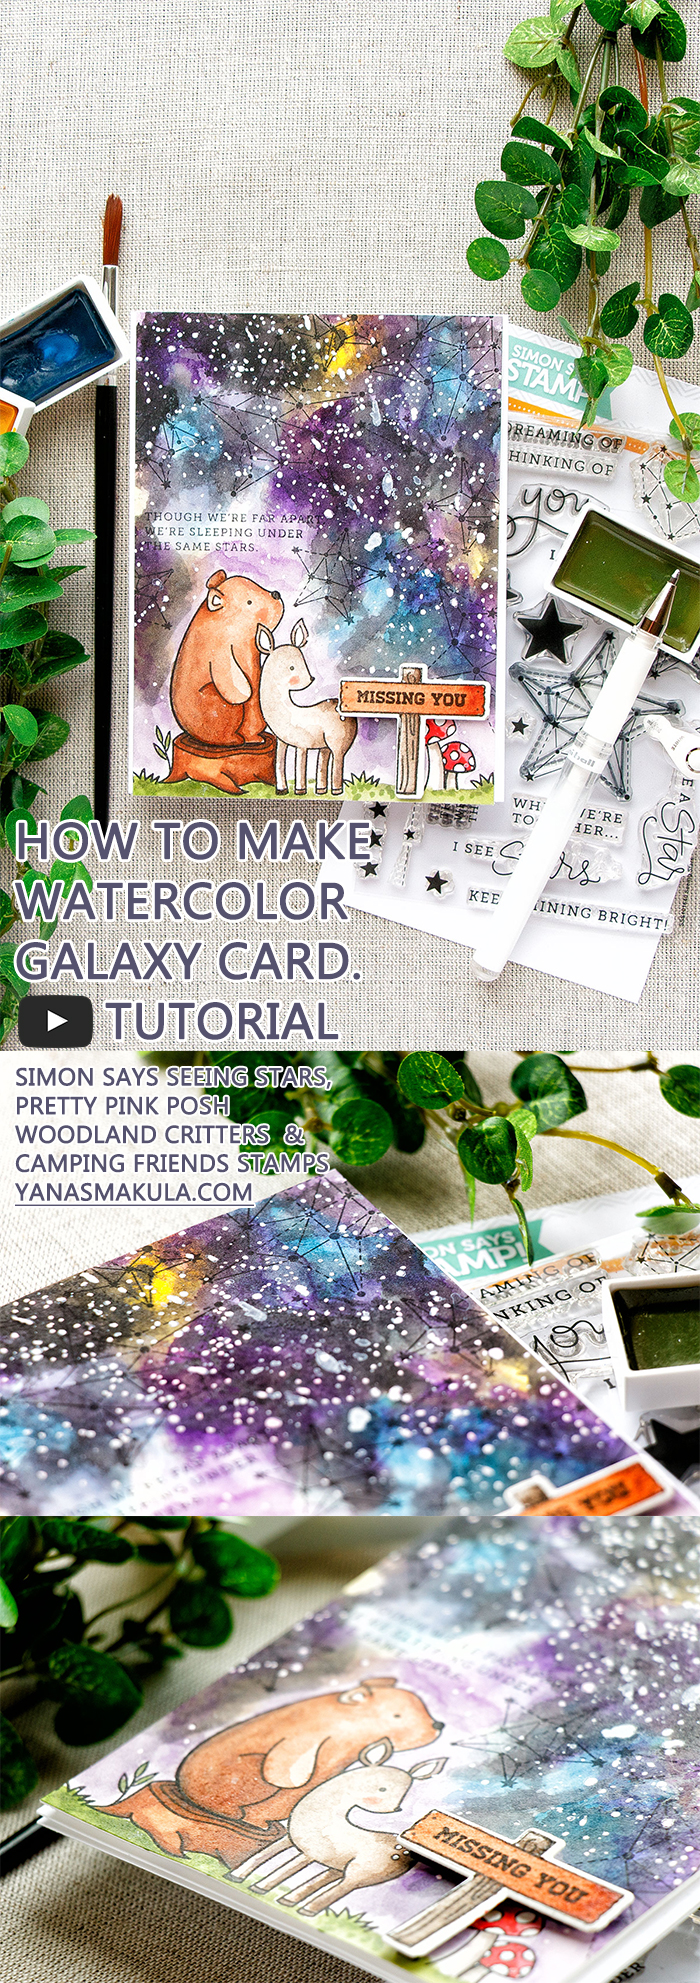
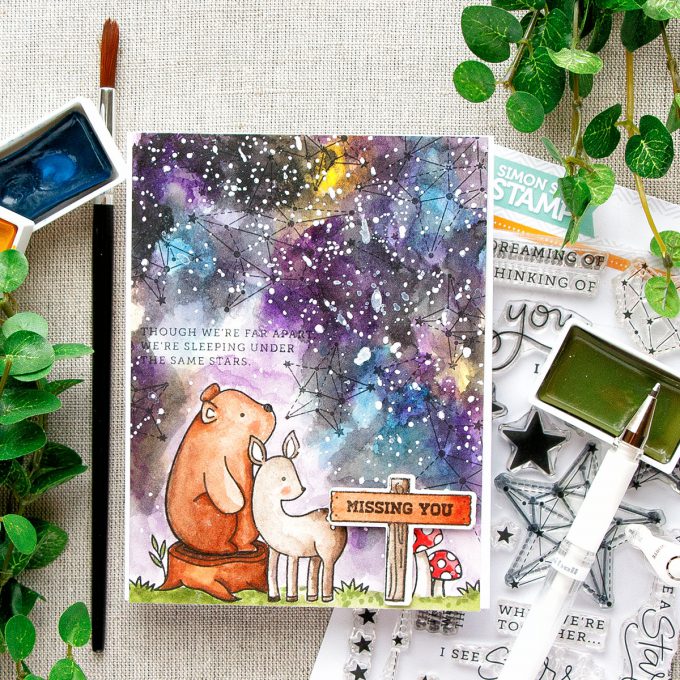
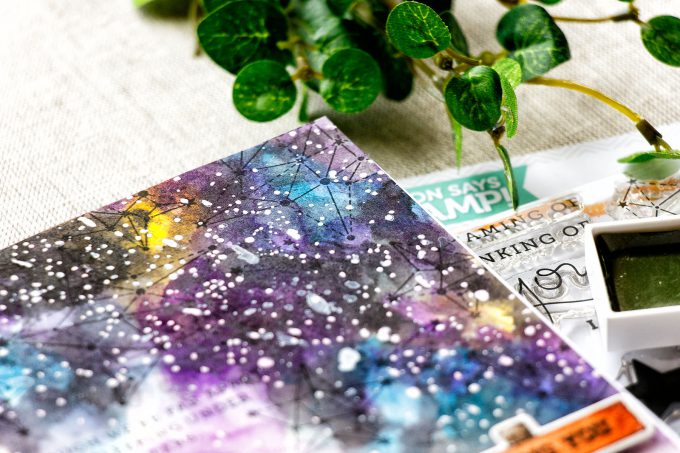
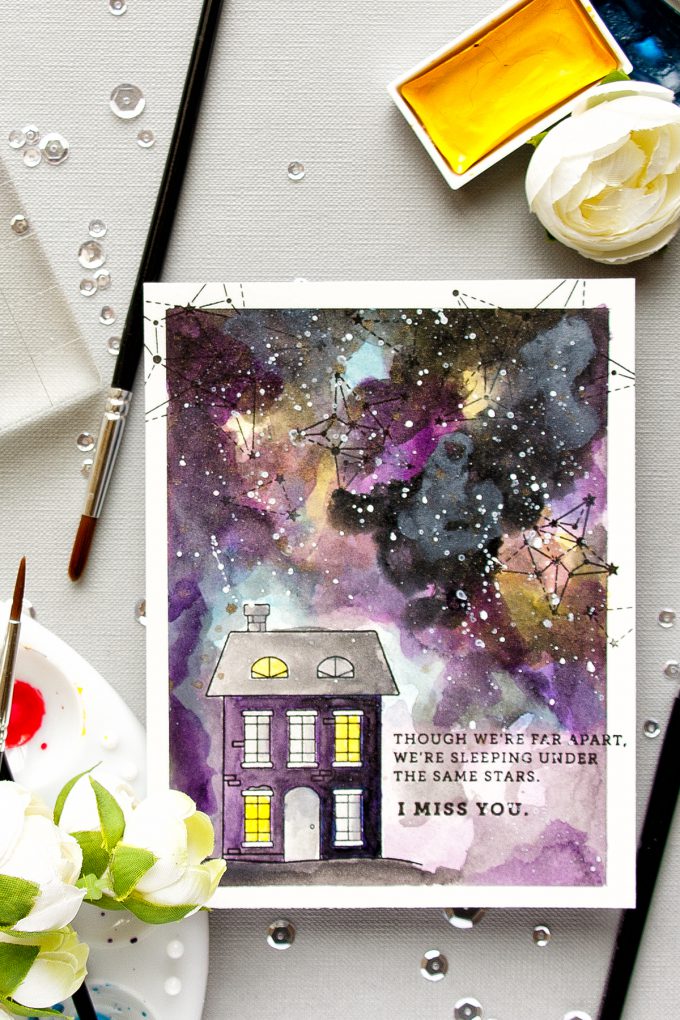
This project probably seems intimidating because right now you are thinking “there’s no way I can create that watercolor galaxy background”. Trust me, you can. You just have to give it a try and add some black and white at the end. This really is the main trick.
VIDEO TUTORIAL
As always, I filmed a video tutorial showing how to create this project from start to finish. I’m hoping you’ll enjoy it. Watch it below or on my Youtube channel.
Like this video? Please give it a big thumbs up (you can do this on Youtube video page right under the video) and share with a crafty friend! Leave me a comment too, I love hearing from you!
CARD DETAILS
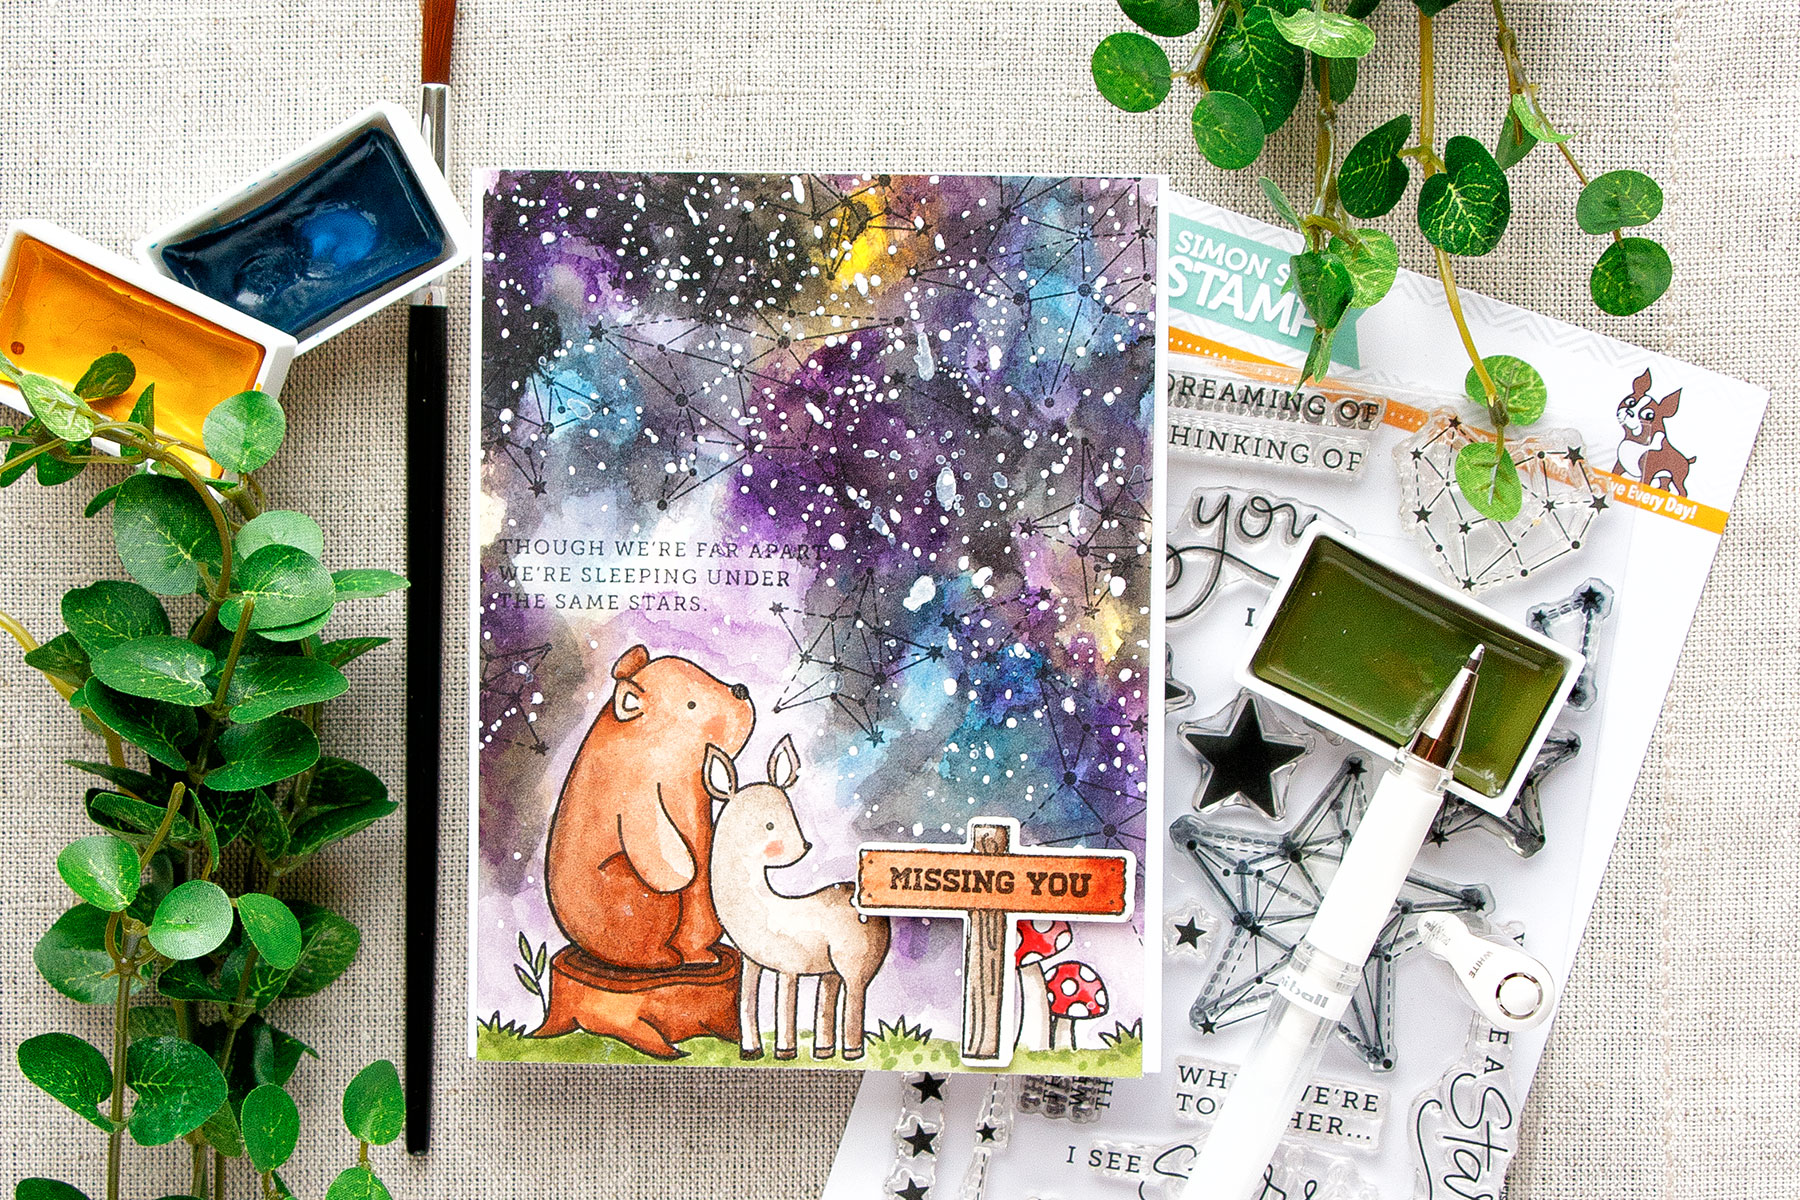
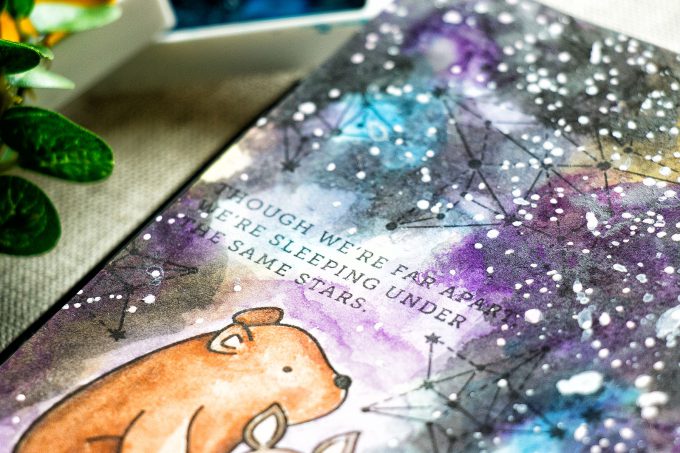
I started working on my project by stamping stars and a sub sentiment from the Seeing Stars stamp set in Versafine Onyx Black ink on Arches Hot Press watercolor cardstock panel. This particular paper is smooth and perfect for stamping and watercoloring, it has almost no texture at all, so images stamp really nicely. The reason I went with Versafine Onyx Black ink for stamping is this ink is nice and rich and it is waterproof; it was vital to use a waterproof ink for my stamping.
I also stamped my critters and I used a bit of masking. Because I was creating a scene, I needed to mask several images for best results.
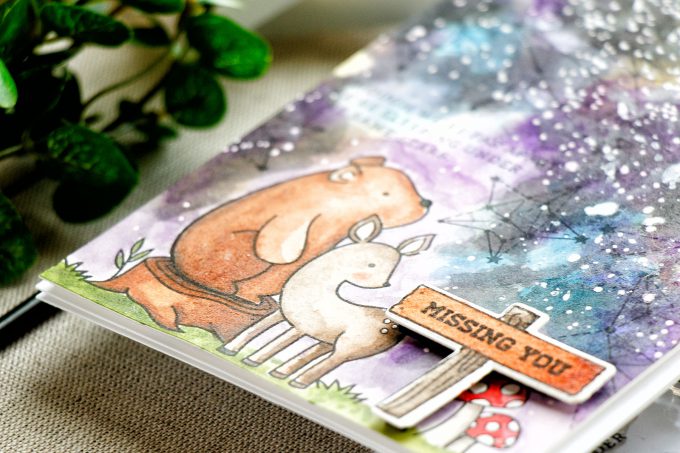
After my stamping was done I moved onto coloring. I taped my panel onto a board (I knew I would be adding quite a bit of water so I wanted the panel to warp as little as possible and I was able to minimize warping by taping my panel down). For my coloring I used Gansai Tambi watercolors and first colored my critters.
Later, I used several colors or Copic markers (colors are listed below) to add details and shading to my images as I didn’t quite like the watercolored result. You can definitely combine different coloring mediums to add details and finishing touches. Don’t feel like you can’t mix mediums, you most definitely can (and because VersaFine ink is also Copic friendly after it’s been heat set the ink didn’t bleed when it came in contact with markers).
To color my background I first wet the paper using a flat waterbrush and next added initial color. I used a heat tool in between each layer of color and dried my paper. My background looked quite bad during the process but as soon as I added black and later white it magically transformed. I made sure to kept the area around my critters and sentiment light (I added only light shades of blue and purple and just a bit of black) so that the main images still remained prominently visible on my project.
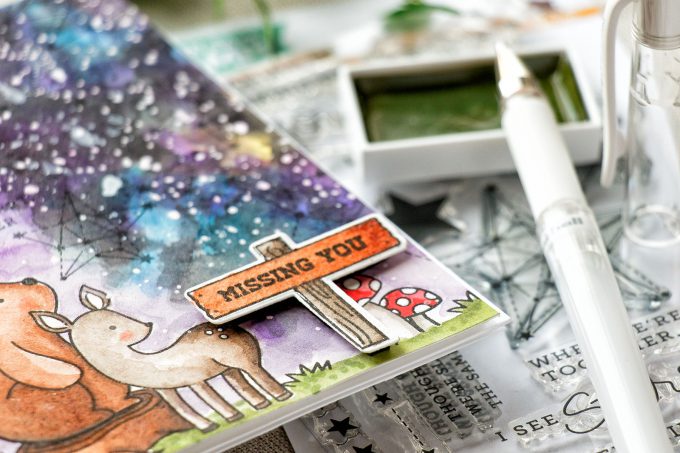
I also die cut and stamped a wooden sign from the Camping Friends stamp set by Pretty Pink Posh onto same Arches Hot Press watercolor paper, added a missing you sentiment and watercolored the sign to match the rest of my scene.
I foam mounted my watercolor panel onto an A2 top folding card base – it was trimmed to 4 by 5 ½” and foam mounted stamped and die cut sign on top. I used black foam tape to make sure it wouldn’t be visible on the card.
This project was inspired by a card I shared several month ago over on my blog – I used the same Seeing Stars stamp set to stamp constellations on my background and went with the same watercolor galaxy technique.
SUPPLIES
I’m listing the products I used below. Click on the link to go directly to the product. Where available I use compensated affiliate links which means if you make a purchase I receive a small commission at no extra cost to you. Thank you so much for your support
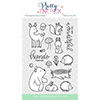 Pretty Pink Posh Woodland Critters Clear Stamp Set Shop at: SSS |
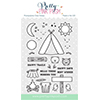 Pretty Pink Posh Camping Friends Stamp Set Shop at: SSS |
 Pretty Pink Posh Camping Friends Coordinating Dies Shop at: SSS |
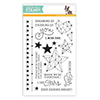 Simon Says Seeing Stars Stamps Shop at: SSS |
 Neenah 110 Lb Solar White Cardstock Shop at: SSS |
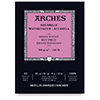 Arches Hot Pressed Watercolor Pad 9×12″ Shop at: SSS |
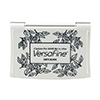 Tsukineko VersaFine Onyx Black Ink Shop at: SSS |
 Mini Misti Stamping Tool Shop at: SSS |
 Uni-ball Pen Signo Gel White Two Pack Shop at: SSS |
 Ranger Studio Paint Artist Brushes Shop at: SSS |
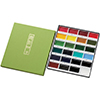 Zig Kuretake Gansai Tambi Watercolor Set Shop at: SSS |
 Jack Richeson 9 X 12 Inch Hardboard Panel Shop at: SSS |
 Copic Sketch Marker R20 Blush Pink Shop at: SSS |
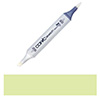 Copic Sketch Marker YG03 Yellow Green Shop at: SSS |
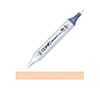 Copic Sketch Marker E33 Sand Beige Shop at: SSS |
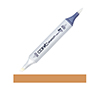 Copic Sketch Marker E37 Sepia Brown Shop at: SSS |
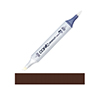 Copic Sketch Marker E79 Cashew Dark Brown Shop at: SSS |
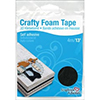 Scrapbook Adhesives Black Foam Tape Shop at: SSS |
 Be Creative Tape 3mm Sookwang Shop at: SSS |
 White Fun Foam 12 Pack 9 x 12 Shop at: SSS |
 Spellbinders Platinum 6 Die Cutting Machine Shop at: SSS |
PIN THIS PROJECT

Spectacular backgrounds Yana – the whole card is just fabulous (those animals are so sweet)! I applaud you. Rest your voice 😛
Beautiful I would of freaked out and probably thrown it away but I can see as you kept going it turned out beautifully.. I love the rich colors and the stars.. Loving the animals. Beautiful scene..
This turned out beautiful Yana! I love that you shared this video in particular because it is intimidating to create! Hope you have a wonderful day!
Hugs,
Jo
Wow Yana – Love this. Your attention to detail is amazing.
Awesome, loved the video
Fantastic cad, Yana! I love how your background turned out!
Cute and touching card. Such a great background!