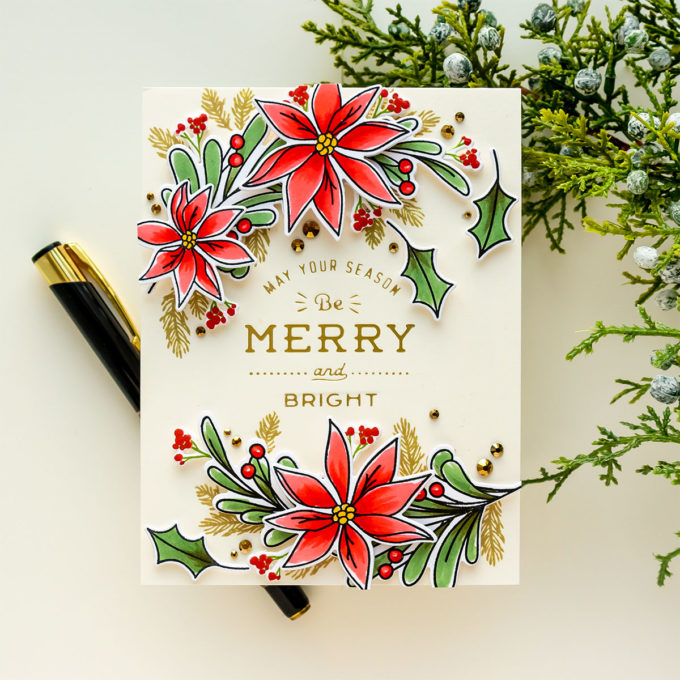
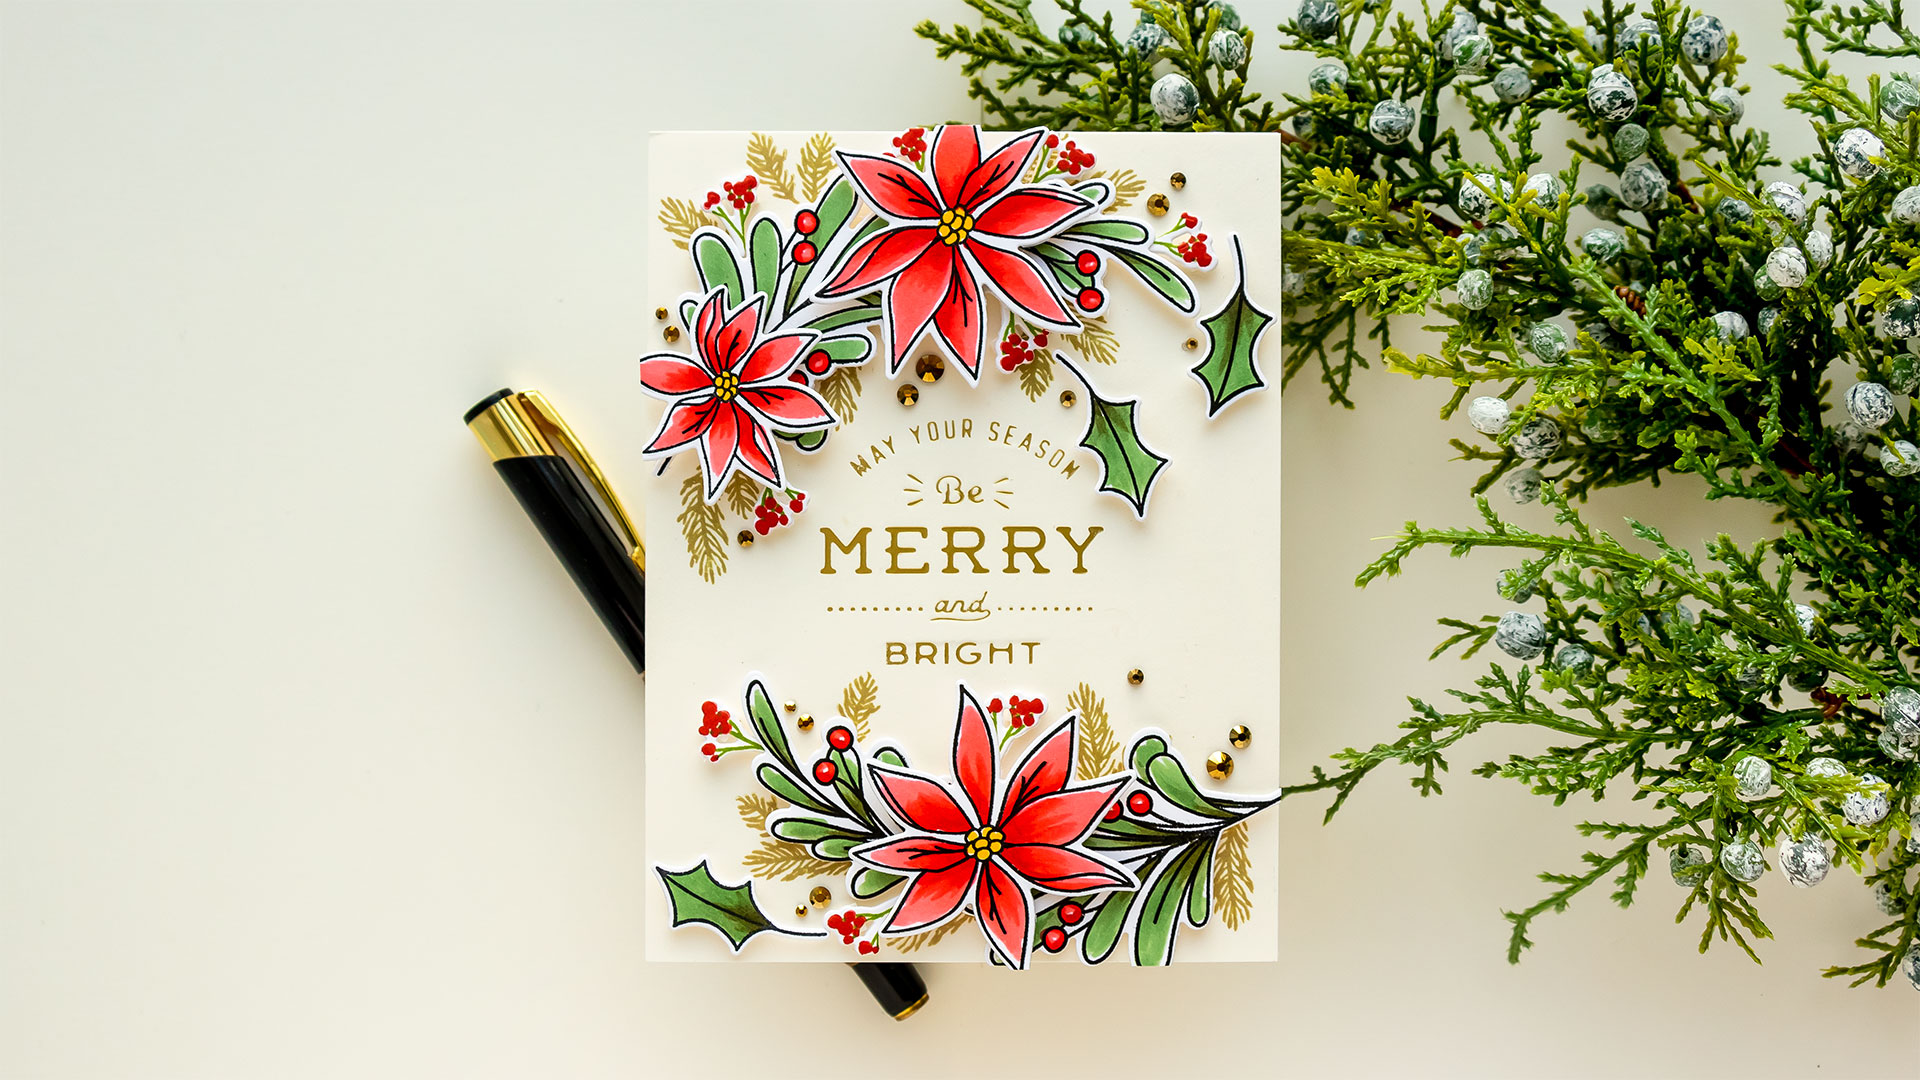
Hello and welcome back for another Yippee For Yana video! In today’s video, I am creating a holiday greeting card by combining clear stamping with hot foil stamping. I’m using Simon’s Holiday Sprigs stamp set to create beautiful Christmas blooms and Spellbinders Essential Christmas Greetings to create a foiled sentiment.
Like this project? Pin it and save for later | Curious about my project photography? Click for details.
VIDEO TUTORIAL
Watch the video below or on my Youtube channel.
Like this video? Please give it a big thumbs up (you can do this on Youtube video page right under the video) and share it with a crafty friend! Leave me a comment too, I love hearing from you!
CARD DETAILS
I stamped the Holiday Sprigs in Memento Tuxedo Black ink onto Neenah Solar White 80lb cardstock and colored with Copic markers. I used my go-to colors. The greenery was colored using G99, G94, and G21. This color combo gives a very pretty muted green as opposed to a vibrant grass green color. I find this combination to be perfect for holiday imagery.
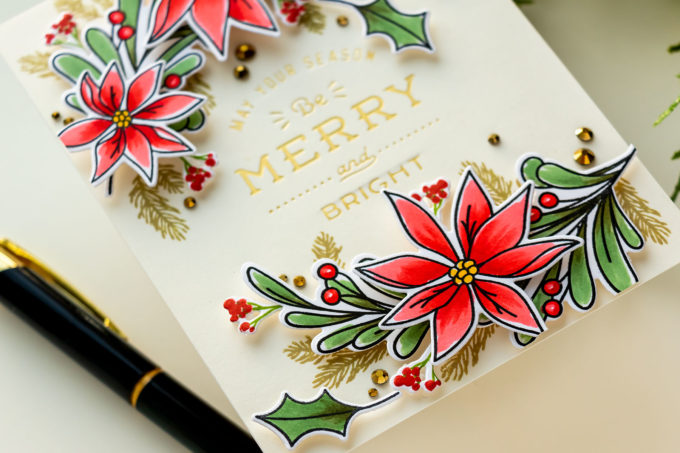
Mistletoe berries were colored red using R27, R24, and R22. I simply outlined each berry leaving a spot of white in the center working as a highlight. You can add a highlight using a white pen or a white marker, but whenever possible, I like to leave the paper white, this type of highlight looks a lot more natural. Of course, it all depends on the type of coloring I am doing and the type of image I am coloring, it that’s a cartoony type of image, I would probably stick to using a white gel pen to create a highlight. If I am coloring organic foliage I try to keep a part of the paper free from coloring to create a natural-looking highlight.
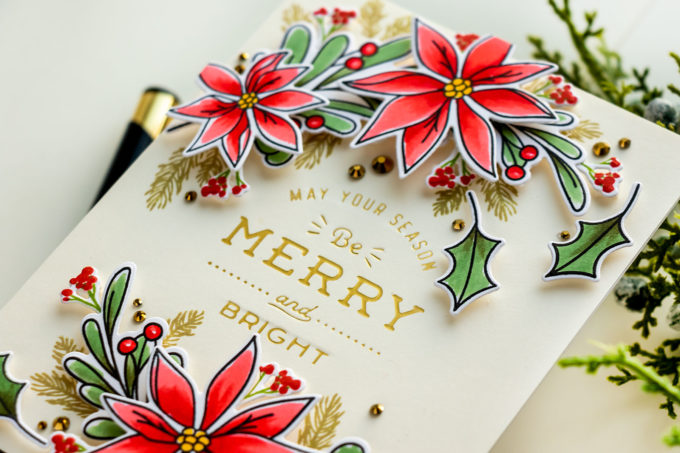
My poinsettias were colored using the same colors as the berries, with R27, R24, and R22. I didn’t do much blending, in fact, I did almost no blending at all. The yellow centers were colored using a Y19 marker. I used coordinating dies and cut these images out in my Platinum Die Cutting Machine.
To create a sentiment I foiled an Essential Christmas Greeting from Spellbinders in Matte Gold Foil on Simon’s Cream cardstock panel cut to 4 1/4 x 5 1/2”.
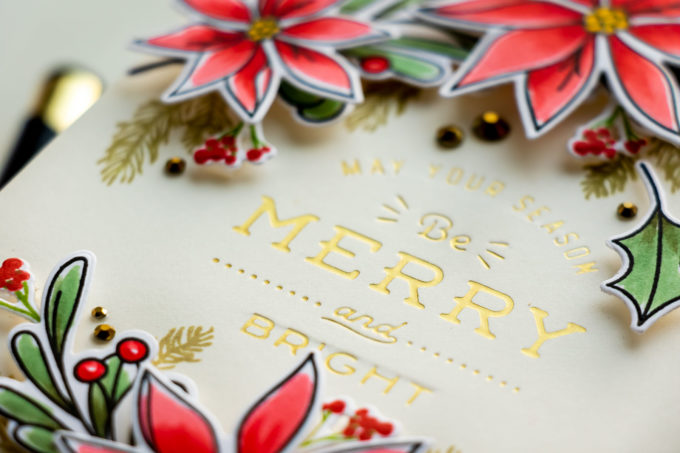
I prefer the matte foils to regular shiny foils, as matte gives a much softer look, it still looks like foil, but not as flashy and not as shiny.
I did some additional stamping – I created a few filler pieces for my foliage. I wanted to have more red, so I stamped tiny berry branches using the Happy Poinsettia stamp set. I used Simon’s Green Leaf and Lipstick Red inks to stamp these and I cut them out using coordinating dies. I stamped pine branches directly onto the background in Khaki ink so that it looked as if they were coming from under my foliage.
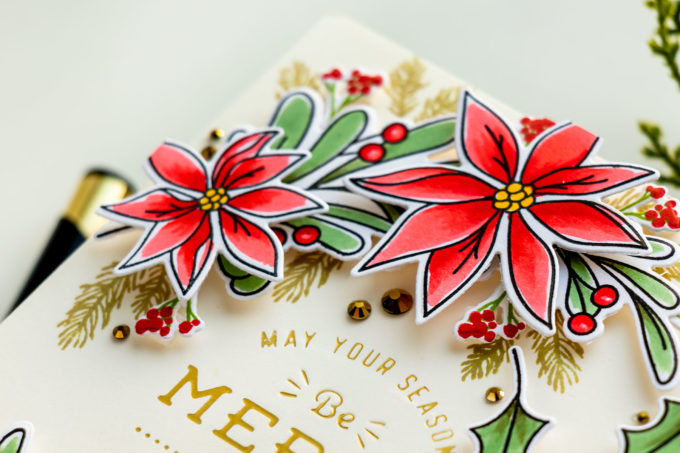
I foam mounted the branches onto the background and I also added the filler pieces using foam adhesive. The red berries really added a lot of detail to this design.
I also embellished the card with gold gems from Spellbinders – I added quite a few placing them next to the foliage. I recently had a question on my Youtube channel asking how I distribute the embellishments on the card – here I clustered them immediately next to the images. I didn’t follow the rule of a triangle, instead, I used the gems as extensions of the images. Where I had little crevices in the design I just added 2 or 3 gems to fill that space in.
Have fun stamping!
SUPPLIES
I’m listing the products I used below. Click on the link to go directly to the product. Where available I use compensated affiliate links which means if you make a purchase I receive a small commission at no extra cost to you. Thank you so much for your support!
 Simon Says Clear Stamps Holiday Sprigs Shop at: SSS |
 Simon Says Stamps Dies and Stencil Holiday Sprigs Shop at: SSS |
 Simon Says Stamp Holiday Sprigs Wafer Dies Shop at: SSS |
 Spellbinders Essential Christmas Greetings Glimmer Hot Foil Plate Shop at: SSS |
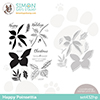 Simon Says Stamps and Dies Happy Poinsettia Shop at: SSS |
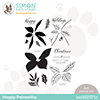 Simon Says Clear Stamps Happy Poinsettia Shop at: SSS |
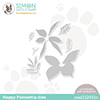 Simon Says Stamp Happy Poinsettia Wafer Dies Shop at: SSS |
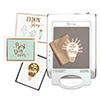 Spellbinders Glimmer Hot Foil System Shop at: SSS |
 Glimmer Hot Foil – Matte Gold Shop at: SSS |
 Neenah 80lb Solar White Cardstock Shop at: SSS |
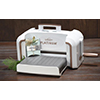 Spellbinders Platinum Die Cutting Machine Shop at: SSS |
 Spellbinders Tool ‘n One Shop at: SSS |
 Simon Says Stamp Cream Off White Cardstock Shop at: SSS |
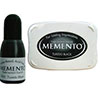 Memento Tuxedo Black Ink Pad Shop at: SSS |
 Mini MISTI Stamping Tool Shop at: SSS |
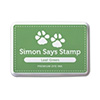 Simon Says Stamp Green Leaf Dye Ink Pad Shop at: SSS |
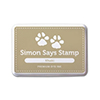 Simon Says Stamp Khaki Ink Pad Shop at: SSS |
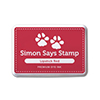 Simon Says Stamp Lipstick Red Ink Pad Shop at: SSS |
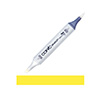 Copic Sketch Marker Y19 Napoli Yellow Shop at: SSS |
 Copic Sketch Marker R22 Light Prawn Shop at: SSS |
 Copic Sketch Marker R24 Prawn Shop at: SSS |
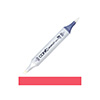 Copic Sketch Marker R27 Cadmium Red Shop at: SSS |
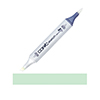 Copic Sketch Marker G21 Lime Green Shop at: SSS |
 Copic Sketch Marker G94 Grayish Olive Shop at: SSS |
 Copic Sketch Marker G99 Olive Green Shop at: SSS |
 Spellbinders Best Ever Craft Tape Shop at: SSS |
 Bearly Art Mini Precision Craft Glue Shop at: SSS |
 White Foam Squares Shop at: SSS |
 Tsukineko Versafine Onyx Black Ink Shop at: SSS |
 Spellbinders Gold Mix Color Essential Gems Shop at: SSS |



Hi, Yana – This card is SO beautiful… just wonderful! I love it and thank you for the tutorial.
Lori S in PA
Good Evening Yana – Your card is stunning. I really like the coloring technique and all the tips you provided in your video. Your video’s are outstanding, every time I watch one I say to myself, I can do this. Thank you so much for the encouragement and the beauty you provide.
This card is so pretty