Hello friends! I hope you are enjoying you Summer! We finally bought some patio furniture for our balcony (we live in a flat on the 6th floor in a city) and I am able to sit outside at the end of the day and enjoy some sunshine. I’ve been missing that since our move back from Phoenix.
Today I have a very simple card to share featuring Mirror Stamping technique. You do need a stamp positioning tool for this to work perfectly and quickly, but similar result can be achieved using a clear block.
Like this project? Pin it and save for later | Curious about my project photography? Click for details.
CARD DETAILS
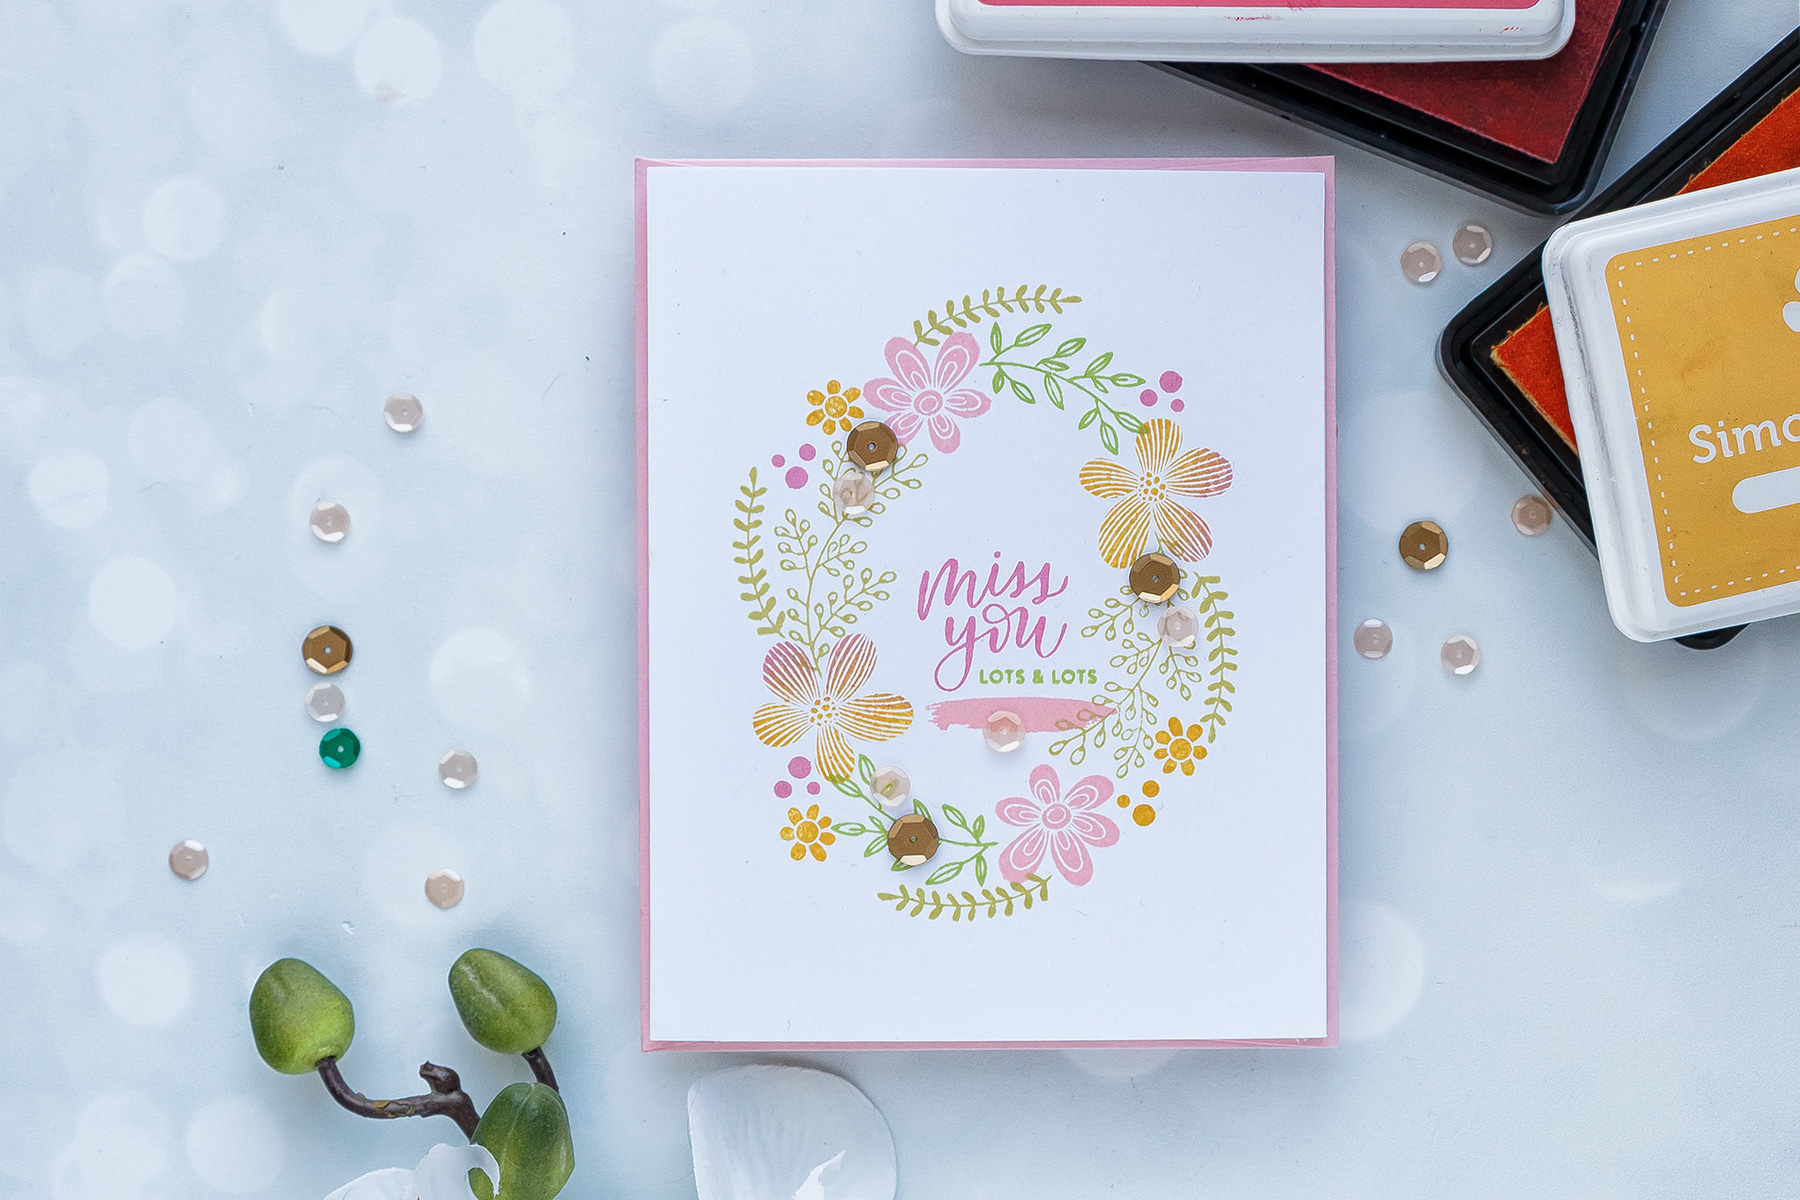
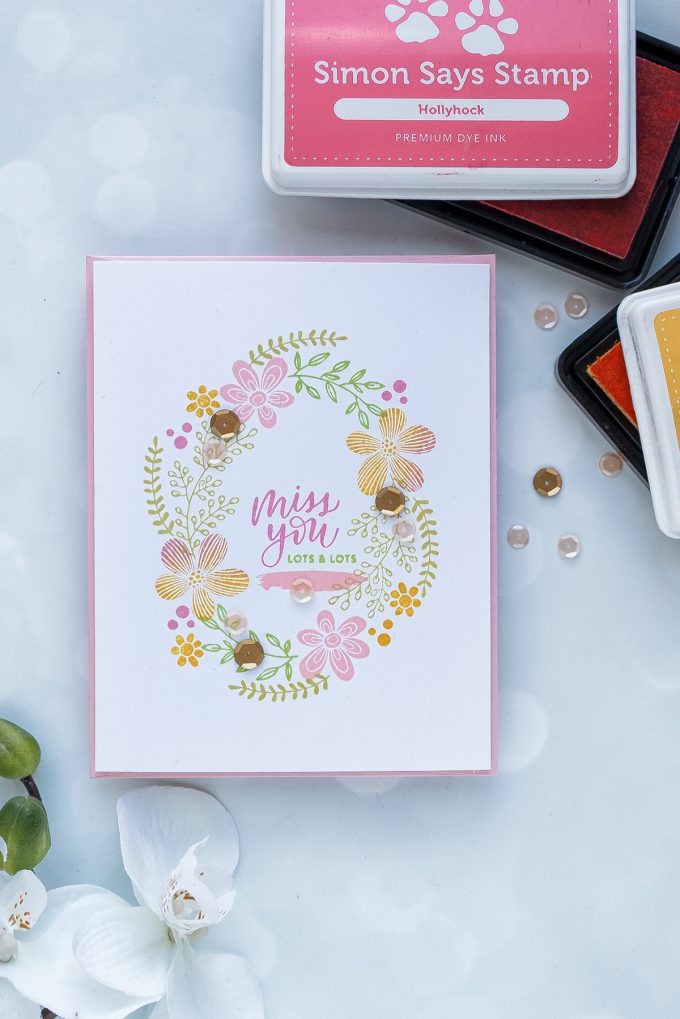
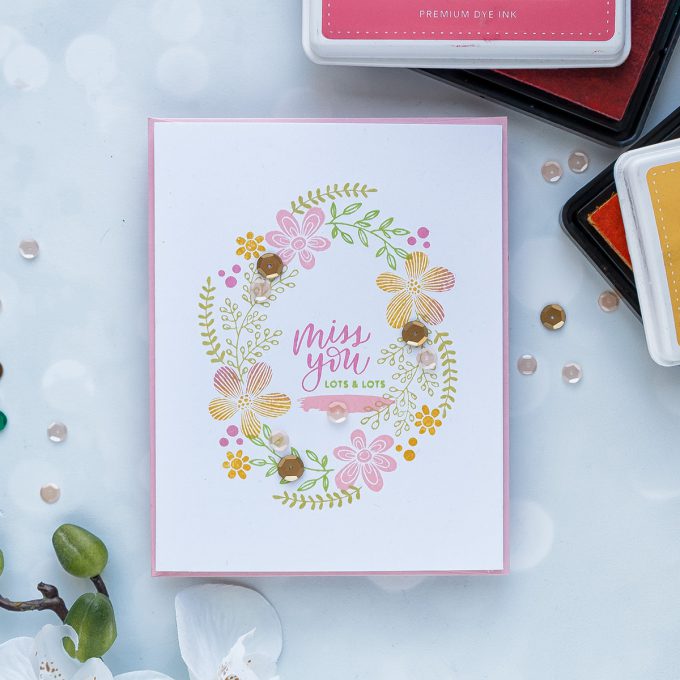
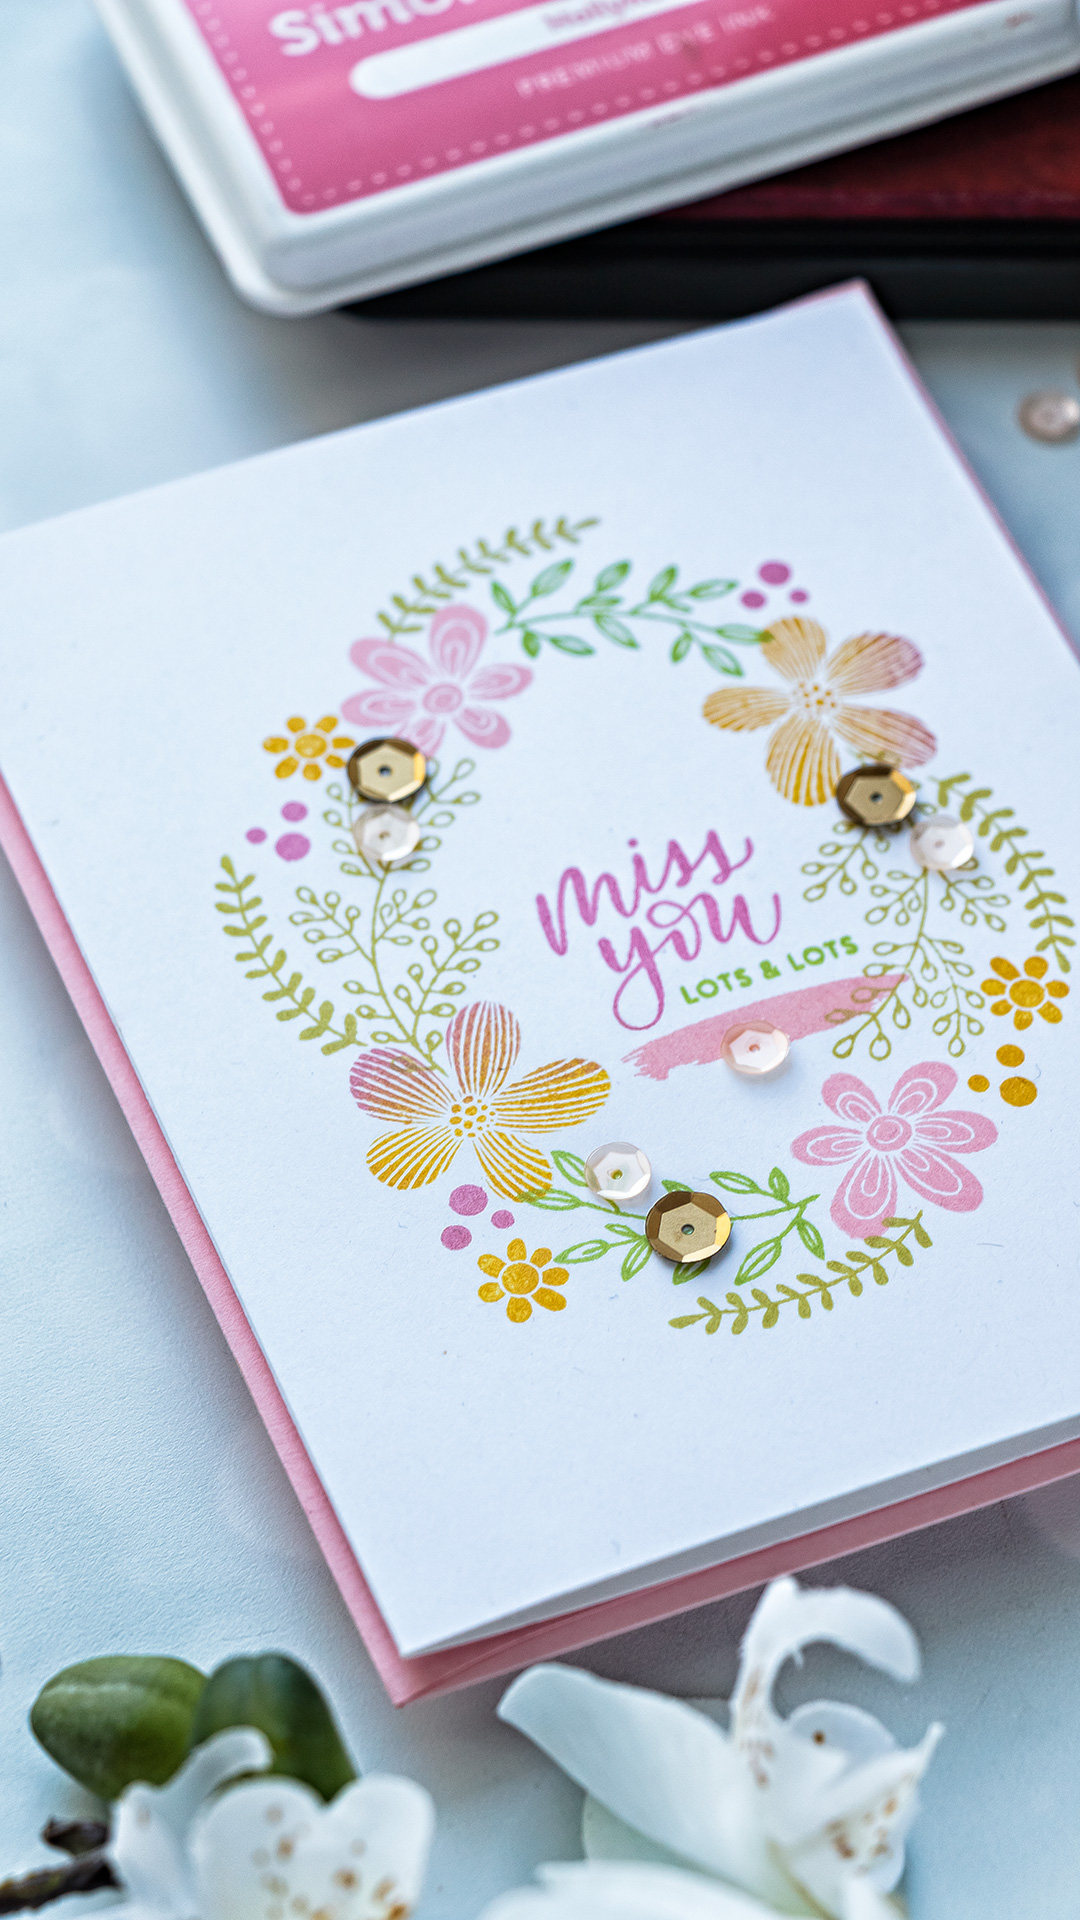
I used my mini MISTI stamping tool and started by picturing an oval on my card front (you can also use an oval die and a pencil and trace it on your panel if you find it hard to visualize it – I used to do this all the time in the past). I picked a branch image from the Wreath Greetings stamp set in Simon’s Catkin ink. You can use any kind of ink you like, you’ll just need several shades of green for best results (as well as some pinks and yellows).
I stamped the first brach and rotated my panel 180 degrees – stamped it again (this is why the MISTI or similar tool is very helpful, you’re not eye-balling things but stamping them precisely).
Next, I used another branch image from the same stamp set, inked it up with Jellybean ink and stamped in a different spot but in the same manner forming my wreath.
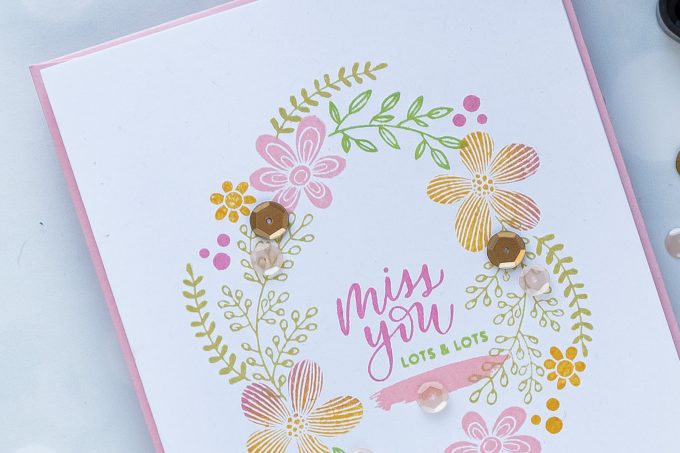
Once I had the basic shape of my wreath done I started filling the gaps in with flowers. Florals came from a different stamp set – Spring Flower Burst; I stamped them using a mix of pinks and yellows – Rosie Cheeks, Sunshine and Hollyhock. I also added several tiny dots in same colors filling my wreath in.
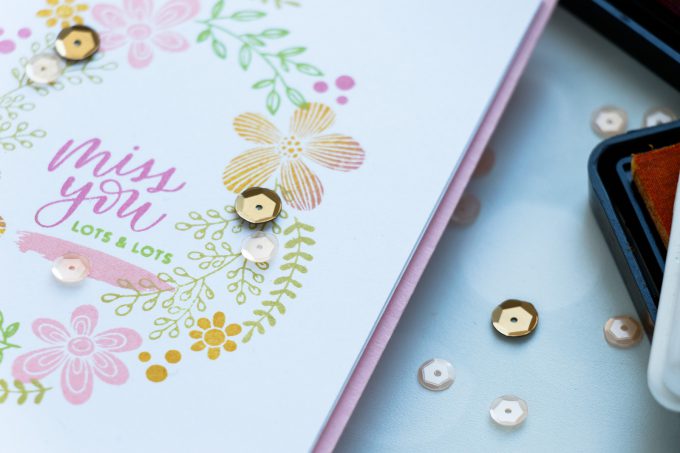
Next, I stamped my main sentiment – “Miss You” in Hollyhock ink. I added “Lots & Lots” stamped in Jellybean and added a brush-mark using a stamp from the Make Your Mark stamp set.
Finally, I embellished my card using several gold sequins from the Satin Gown mix from Simon Says Stamp.
STEP BY STEP PHOTO TUTORIAL
Here’s a step-by-step photo tutorial showing how to make this card. Feel free to save/pin it for later.
SUPPLIES
I’m listing the products I used below. Click on the link to go directly to the product. Where available I use compensated affiliate links which means if you make a purchase I receive a small commission at no extra cost to you. Thank you so much for your support!
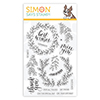 Simon Says Stamps Wreath Greetings Shop at: SSS |
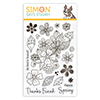 Simon Says Stamps Spring Flower Burst Shop at: SSS |
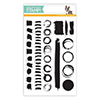 Simon Says Clear Stamps Make Your Mark Shop at: SSS |
 Simon Says Stamp Sunshine Ink Pad Shop at: SSS |
 Simon Says Stamp Rosie Cheeks Dye Ink Pad Shop at: SSS |
 Simon Says Stamp Hollyhock Ink Pad Shop at: SSS |
 Simon Says Stamp Catkin Dye Ink Pad Shop at: SSS |
 Simon Says Stamp Jellybean Dye Ink Pad Shop at: SSS |
 Neenah 110 Lb Solar White Cardstock Shop at: SSS |
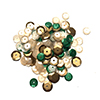 Simon Says Stamp Satin Gown Sequins Shop at: SSS |
 Mini Misti Stamping Tool Shop at: SSS |
 Crystal Ninja Crystal Katana Pick Up Tool Shop at: SSS |
 Tonic Deluxe Adhesive Nuvo Glue Shop at: SSS |




Very pretty wreath!!
Such a beautiful card!
A gorgeous wreath card Yana and your pictorial photographs really help to see how this project came together thank you for sharing it with us crafters. :O)
Very pretty! Love the flowers and colors!!
Beautiful card, love the wreath design.
Such a pretty and feminine card Yana! Love the soft, pretty colors you used!
WOW! What a beautiful card Yana. I love these stamps, a gorgeous wreath!