Hi everyone! Welcome back for another episode from my by-monthly Yippee For Yana video series for Simon Says Stamp Blog! In today’s video I’m showing how to use a stencil to create a subtle textured background for a card with the help of dry embossing!
Like this project? Pin it and save for later | Curious about my project photography? Click for details.
VIDEO TUTORIAL
As always, I filmed a video tutorial showing how to create this project from start to finish. I’m hoping you’ll enjoy it. Watch it below or on my Youtube channel.
Like this video? Please give it a big thumbs up (you can do this on Youtube video page right under the video) and share with a crafty friend! Leave me a comment too, I love hearing from you!
CARD DETAILS
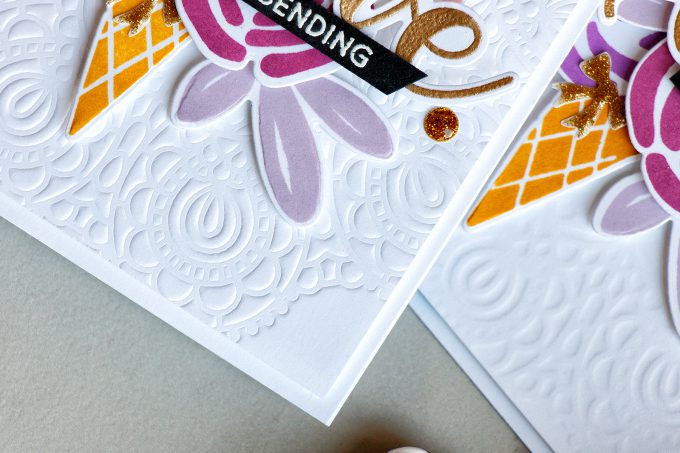
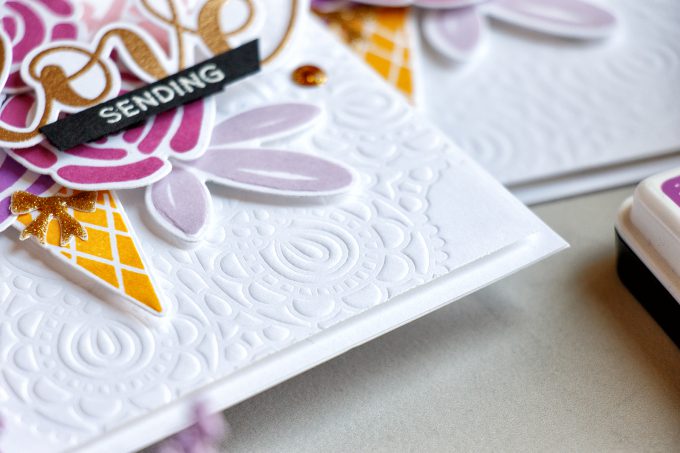
Let’s jump right in. I’m going to start by saying that you can most definitely dry emboss with stencils. The depth of impression will depend on how thick the material out of which the stencil is made of is, Simon’s stencils are pretty thick and durable so they always leave a nice and visible impression on the paper. If you use a thinner stencil the embossing and debossing you’ll get might not be as deep.
To dry emboss with a stencil you’ll need to use a die cutting machine and an embossing mat. I used my Platinum 6” machine from Spellbinders but this can be done in any die cutting machine. I followed the sandwich instructions for dry embossing with dies in my machine and I also added a paper shim (regular paper folded in half, so 2 sheets thick).
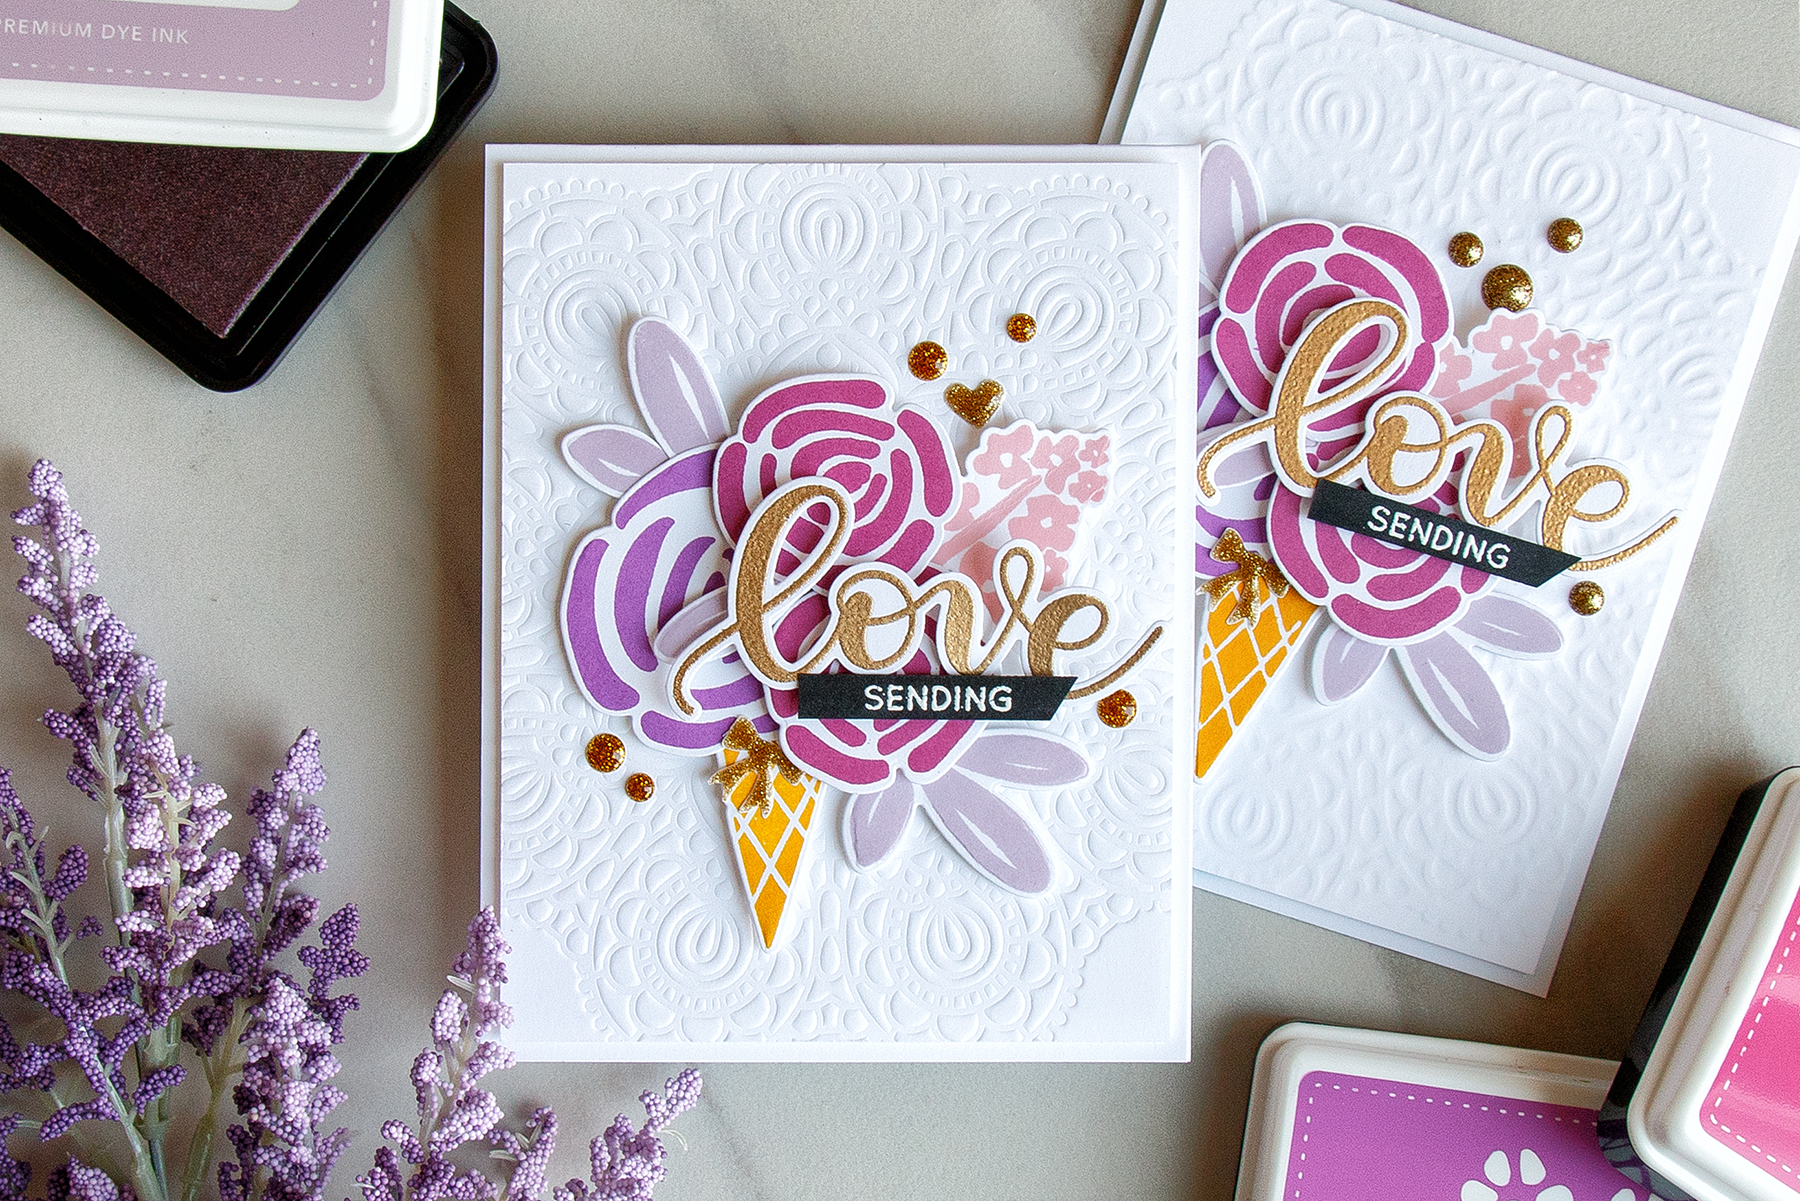
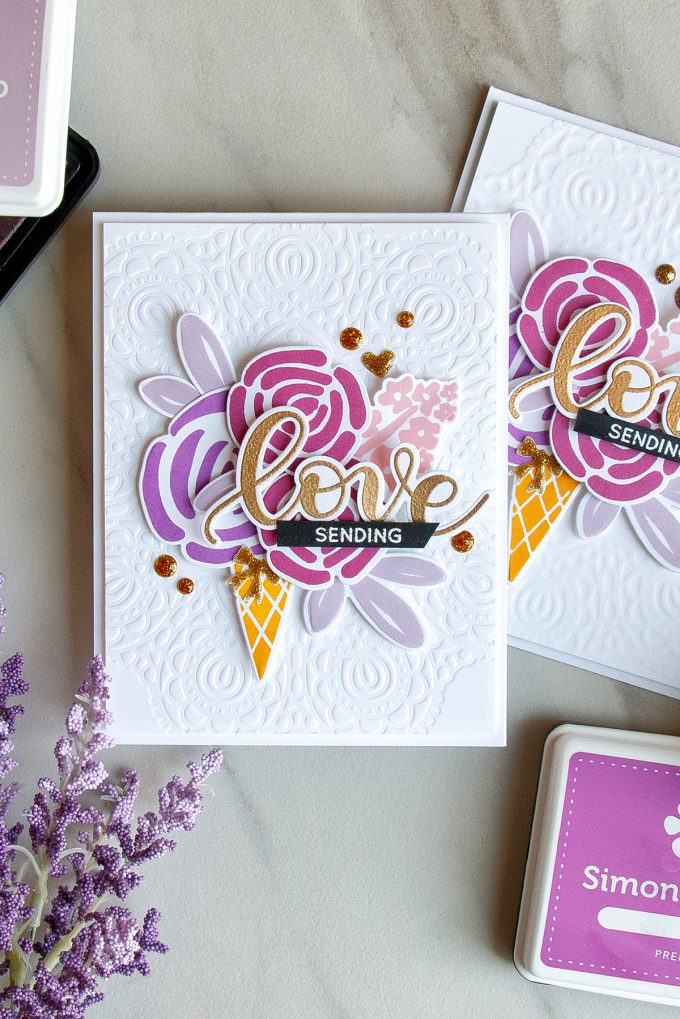
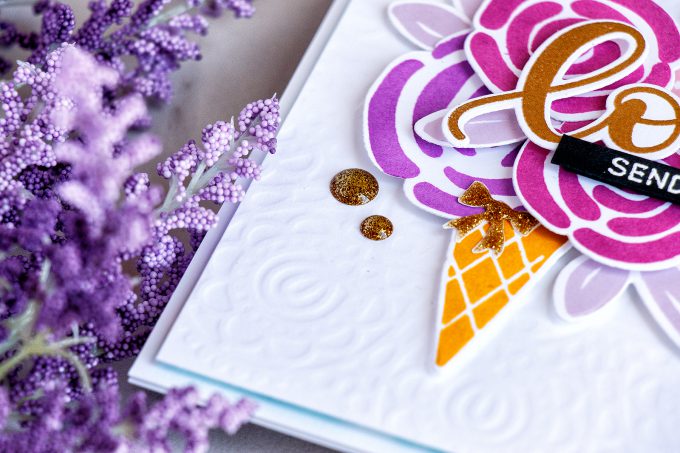
I cut my white cardstock to 4 x 5 ¼” and aligned it in the center of Circular Lace stencil; you can also have it offset to the side if you like. After running it through my machine and ended up having a gorgeous textured background with an embossed and debossed side.
You can use a background like this for just about any card, you can also make these backgrounds on colored cardstock, not just white; they look fabulous on kraft.
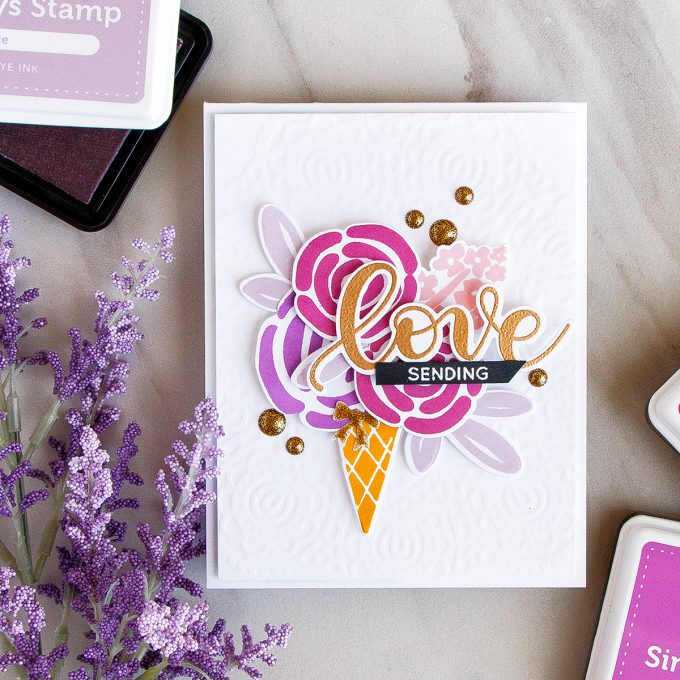
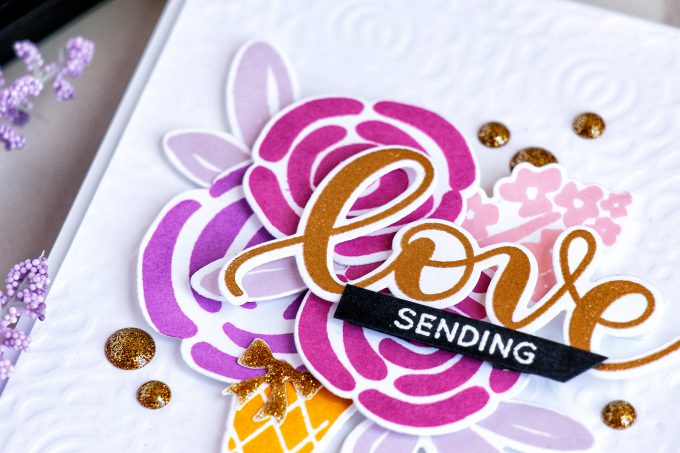
To finish this card I stamped a few images and created a floral arrangement. Using my mini MISTI I stamped ice cream cone in Sunshine, large flower in Hot Mama, small flowers in Magnolia, floral branch in Twirling Tutu and leaves in Thistle.
I also heat embossed the word “Love” in Simon’s Antique Gold embossing powder and cut all images out using coordinating dies.
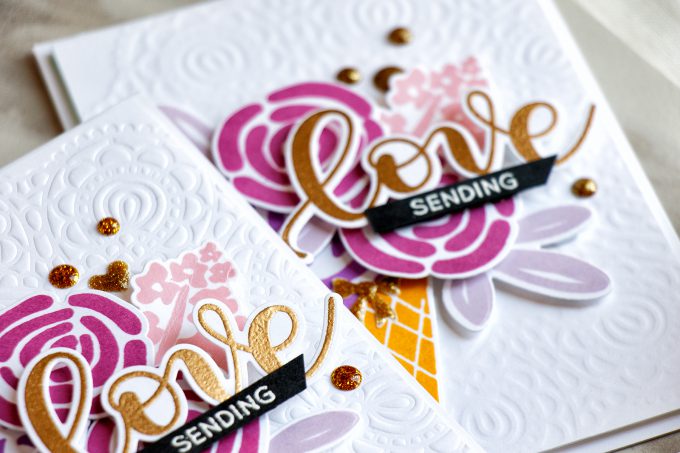
After having all of the parts and pieces ready I foam mounted my dry embossed background onto an A2 top folding card base and foam mounted all of my die cuts in place creating a floral arrangement. I doubled up foam adhesive in some places to add more dimension. Lastly, I adhered the large heat embossed “Love” and added “Sending” heat embossed in white on black, so my sentiment reads “Sending Love”.
Which background do you like better? The crisp embossed or less detailed debossed one? Please, comment below! Have fun stamping!
SUPPLIES
I’m listing the products I used below. Click on the link to go directly to the product. Where available I use compensated affiliate links which means if you make a purchase I receive a small commission at no extra cost to you. Thank you so much for your support
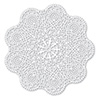 Simon Says Stencils Circular Lace Shop at: SSS |
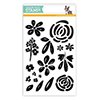 Simon Says Clear Stamps Blooming Day Shop at: SSS |
 Simon Says Stamp Blooming Day Wafer Dies Shop at: SSS |
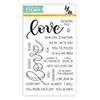 Simon Says Clear Stamps Love Shop at: SSS |
 Simon Says Stamp Love Wafer Die Shop at: SSS |
 Simon Says Clear Stamps Cone Building Shop at: SSS |
 Simon Says Stamp Ice Cream Wafer Dies Shop at: SSS |
 Simon Says Stamp Teeny Bikini Dye Ink Pad Shop at: SSS |
 Simon Says Stamp Sunshine Dye Ink Pad Shop at: SSS |
 Simon Says StampThistle Dye Ink Pad Shop at: SSS |
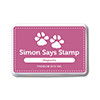 Simon Says Stamp Magnolia Dye Ink Pad Shop at: SSS |
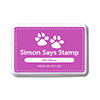 Simon Says Stamp Hot Mama Dye Ink Pad Shop at: SSS |
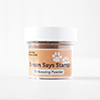 Simon Says Stamp Antique Gold Embossing Powder Shop at: SSS |
 Simon Says Stamp Embossing Ink Pad Shop at: SSS |
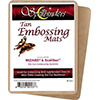 Spellbinders Tan Embossing Mat Shop at: SSS |
 Hero Arts Heat Embossing Gun PW200 Shop at: SSS |
 Hero Arts White Embossing Powder PW110 Shop at: SSS |
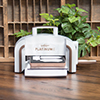 Spellbinders Platinum 6 Die Cutting Machine Shop at: SSS |
 ScraPerfect Crafting Pouch Shop at: SSS |
 Mini Misti Stamping Tool Shop at: SSS |
 Neenah 80LB Solar White Cardstock Shop at: SSS |
 Neenah 110 Lb Solar White Cardstock Shop at: SSS |
 Simon Says Stamp Black Cardstock Shop at: SSS |
 Be Creative Tape 3mm Sookwang Shop at: SSS |
 Scrapbook Adhesives White Foam Squares Shop at: SSS |
 White Fun Foam 12 Pack 9 x 12 Shop at: SSS |


Thank you for this wonderful video on Dry Embossing. I recently bought an embossing mat for my Cuttlebug. Can’t wait to try this technique.
Thanks for sharing this card design. I have a number of stencils and love this idea of dry embossing with them. It’s a great background for a lovely card.
This is such a cool card in so many ways! Love how you make flat stamps look more dimensional. The dry embossing is a bonus!
The debossed one is so subtle and is pretty; however, I usually end up using the embossed side. What I like about using stencils to emboss is that I can ink the stencil and then emboss so that the raised pattern has color on it (while leaving the background white). I still can’t find a way to do that with an embossing folder. I have inked the folder so that the background is colored and the embossed (raised) part is white, but I’d like to reverse that some way. Do you know how to do that, Yana? I bought a brayer to try but haven’t worked with it yet.
Great technique & video tutorial.
Very pretty
Both are gorgeous but I prefer the embossed side!
Fabulous technique and video!! For the card you made today I like the crisp embossed look but I would use the debossed background if I wanted a more subtle look.
Great video. Concise and clear instructions. Love this technique. Have to check my Big Shot to see if I have the correct accessories.