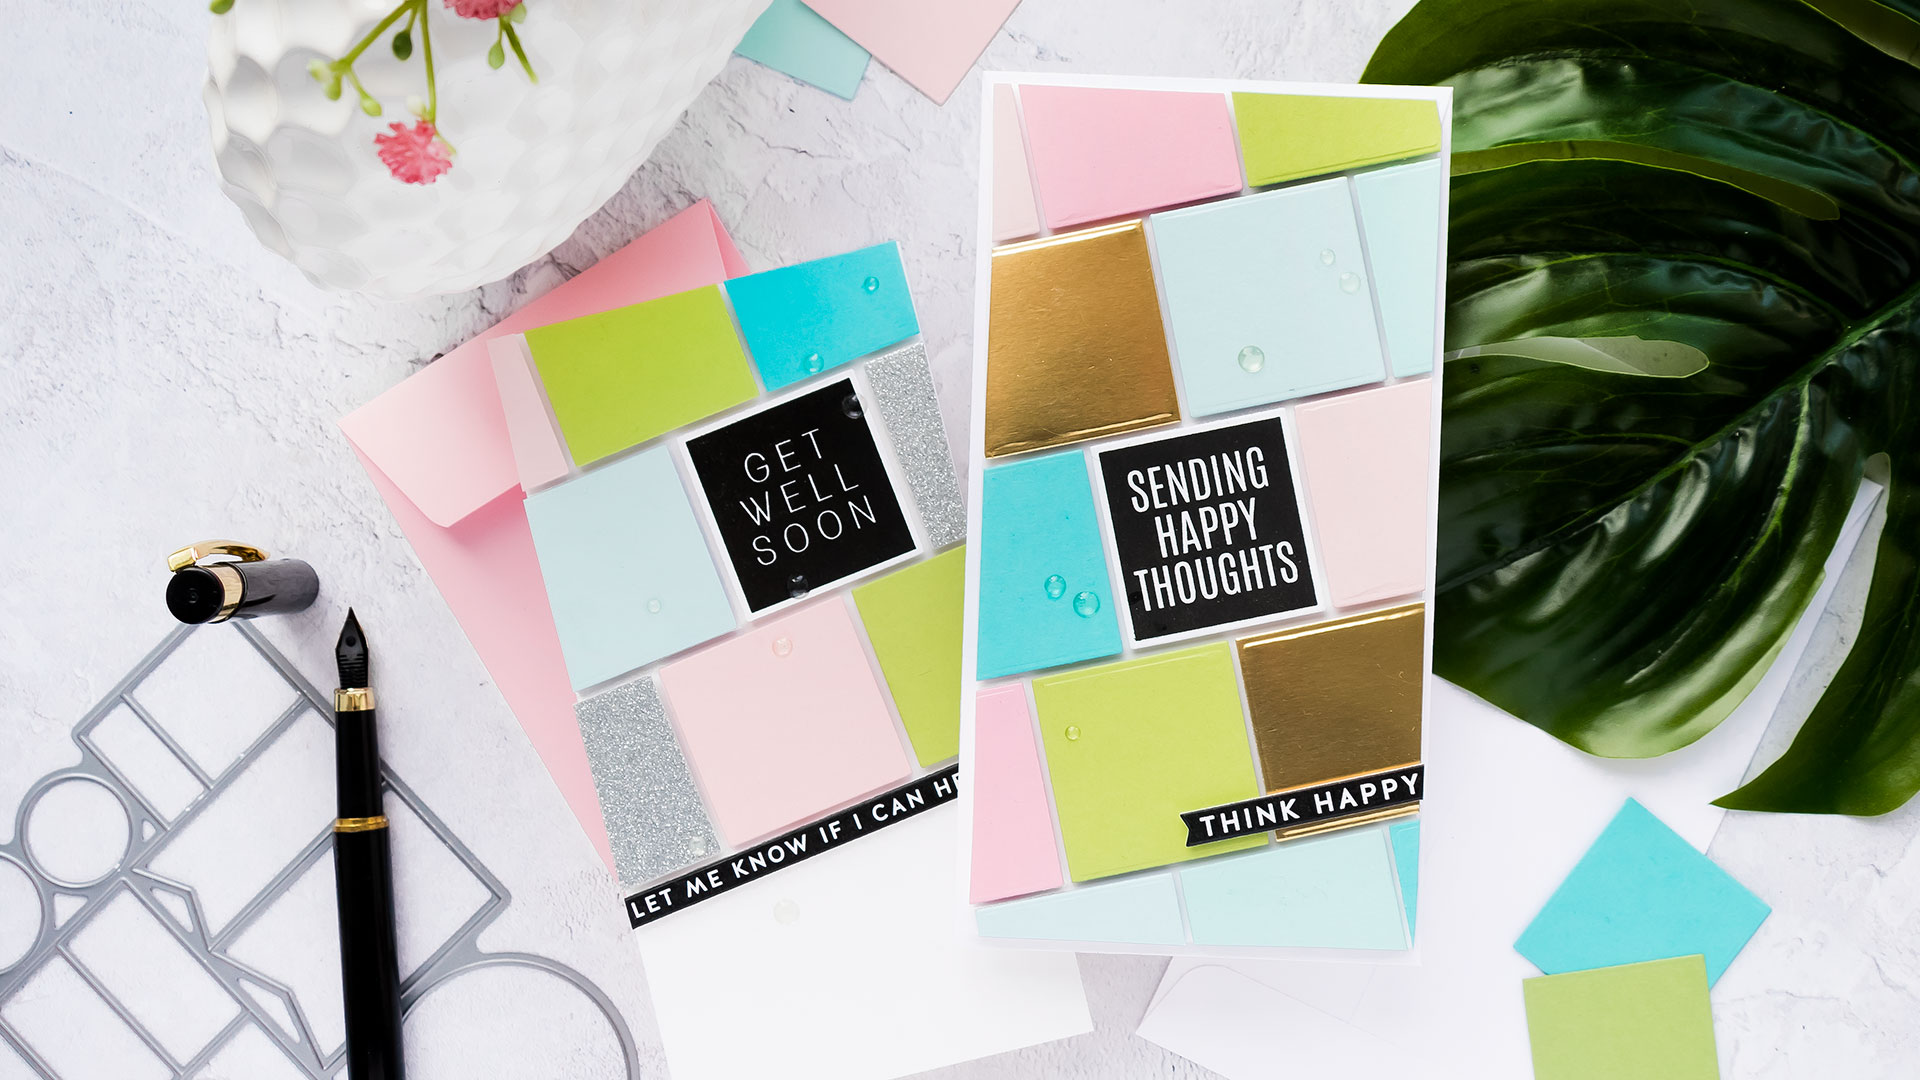
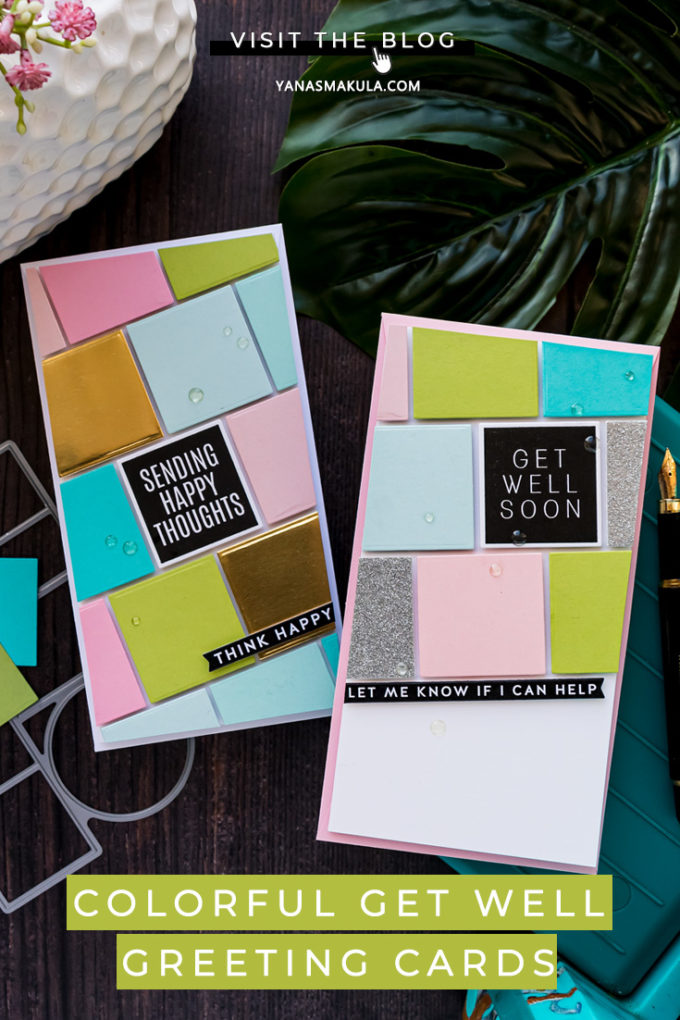
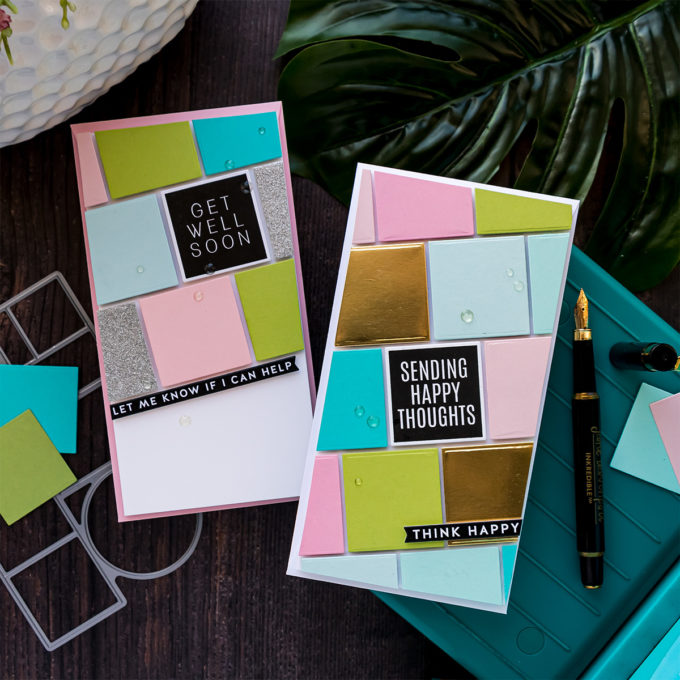
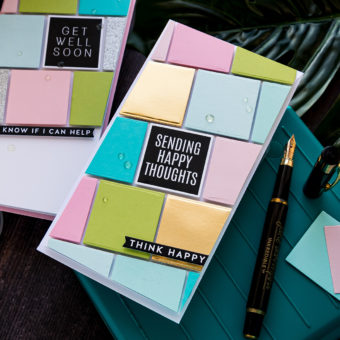
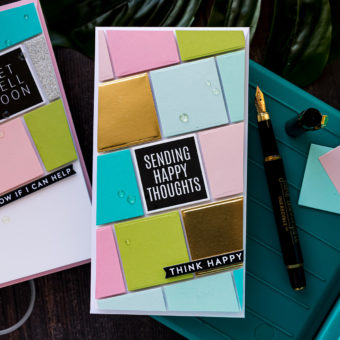
I love to create with my supplies beyond their intended use, and today’s cards show just that – how to make a colorful background using a coordinating die. Of course, even a basic square die can be used for a background like this, but it is fun to find new ways to use other die sets, isn’t it?
Like this project? Pin it and save for later | Curious about my project photography? Click for details.
CARD IDEA
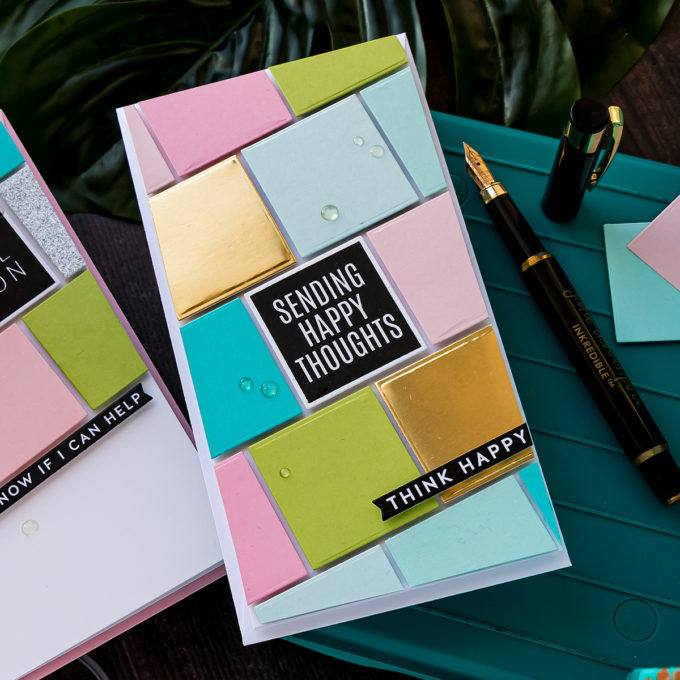
I wanted to make a colorful geometric background and have one of the color blocks be a sentiment. I figured a sentiment stamped in black surrounded by lots of colors would work best. I used the Just Because Word Mix 2 stamp set and coordinating dies to make these cards.
CARD INSTRUCTIONS
Follow these instructions step by step to re-create these cards (instructions are pretty similar for both cards):
- Begin by stamping the sentiment in VersaFine Onyx Black ink onto Neenah Solar White 80lb cardstock. I used my mini MISTI tool to make it easier. Cut the sentiment out using a coordinating die.
- Select several colors of colored cardstock and add one specialty metallic color. I used mirror gold and silver glitter. Die-cut squares using the same coordinating die.
- Create mini slimline card base – 3 1/4 x 6 1/4″ from white cardstock. Plan the placement of the squares on the card front starting with the sentiment square. Foam mount the sentiment leaving a small gap between each. Trim excess.
- Add a sub sentiment using Simon’s Sentiment strips – I love these pre-printed sentiments. Cut the strip out using a banner die or paper trimmer, foam mount onto the card.
- Embellish with clear dots or drops. I used clear dots from Hero Arts.
- Pair with a white or pink mini slimline envelope.
Adding a square or two cut from specially cardstock, such as Gold Mirror or glitter cardstock adds interest to the card design. Another tip is the leave a small gap between the squares – it adds air to the card and dimension, helping the squares pop off the background.
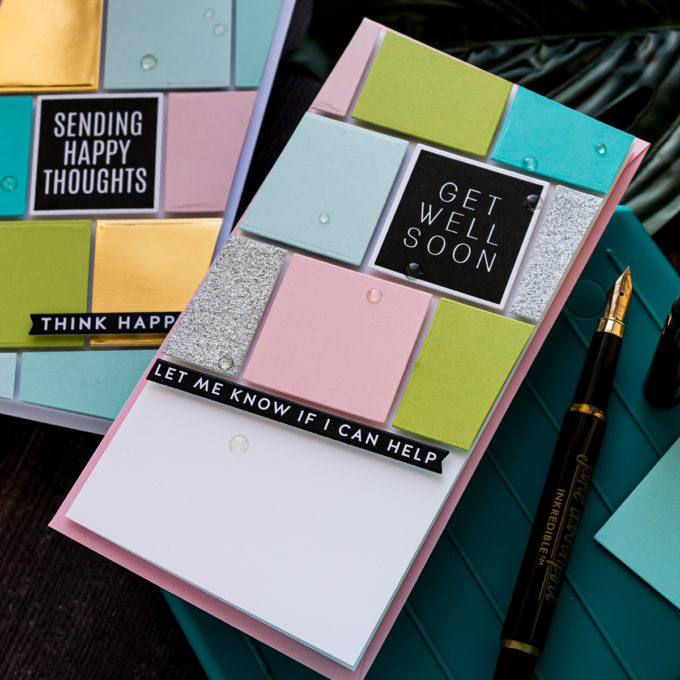
You don’t have to have the design run all the way across the card front. I did just a partial design for my second card:
I hope you’ll give this idea a try! Have fun stamping (and die-cutting)!
SUPPLIES
I’m listing the products I used below. Click on the link to go directly to the product. Where available I use compensated affiliate links which means if you make a purchase I receive a small commission at no extra cost to you. Thank you so much for your support!
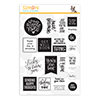 Simon Says Clear Stamps Just Because Word Mix 2 Shop at: SSS |
 Simon Says Stamp Word Mix 2 Wafer Dies Shop at: SSS |
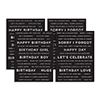 Simon Says Stamp Sentiment Strips Shop at: SSS |
 Spellbinders Platinum 6 Die Cutting Machine Shop at: SSS |
 Neenah 80LB Solar White Cardstock Shop at: SSS |
 Neenah 110 Lb Solar White Cardstock Shop at: SSS |
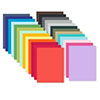 Simon Says Stamp Cardstock Shop at: SSS |
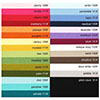 Hero Arts Hero Hues Cardstock Shop at: SSS |
 Tonic Honey Gold Mirror Card Satin Effect Cardstock Shop at: SSS |
 Simon Says Stamp Cardstock Silver Glitter Sg64018 Shop at: SSS |
 Mini Misti Stamping Tool Shop at: SSS |
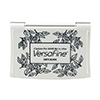 Tsukineko VersaFine Onyx Black Ink Shop at: SSS |
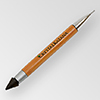 Jewel Picker Pick Up Tool Shop at: SSS |
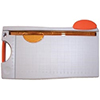 Tonic Studios 8.5 Inch Paper Trimmer Shop at: SSS |
 White Foam Squares Shop at: SSS |
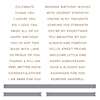 Spellbinders Mini Everyday Sentiments Glimmer Shop at: SSS |
 Hero Arts Hues Clear Enamel Dots Shop at: SSS |



I love these!!!! Great ideas!!!
Glad you like them, thank you 🙂
Love these cards!
thank you, Karen!
such great designs!!
These are so cool and graphic!