Hello, friends! Today I’m sharing two clean & simple Christmas cards featuring just a bit of heat embossing, coloring, and watermark stamping. These cards use brand new products from Simon Says Stamp.
Like this project? Pin it and save for later | Curious about my project photography? Click for details.
VIDEO TUTORIAL
Watch the video below or on my Youtube channel.
Like this video? Please give it a big thumbs up (you can do this on Youtube video page right under the video) and share it with a crafty friend! Leave me a comment too, I love hearing from you!
CARD DETAILS
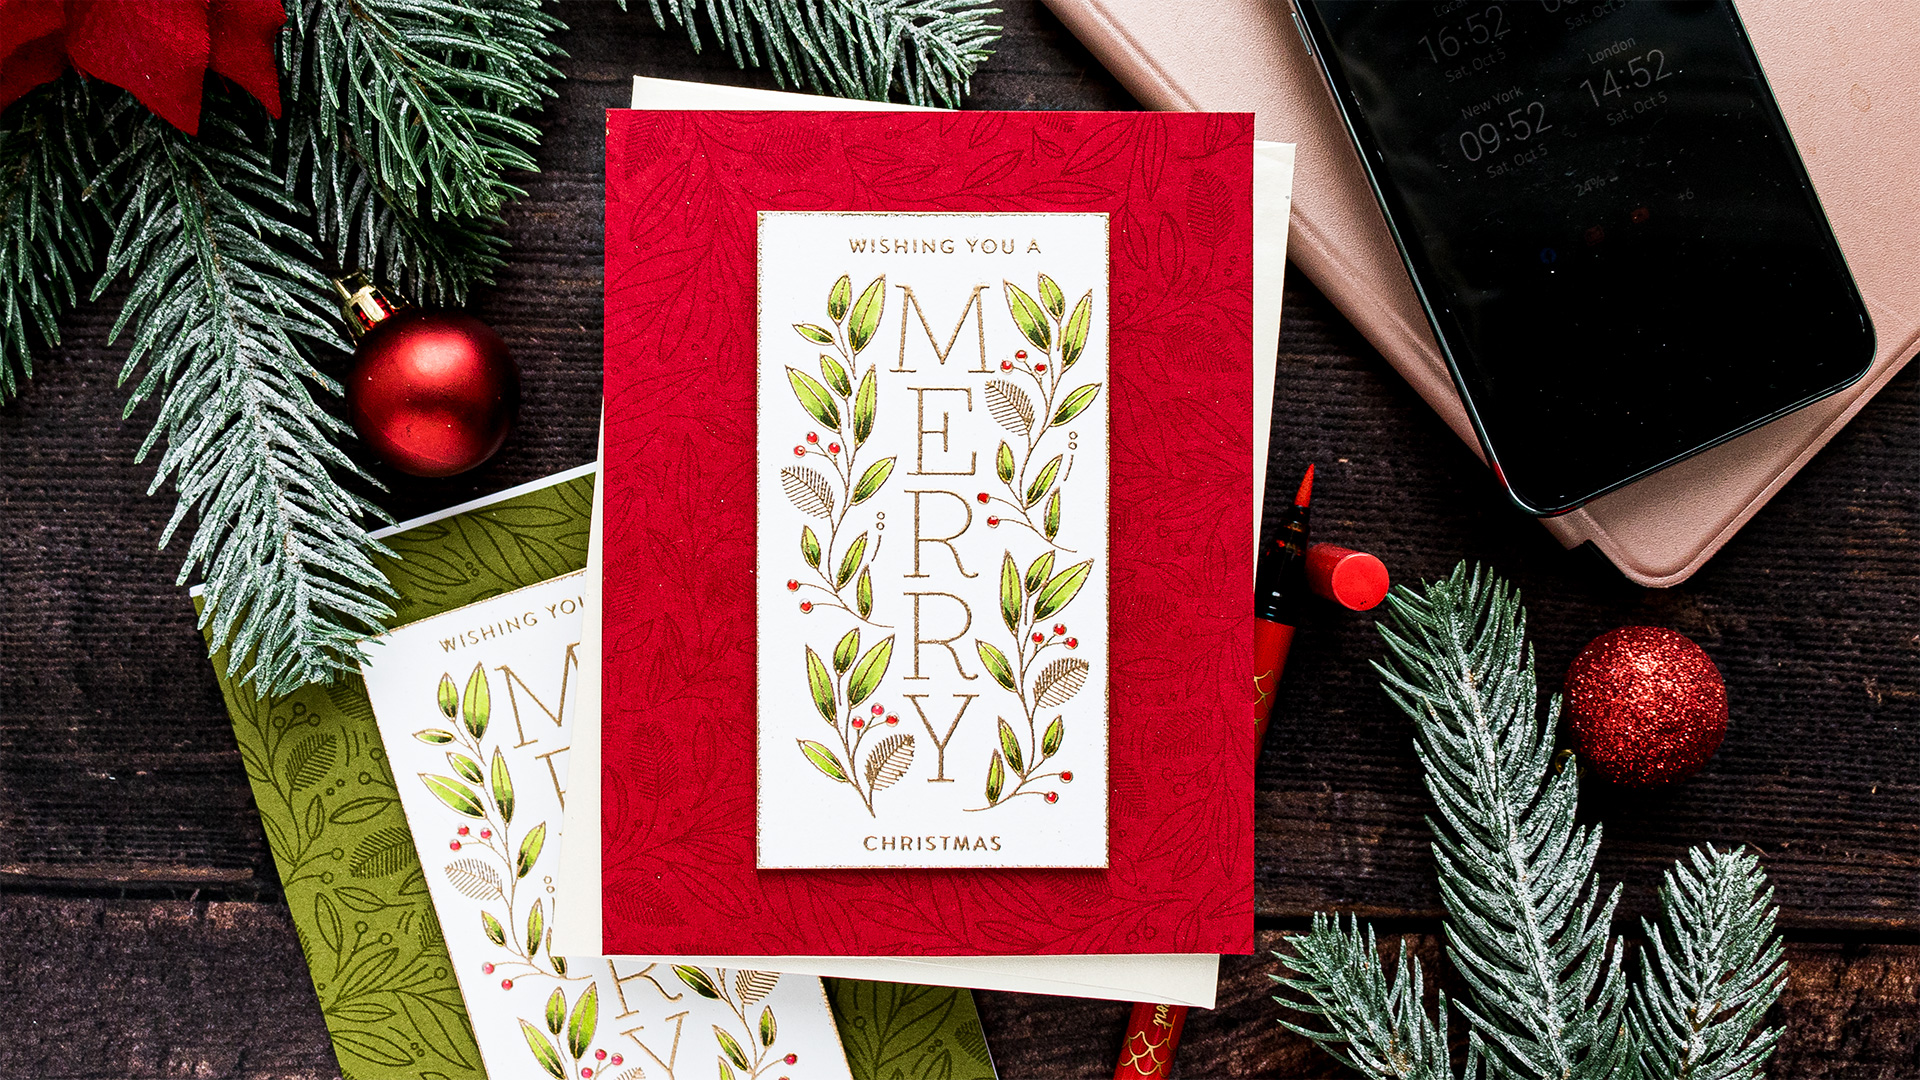
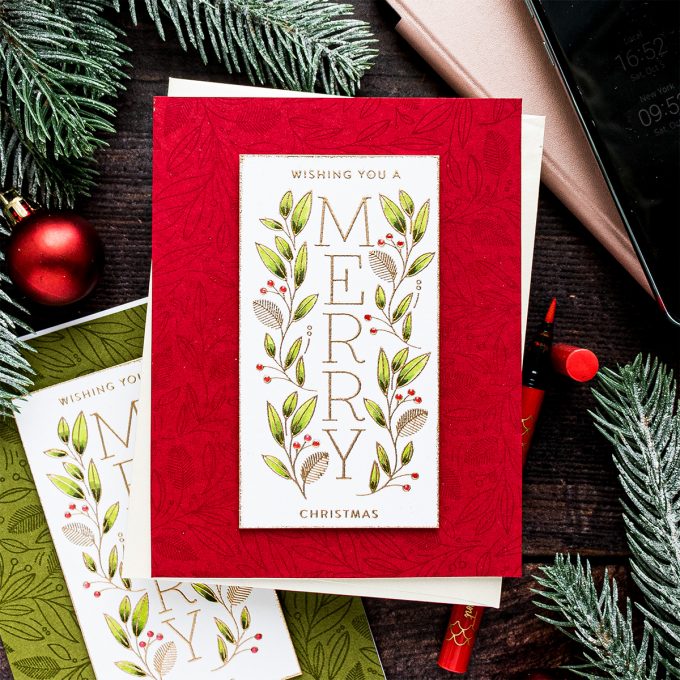
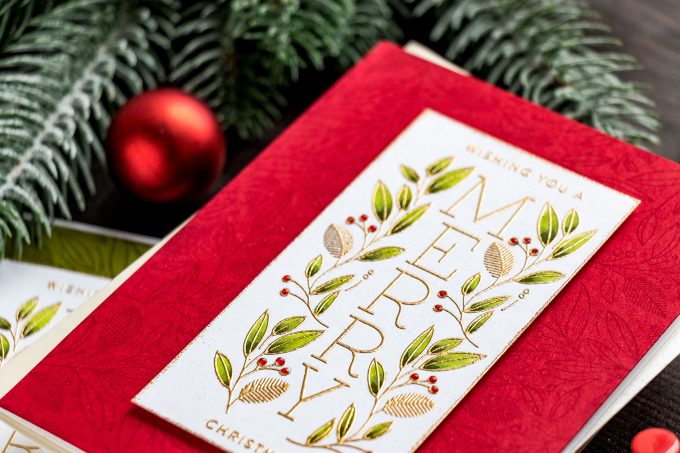
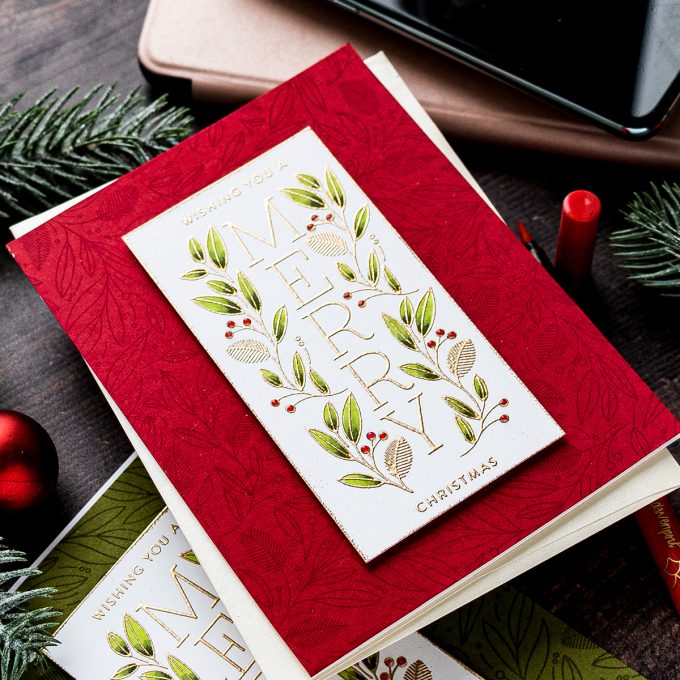
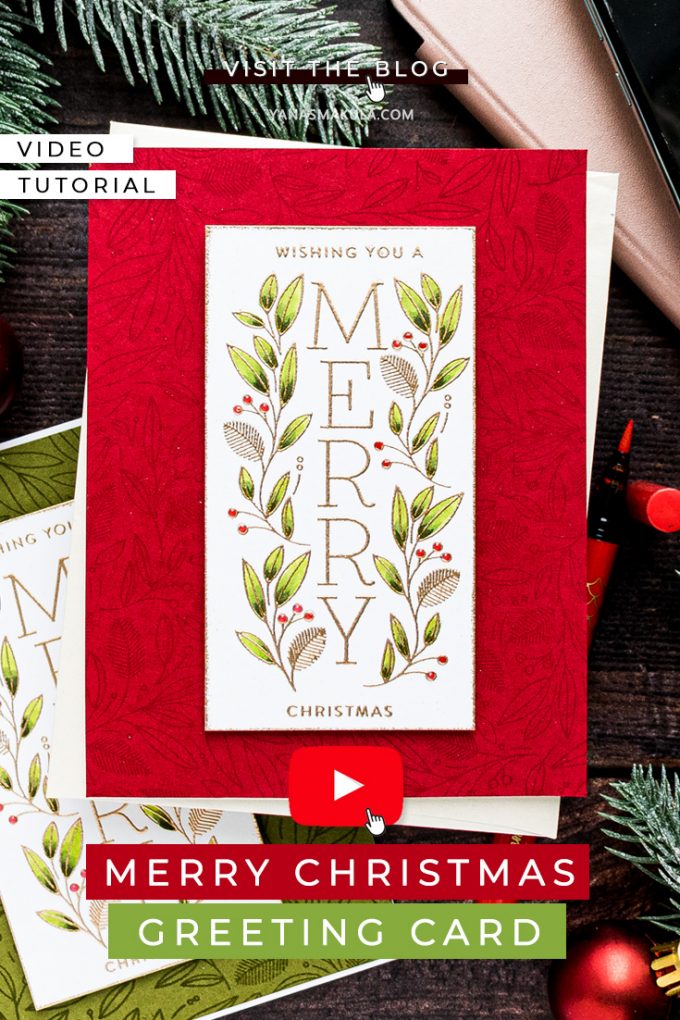
I used a stunning vertical sentiment stamp from the new Holiday Greetings Mix 1 set, it reads Merry and is surrounded by beautiful branches and leaves. I’ve added “Wishing You a” above the “Merry” and “Christmas” below to create one sentiment for my card.
I heat embossed these images onto a panel of white cardstock in my favorite Antique Gold embossing powder. This is one of the most beautiful designs I’ve ever seen, it’s very modern, very simple and yet very classy. I think I’ll be using this sentiment a lot this year for my Holiday cards and probably even in the years to come. It’s just that pretty.
There’s actually a coordinating background stamp this time from Simon, called Leaves and Berries and it features the same imagery filling the entire background. I stamped it in a watermark ink onto red and green cardstock for a beautiful, subtle tone on tone look.
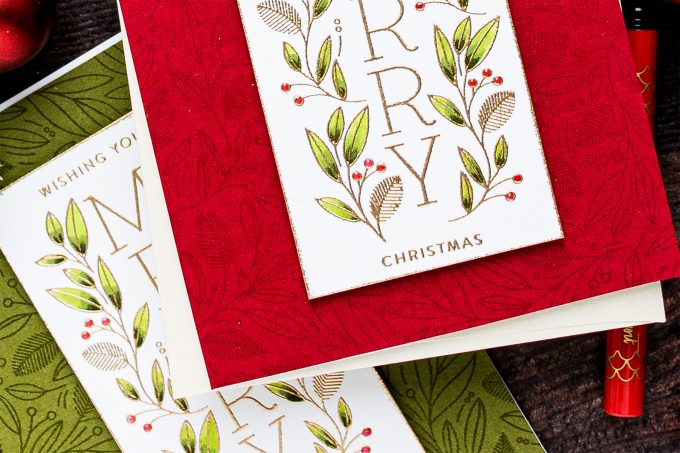
I went back to my sentiment piece and trimmed it down slightly, next, I rubbed the edges of the panel with an embossing ink pad and dipped the edges into same Antique Gold embossing powder to create the illusion that this panel was dipped in gold ink. I love this trick. I quickly heat set the powder with my heat tool to melt it in place.
I knew I wanted to color the berries and leaves so I used some of my favorite coloring mediums – I used a red pen from Jane Davenport to quickly color the berries, you can also use a Copic marker for this, I prefer the pen as it gives me a much brighter, vibrant red and to color the leaves I used my go-to green combo of YG03, G94, and G99 colors. I was careful to color next to the heat embossing, but if you are afraid to do it, I have a video showing a workaround it – you can first stamp the image, color it, and then heat emboss it. Check it out HERE.
Having colored the panel I adhered the background panel to A2 white card base, I foam mounted the sentiment panel over it and used glossy accents to add dimension to the berries. It’s very subtle, barely visible, but it is there and adds a nice finishing touch to the card.
There are a lot more new products from Simon in this new release and I encourage you to check them out:
I hope you will give this idea a try. Have fun stamping!
SUPPLIES
I’m listing the products I used below. Click on the link to go directly to the product. Where available I use compensated affiliate links which means if you make a purchase I receive a small commission at no extra cost to you. Thank you so much for your support!
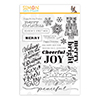 Simon Says Clear Stamps Holiday Greetings Mix 1 Shop at: SSS |
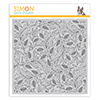 Simon Says Cling Stamp Leaves and Berries Background Shop at: SSS |
 Simon Says Stamp Green Leaf Cardstock Shop at: SSS |
 Simon Says Stamp Schoolhouse Red Cardstock Shop at: SSS |
 Neenah 110 Lb Solar White Cardstock Shop at: SSS |
 Simon Says Stamp Antique Gold Embossing Powder Shop at: SSS |
 Simon Says Stamp Embossing Ink Pad Shop at: SSS |
 Hero Arts Heat Embossing Gun Shop at: SSS |
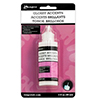 Ranger Glossy Accents Glue Dimensional Adhesive Shop at: SSS |
 EK Success Powder Tool Applicator Shop at: SSS |
 Mini Misti Stamping Tool Shop at: SSS |
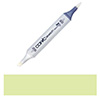 Copic Sketch Marker YG03 Yellow Green Shop at: SSS |
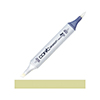 Copic Sketch Marker YG93 Grayish Yellow Shop at: SSS |
 Copic Sketch Marker G99 Olive Green Shop at: SSS |
 Scor-tape 2 1/2 Inch Crafting Tape Shop at: SSS |
 Spellbinders Thriller Jacket Ultimate Waterproof Brush Pen Shop at: SSS |




Gorgeous designs & Christmas theme colours on both, if I’m to choose a favourite out of the two then for me it’s the red. This just because it reminds me of the brightness, joy & warmth of the season. x
I love these gorgeous, classy cards, Yana! I think I may have to case these for next years Christmas cards! Beautiful!
LOVE LOVE LOVE these cards
Can’t pick a favorite. Maybe I will try both, with some non traditional colors, too. Love your tutorials!!
This is the Christmas Card I’d like to make this year. Beautiful. I think this design would also be wonderful on top of my handmade boxes. Love both Color schemes maybe the red a tiny bit more. Thank you.
Love the green!
I love the green!! I really liked the embossed background too, you can never have too much bling and shine as far as I’m concerned!!! lol
Pretty cards. Love the gold heat embossing. I like the green one better as the pattern is more visible on green than the red. Both look beautiful, though.
I love these cards!! Beautiful embossing for the sentiment and pretty designs! 🙂
I LOVE the RED! It speaks traditional Christmas to me. Beautiful cards!
Both cards are beautiful, but I think the red is my favorite. Love this release from Simon.
I love this new release! If I chose which color background I would have to go with then green but I absolutely love the red Cardstock with the gold embossed berries and leaves background. Fabulous !!
I think they are both beautiful but like the red a little bit better
Beautiful cards. That sentiment is lovely and looks wonderful and your background.
I just love your card, just now getting more into coloring with copies and your tutorials help me so much. I love the green card, so pretty!
Lovely cards!
Love the cards!
Great cards. Will use this idea for Christmas cards.
Beautiful use of embossing powder and THST gorgeous stampset!