Hello and welcome back for another Yippee For Yana video! A few weeks ago I came across a video by my friend Bibi Cameron where she demonstrated the new Nuvo Crackle Mousses from Tonic Studios. I was very intrigued and inspired by Bibi’s video and the mousses, of course, and wanted to give this product a try myself.
The mousses arrived several days ago and I couldn’t wait to open the jars and begin playing with this new fun product. In this video, I will share my first take on these mousses and will show you several card ideas I made using them.
Like this project? Pin it and save for later | Curious about my project photography? Click for details.
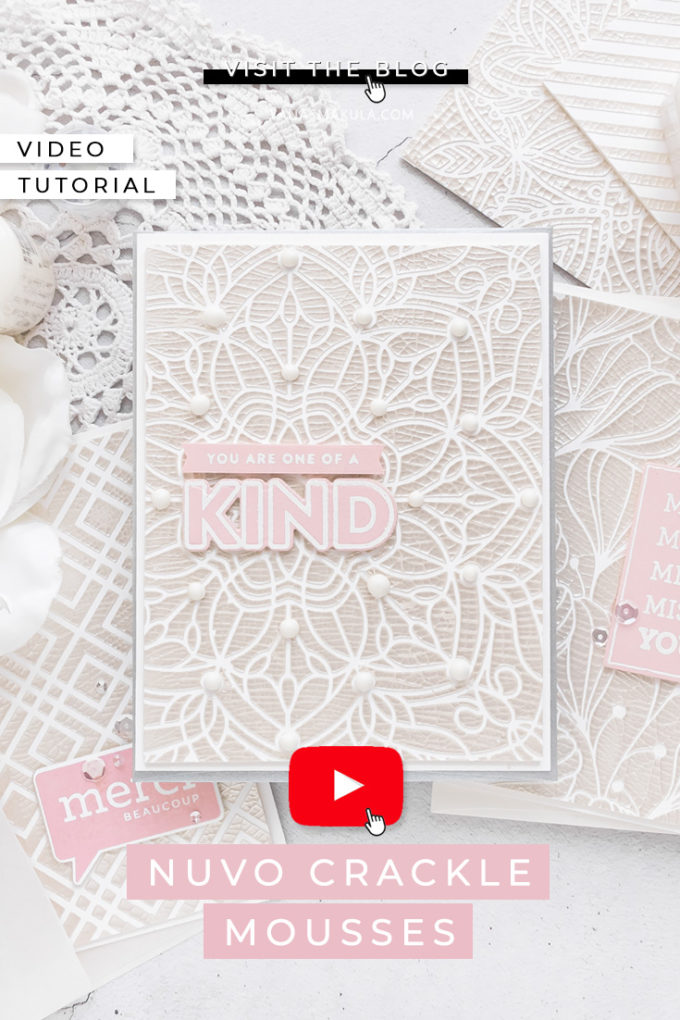
VIDEO TUTORIAL
Watch the video below or on my Youtube channel.
Like this video? Please give it a big thumbs up (you can do this on Youtube video page right under the video) and share it with a crafty friend! Leave me a comment too, I love hearing from you!
CARD DETAILS
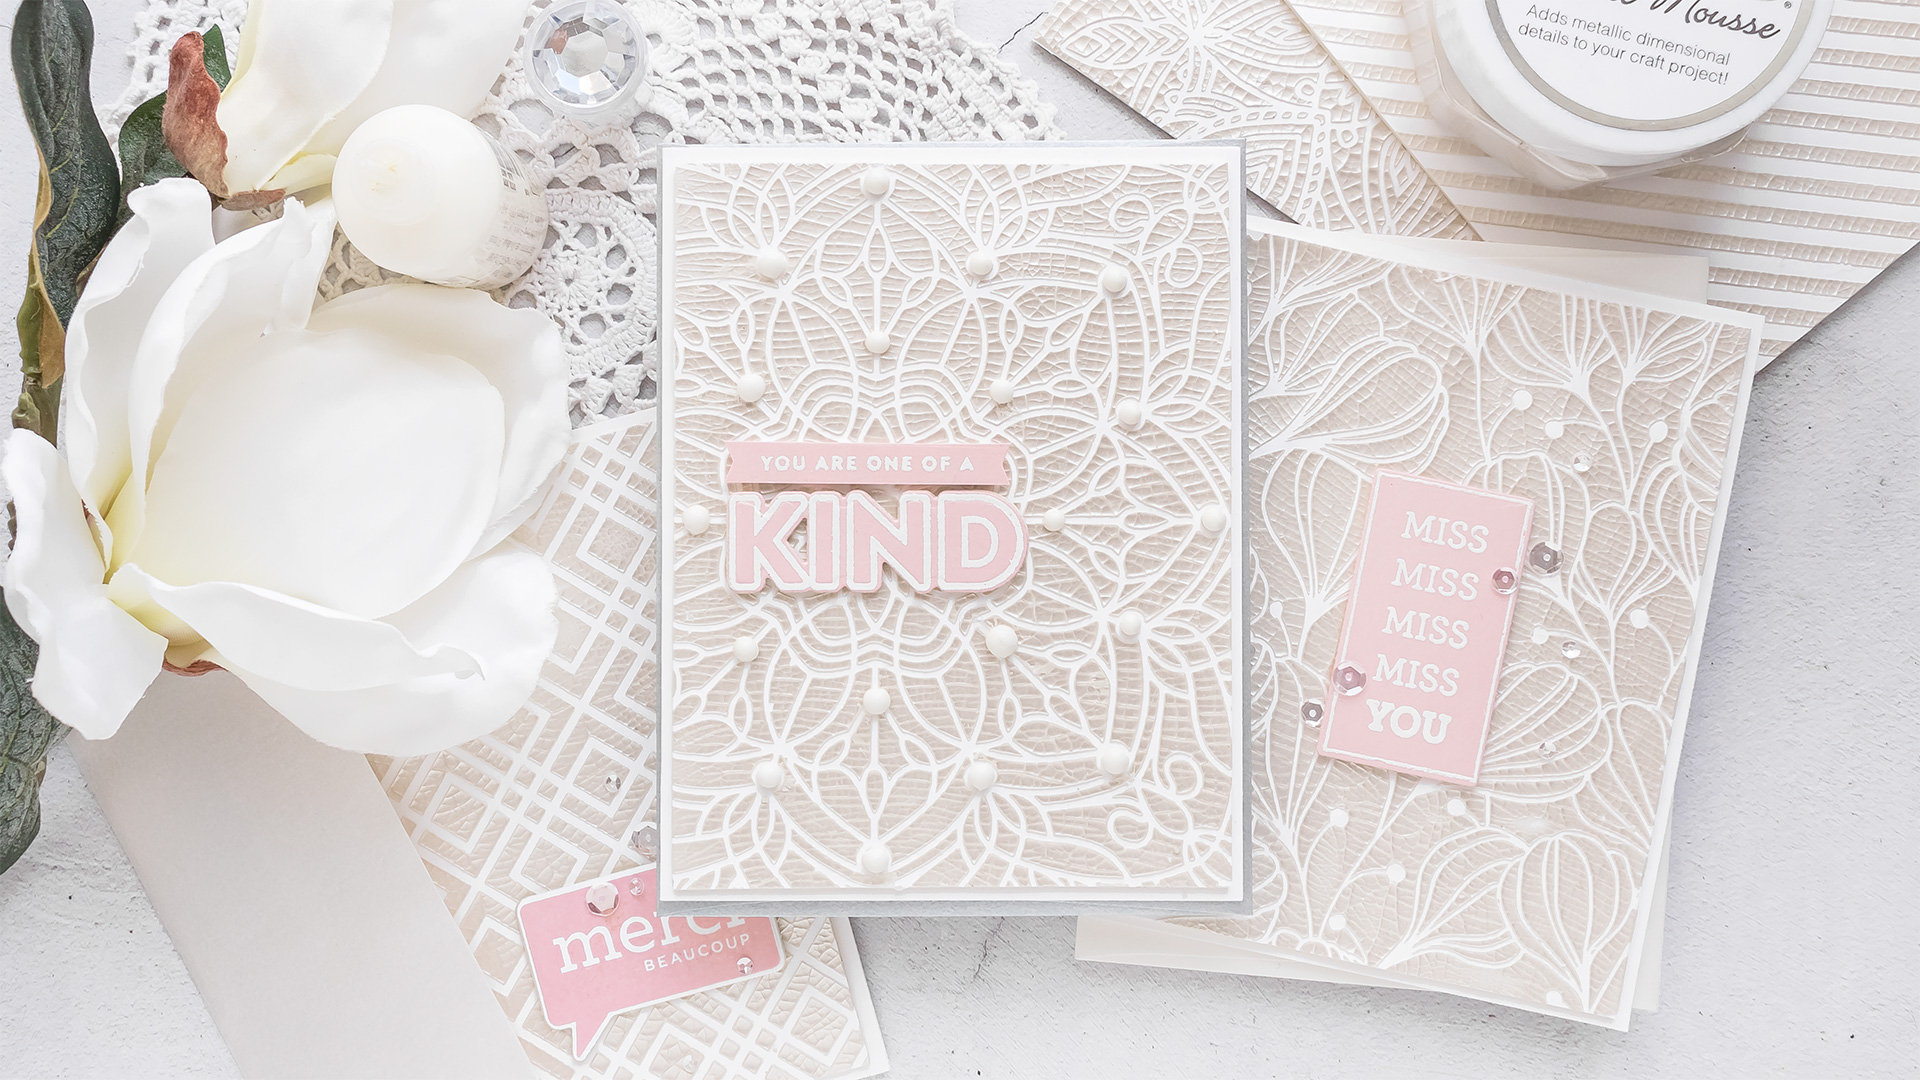
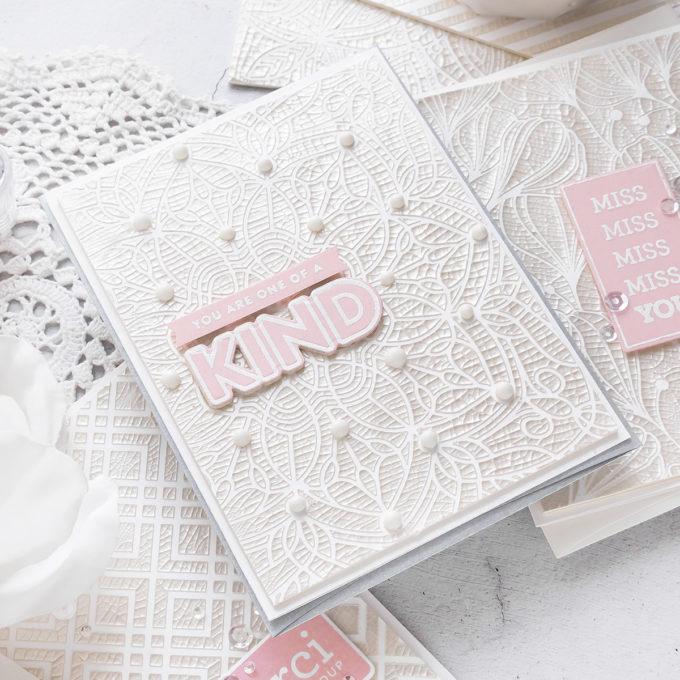
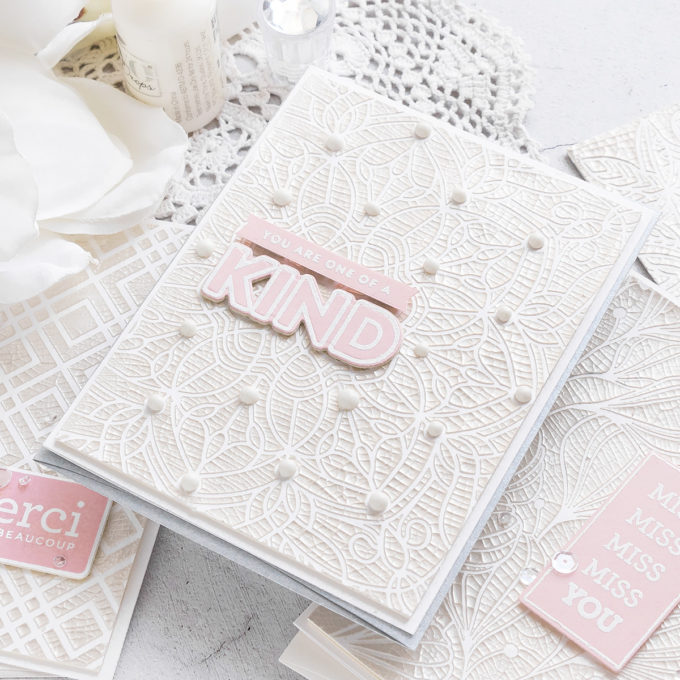
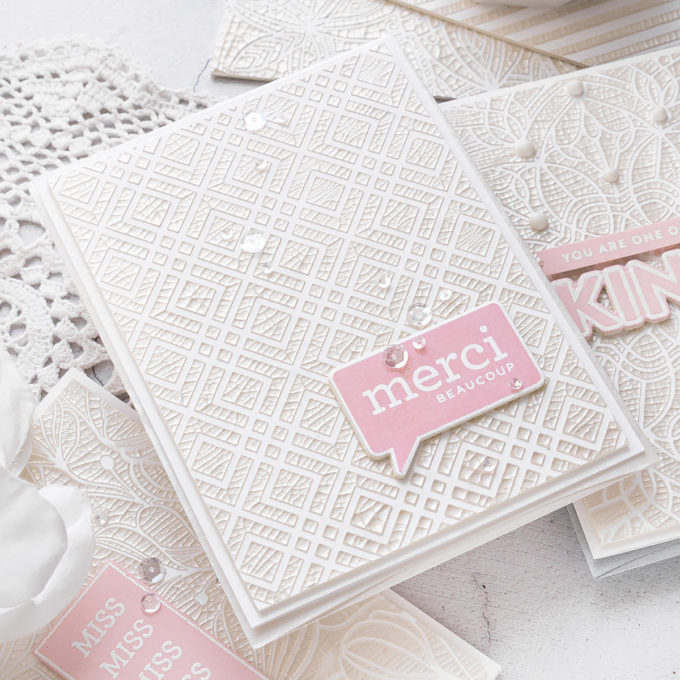
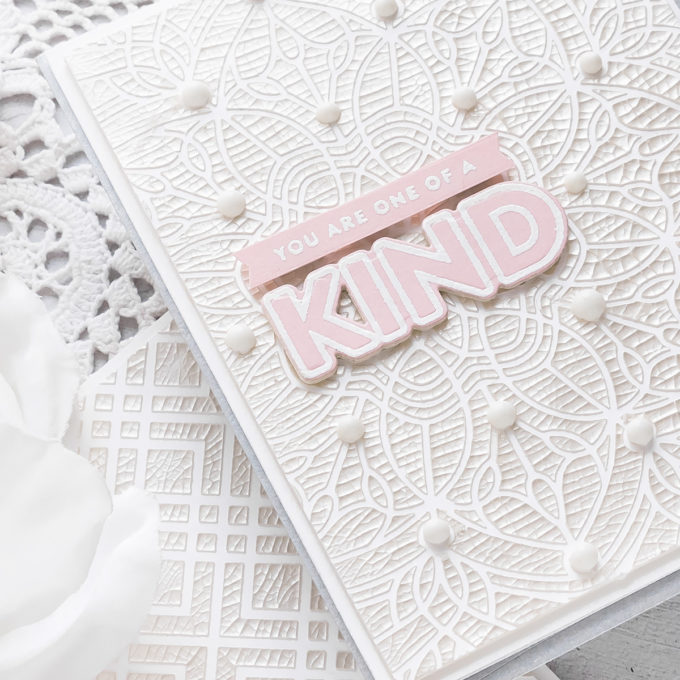
Mousses add metallic dimensional details to your craft projects. They are currently available in 8 colors, and I have 5 to show you in this video. It is best to apply this mousse using a palette knife. On the back of the jar, there are instructions: for a textured finish apply with a spatula. If applied using a stencil a raised effect will occur. Ensure a thick even layer is applied to create a cracked effect.
I did not apply too thick of a layer, the thicker you go, the bigger the cracks you will get. I wouldn’t go too thick as the mousse might actually fall off the paper if the cracks are too big. This product is designed to work on a porous surface such as paper, cardstock, chipboard, untreated wood. It will not work on acetate, glass, or any other non-porous surface.
It is best to leave your backgrounds to dry and crackle overnight. Mine were dry and ready to go in about 3 hours, although I did leave them overnight as recommended. Drying time does depend on how thick of a layer you apply to your surface.
Once the backgrounds dried they curled up. I was very surprised and I was even afraid to uncurl and flatten the paper as I was afraid the mousse would come off the paper. But it didn’t, this mouse is very nice and flexible, and unless you have very large cracks the product stays put on your porous surface. I loved the backgrounds I got, absolutely wonderful texture, nothing like I have in my stash.
Because these curled up so much I needed to find a way to flatten them. I cut scrap cardstock to 4 x 5 1/4” panels, I adhered 4 panels together to create sturdy chipboard-like pice, I figured that would help flatten the paper and used that to adhere the backgrounds too.
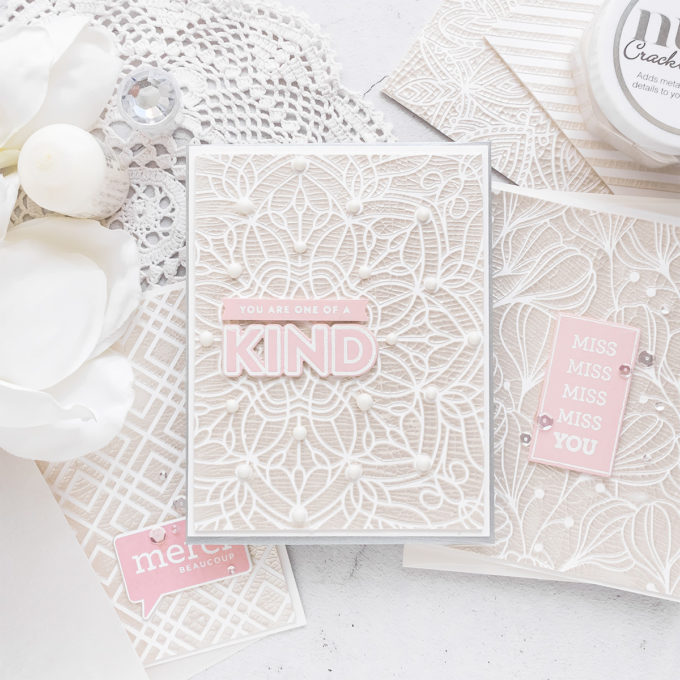
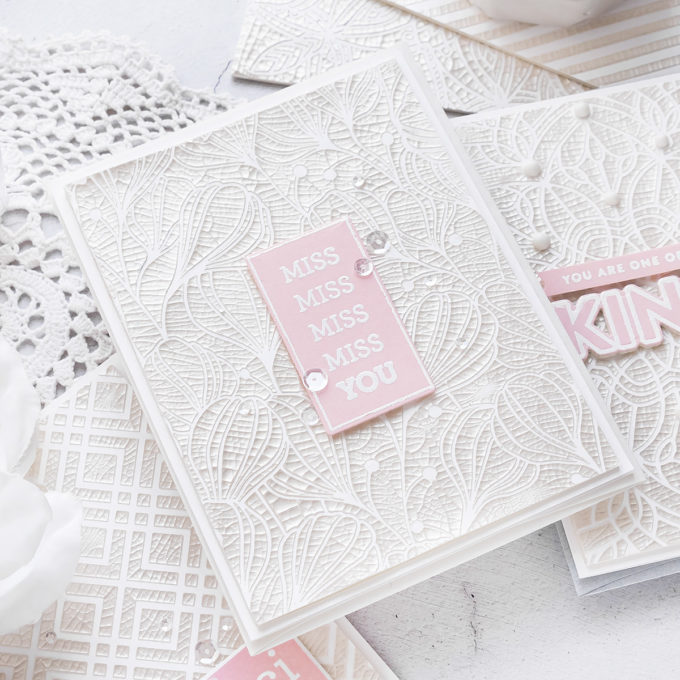
To create cards I adhered my crackled background to A2 white side folding card bases. For the first card, I white heat embossed Miss You sentiment from CZ Miss You Missy stamp set. I thought that using light pink cardstock worked really well with the pearlescent white color of the mousse and the white card background. I treated my paper with anti-static powder, stamped the image in clear embossing ink, I used ink from Hero Arts, covered with white detail embossing powder and heat set using my heat tool.
Next, I used a coordinating die and cut that embossed rectangle out in my die cutting machine. Sometimes when I die cut heat embossed images the embossing powder flakes off and I end up having gaps in my image. It is frustrating, but it is something that I can fix using a white jelly roll pen. Before I do that I like to re-heat the powder anywhere where it looks like it is about to come off and then I use my white pen and just draw the white line where it is missing. Another option, of course, is to die cut first and heat emboss later.
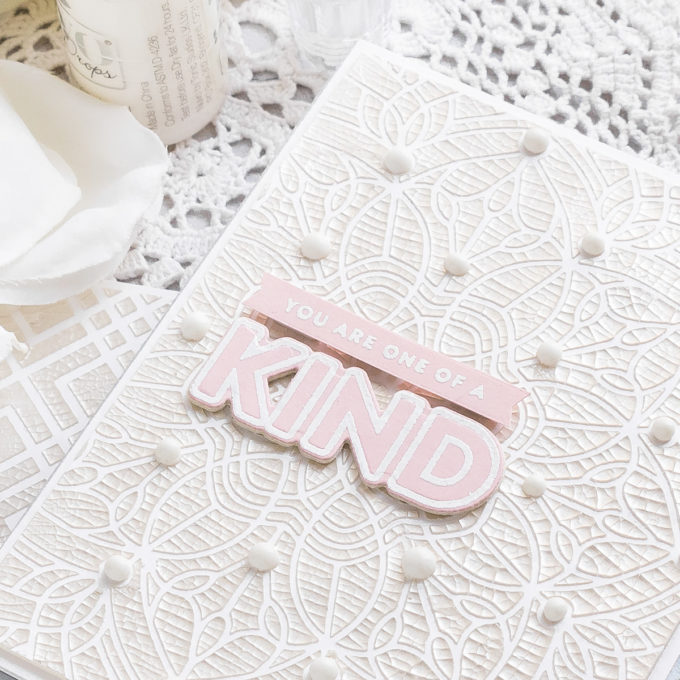
For my next card I heat embossed a sentiment that reads You Are One of a Kind, I used Simon’s Kind Flowers stamp set.
For my final card, I stamped Merci in Twirling Tutu ink from CZ All the Thanks stamp set and cut it out using a coordinating die. Next, I used glue and adhered my die cut sentiments onto the cards, I did add 4 layers of that same cardstock I used to flatten my backgrounds. I just used the coordinating dies to cut additional scrap layers and adhered them all together using glue. This is an alternative to using fun foam, but it does make the card significantly heavier as cardstock is heavier than foam. But if you don’t have fun foam it is a good option.
I used Nuvo Drops in Gloss White to embellish my One of a Kind Card, and for the other 2 cards, I used sequins from Simon’s Girl’s Best Friends sequins mix set.
I still have loads of background leftover from my experimenting and I have them saved for future projects. I enjoyed using these mousses from Tonic and I look forward to playing with them some more!
SUPPLIES
I’m listing the products I used below. Click on the link to go directly to the product. Where available I use compensated affiliate links which means if you make a purchase I receive a small commission at no extra cost to you. Thank you so much for your support!
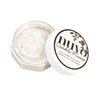 Tonic Russian White Nuvo Crackle Mousse Shop at: SSS |
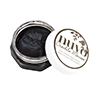 Tonic Wrought Iron Nuvo Crackle Mousse Shop at: SSS |
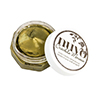 Tonic Egyptian Gold Nuvo Crackle Mousse Shop at: SSS |
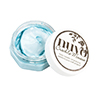 Tonic Celestial Blue Nuvo Crackle Mousse Shop at: SSS |
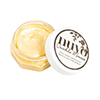 Tonic Ivory Coast Nuvo Crackle Mousse Shop at: SSS |
 Simon Says Stamp Stencil Flora Shop at: SSS |
 Simon Says Stamp Stencil Diagonal Stripe Shop at: SSS |
 Simon Says Stamp Stencil Square Dance Shop at: SSS |
 Simon Says Stencils Solar Burst Shop at: SSS |
 Simon Says Stencils Stained Glass 1 Shop at: SSS |
 Simon Says Stamps and Dies Miss You Missy Shop at: SSS |
 Cz Design Clear Stamps Miss You Missy Shop at: SSS |
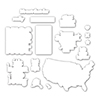 Cz Design Wafer Dies Miss You Missy Shop at: SSS |
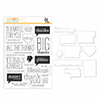 Cz Design Stamps and Dies All the Thanks Shop at: SSS |
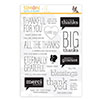 Cz Design Clear Stamps All the Thanks Shop at: SSS |
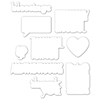 Cz Design Wafer Dies All the Thanks Shop at: SSS |
 Spellbinders Deep Sea Die Cutting Machine Shop at: SSS |
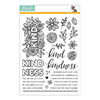 Simon Says Clear Stamps Kind Flowers Shop at: SSS |
 Neenah 80LB Solar White Cardstock Shop at: SSS |
 Neenah Classic Crest 80 Lb Desert Storm Shop at: SSS |
 Simon Says Stamp Black Cardstock Shop at: SSS |
 Simon Says Stamp Twirling Tutu Dye Ink Pad Shop at: SSS |
 Hero Arts Hero Hues Premium Cardstock Peony Shop at: SSS |
 Mini Misti Stamping Tool Shop at: SSS |
 Hero Arts Clear Embossing & Watermark Ink Shop at: SSS |
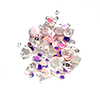 Simon Says Stamp Sequins Girl’s Best Friend Shop at: SSS |
 Hero Arts White Detail Embossing Powder Shop at: SSS |
 EK Success Powder Tool Applicator Shop at: SSS |
 Hero Arts Heat Embossing Gun Shop at: SSS |
 Tonic Gloss White Nuvo Drops Shop at: SSS |
 Sakura Classic White Bold Line 10 Pen Shop at: SSS |
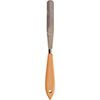 Tonic Metal Palette Knife Shop at: SSS |
 Tonic Easy Clean Mat Shop at: SSS |
 Crystal Ninja Crystal Katana Pick Up Tool Shop at: SSS |
 Simon Says Stamp Craft Tacky Glue Shop at: SSS |


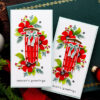
This looks so sweet and very interesting – I can’t get access to the video!
thank you 🙂 This post went live a little sooner than planned, the video will be up tomorrow. I hope you’ll come back to watch it.
Oh, aah, oh! These were some of the most beautiful cards that I have seen lately. You’re right in that the Russian White is breathtaking using a stencil. Okay, my next purchase. I got my hot foil machine today and am looking forward to playing with it. Thanks for all you do!
Awww, thank you, Patricia ❤ I sooooo enjoyed playing with these mousses. Next I’m going to do tone on tone, I really want to try that blue on on blue cardstock
Absolutely stunning cards, Yana. Thank you, for all the beautiful photos and video 🙂
thank you! I’m glad you enjoyed it )
Wow! I watched this video before falling asleep last night, well I who don’t usually like the cracked effect, you managed to make me love it! I only have Victorian Blush mousse at home but if I have the opportunity to have one among these I think that blue would be one of my favorites with your favorite color! As always, everything is perfect, thank you Yana for this nice sharing!