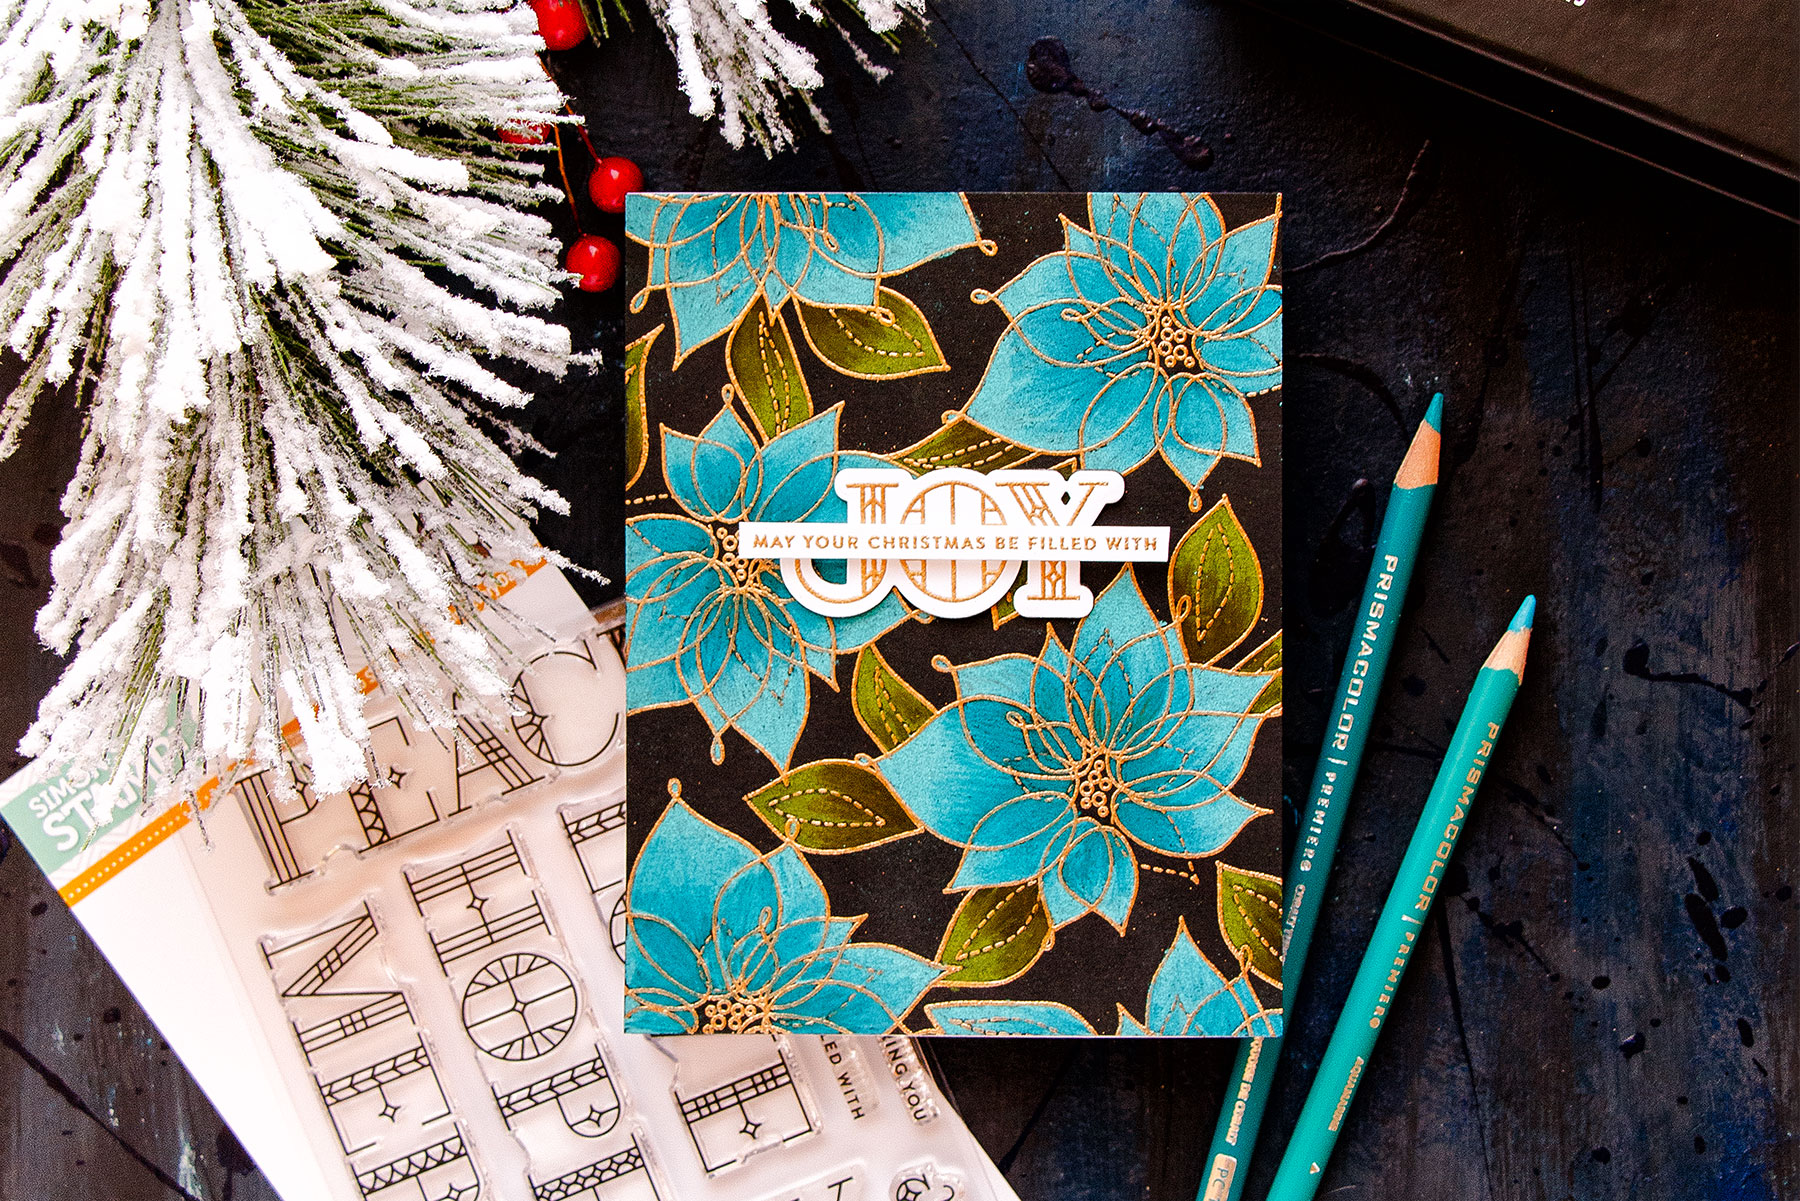
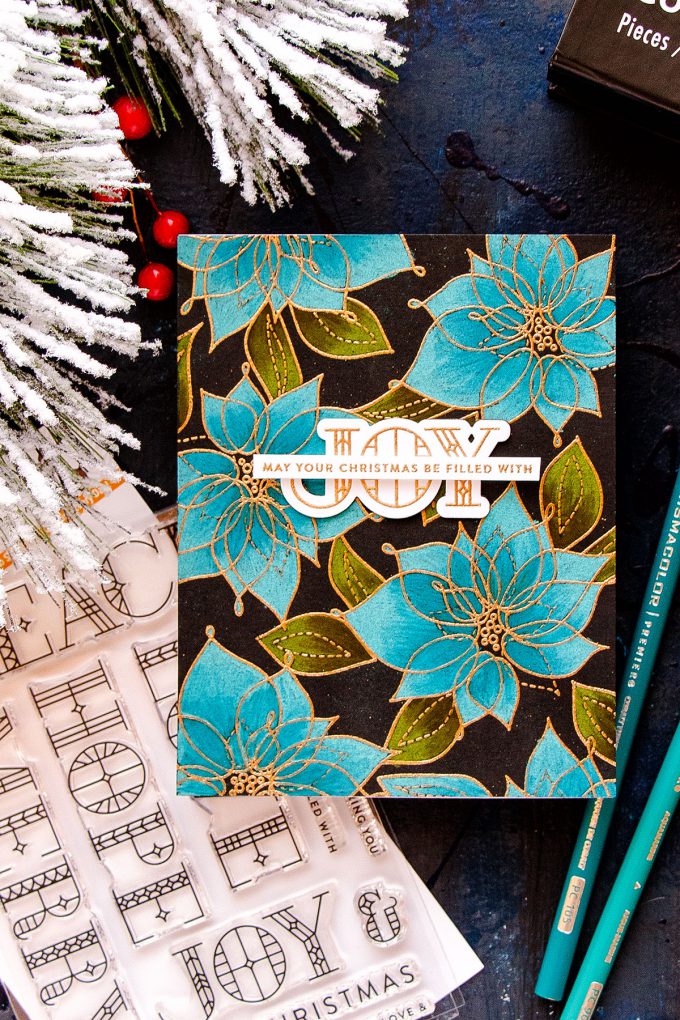
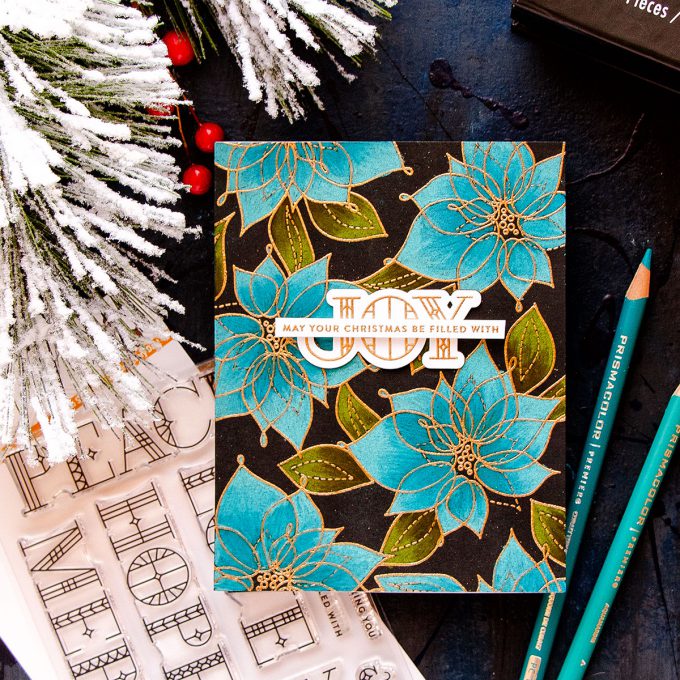
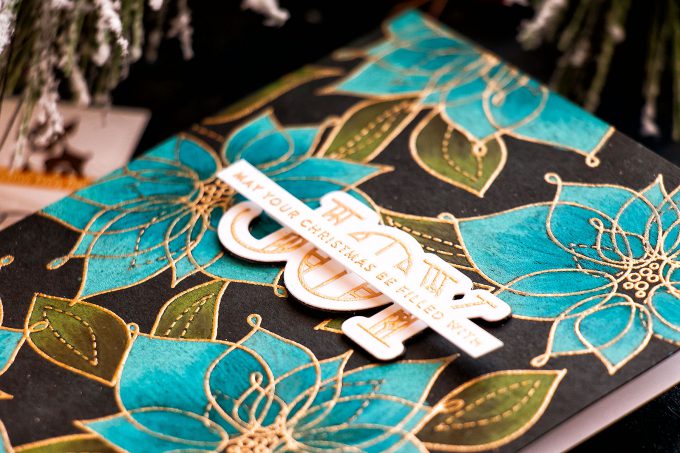
Hi everyone! Welcome back for another episode from my by-monthly Yippee For Yana video series for Simon Says Stamp Blog! Lately I have been enjoying playing with various coloring mediums and I’ve been feeling inspired to color more! So today I have a Dramatic Christmas card to share created using a mix of old and new products from Simon as well as colored pencils.
Like this project? Pin it and save for later | Curious about my project photography? Click for details.
VIDEO TUTORIAL
As always, I filmed a video tutorial showing how to create this project from start to finish. I’m hoping you’ll enjoy it. Watch it below or on my Youtube channel.
Like this video? Please give it a big thumbs up (you can do this on Youtube video page right under the video) and share with a crafty friend! Leave me a comment too, I love hearing from you!
CARD DETAILS
I have been coloring a lot using my Polychromos pencils and I have a similar, but much less detailed video using polychromos on my Youtube channel HERE. For this project I used my Prismacolor pencils just to show you that a look like this can be achieved using not just one brand of products. So whatever brand of pencils you have – I encourage you to pull them out, grab some black or dark colored cardstock, outline stamps and color away.
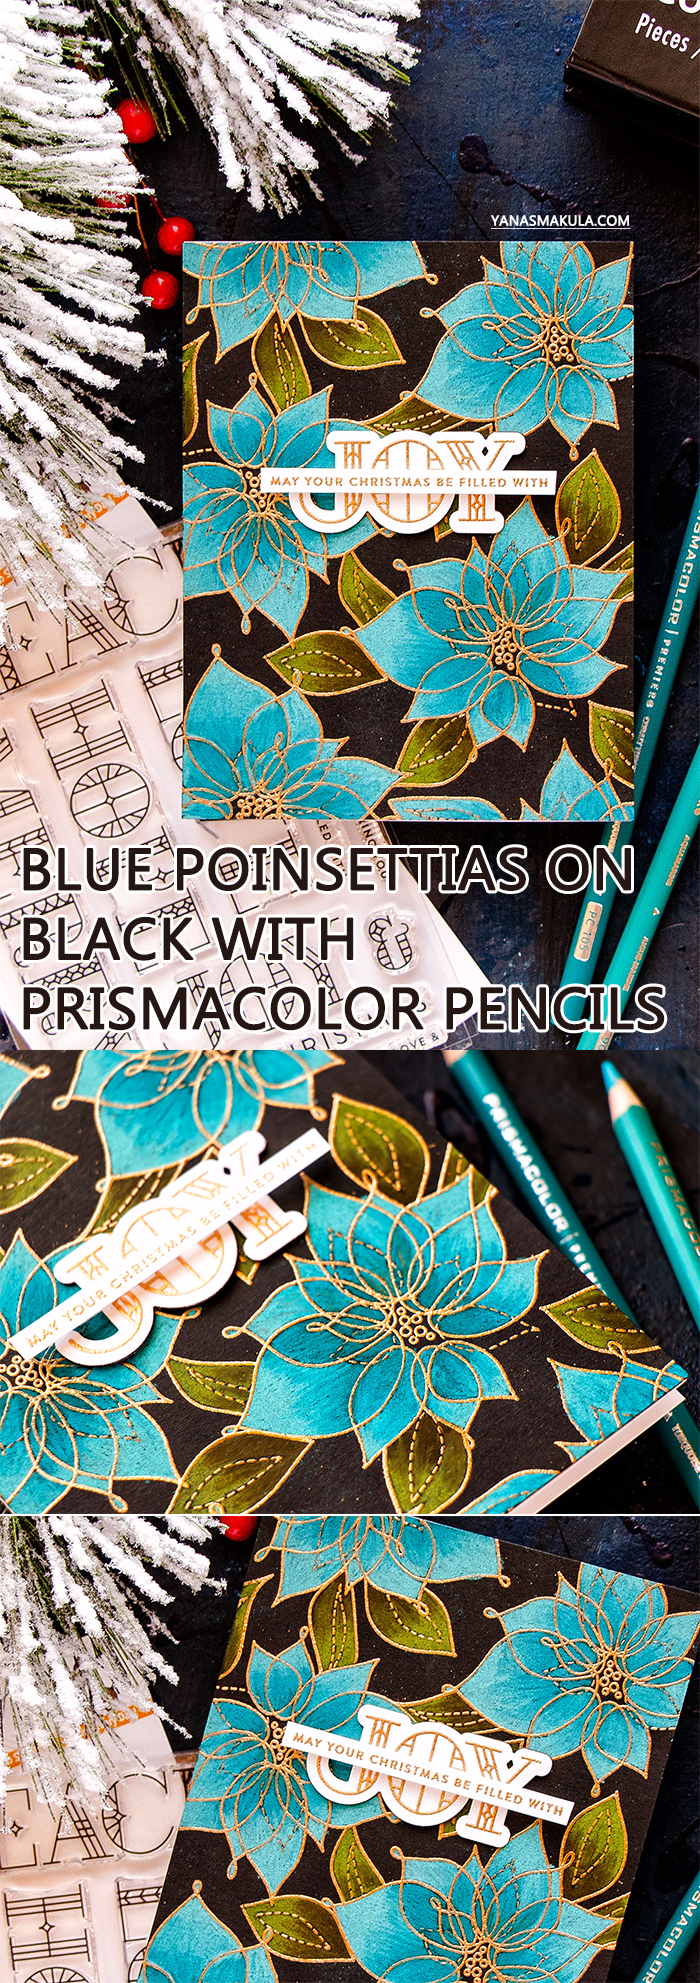
I started working on my card by prepping my black cardstock panel with an anti static powder tool and stamping poinsettias from the Winter Flowers stamp set. The reason I picked this particular image and not something else is because this image is large and it is an outline image, so it is intended for coloring. There are a few details to it, but it’s not overly detailed, in other words the details of the image will not be in the way of my coloring. There are these dashed lines that will make the coloring a bit more difficult, but they all a lot of beautiful details to this design. If you are attempting this kind of coloring for the first time I’d suggest you pick a simpler image with less details to it. Look for some leaves and start there, this is how I got started.
Next I covered the entire piece with Hero Arts Brass embossing powder. I usually like to use Gold or Antique Gold, but decided to switch things up a bit this time. I used my heat tool and melted the powder. I also stamped a few leaves next to all of my flowers. I used a no-masking technique by my friend Svitlana Shayevich (be sure to watch the video to learn the details).
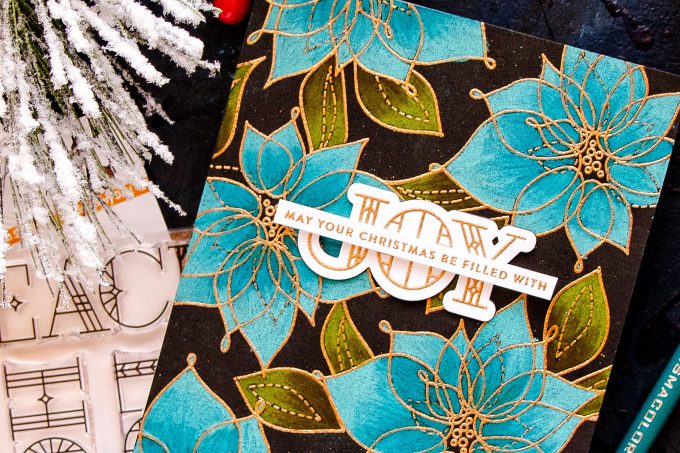
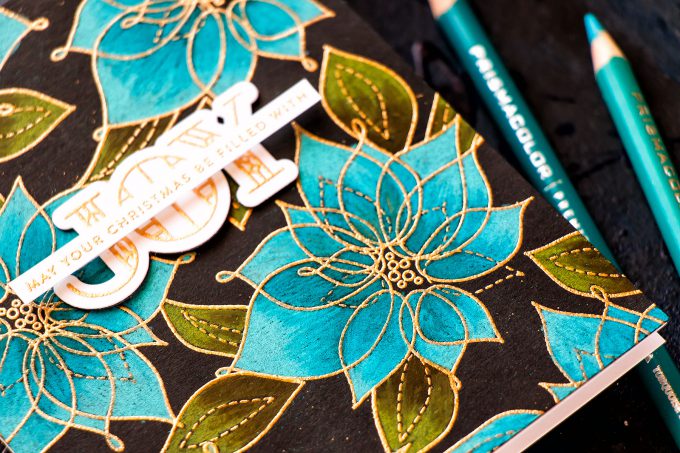
Like I mentioned before, I used my Prismacolor pencils to color this card. I will be honest with you, do not expect to color a background of this size in 10 or 20 minutes. It will take you a good hour or more depending on how meticulous you’ll be. I first colored leaves using Limepeel and Green Ochre colors.
The coloring really has no special tricks to it. I simply start coloring the shape with a darker pencil – in this case I added a darker green where the leaf is coming from under the petal and added a lighter color at the tip of the leaf. I did overlap both colors and often, if I feel I need to, I can ether go over the dark coloring with a lighter pencil or vice versa depending if I want the color to look lighter or darker.
To color the flowers I used Light Aqua, Aquamarine and Cobalt Turquoise colors. I particularly like how various shades of green and blue look on black cardstock, I think the black of the background really helps these pencils come to life and they almost look velvety on the card. I really quite enjoy this coloring, it does take a lot of time but I find it relaxing.
Keep in mind that you can color on other colors of cardstock, like white and kraft but also on unexpected colors such as say pink or red.
To create a sentiment for this project I used one of the new sentiment sets from Simon – the Stained glass Greetings and heat embossed large “Joy” as well as “May Your Christmas Be Filled with”. There’s a set of coordinating dies available so I used a die to cut the joy out.
I also used same die to die-cut an identical Joy layer out of black double sided sticky fun foam from Scrapbook adhesives to be able to pop to Joy die cut up. You can use regular foam tape or foam squares, but I really like to use this product for something like this. And the reason I picked black instead of white is simple – the background is black so using white foam adhesive would have made it too visible if looking at the card from the side. I foam mounted the joy and next used foam adhesive to adhere the sentiment strip on top.
SUPPLIES
I’m listing the products I used below. Click on the link to go directly to the product. Where available I use compensated affiliate links which means if you make a purchase I receive a small commission at no extra cost to you. Thank you so much for your support!
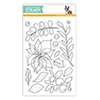 Simon Says Clear Stamps Winter Flowers Shop at: SSS |
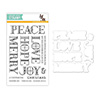 Simon Says Stamps and Dies Stained Glass Greetings Shop at: SSS |
 Simon Says Stamp Stained Glass Greetings Wafer Dies Shop at: SSS |
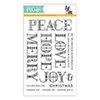 Simon Says Clear Stamps Stained Glass Greetings Shop at: SSS |
 Simon Says Stamp Embossing Ink Pad Shop at: SSS |
 Simon Says Stamp Black Cardstock Shop at: SSS |
 Neenah 110 Lb Solar White Cardstock Shop at: SSS |
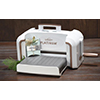 Spellbinders Platinum Die Cutting Machine Shop at: SSS |
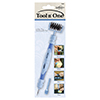 Spellbinders Tool ‘n One Shop at: SSS |
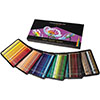 Prismacolor 150 Premier Colored Pencils Shop at: SSS |
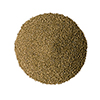 Hero Arts Brass Embossing Powder Shop at: SSS |
 Hero Arts Heat Embossing Gun PW200 Shop at: SSS |
 ScraPerfect Crafting Pouch Shop at: SSS |
 Scor-Tape 1/8 Inch Crafting Tape Shop at: SSS |
 Scrapbook Adhesives Black Foam Tape Shop at: SSS |
PIN THIS PROJECT
Are you on Pinterest? I’d love for your to pin this project if you like it! Thanks!


This is absolutely breathtaking! So beautiful.
Stunning card, Yana 🙂
absolutely gorgeous!!
Gorgeous!
Thank you for showing this technique with the Prismacolor Pencils. Your review of the two pencil brands was very helpful!!! All your tips are appreciated and your work is exquisite!♥♥♥
Your work is lovely & this card is gorgeous. Thank you for sharing.
Oh my!!! There comes another gorgeous card of yours!! Lovvvvve this one!!
I love the brass embossing powder and the aqua poinsettias. Your videos are always full of great instructions.
All I have to say is Wow, just wow…stunning!
Striking colors and so elegant, beautiful card! Thanks for sharing your Prismacolor pencil coloring tips and color choices. I just started using mine and I appreciate the lightt-medium-dark blues so I don’t have to figure that out just yet and I can just practice coloring.
Wow, stunning!! I’d never think to do a black Christmas card but this is a third one I’ve seen and, once again, I love it!! Your colouring is amazing and the colours you used for the poinsettias along with the brass just makes the images pop against the black background. Absolutely gorgeous!! Great video too, thanks!
Great video, BEAUTIFUL card!
That is absolutely gorgeous! Beautiful combo of colors! Very striking!!
This is such an astonishing result !
Gorgeous color on the unexpected black background. Love your videos, very informative and clear, thank you.
Your card is stunning. Thank you for the video and all the tips you gave for using colored pencils.