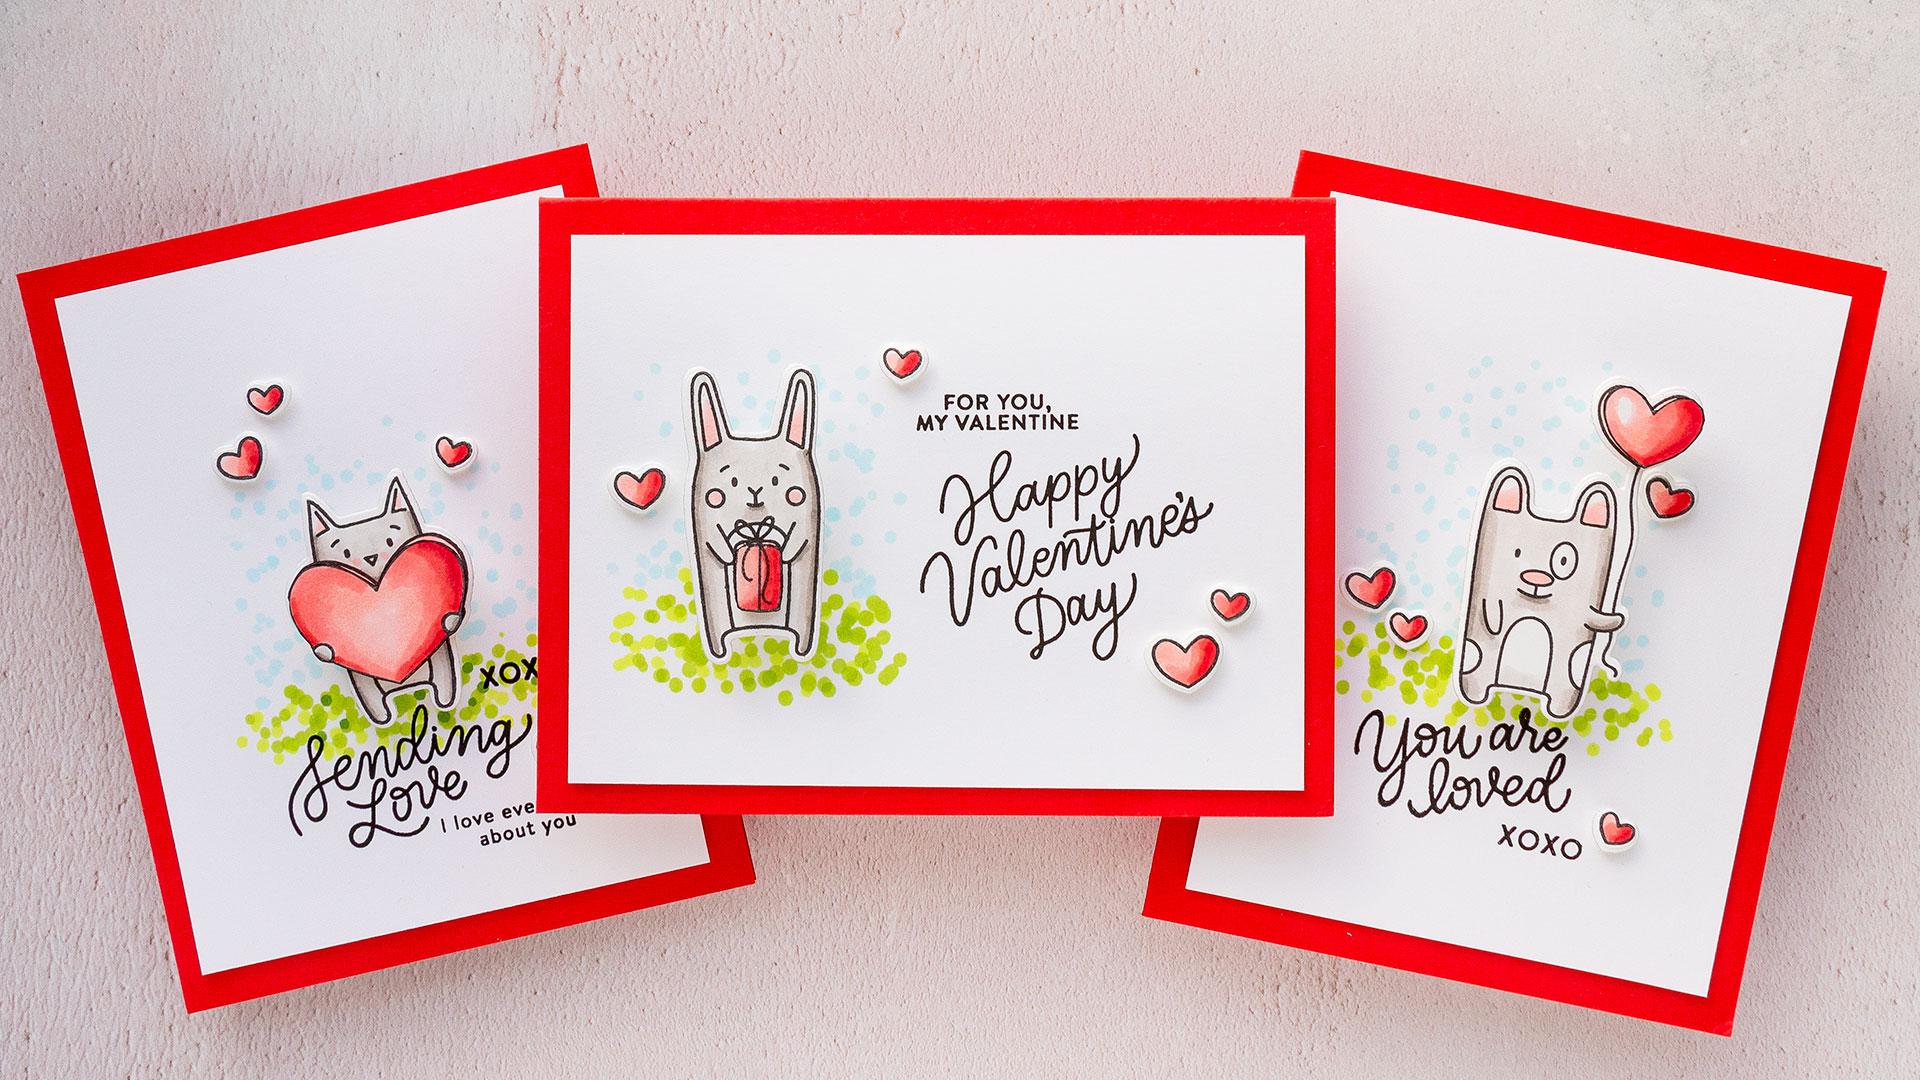
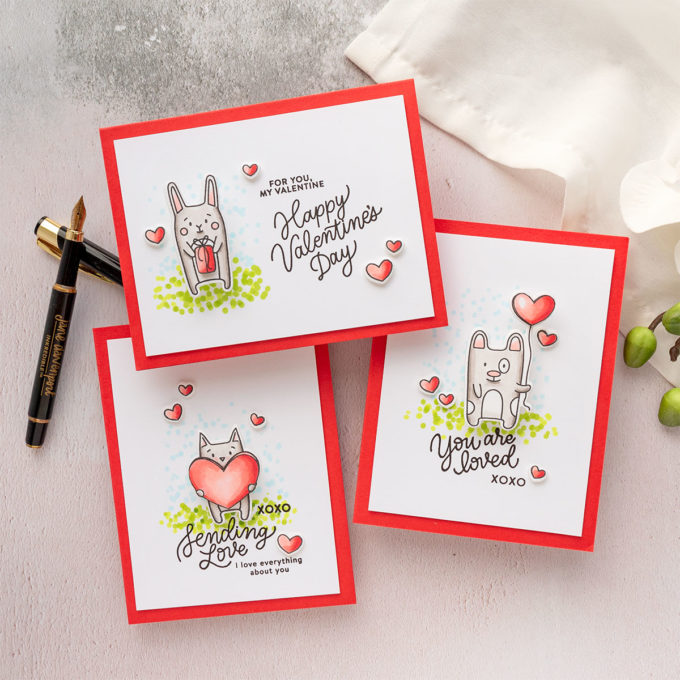
Hello and welcome back for another Yippee For Yana video! In this video, I am creating adorable Valentine’s Day cards that are sure to bring a big smile to the face of the recipient. These cards can be given to all of your loved ones, including friends and family.
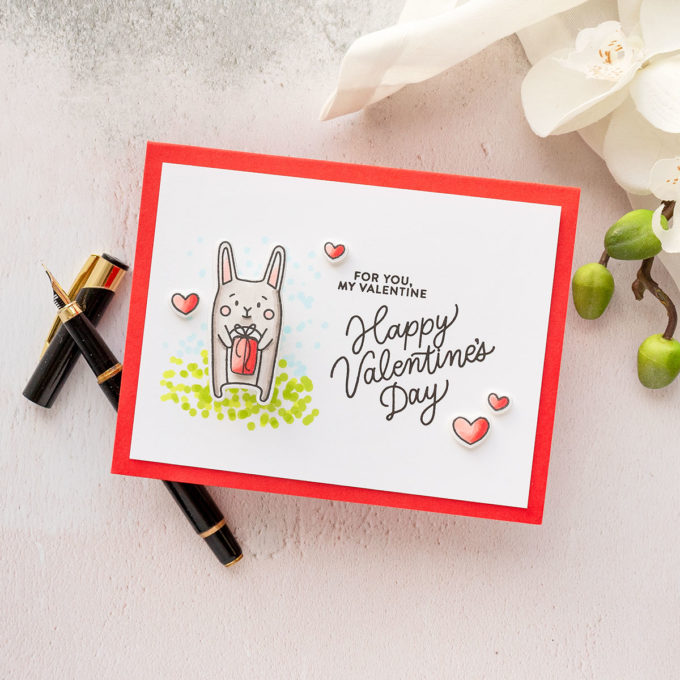
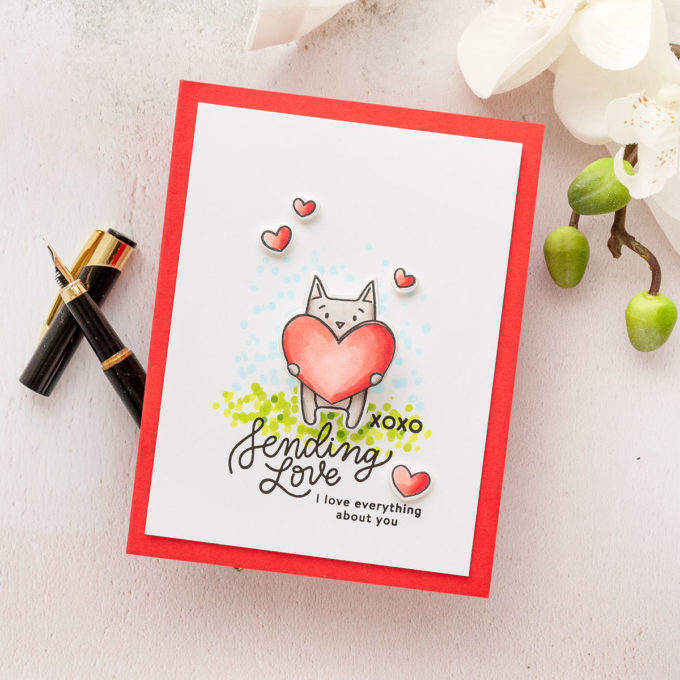
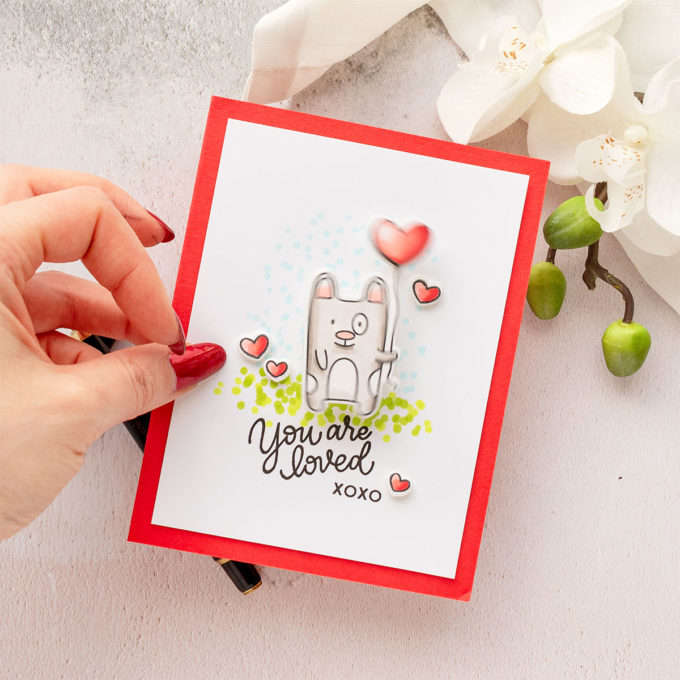
The cards I am creating are all made using just one stamp set – the Love Day set from Simon Says Stamp. It is a smaller 4×6 set, but it has everything you need to create your projects. You have several adorable critters – a cat, a bunny, and a dog all holding some object for Valentine’s Day – either a heart or a little gift, and you have loads of sentiments including some pretty large sentiments that can easily take center stage on your card. There are coordinating dies also available for you, and these cut nearly everything in this set, including the larger size sentiments.
Like this project? Pin it and save for later | Curious about my project photography? Click for details.
VIDEO TUTORIAL
Watch the video below or on my Youtube channel.
Like this video? Please give it a big thumbs up (you can do this on Youtube video page right under the video) and share it with a crafty friend! Leave me a comment too, I love hearing from you!
CARD DETAILS
The cards I have for you today are all very simple, they require very little very basic coloring, and this is a good beginner project. If you are new to card making this is a tutorial for you to try.
Begin by stamping the images. For this, I used a mini MISTI stamping tool. I stamped every critter twice as I want to cut out parts of the critters and pop them up on the finished cards to add more interest. I also stamp loads of hearts – there are 3 size hearts in this set and we can use those as little embellishments.
Next, we need to color these. I am all about doing very simple coloring, something that is easy and approachable and doesn’t feel intimidating. I color all of my critters light gray. Each will be holding a heart or a gift that will be colored bright red and I don’t want the coloring of the critter to take attention away from the heart or the gift. I start with W5, next use W3 and blend everything with the W1 marker. I just add the darkest color along the left and right sides of the critter and apply lighter colors toward the center. I am also using the R20 marker to color the inside of the ears, the nose and even to add little blush onto the cheeks.
Next, I color the heart on the other stamped critter bright red. I use R27, R24, R22, and R20 markers. This heart will be fussy cut, while the full critter will be cut out using a coordinating die. Once cut, I foam mounted the fussy cut heart onto the die-cut critter.
The next step is creating a little scene for our critters. I am all about making things simple and for these cards, I doted a scene. You can use your dies or your stencils or even some of our other stamps to create a scene for these little darlings, but I wanted these cards to be very simplistic so I used my Copic markers and I simply dotted a bit of grass and a bit of sky.
It is super easy to do – all you need is just a few colors or markers – YG03, this is a nice grassy color and I just added a bunch of dots onto the background mimicking grass. You can use several colors if you want to add color variation to your grass, I used YG01 and YG17 to add lighter and darker dots and I also used the B000 marker to dot in the sky.
Next, we need to stamp a sentiment and I went back to my MISTI stamping tool, I picked out the sentiments for this card and I stamped them in Versafine Onyx black ink which is a very nice dark black color.
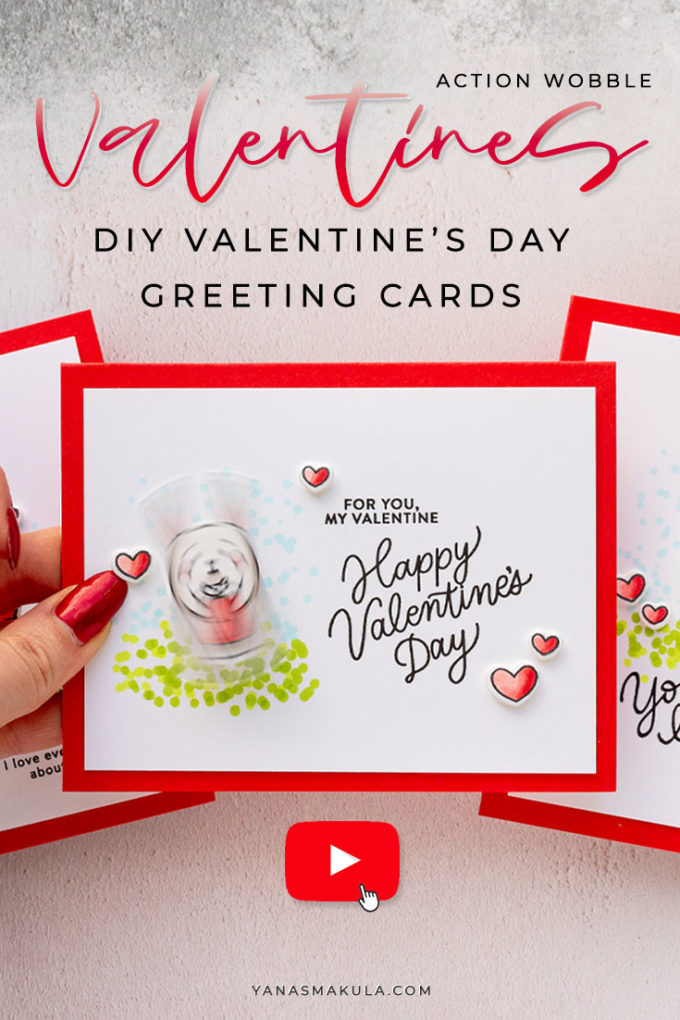
All that’s left to do now is to assemble! Whenever I create cards with adorable images like these critters I try to add some sort of movement to the critters, I try to animate them. The easiest way to do that is by using a little wobble spring. I used a mini one and it is the perfect size to animate my critters.
Because I was making Valentine’s Day cards I decided I would create red card bases for these cards. I cut red cardstock to 5 1/5 x 8 1/2” and scored at 4 1/4” to create an A2 side folding card base. To make it easier to write my message on the inside – I adhered a white cardstock panel, I cut it half an inch smaller to have a bit of a red border here.
Next, I foam mounted my main panel onto the card and that finished my project.
I hope you’ll give this idea a try! Have fun stamping!
SUPPLIES
I’m listing the products I used below. Click on the link to go directly to the product. Where available I use compensated affiliate links which means if you make a purchase I receive a small commission at no extra cost to you. Thank you so much for your support!
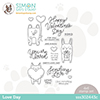 Simon Says Clear Stamps Love Day Shop at: SSS |
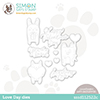 Simon Says Stamp Love Day Wafer Dies Shop at: SSS |
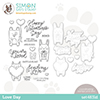 Simon Says Stamps and Dies Love Day Shop at: SSS |
 Simon Says Stamp White A2 Side Fold Scored Cards Shop at: SSS |
 Neenah 80lb Solar White Cardstock Shop at: SSS |
 Simon Says Stamp Mega Thick White Cardstock 130LB Shop at: SSS |
 Simon Says Stamp Lipstick Red Cardstock Shop at: SSS |
 Mini MISTI Stamping Tool Shop at: SSS |
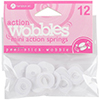 Hampton Art Mini Action Wobbles 12 Pack Shop at: SSS |
 Simon Says Stamp Intense Black Ink Shop at: SSS |
 Tsukineko Versafine Onyx Black Ink Shop at: SSS |
 Copic Sketch Marker R22 Light Prawn Shop at: SSS |
 Copic Sketch Marker R20 Blush Pink Shop at: SSS |
 Copic Sketch Marker R24 Prawn Shop at: SSS |
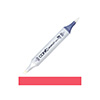 Copic Sketch Marker R27 Cadmium Red Shop at: SSS |
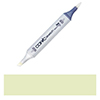 Copic Sketch Marker YG01 Green Bice Shop at: SSS |
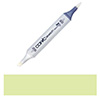 Copic Sketch Marker YG03 Yellow Green Shop at: SSS |
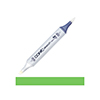 Copic Sketch Marker YG17 Grass Green Shop at: SSS |
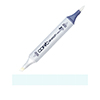 Copic Sketch Marker B000 Pale Porcelain Shop at: SSS |
 Copic Sketch Marker W1 Warm Gray Shop at: SSS |
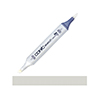 Copic Sketch Marker W3 Warm Gray Shop at: SSS |
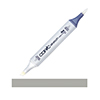 Copic Sketch Marker W5 Warm Gray Shop at: SSS |
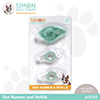 Simon Says Stamp Dot Runner and 2 Refills Shop at: SSS |
 Bearly Art Mini Precision Craft Glue Shop at: SSS |
 Spellbinders Platinum Die Cutting Machine Shop at: SSS |
 White Foam Squares Shop at: SSS |



Oh wow, these are so cool
glad you like them 🙂 thank you!