Sometimes I just want to sit down in my craft corner and dabble away without any specific card, idea or outcome in mind. Do you ever feel like that?
The other evening felt just like that, so I played a bit with the ColorSticks by Jane Davenport. This is a new coloring medium in my stash and having used it just once so far I was eager to play with it some more to explore the properties, see what I can use it for and just to have fun.
Like this project? Pin it and save for later | Curious about my project photography? Click for details.
CARD DETAILS
I started with a half sheet of Arches Cold Pressed watercolor paper and using a wide paintbrush applied a generous amount of water to wet my paper. It was probably soaking wet and dripping water, but I didn’t mind as I just wanted to play.
Next, I picked several stick colors from Jane Devenport ColorSticks sets and experimented with various application methods.
ColorSticks are silky smooth water-soluble gel crayons that glide onto multiple surfaces like a luxury lipstick.
First, I rubbed ColorStick on a wet brush to apply color. This didn’t transfer much pigment onto the paper, so I quickly abandoned this method and moved to direct to paper application. I rubbed the ColorStick on the paper directly without applying much pressure (if you apply pressure you’ll push the pigment deep into the crevices of the paper and will have a hard time softening it and blending it out). Next, I wet the brush and went over the pigment to spread it on the paper. This method seemed to work better and started to give me a vibrantly colorful background.
I still wasn’t completely happy with how the colors were applied to the paper, the brush seemed to spread the pigment out too far, so I soon abandoned this method as well and used the best application tool out there – a finger. Having added the pigment to the wet paper I dipped my finger into the bowl of clean water and rubbed it on the background. The result? Absolutely perfect color application! I played quite a bit with various colors and amounts of pigment until I was completely satisfied with the background.
My mistake here (although, as I said at the beginning, I wasn’t planning on using this for a card) was not taping the watercolor paper down to a hard surface. As a result, the paper warped significantly, and I had a very hard time keeping it flat. I used a layer of fun foam when adhering the paper down to a card base, yet still, the edges of the panels ruffled a bit and if you look closely at the photos you’ll be able to spot it.
The colors of ColorSticks I used are French Kiss, Make A Moue, Brassy Looks, and Moonkiss.
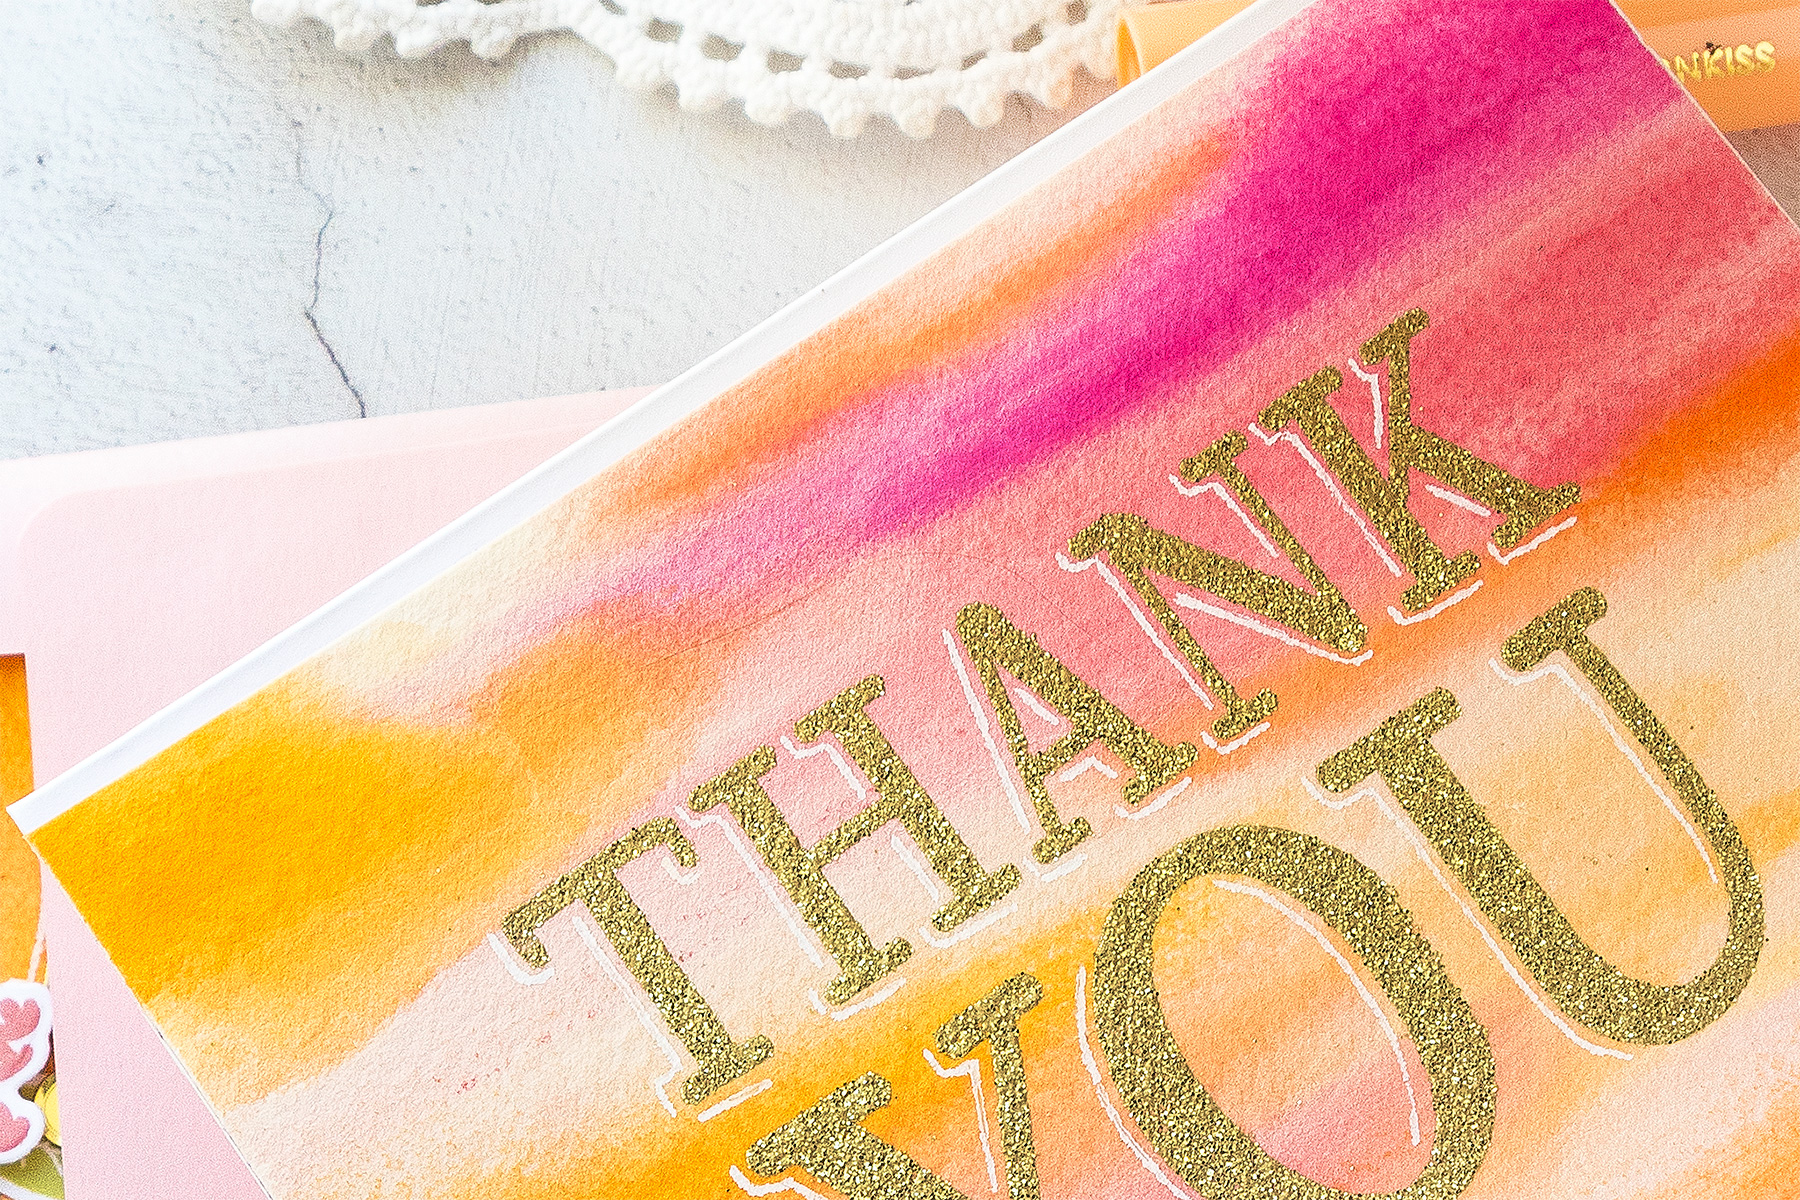
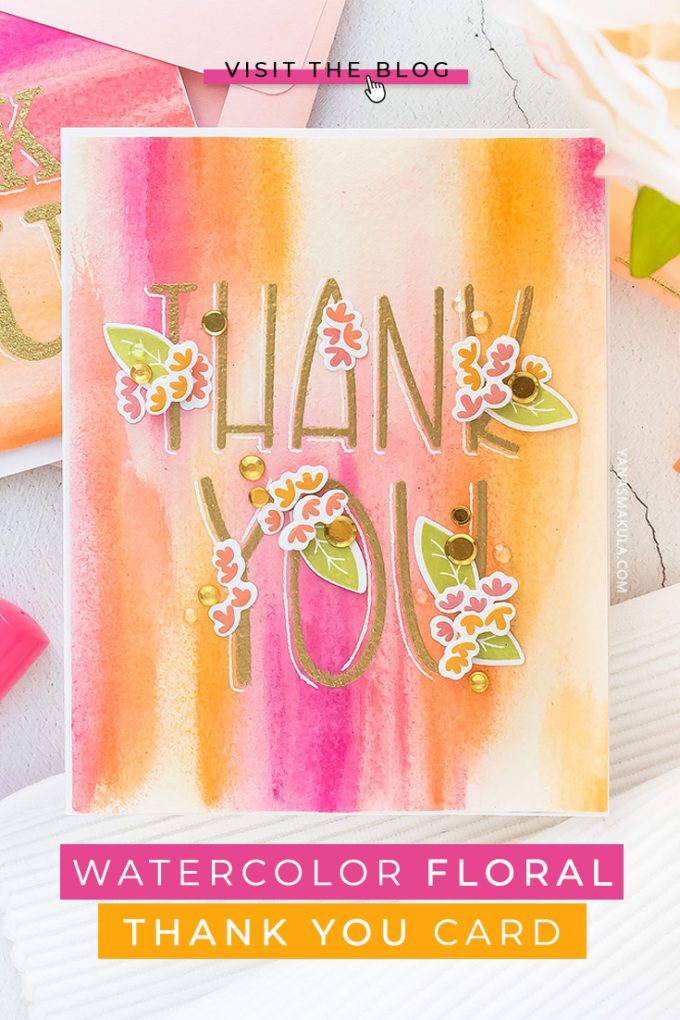
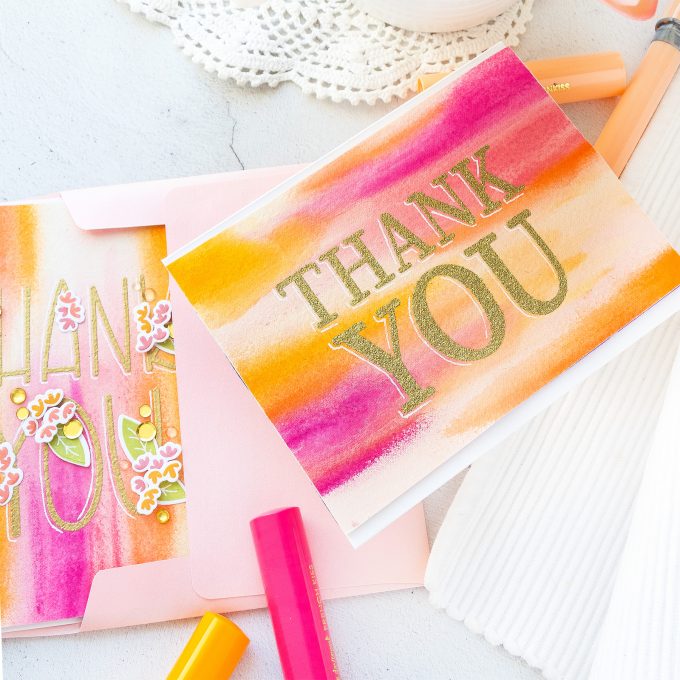
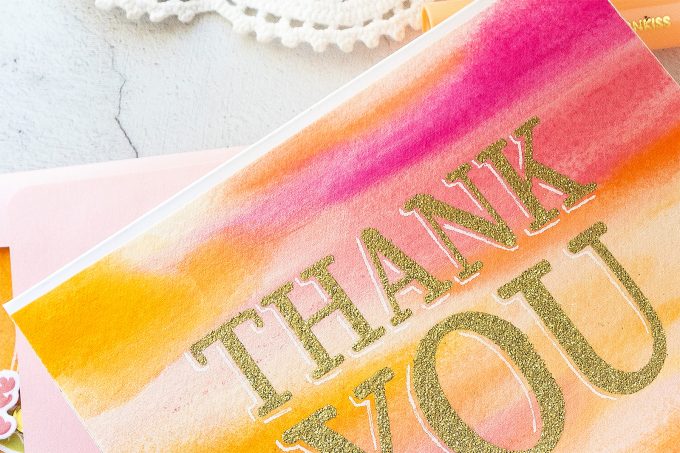
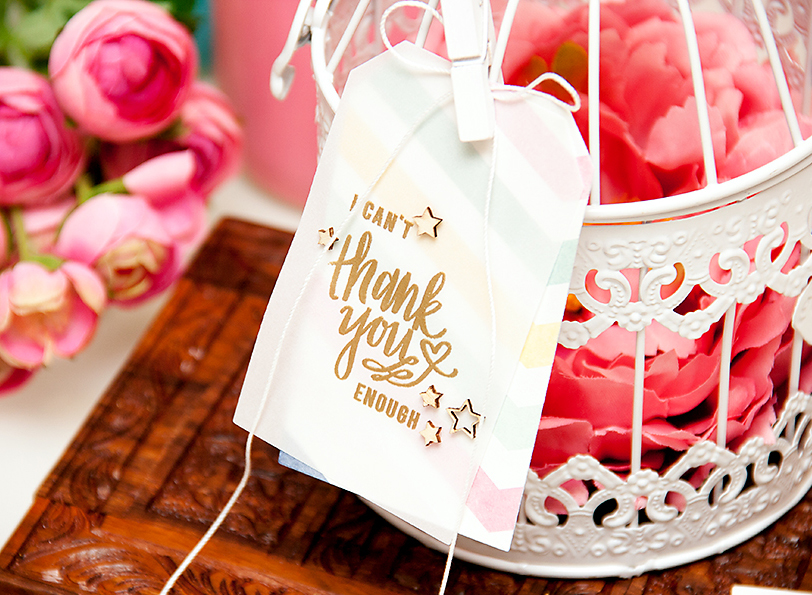
After I’d finished the backgrounds I felt inspired to turn them into simple cards. I looked through my stash for big bold sentiments and decided to use “Thank You” from the Fruit From The Heart set. This stamp set does a fun wordplay and allows one to substitute the letter “O” with an image of a fruit, but it can also be used a regular, more traditional way (btw, here’s another card idea using this set).
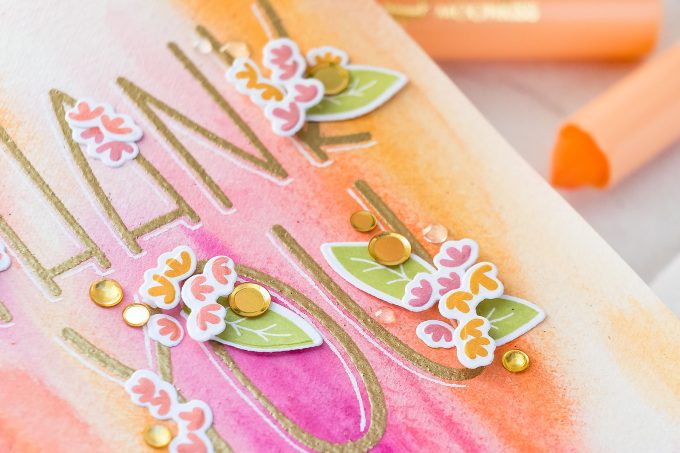
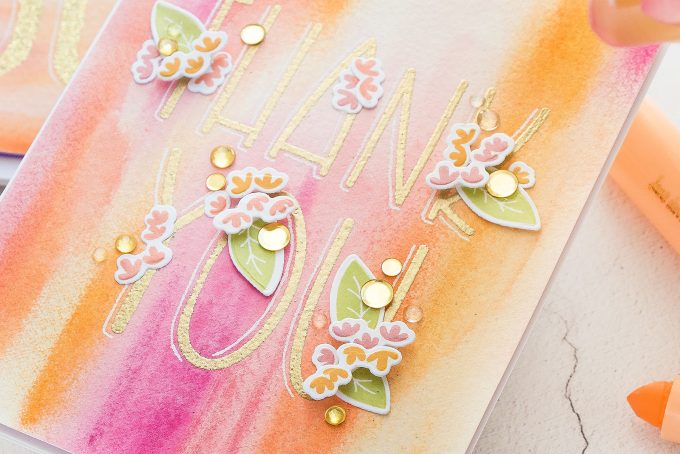
I heat embossed one sentiment in Antique Gold embossing powder and another one in Gold Glitter powder.
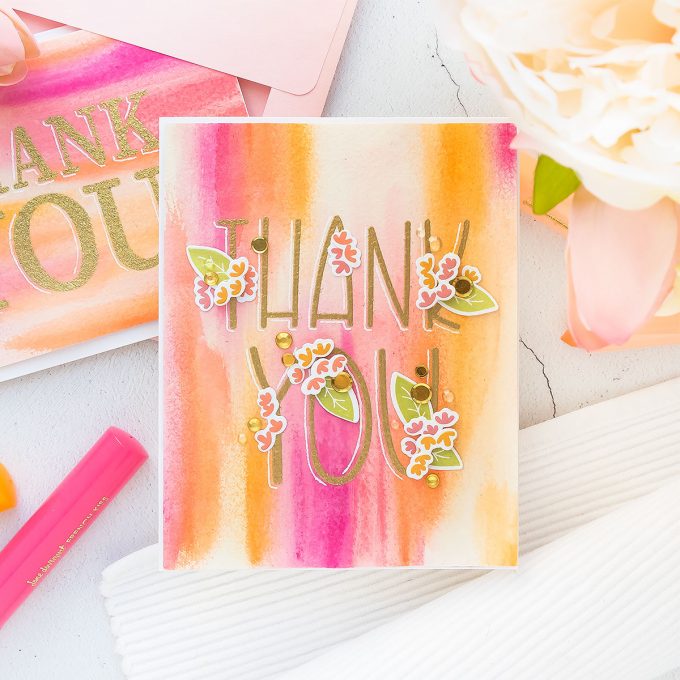
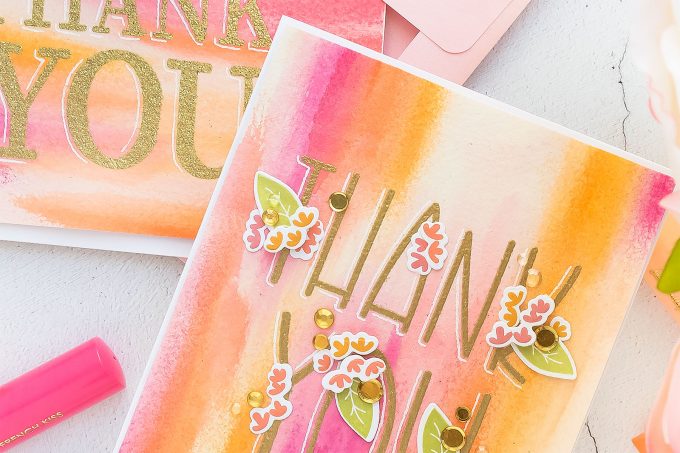
I’ve been loving the look of a white shadow lately, so I used my white pen and added some hand-drawn shadow to the letters helping them to stand out a bit. One of the cards looked like it needed some florals, so I stamped a bunch of tiny blooms in Sunshine, Hollyhock and Sunkist inks, cut out and used to decorate the card.
Lastly, I used gold confetti and clear jewels to finish these cards.
I love the way these turned out. The backgrounds, while seem complicated, were a treat to make and I, in fact, have started on another one in blue and green colors.
SUPPLIES
I’m listing the products I used below. Click on the link to go directly to the product. Where available I use compensated affiliate links which means if you make a purchase I receive a small commission at no extra cost to you. Thank you so much for your support!
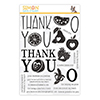 Simon Says Clear Stamps Fruit From the Heart Shop at: SSS |
 Simon Says Clear Stamps Bold Flowers Shop at: SSS |
 Simon Says Stamp Bold Flowers Wafer Dies Shop at: SSS |
 Simon Says Stamp Hollyhock Ink Pad Shop at: SSS |
 Simon Says Stamp Sunkist Ink Pad Shop at: SSS |
 Simon Says Stamp Sunshine Ink Pad Shop at: SSS |
 Simon Says Stamp Antique Gold Embossing Powder Shop at: SSS |
 Hero Arts Gold Glitter Embossing Powder Shop at: SSS |
 Spellbinders Deep Sea Die Cutting Machine Shop at: SSS |
 Neenah 110 Lb Solar White Cardstock Shop at: SSS |
 Silky Skin ColorStick Gel Crayons Shop at: SSS |
 Soul Window ColorStick Gel Crayons Shop at: SSS |
 Hero Arts Heat Embossing Gun Shop at: SSS |
 Versamark Watermark Emboss Ink Pad Shop at: SSS |
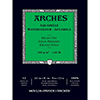 Arches Cold Press Watercolor Pad 9×12″ Shop at: SSS |
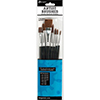 Ranger Studio Paint Artist Brushes Shop at: SSS |
 EK Success Powder Tool Applicator Shop at: SSS |
 Mini Misti Stamping Tool Shop at: SSS |
 White Fun Foam 12 Pack 9 x 12 Shop at: SSS |
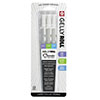 Sakura Classic White Gelly Roll Pens Set of 3 Shop at: SSS |
 Scor-tape 2 1/2 Inch Crafting Tape Shop at: SSS |


Absolutely gorgeous cards!! And one of my favorite color combinations!! Now I’m regretting having sold my Gelatos
Oh wow! I love these super cool backgrounds! And the cards turned out awesome! 🙂
Your cards are very pretty and I really like the gold embossing with the brightly colored stripes.
Beautiful card. The background is amazing. Thanks for including all of your attempts and what did and did not work!
Beautiful! As usual!!
Yes, I too sometimes just want to sit down and play or color without anything specific to do with it when I’m done. Sometimes I turn it into a card quickly and other times it sits for a while until it tells me what to do with it!!! You’re inspiring me to get the Gelatos out again!!! Thanks for sharing your experience with using a crayon (like wetting fingers and the use of water to pigment to paper). Beautiful card, Yana.
These are stunning backgrounds, the colors are beautiful!
Very pretty cards Yana, these ColorSticks look like fun to play with. Great job.
I always loved finger painting in elementary school 🙂 You’re right…it’s the perfect paint tool! Sooooo fun to play! Thanks Yana 🙂
Love the colors and it sounds like a fun process! Who doesn’t like finger-painting!