I have been enjoying creating with stencils lately and at one point I felt I wanted to play with new designs, so I decided I would make a few myself using dies.
Dies are a wonderful tools that allow you to do so much. I shared a blog and video on making your own stamps using dies a few weeks ago and today I’d like to talk about creating stencils (or masks) using dies.
Like this project? Pin it and save for later!
VIDEO TUTORIAL
I’ve filmed a quick video tutorial where I share my tips and tricks on how to create stencils using even the most intricate dies. Watch my video below or on Youtube:
CARD DETAILS
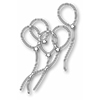
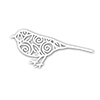
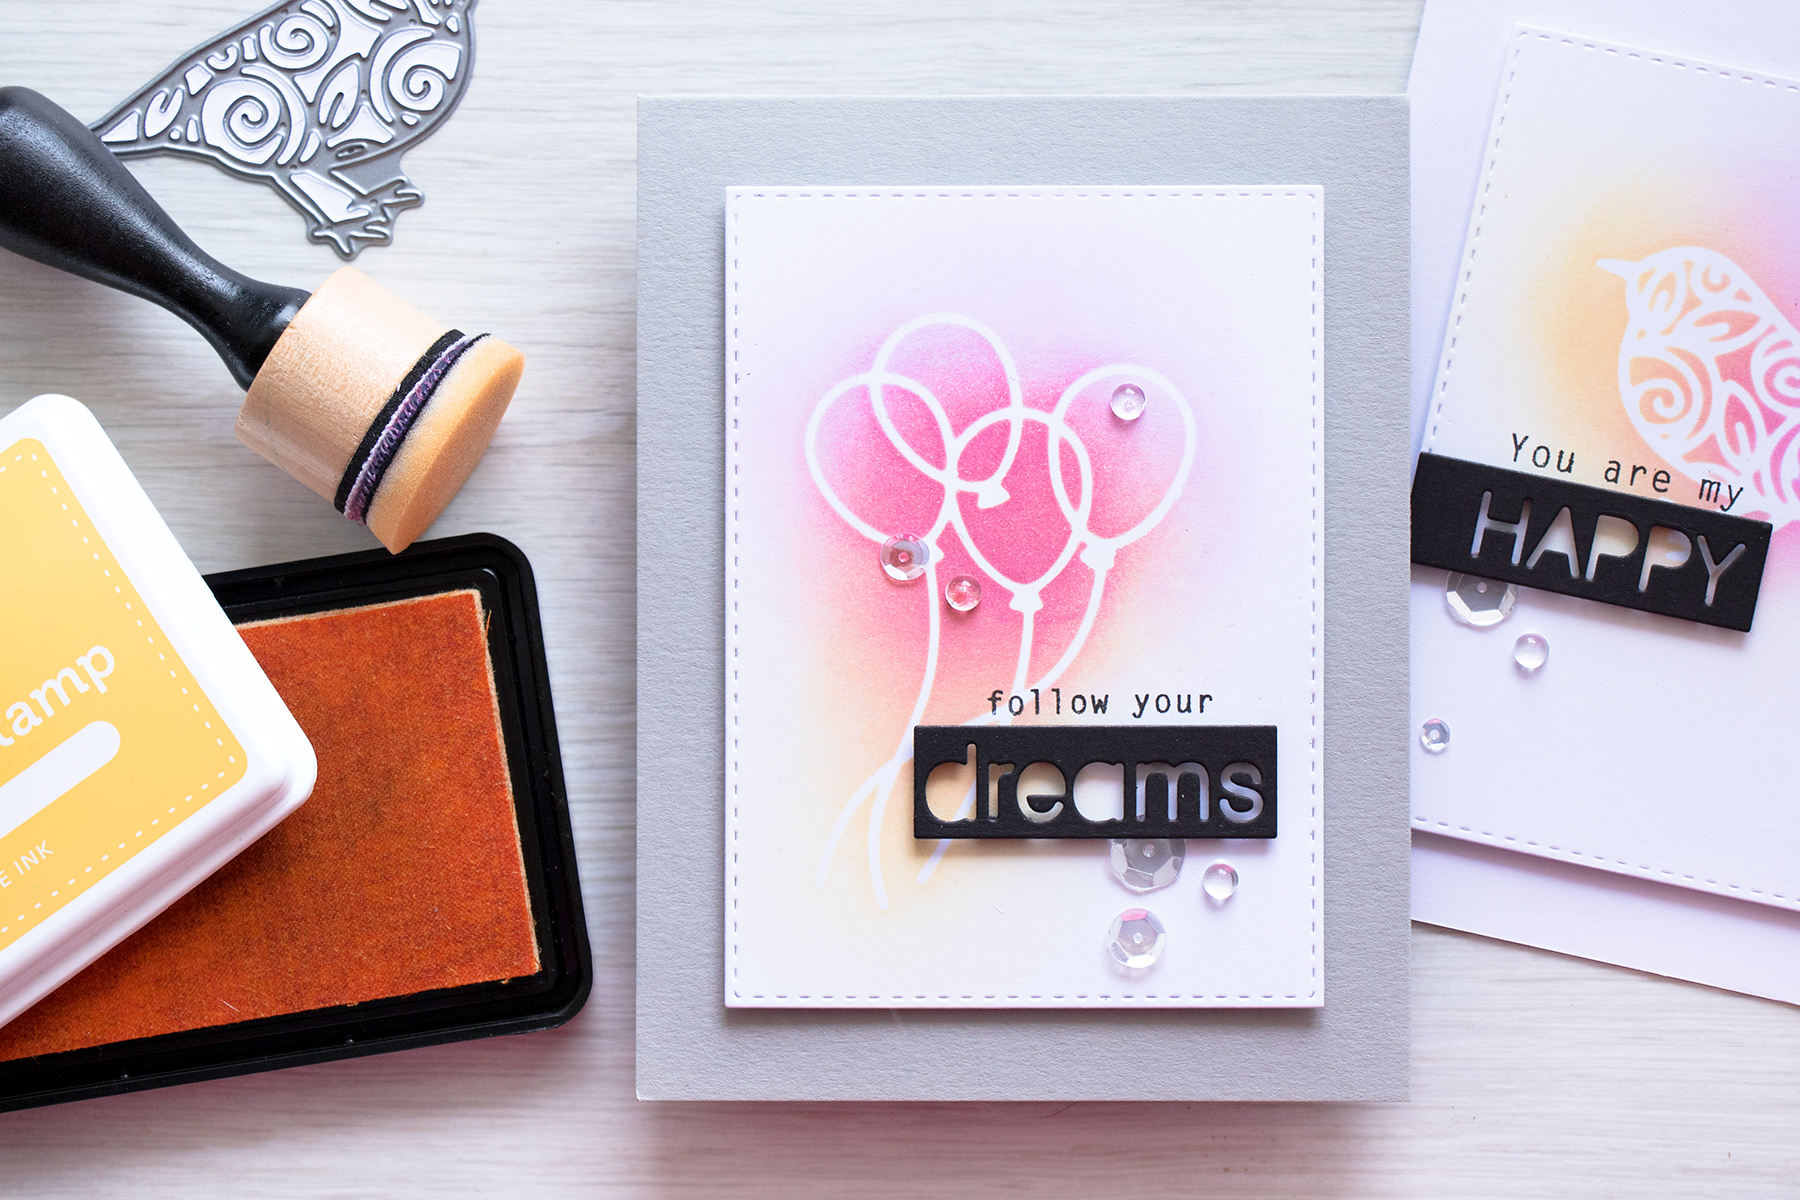
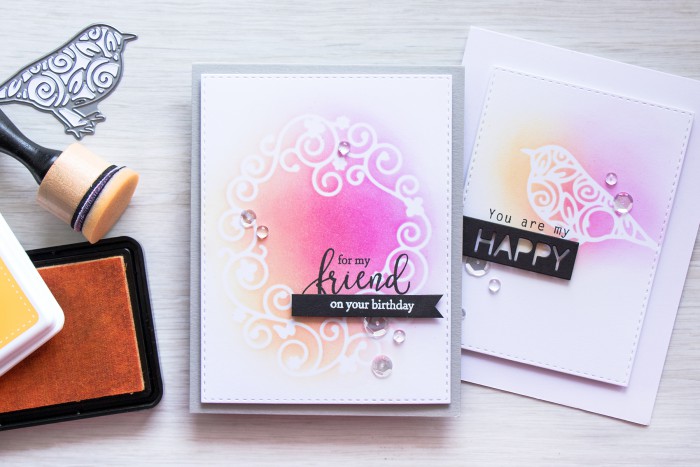
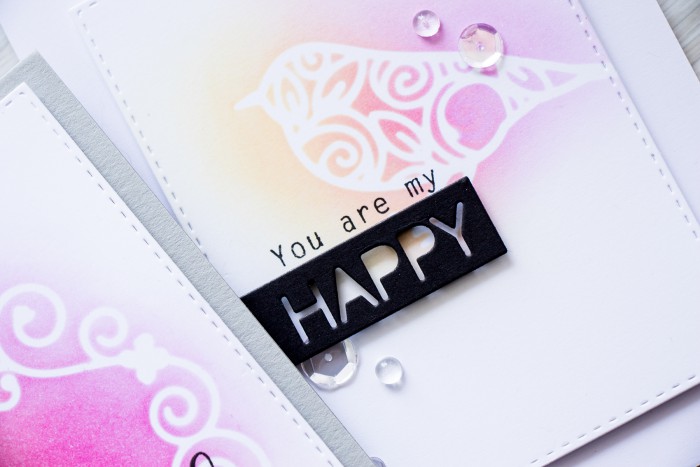
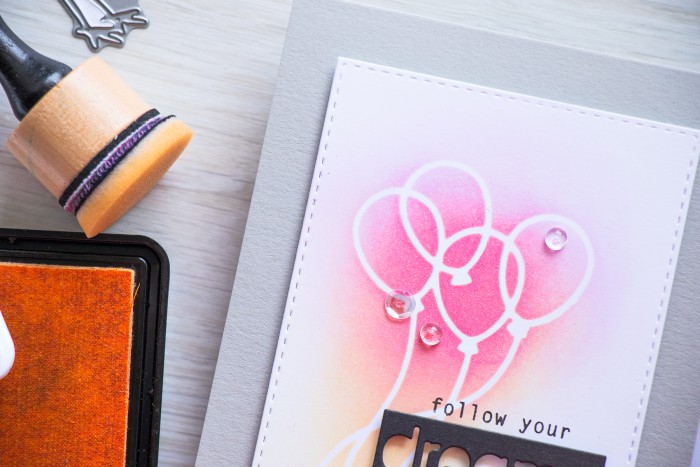
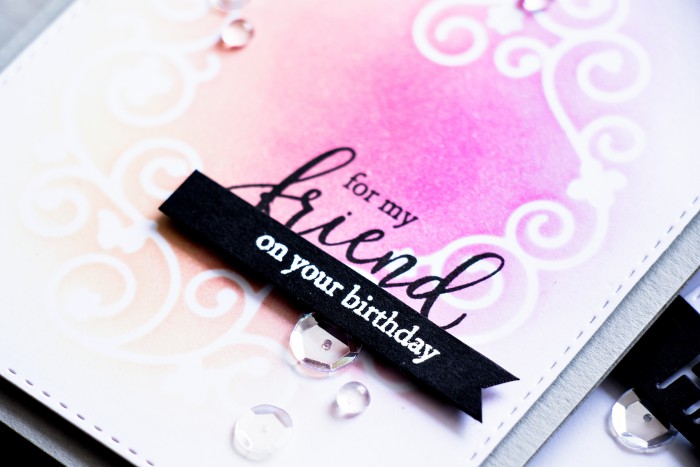
I created several die cuts to use as stencils for the cards I’m sharing in this blog post. I used Simon’s Floret Frame, Balloons Bouquet and Bird Of Roses dies and cut those out of white cardstock (I also experimented with cutting these out of glossy and using glossy for stencils – I have to have I kind of like glossy a bit better, but regular cardstock stencils or glossy cardstock stencils both work just fine).
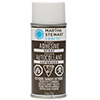
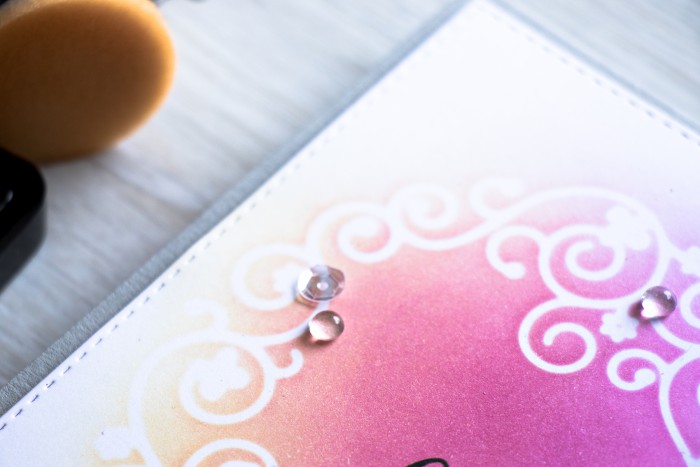
Since all of these were very detailed I wasn’t able to use tape to tape them to my paper like a regular stencil so I used spray adhesive and sprayed the back of each to adhere onto my panel. Spray adhesive isn’t permanent (unless you press down really well), so after the ink blending was done I was able to carefully remove my stencils from my paper. There was adhesive residue left on my ink blended panels but it is easily removed with an adhesive eraser.
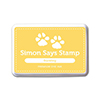
I used just two colors of ink for my ink blending – Duckling and Doll Pink. Both backgrounds above were done these colors and you can see the difference in color intensity – I was using a very light hand for the card with a bird and a heavy hand for a card with a floral frame.
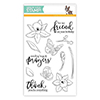
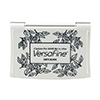
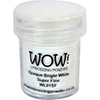
For my sentiments I used two different sets and stamped a part of the sentiment using VersaFine Onyx Black ink and heat embossed the second part using Wow Opaque Bright White Powder. Others were die cut out of black cardstock.
SUPPLIES
 SSS |
 SSS |
 SSS |
 SSS |
 SSS |
 SSS |
 SSS |
 SSS |
 SSS |
 SSS |
 SSS |
 SSS |
 SSS |
 SSS |
 SSS |
 SSS |
 SSS |
 SSS |
 SSS |
 SSS |
 SSS |
 SSS |


Gorgeous, love the black sentiments on the pretty bright colours 🙂 Thank you for the video 😀
thank you!
This is a great technique Yana, your cards are lovely. TFS!
thank you so much, Teresa!
Just saw them over at SSS blog. Pure beauty!
thank you, Svitlana 🙂
Yana, these are so lovely! You didn’t mention who makes the dies that cut out the DREAMS and HAPPY sentiments on the 2nd and 3rd card banners. Please enlighten us, because I’d love to find them! Thanks.
thank you, Diana! These are also by Simon 🙂 I have them linked – the very last item on the supply list 🙂
fabb