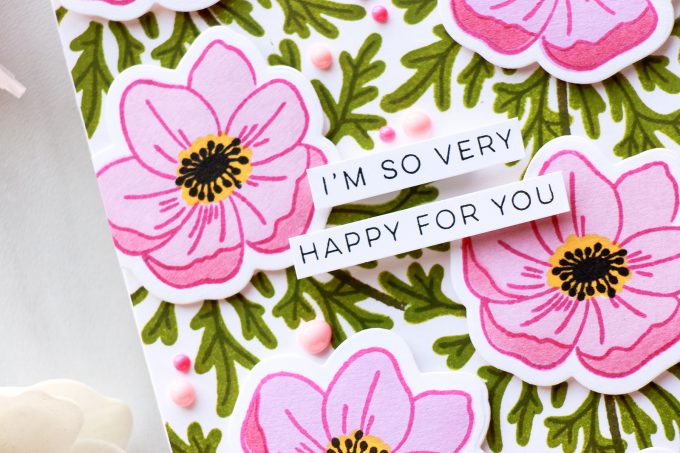
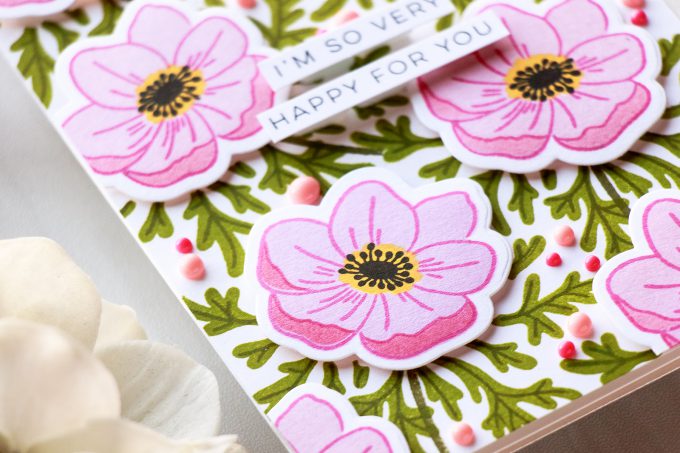
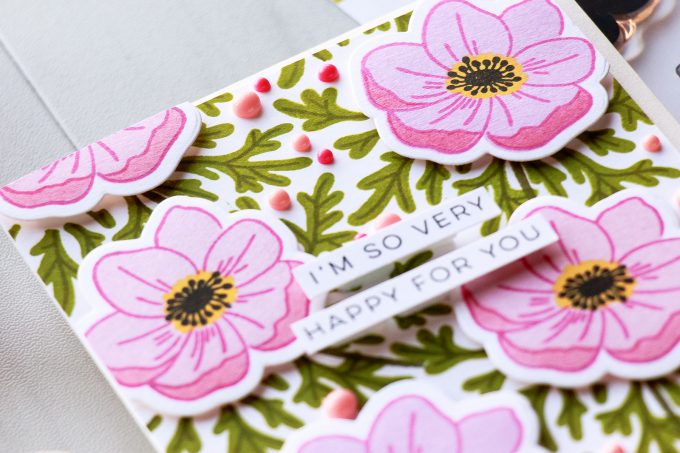
Hello, friends! If you follow me on Instagram you might have already seen this card in my “Stamp A Card” Insta Stories. I also wanted to share it here for those of you who might have missed it or who do not follow me there. It’s another one of those “Dimensional Stamped Patterns” I’m in love with lately.
Like this project? Pin it and save for later | Curious about my project photography? Click for details.
CARD DETAILS
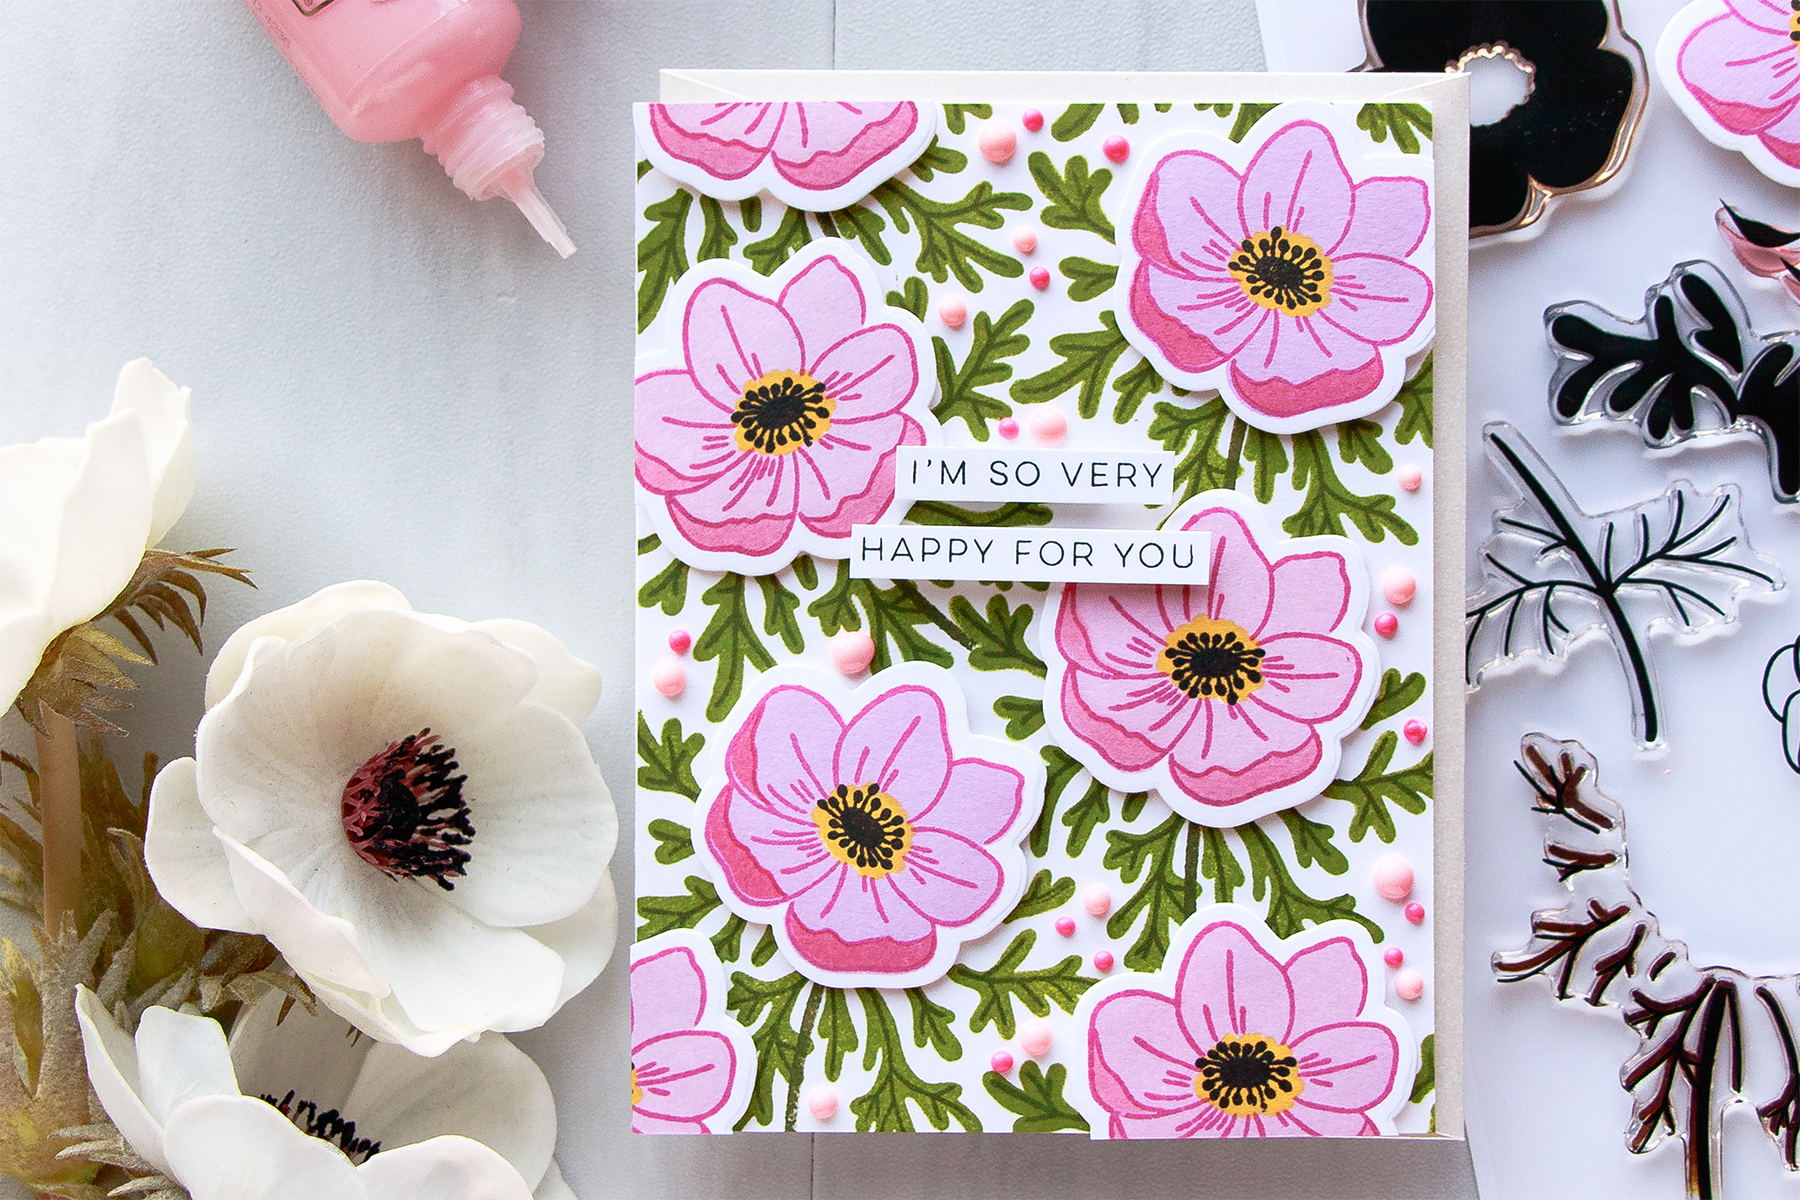
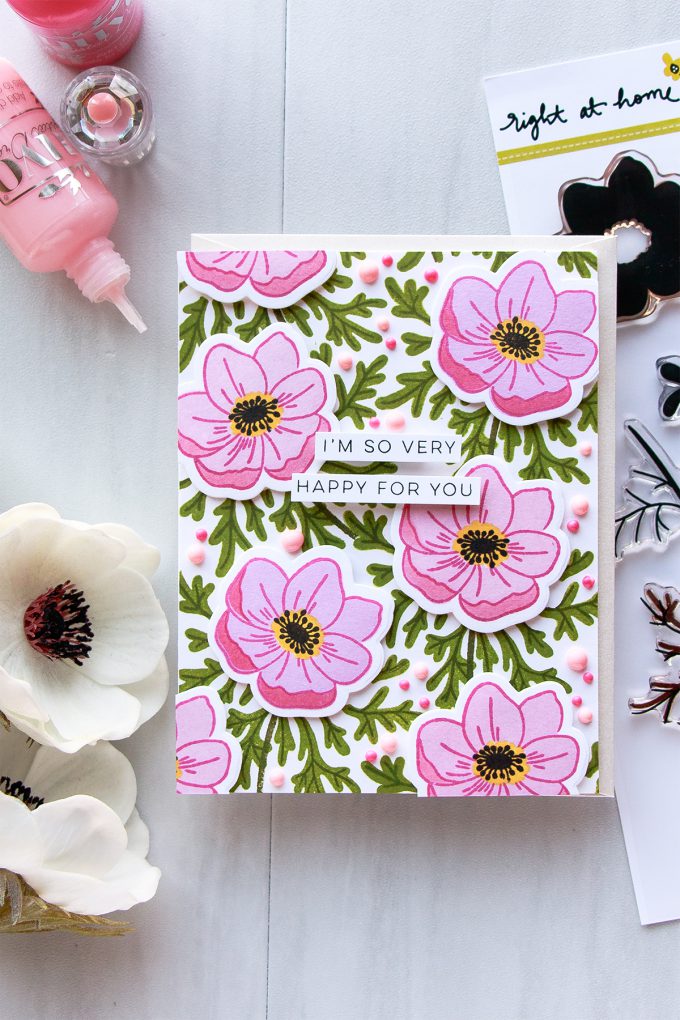
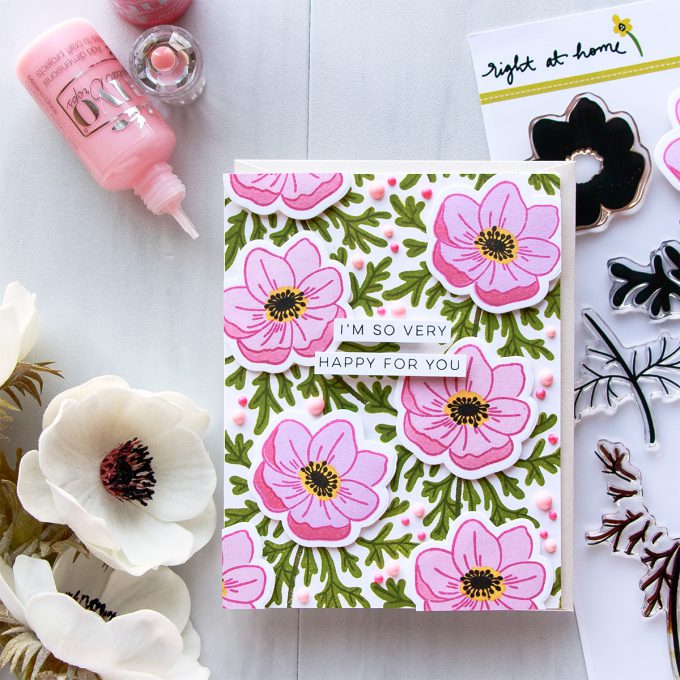
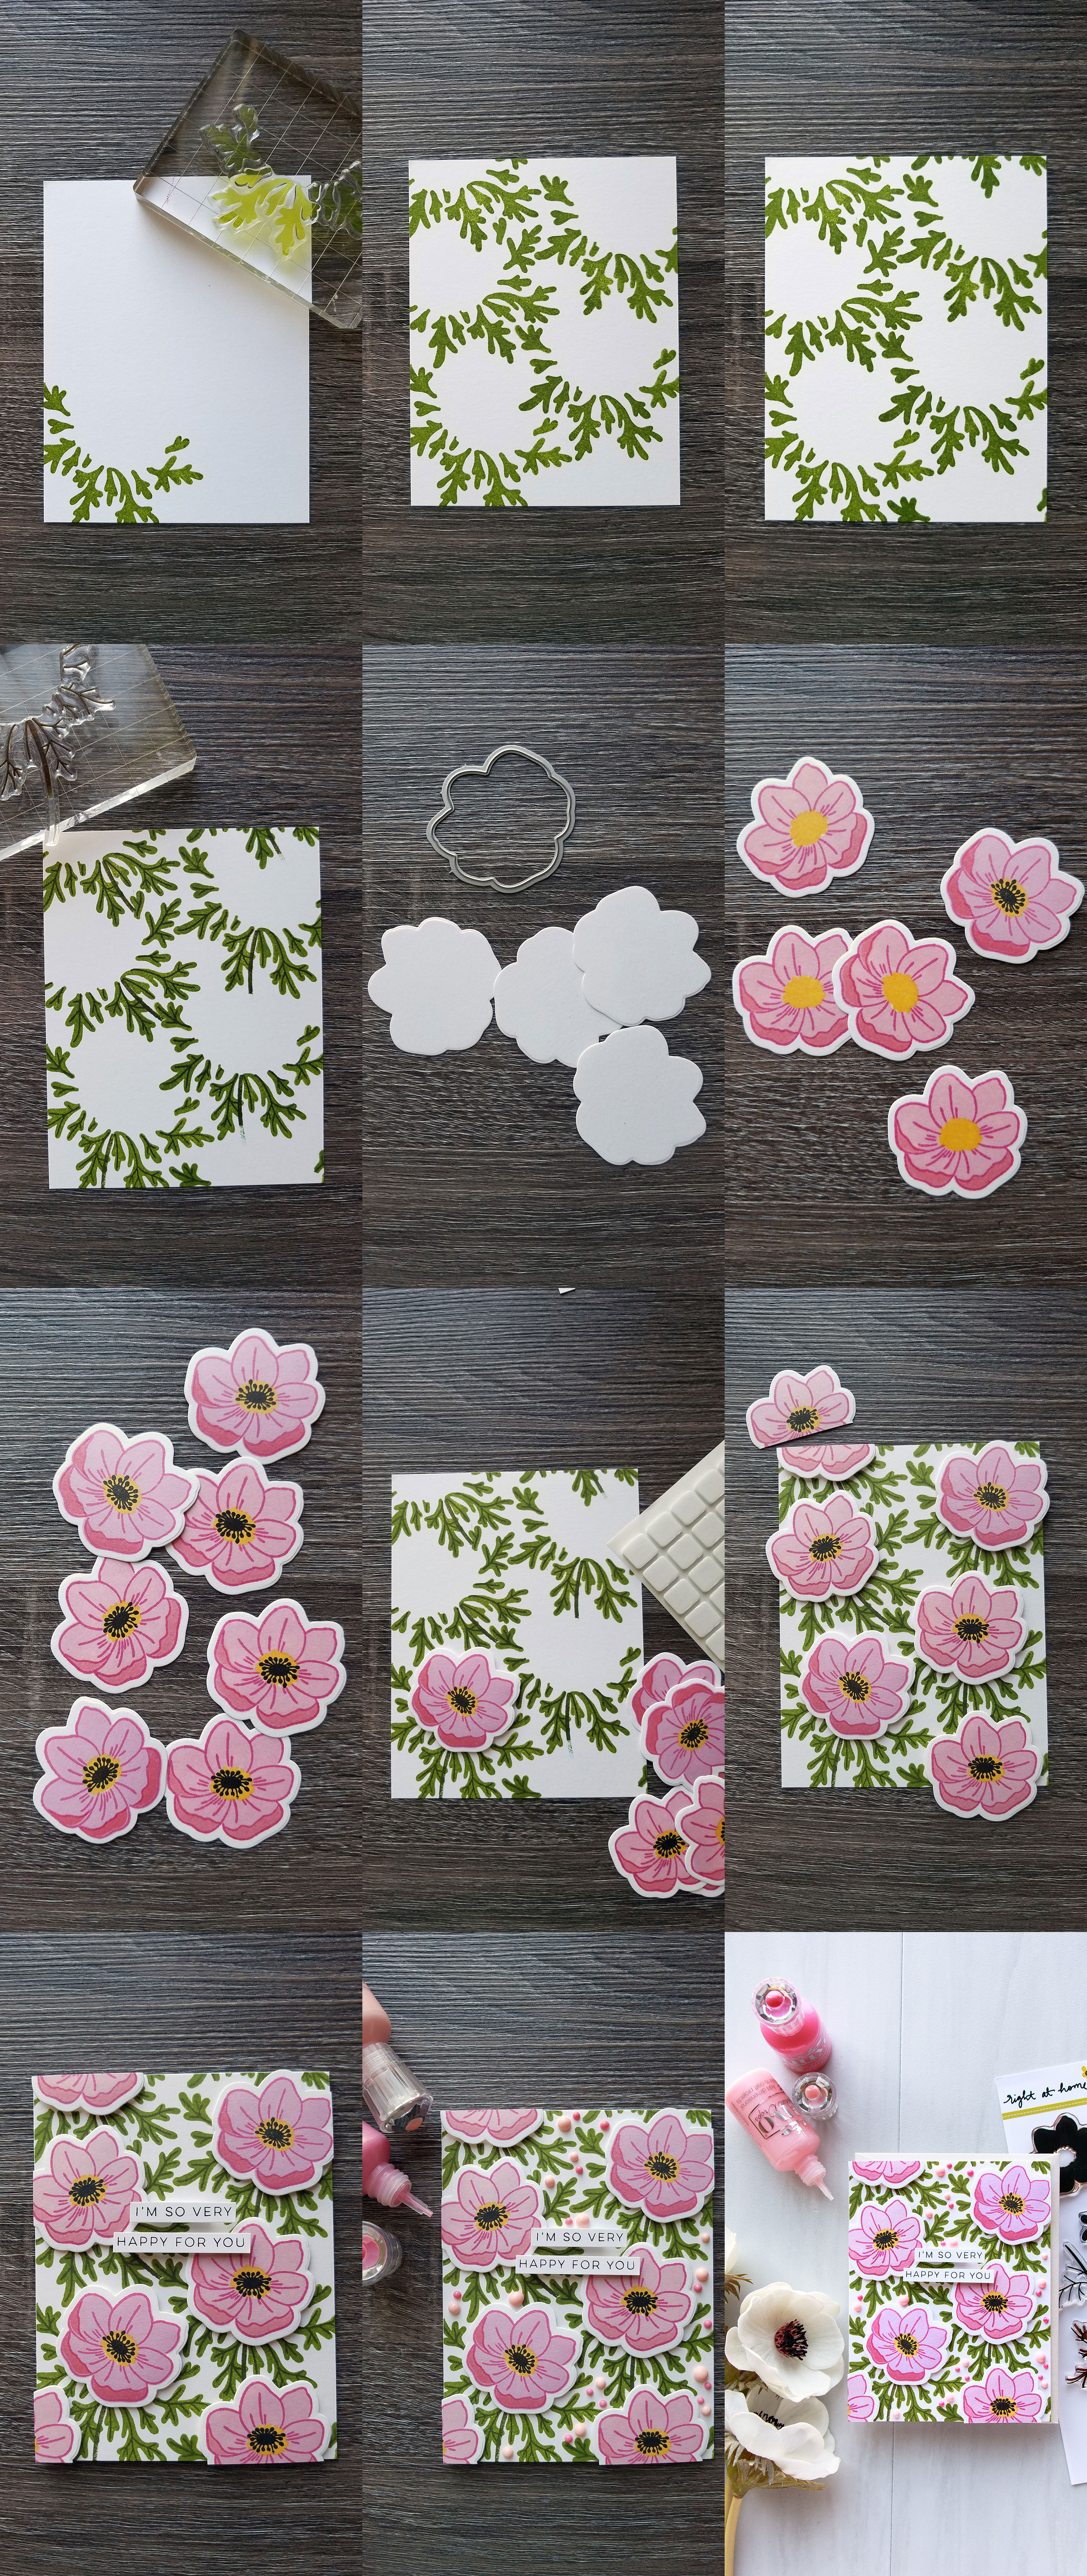
I started working on this card by stamping base layer of the leaves from the Right At Home Anemones stamp set onto a white cardstock panel cut to 4 1/4 x 5 1/2″. The first one was stamped at the bottom and I worked my way up being mindful of where I want to place the flowers.
I added a second detail layer onto my leaves using a darker green (I’m listing exact colors I used below in my Supplies section) and set this panel aside. Next, I die cut several flower shapes out of white cardstock. I like to cut the shape out first and do my stamping later, but you can do this either way. What’s great about this particular coordinating die is that it creates a much larger white edge around the stamped image, I’d say it’s about twice as thick compared to coordinating dies from other companies.
I stamped my flowers using 3 shades of pink, yellow and black. I made sure to wait for about 20 minutes before stamping the black flower centers to avoid the black ink bleeding into the yellow (this can happen especially if you are double or triple stamping something).
I adhered my panel onto an A2 white card base and used foam adhesive to place the flowers – this is what I like to call “Dimensional Pattern Stamping”; you have a beautiful pattern without the use of masking. I don’t really like to do masking (I seldom use masking paper and do masking techniques) so this is my way of creating patterns that require masking.
Lastly, I stamped a simple sentiment “I’m So Very Happy For You” in black ink onto white cardstock strip and double foam mounted onto the card. I also filled in the gaps on my pattern using Nudo drops.
STEP BY STEP
Want to see this card done step by step? Click to enlarge:
SUPPLIES
I’m listing the products I used below. Click on the link to go directly to the product. Where available I use compensated affiliate links which means if you make a purchase I receive a small commission at no extra cost to you. Thank you so much for your support
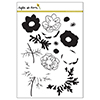 Right at Home Anemone Clear Stamp Shop at: SSS | RAH |
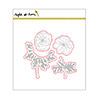 Right at Home Anemone Die Set Shop at: RAH |
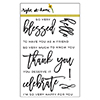 Right at Home Script Greetings Clear Stamp Shop at: SSS | RAH |
 Hero Arts Butter Bar Ink Pad Shop at: SSS | SC | HA | AZ |
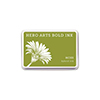 Hero Arts Moss Hybrid Ink Pad Shop at: SSS | SC | HA | AZ |
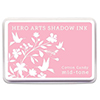 Hero Arts Cotton Candy Ink Pad Shop at: SSS | SC | HA | AZ |
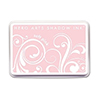 Hero Arts Soft Pink Ink Pad Shop at: SSS | SC | HA | AZ |
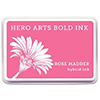 Hero Arts Rose Madder Hybrid Ink Pad Shop at: SSS | SC | HA | AZ |
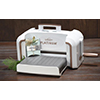 Spellbinders Platinum Die Cutting Machine Shop at: SSS | SC | SPEL | AZ |
 Neenah 110 Lb Solar White Cardstock Shop at: SSS | AZ |
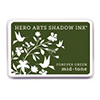 Hero Arts Forever Green Ink Pad Shop at: SSS | HA | AZ |
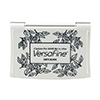 Tsukineko VersaFine Onyx Black Ink Shop at: SSS | AZ |
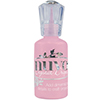 Tonic Bubblegum Blush Gloss Nuvo Crystal Drops Shop at: SSS |
 Tonic Carnation Pink Gloss Nuvo Crystal Drops Shop at: SSS | AZ |
 Scrapbook Adhesives White Foam Squares Shop at: SSS | SC | AZ |


Beautiful flowers 🙂
Beautiful flowers!
Another beautiful background and stamped card!
TFS your God given talent with the paper crafters of this world. Your card is just lovely and inspires me to give it a try.
Hi Yana,
Love the anenome card, so fresh, love the colours too.
Di B.
WOW YANA! Can you say gorgeous??? Holy smokes!
Just beautiful! Love the little touches of Nuvo that you added for extra dimension and color!
Thanks so much for explaining your process and the descriptive pictures.