Hello friends! Welcome back for another episode from my monthly video tutorial for Papertrey Ink from the “In The Studio with Yana” video series. I am sharing video tutorials for Papertrey Ink on the 24th of each month on their blog and later repost them here, on my blog; this is my 6th video, you can catch previous episodes here.
Like this project? Pin it and save for later! | Curious about my project photography? Click for details.
VIDEO TUTORIAL
Watch my video tutorial below or on Youtube:
Like this video? Please give it a big thumbs up and share with a crafty friend! Drop me a comment too, I love hearing from you!
CARD DETAILS
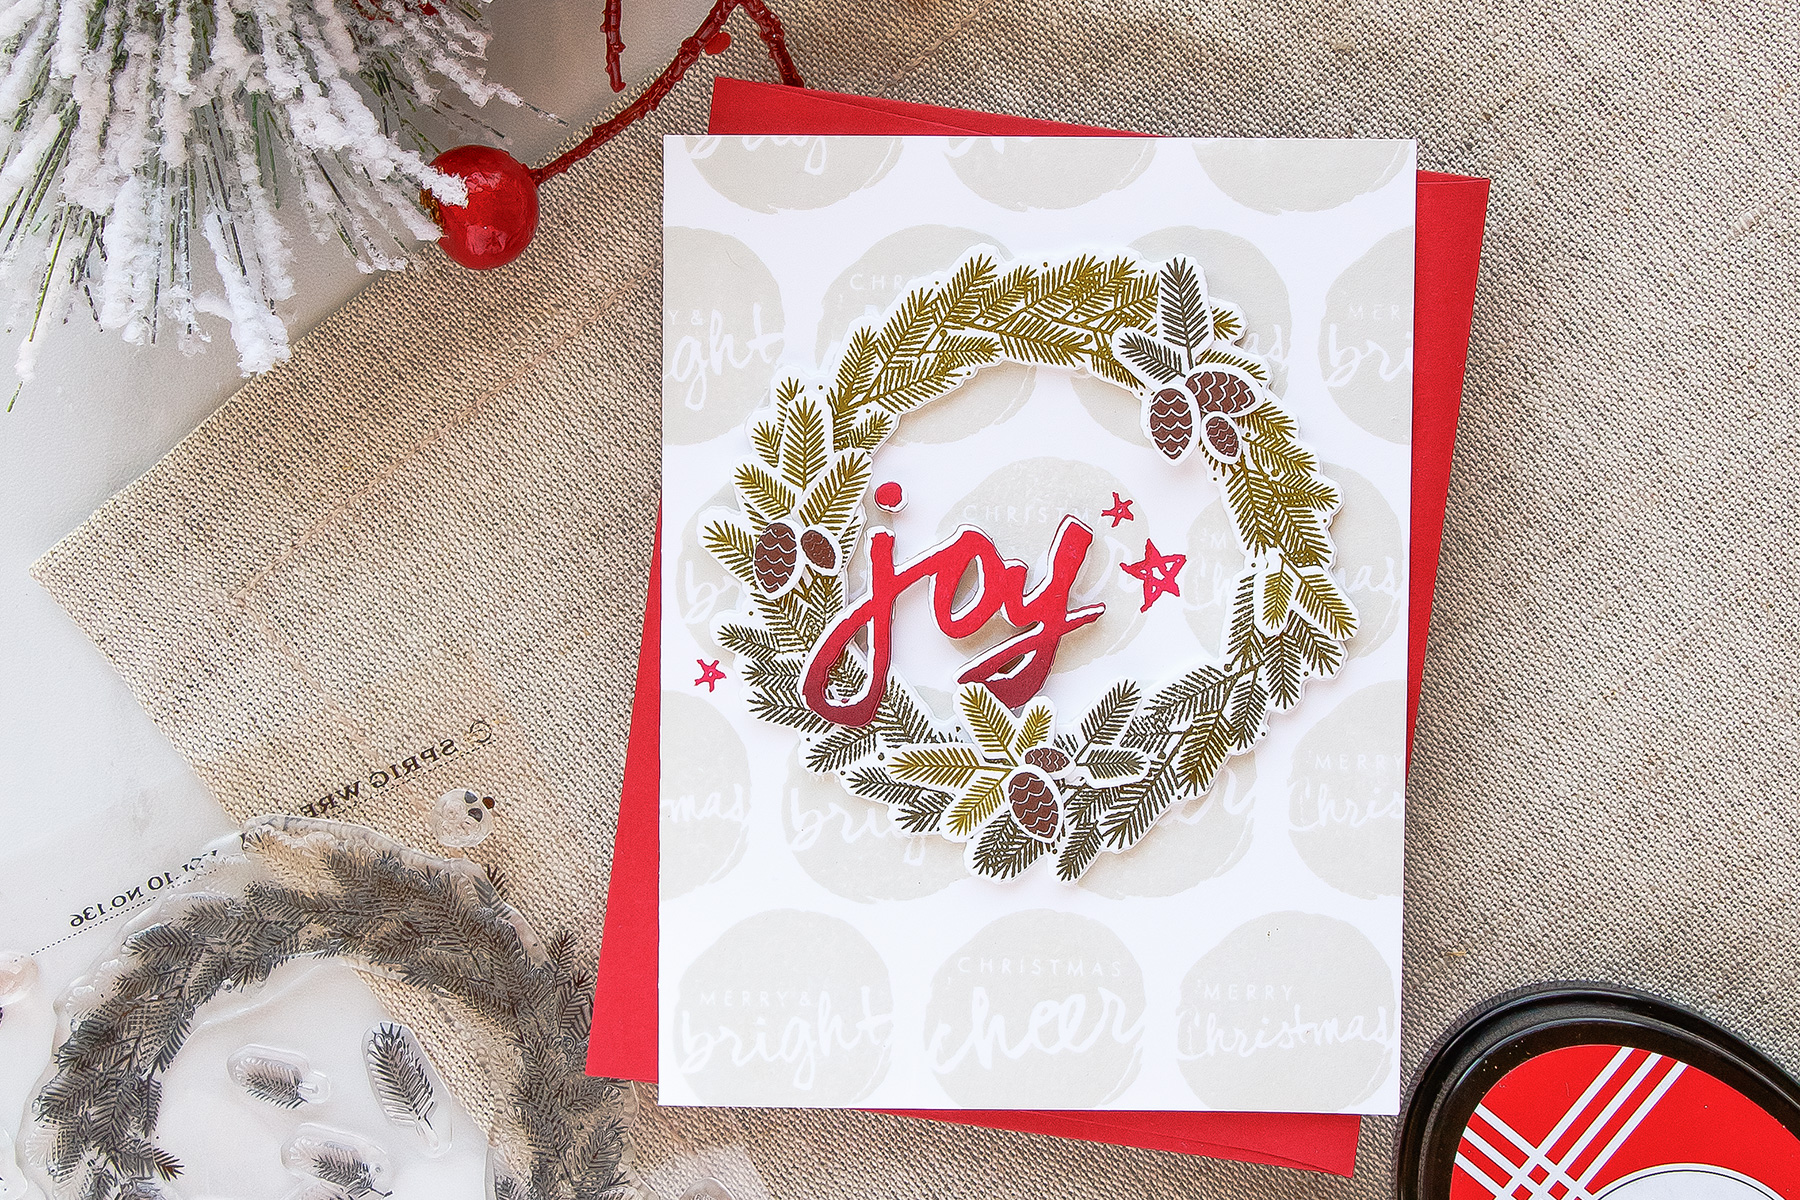
Today I’m sharing several tips I love to use in my everyday stamping. I’m showing how to create color variation (or gradient) on stamped images with the help of inks and sharing one of my favorite tips for creating thick, chipboard-like, but light weight die cuts.
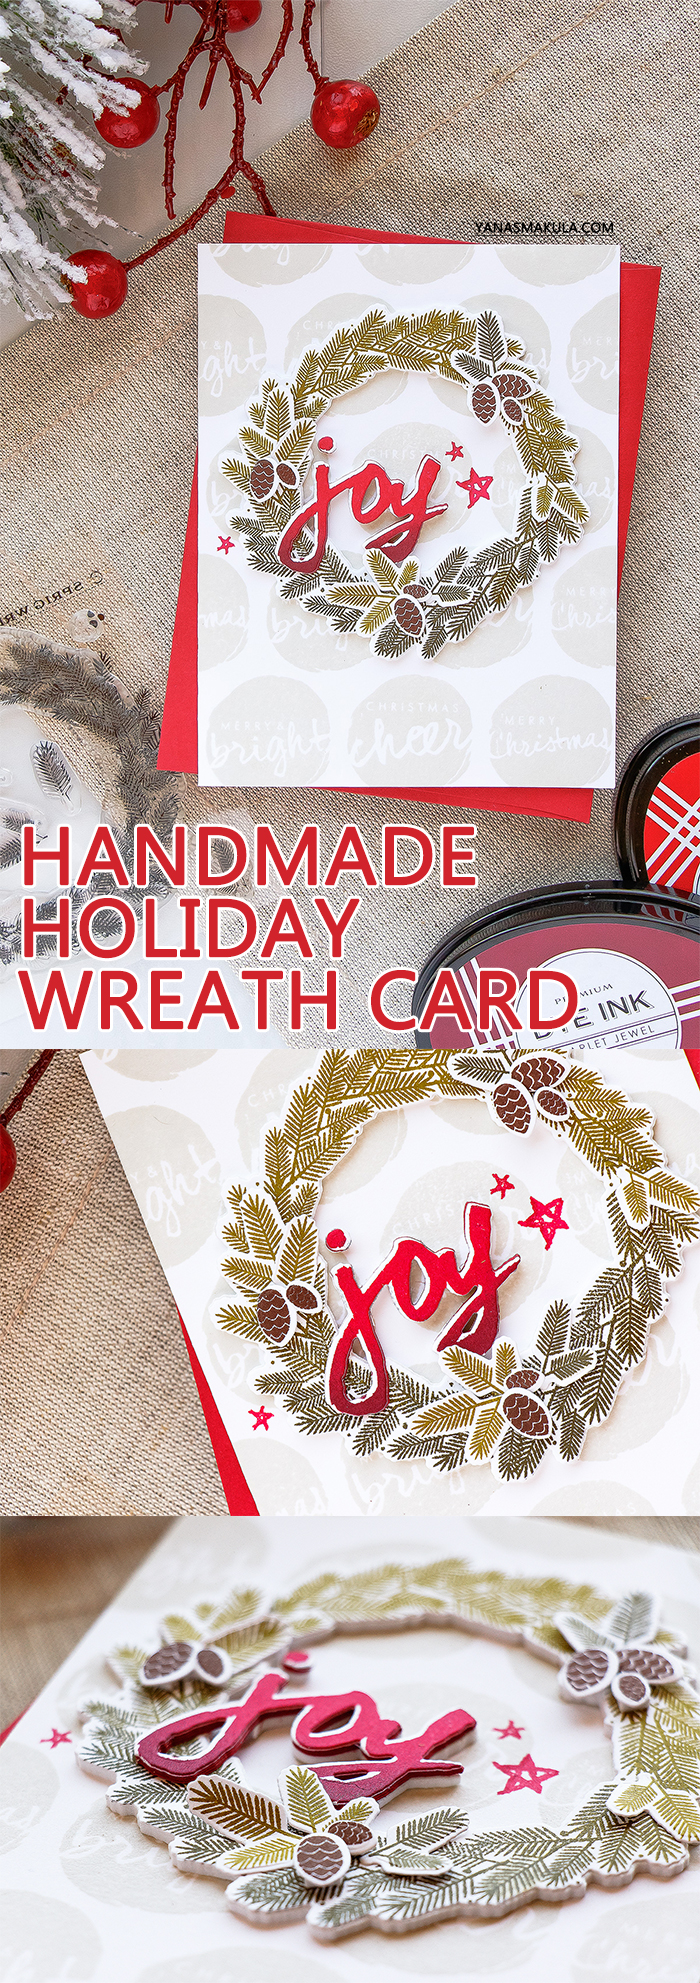
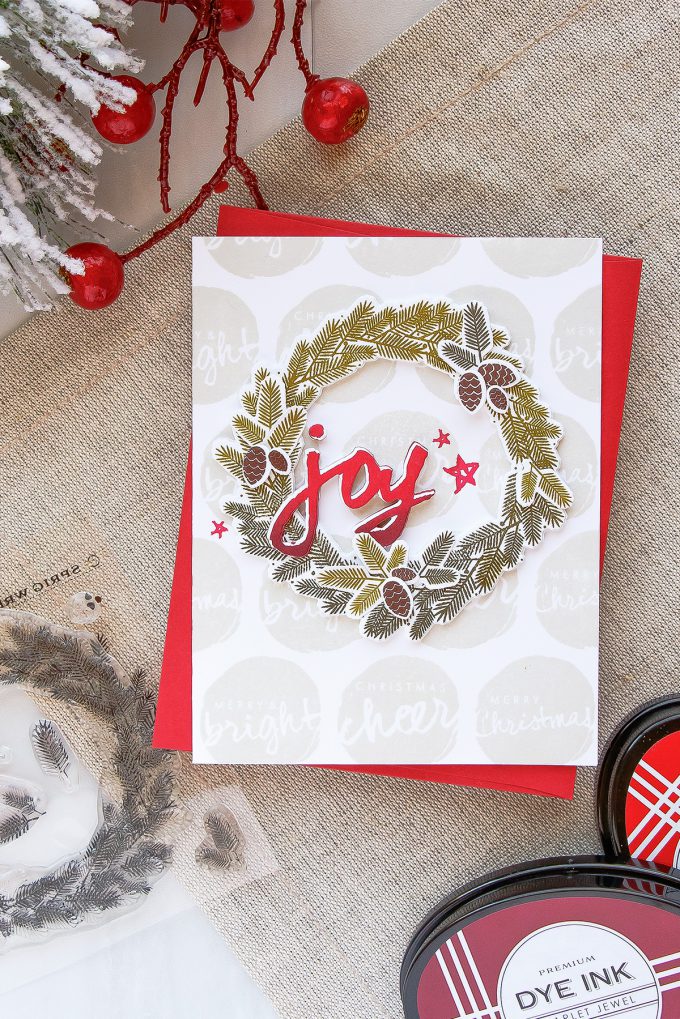
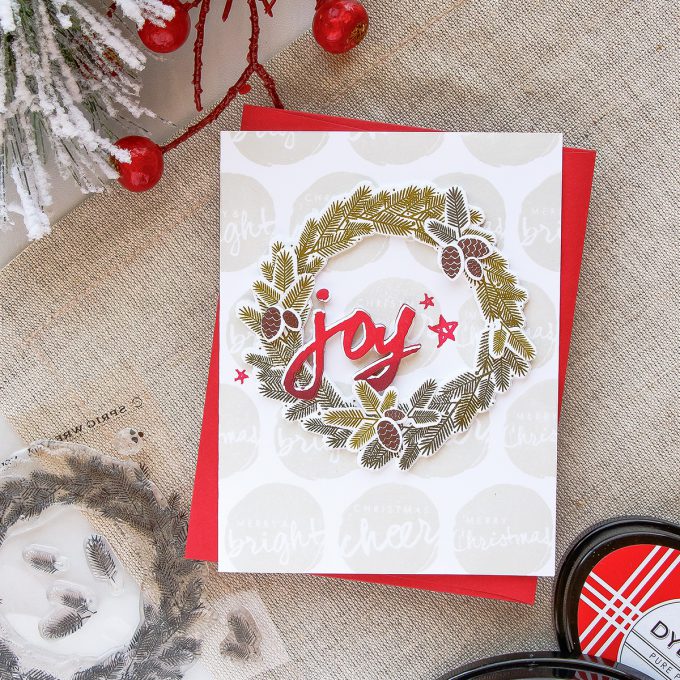
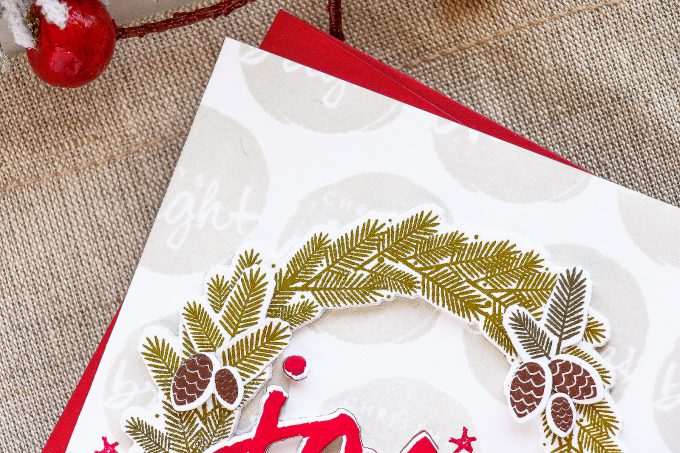
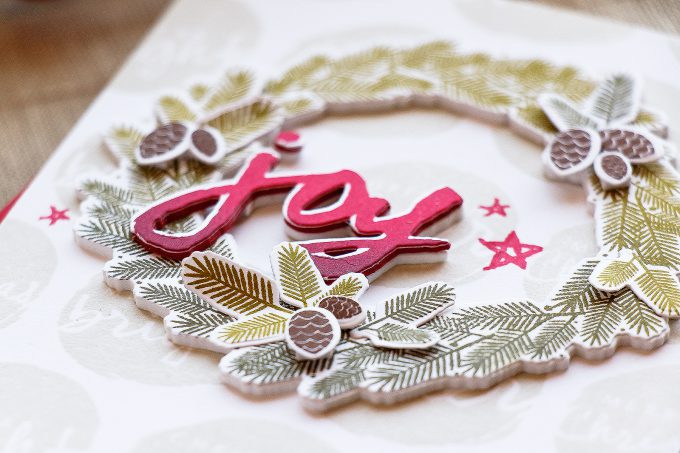
I started working on my project by stamping a beautiful wreath from the Sprig Wreath stamp set. I used 2 ink pads to ink the image up – Ripe Avocado to ink up the top portion and Olive Twist to ink up the bottom. I used my mini MISTI stamp positioner to stamp the image several times to achieve gradual color transition and desired depth of color for my wreath.
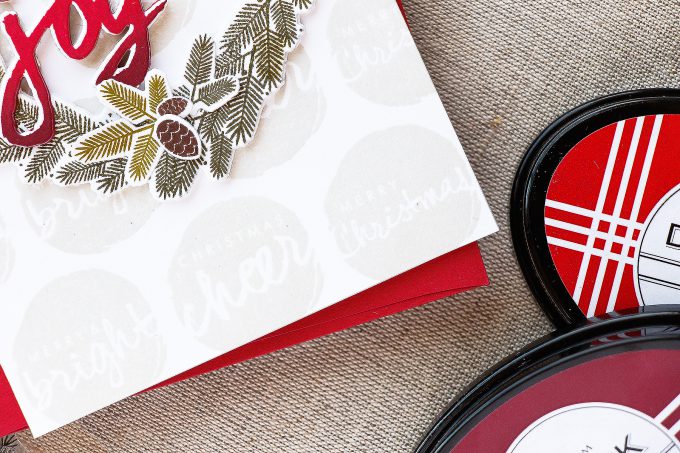
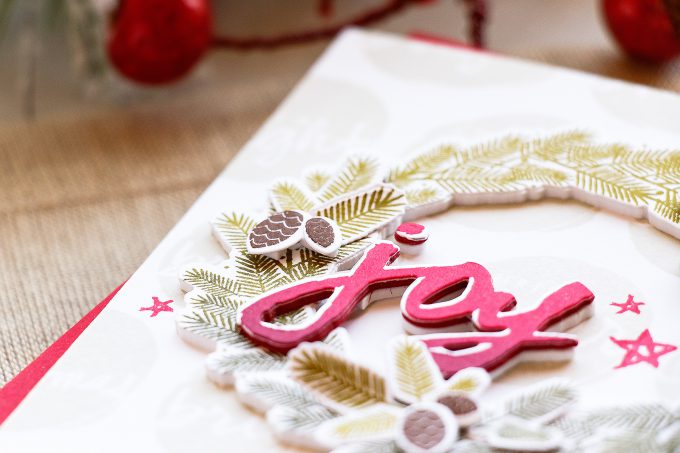
I cut my image out using a coordinating die and I also die cut an identical shape out of regular white fun foam covered with Scrapbook Adhesives Adhesive Sheets on both front and back (you can also use Stick It or Spray Adhesive if you don’t have adhesive sheets). I love to use foam adhesive to pop my images up on a card, but sometimes I want to have a more solid layer, so instead of using foam adhesive I use fun foam and sticky sheets.
I stamped and die-cut “Joy” from the Wet Paint Holiday Tags set in the same manner. This time I used Pure Poppy and Scarlet Jewel ink pads to get a gradient. I die-cut a fun foam layer, but also added several layers cut out of Pure Poppy cardstock to have red showing from the sides of my piece.
To stamp a background for this card I used images from the Wet Paint Holiday Tags stamp set. There are 3 solid circle sentiments that I really liked and so I stamped them in Soft Stone ink repeatedly to create a subtle background for my wreath.
I like to use patterned paper for my cards, but for a different style of cards. When I am playing with my stamps I prefer to use them to make just about everything for my projects. That being said you can certainly skip stamping the background and keep you card cleaner and simpler, or you can use patterned paper instead of stamping.
Once all of my piece were ready I assembled the card – foam mounted my wreath, added “Joy”, adhered die-cut pinecones and branches and stamped several red stars.
SUPPLIES
I’m listing the products I used below. Click on the link to go directly to the product. Where available I use compensated affiliate links which means if you make a purchase I receive a small commission at no extra cost to you. Thank you so much for your support!
 PTI Sprig Wreath Stamp Set Shop at: PTI |
 PTI Sprig Wreath Die Set Shop at: PTI |
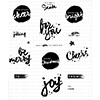 PTI Wet Paint Holiday Tags Stamp Set Shop at: PTI |
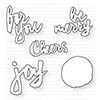 PTI Wet Paint Holiday Tags Die Set Shop at: PTI |
 PTI Perfect Match Soft Stone – Inkpad Shop at: PTI |
 PTI Perfect Match Pure Poppy – Inkpad Shop at: PTI |
 PTI Perfect Match Scarlet Jewel – Inkpad Shop at: PTI |
 PTI Perfect Match Ripe Avocado – Inkpad Shop at: PTI |
 PTI Perfect Match Olive Twist – Inkpad Shop at: PTI |
 PTI Perfect Match Dark Chocolate – Inkpad Shop at: PTI |
 PTI Perfect Match Pure Poppy Cardstock (24 Sheets) Shop at: PTI |
 PTI Stamper’s Select White Cardstock (40 Sheets) Shop at: PTI |
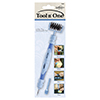 Spellbinders Tool ‘n One Shop at: SSS | SC | SPEL | AZ |
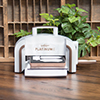 Spellbinders Platinum 6 Die Cutting Machine Shop at: SSS | SC | SPEL | AZ |
 Misti Stamping Tool Shop at: SSS | SC | AZ |
 Scrapbook Adhesives Adhesive Sheets Shop at: SSS | AZ |
 Tonic Deluxe Adhesive Nuvo Glue Shop at: SSS | SC |
 White Fun Foam 12 Pack 9 x 12 Shop at: SSS | AZ |
PIN THIS PROJECT
Are you on Pinterest? Please pin this project to one of your boards if you like it, thanks!





Lovely card 🙂
Your card is beautiful and so elegant, really fantastic.
I love working with foam, and I’ve found some double adhesive foam, white or black, and in different thickness. I agree with you, it’s really great help to give the little “plus” to a card, and perfect for mailing.
This is such a great wreath ! Thanks for the great tutorial!
So beautiful, Yana!