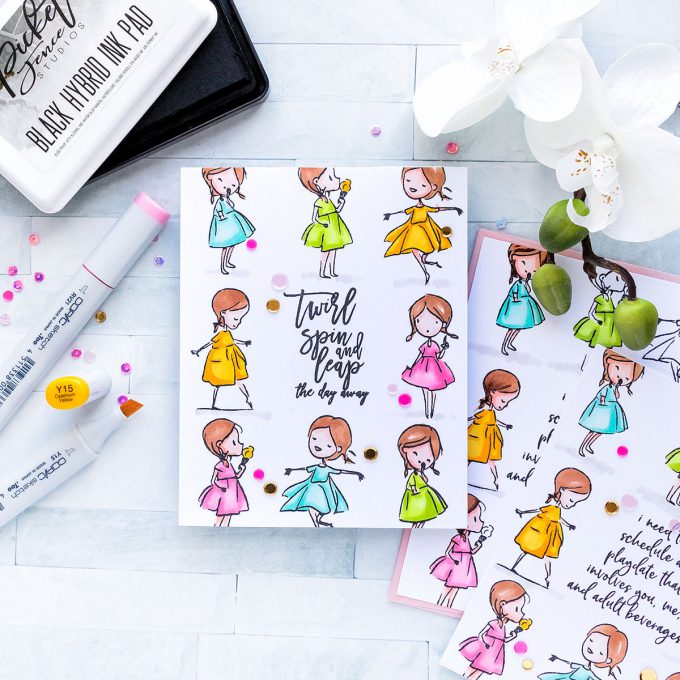
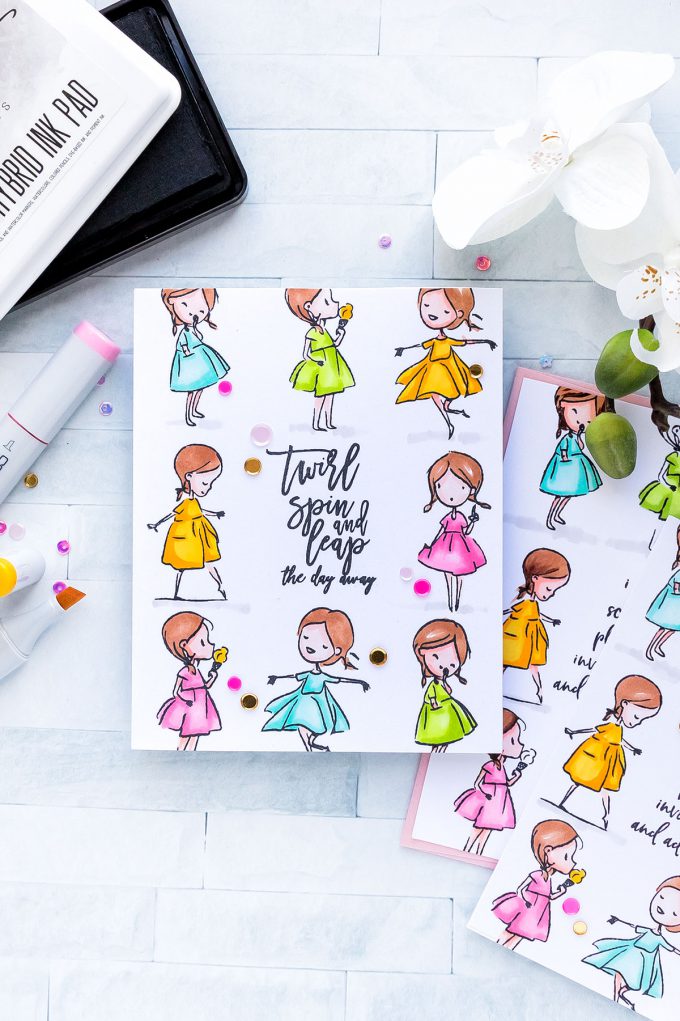
Hello friends! Simplicity is something I truly love and something I’ve been trying to incorporate into my cardmaking more and more lately. Today I want share an idea for simple one layer girly cards that feature stamping and just a hint of coloring using Copic markers (other coloring mediums can be used as well!).
Like this project? Pin it and save for later | Curious about my project photography? Click for details.
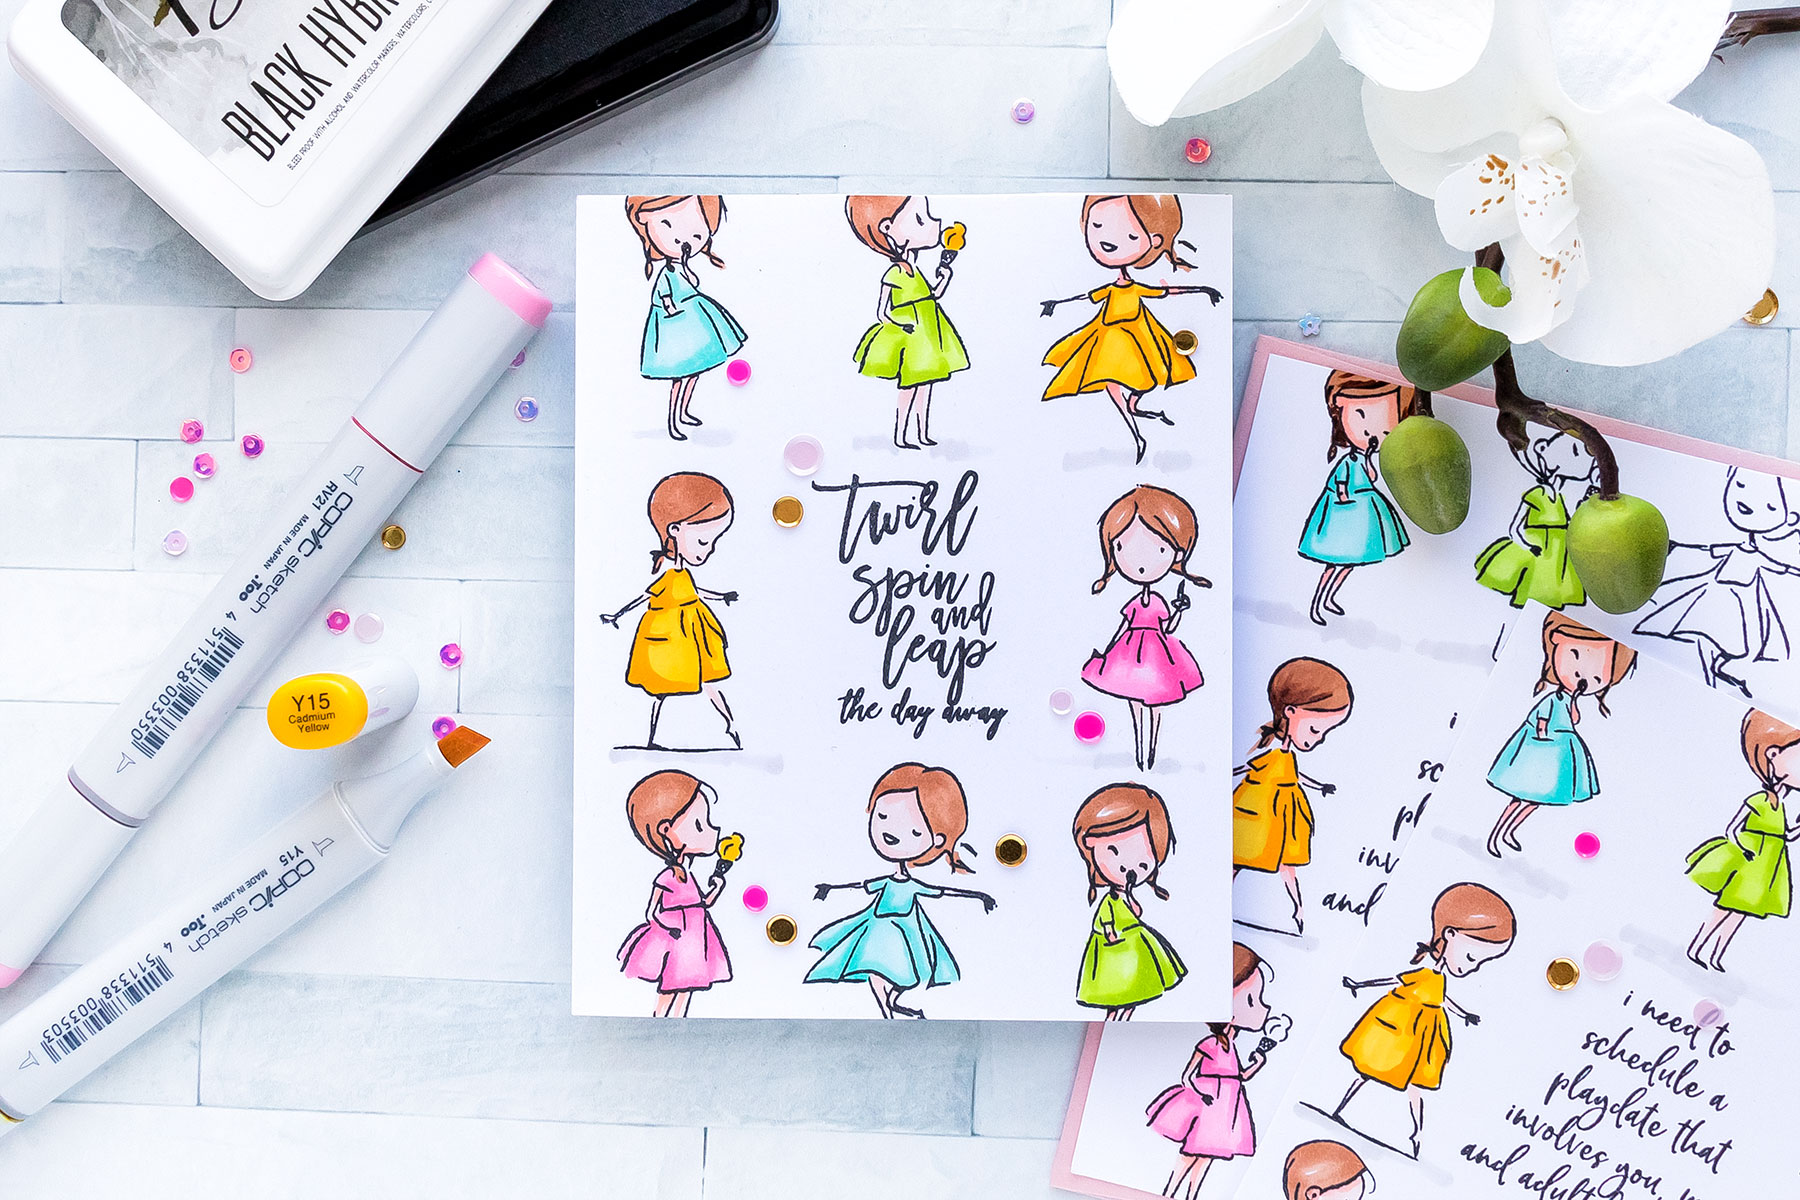
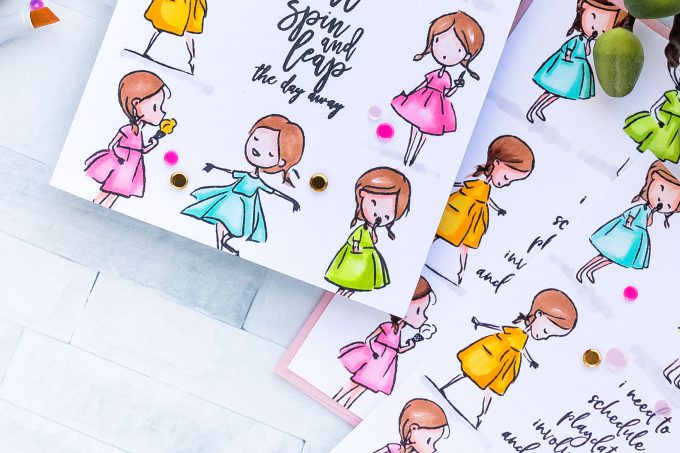
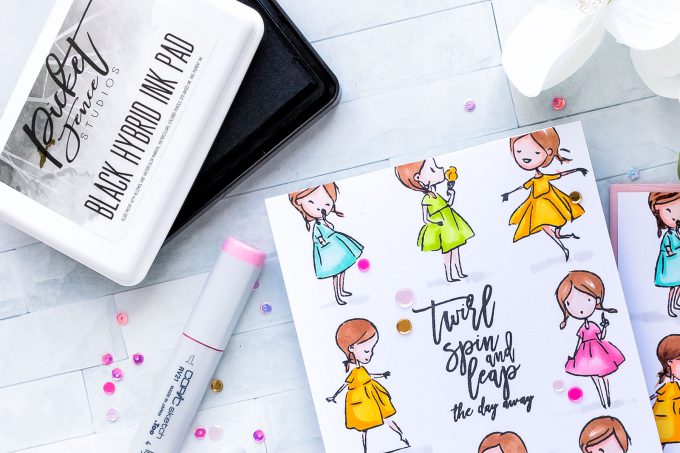
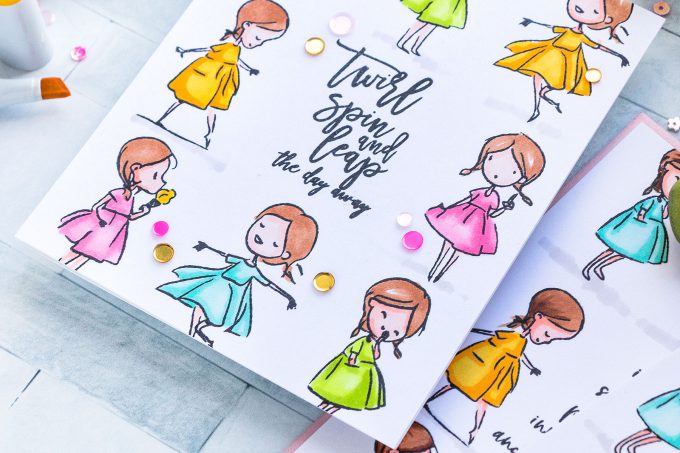
The idea behind these cards was to use a minimum number of markers to apply color and shading. I used just 2 shades of each color to color dresses on these adorable little girls.
VIDEO TUTORIAL
As always, I filmed a video tutorial showing how to create this project from start to finish. I’m hoping you’ll enjoy it. Watch it below or on my Youtube channel.
Like this video? Please give it a big thumbs up (you can do this on Youtube video page right under the video) and share with a crafty friend! Leave me a comment too, I love hearing from you!
CARD DETAILS
I used the absolutely fabulous Sweet Dear Friend stamp set from Picket Fence Studios for my cardmaking today. This set features 5 darling little girls in different poses all dressed in cute little dresses. There’s also a bunch of sentiments in this set that are perfect for friendship cards to send to your BFFs. Some messages are completely innocent just like the images of the girls, but others are quirky and unexpected, like “I Have a Great Idea but It Does Involve a Designated Driver” or “I Need to Schedule a Playdate That Involves You, Me and Adult Beverages”.
I started working on my cards by stamping sentiment in the middle of my white panel. Whenever I make one layer cards I usually do all of my stamping on a separate panel and later adhere that panel onto a card base. This helps in cases when I’ve used Copic markers they’ve bled to the other side of my paper; coloring on a panel and adhering that panel onto a card base eliminates this problem.
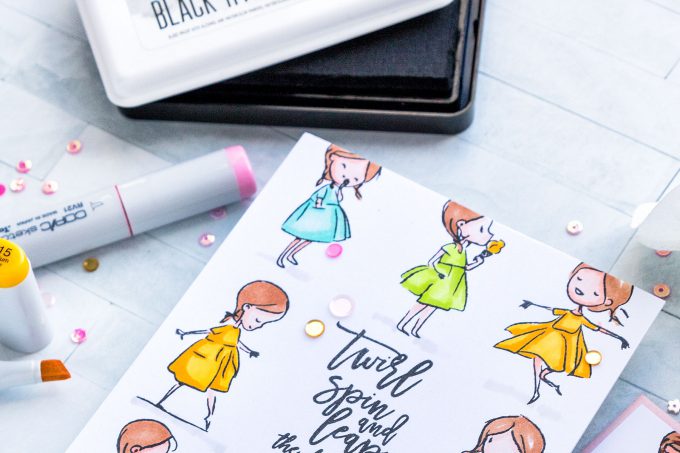
I used Intense Black Hybrid ink pad from PFS to do my stamping. I really loved how ink pad performed, the ink didn’t bleed when I was coloring and it stamped perfectly every time. I did use this ink with ink blending and it smeared a bit, if you want to ink blend over your stamped image I would suggest using a different kind of ink for that or ink blending first and do stamping later.
I stamped 8 girl images framing the sentiment in the center. To color, I used just a handful of Copic markers – I wanted to find a simple, approachable, doable way to color these girls without having to pull out too many markers and spend too much time coloring. I decided to go with 2 color blends here and skip blending altogether to have visible and distinctive transitions between the shaded and non shaded areas.
I used the following colors:
● Y15, Y17;
● RV21, RV23;
● BG11, GB32;
● YG01, YG03;
● E000, E00, and E02 to color skin;
● E33 to color hair;
● W1 to add shadows under the girls
Once I was done coloring I adhere my panel onto a card base. I was under the impression my panels were cut to 4 1/4 by 5 1⁄2” (as that’s how I usually pre-cut them), but actually they were 4 1/4 x 5 1/4” so a bit off, I ended creating almost A2 cards using these – one card measures 4 1/4 x 5 1⁄4” and another one is 4 x 5 1/4” .
Finally, I used a bunch of sequins in pretty colors from PFS to dress these cards up. I hope this video and these card examples were helpful and you learned something new that you can try in your craft room and your everyday cardmaking.
Thanks for joining me today! I’ll see you next time!
SUPPLIES
I’m listing the products I used below. Click on the link to go directly to the product. Where available I use compensated affiliate links which means if you make a purchase I receive a small commission at no extra cost to you. Thank you so much for your support!
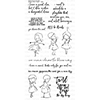 Picket Fence Studios Sweet Dear Friend Stamp Shop at: SSS | PFS |
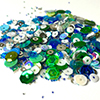 Picket Fence Studios Sequins Shop at: PFS |
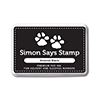 Simon Says Stamp Intense Black Ink Shop at: SSS |
 Neenah 110 Lb Solar White Cardstock Shop at: SSS | AZ |
 Mini Misti Stamping Tool Shop at: SSS | SC | HA | AZ |
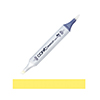 Copic Sketch Marker Y15 Cadmium Yellow Shop at: SSS | AZ |
 Copic Sketch Marker Y17 Golden Yellow Shop at: SSS | AZ |
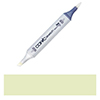 Copic Sketch Marker YG01 Green Bice Shop at: SSS |
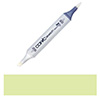 Copic Sketch Marker YG03 Yellow Green Shop at: SSS | AZ |
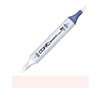 Copic Sketch Marker RV21 Light Pink Shop at: SSS |
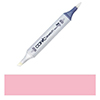 Copic Sketch Marker RV23 Pure Pink Shop at: SSS |
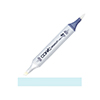 Copic Sketch Marker BG11 Moon White Shop at: SSS |
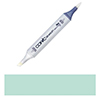 Copic Sketch Marker BG32 Aqua Mint Shop at: SSS | AZ |
 Copic Sketch Marker W1 Warm Gray Shop at: SSS | AZ |
 Copic Sketch Marker E000 Pale Fruit Pink Shop at: SSS | AZ |
 Copic Sketch Marker E00 Skin White Shop at: SSS | AZ |
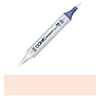 Copic Sketch Marker E02 Fruit Pink Shop at: SSS | AZ |
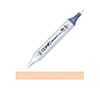 Copic Sketch Marker E33 Sand Shop at: SSS | AZ |
 Scor-tape 2 1/2 Inch Crafting Tape Shop at: SSS |
 Tonic Deluxe Adhesive Nuvo Glue Shop at: SSS | SC | AZ |
 Crystal Ninja Crystal Katana Pick Up Tool Shop at: SSS | AZ |
SAVE ME/PIN ME TO PINTEREST
Like this card idea? Be sure to save it to one of your Pinterest boards for future reference!



Those girls are having so much fun! It makes me want to spin and twirl, too. I enjoyed your video.
Really cute, Yana! Love those adorable girls & the simplicity of this one!
So sweet! Love the darling girls
Super Sweet and Adorable card!!
This looks like I could
do the coloring with only
two colors. Looks so sweet.
Carla from Utah
Fabulous. Like straight out of a 1960s childrens’ book. Love the coloring style.
Gorgeous colour work, agree totally with Maria f. I have an old story book that was my mum’s from the 60’s & lots of the illustrations were coloured like this. Love you stepping out the Copic ideals.
Very cute. They remind me of the fronts of sewing pattern packages, but cuter, of course.