Hello friends! Welcome back for another episode from my monthly video tutorial for Papertrey Ink from the “In The Studio with Yana” video series. I am sharing video tutorials for Papertrey Ink on the 24th of each month on their blog and later repost them here, on my blog; you can catch previous episodes here.
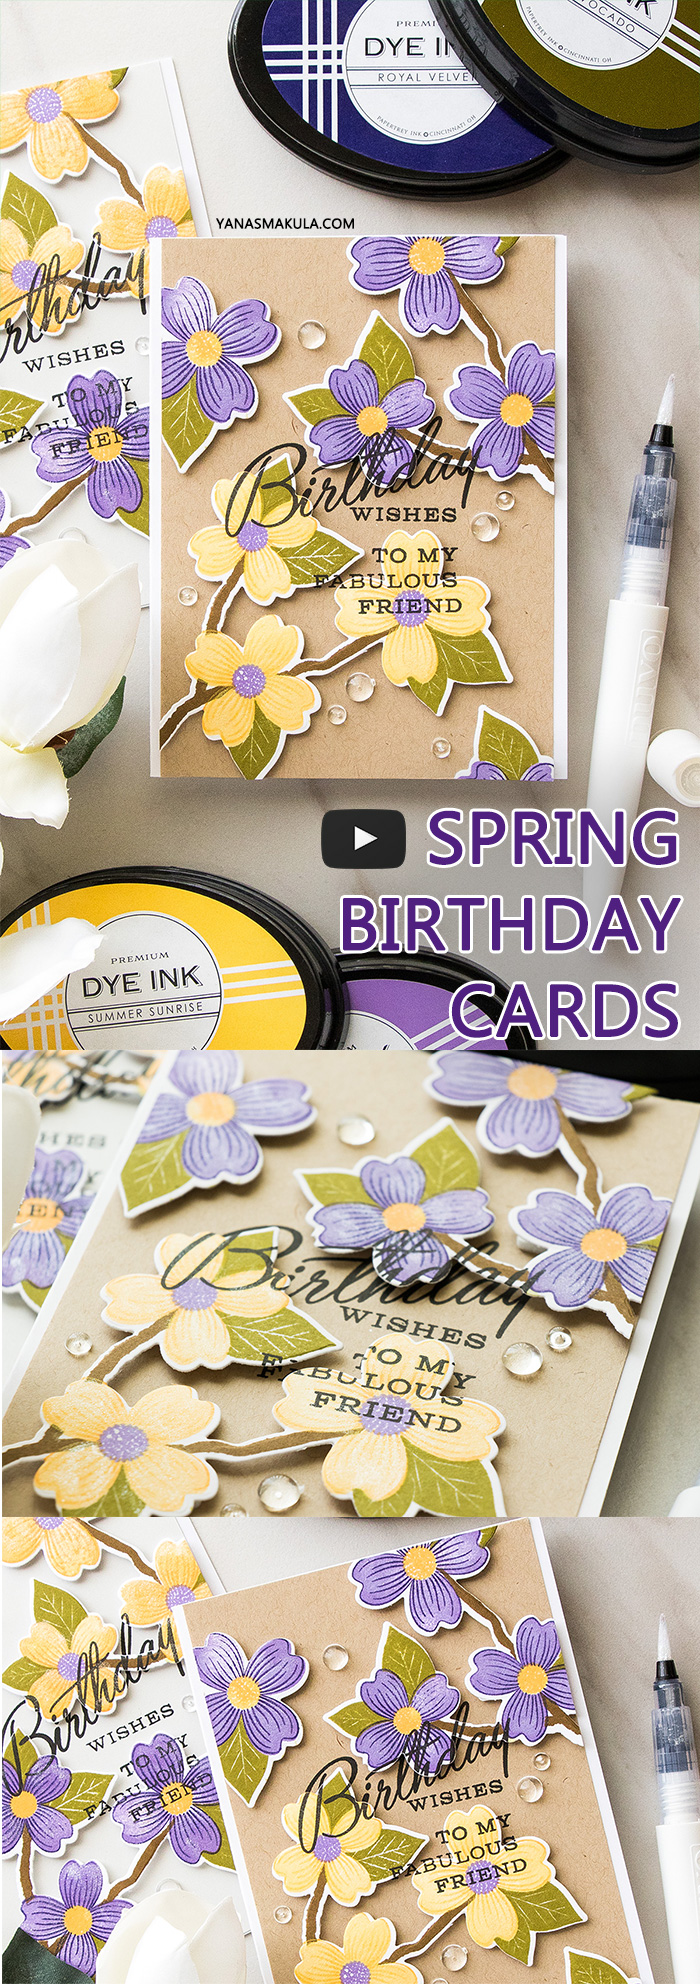
I seem to be lacking Birthday cards in my handmade card stash so I thought it would be a good idea to create several cards to have on hand for the upcoming Spring Birthdays. I liked new Warm Regards stamp set from Papertrey Ink a lot – I especially loved that the flowers come on a branch and I always associate flowers on a branch with Spring flowers and blooming trees so I was excited to use this set for my Spring Birthday cards.
Like this project? Pin it and save for later! | Curious about my project photography? Click for details.
VIDEO TUTORIAL
As always, I filmed a video tutorial showing how to create this project from start to finish. I’m hoping you’ll enjoy it. Watch it below or on my Youtube channel.
Like this video? Please give it a big thumbs up and share with a crafty friend! Drop me a comment too, I love hearing from you!
CARD DETAILS
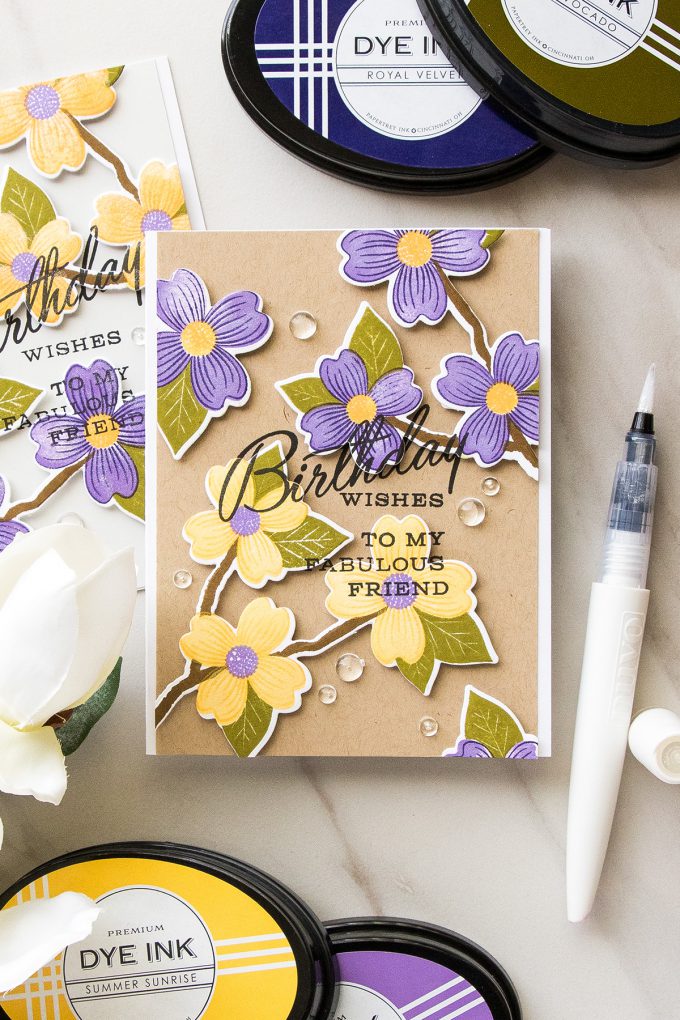
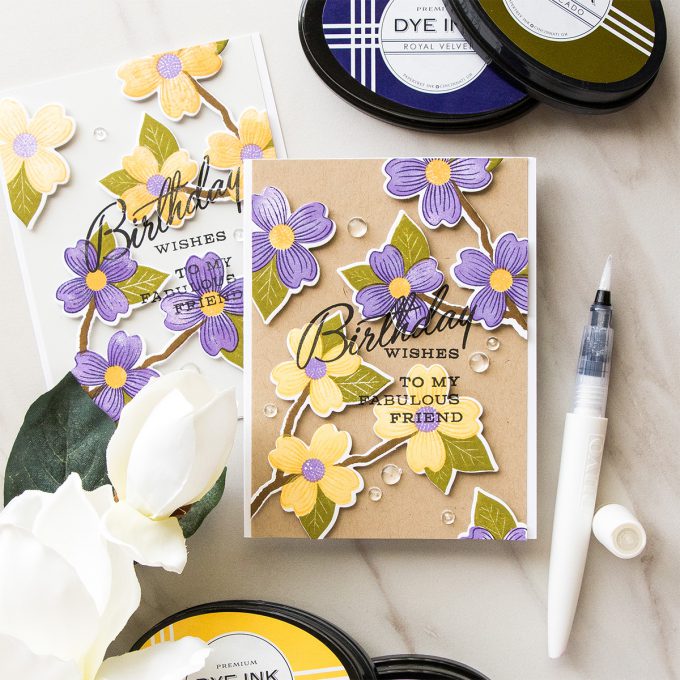
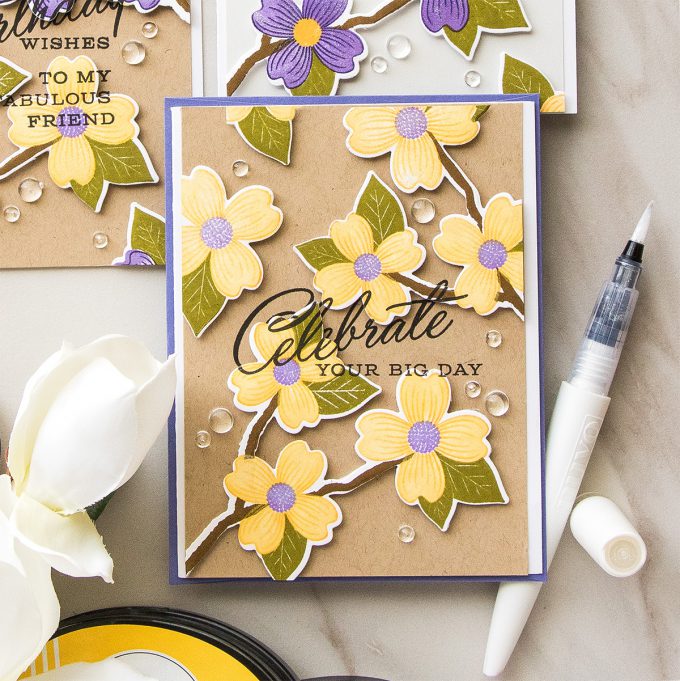
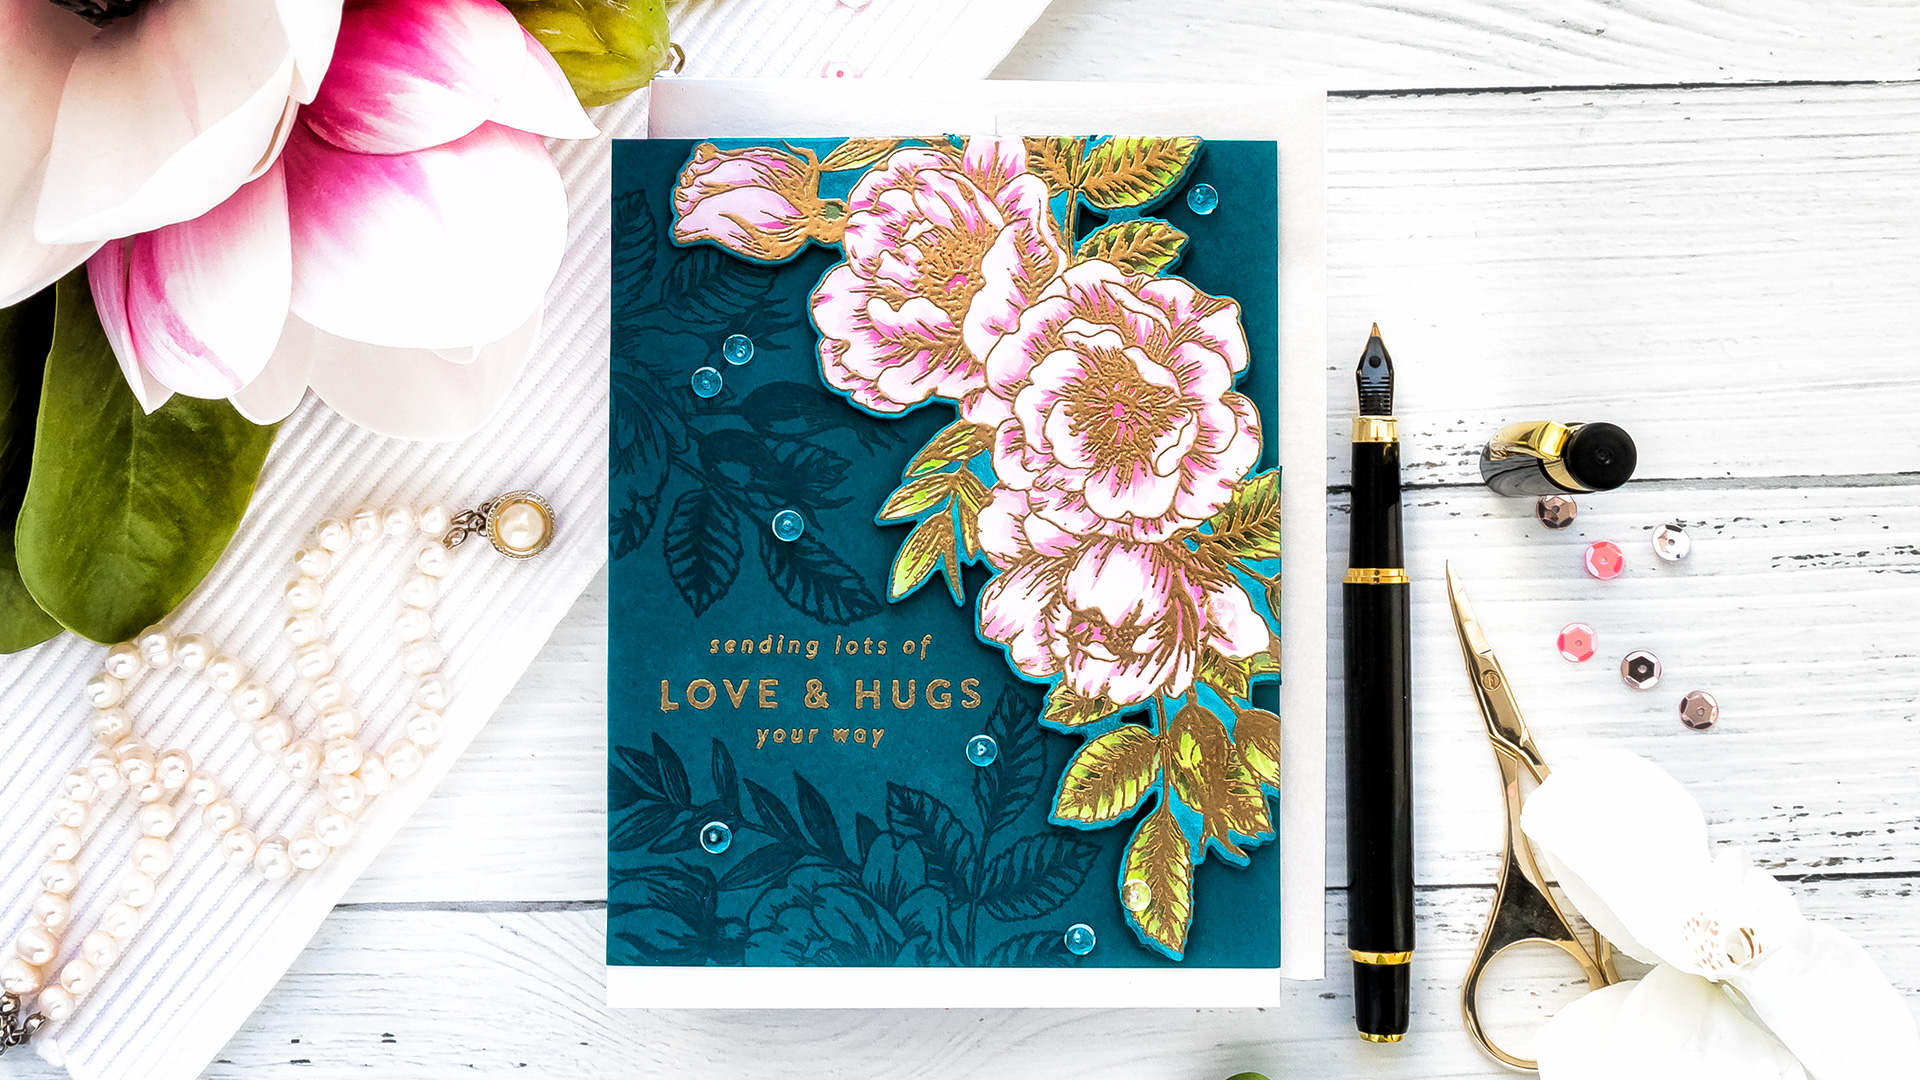
I stamped several blooming branches onto Stamper’s Select White cardstock using Cocoa Bean ink for the branch, Ripe Avocado ink for the leaves as well as Summer Sunrise and Harvest Gold for some of my flowers along with Royal Velvet and Amethyst Allure for the rest of the flowers.
The Warm Regards stamp set is a layering set and it’s a very well designed set, too. You have a branch and 3 flowers blooming on a branch. To make it easier for us stampers to align everything, the flowers and also the leaves and flower centers are grouped together, so even though there are 3 flowers that you need to stamp on the branch these aren’t 3 separate flowers, but rather one stamp that includes all 3 flowers right away so that makes it significantly easier to align everything and have great results quickly.
The flowers themselves have 3 steps to them – there’s an outline image and this one also adds beautiful detail to the petals, there’s also a solid layer that adds color to the petals and then there’s the flower center image.
The leaves are also grouped together so you are not fussing around with each individual leaf trying to figure out where it goes. The leaves are coming from behind the flowers and when stamped look as if the flowers were masked. I really like that – I’m not a fan of masking, so having an image where the masking has been done for me is always fantastic.
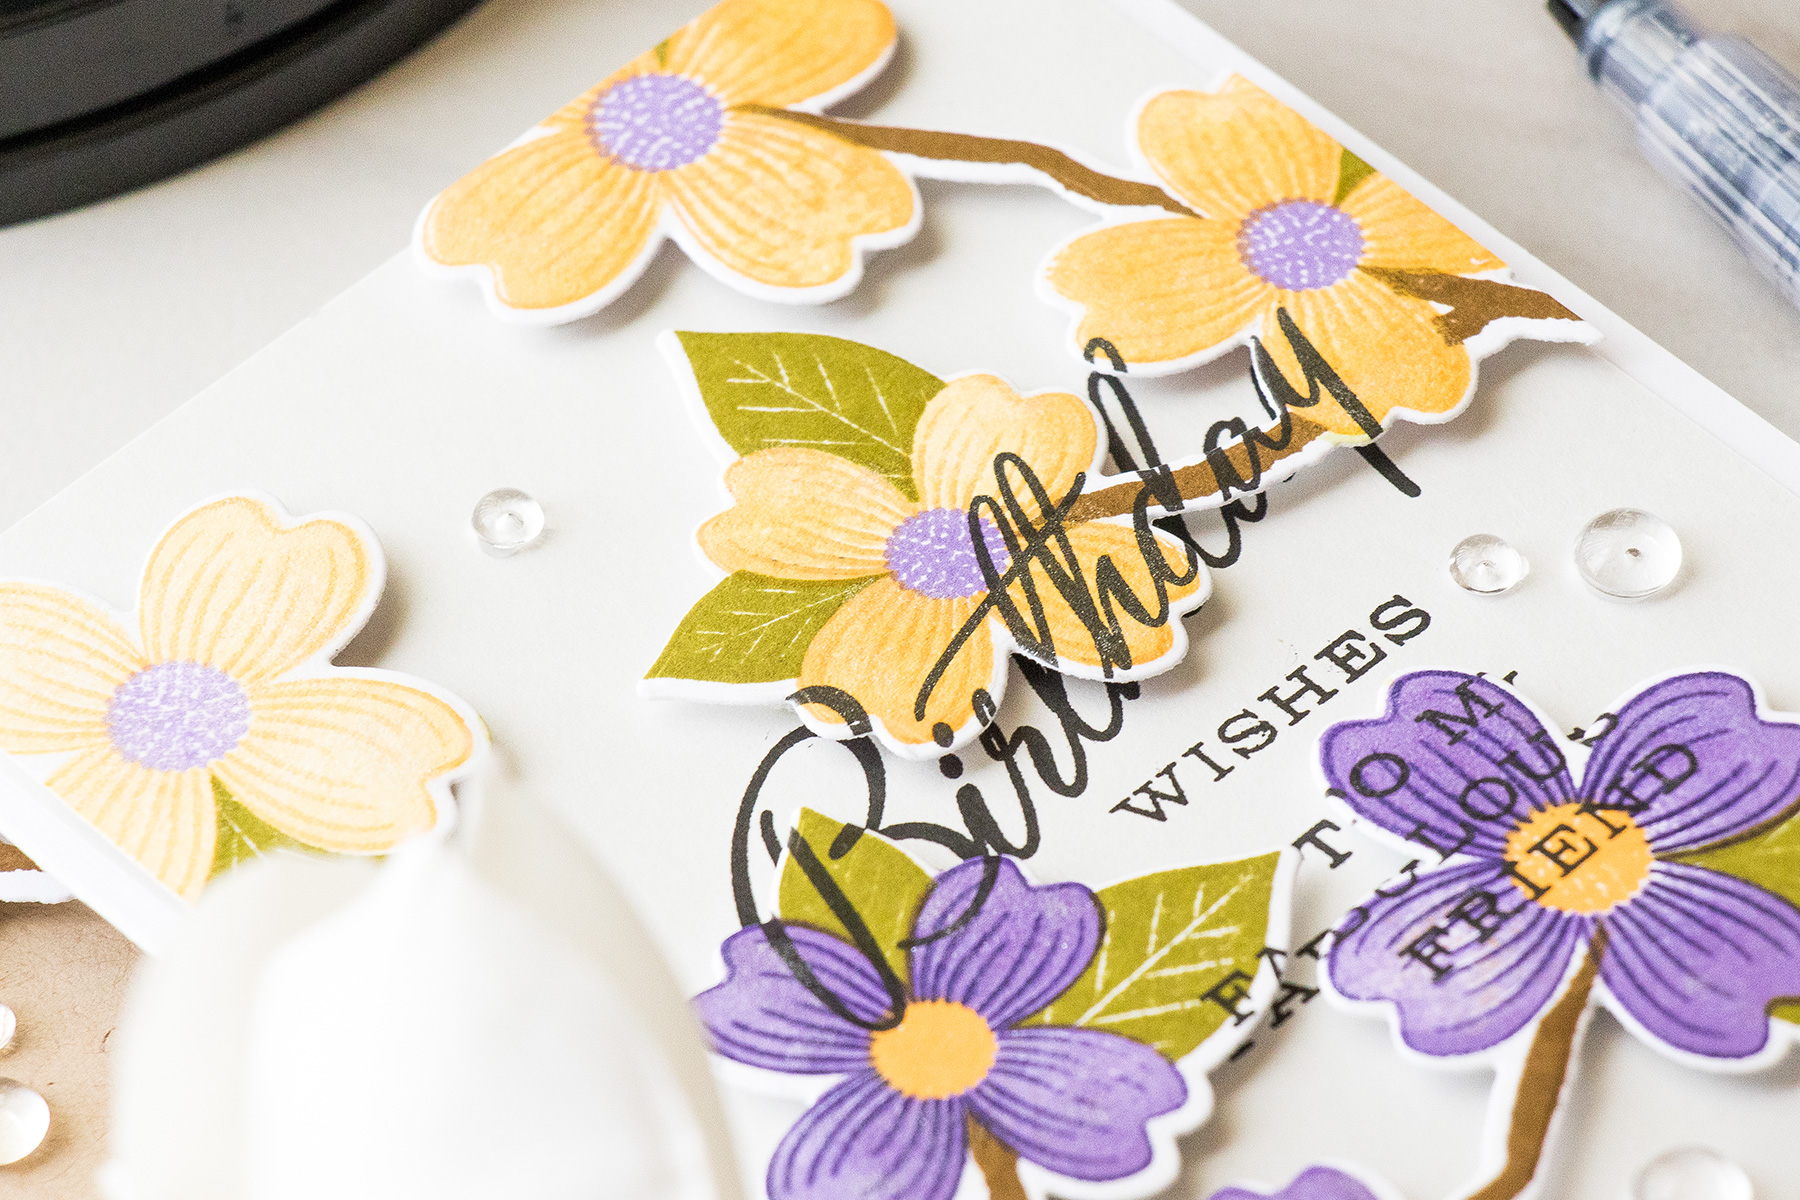
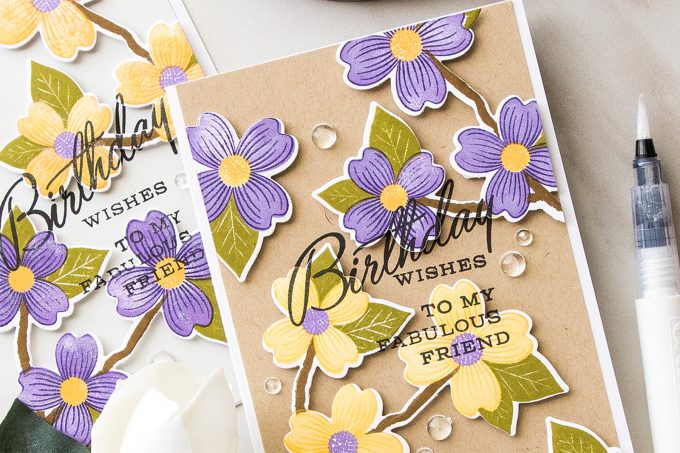
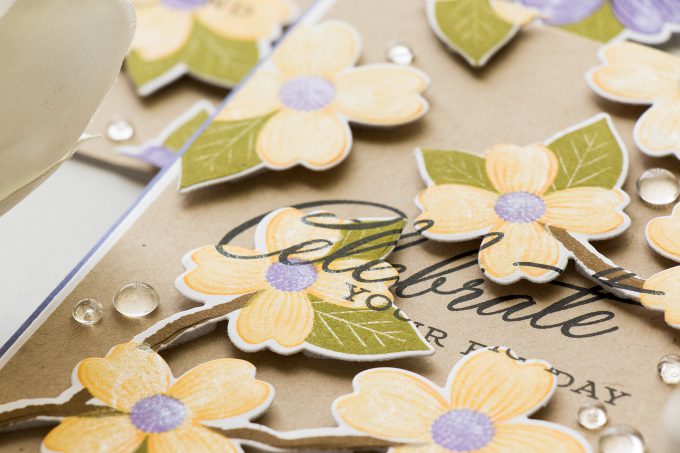
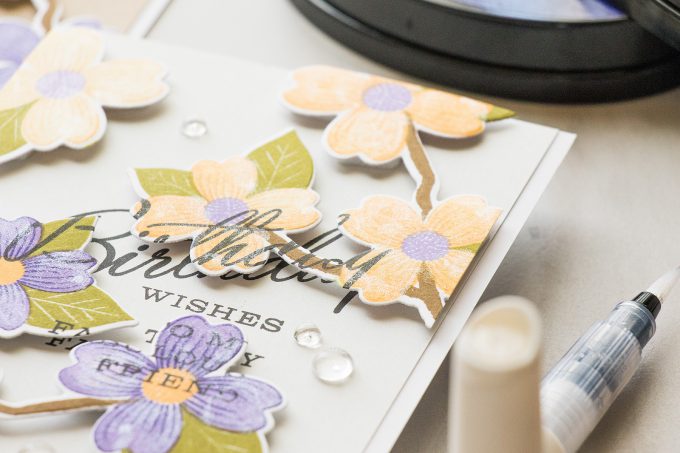
Once my stamping was done I cut branches out using a coordinating die. Next, I positioned my branches onto a Kraft cardstock panel (also used Soft Stone for another card) and with the help of a stamp platform tool I stamped my sentiments onto both the die cut branches and background panels.
I foam mounted the branches being careful to align the text and made sure it was easy to read. I also embellished my cards using an Aqua Shimmer pen from Tonic Studios and clear droplets to mimic morning dew.
Have fun stamping!
SUPPLIES
I’m listing the products I used below. Click on the link to go directly to the product. Where available I use compensated affiliate links which means if you make a purchase I receive a small commission at no extra cost to you. Thank you so much for your support!
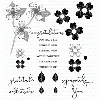 PTI Warm Regards Stamp Set Shop at: PTI |
 Papertrey Ink – Warm Regards Die Shop at: PTI |
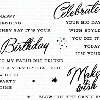 PTI Birthday Cheer Stamp Set Shop at: PTI |
 Papertrey Ink Stamper’s Select White Cardstock (40 Sheets) Shop at: PTI |
 PTI Paper Basics – Kraft Cardstock (50 Sheets) Shop at: PTI |
 PTI Soft Stone Cardstock (50 Sheets) Shop at: PTI |
 Neenah 110 Lb Solar White Cardstock Shop at: SSS | AZ |
 Perfect Match Cocoa Bean – Inkpad Shop at: PTI |
 PTI Perfect Match Ripe Avocado – Inkpad Shop at: PTI |
 Perfect Match Summer Sunrise – Inkpad Shop at: PTI |
 Perfect Match Harvest Gold – Inkpad Shop at: PTI |
 Perfect Match Royal Velvet – Inkpad Shop at: PTI |
 Perfect Match Amethyst Allure – Inkpad Shop at: PTI |
 Scor-Tape 1/8 Inch Crafting Tape Shop at: SSS | AZ |
 Tim Holtz Tonic Craft Stamp Platform Shop at: SSS | SC | AZ |
 Tonic Aqua Shimmer Pen Nuvo 2 Pack 888n Shop at: SSS | SC | AZ |
 Scrapbook Adhesives White Foam Squares Shop at: SSS | SC | AZ |
 Tsukineko VersaFine Onyx Black Ink Shop at: SSS | AZ |
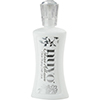 Tonic Deluxe Adhesive Nuvo Glue Shop at: SSS | SC |
 Spellbinders Platinum Die Cutting Machine Shop at: SSS | SC | SPEL | AZ |
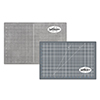 Spellbinders Magnetic Handy Mat Shop at: SSS | SC | SPEL | AZ |
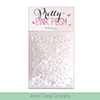 Pretty Pink Posh 4MM Clear Droplets (small) Shop at: SSS |
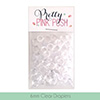 Pretty Pink Posh 6MM Clear Droplets (medium) Shop at: SSS |
PIN THIS PROJECT
Are you on Pinterest? I’d love for your to pin this project if you like it! Thanks!


Hi Yana, wow, how beautiful, those flowers are so pretty and I love the color combo. Thanks for sharing.
Beautiful flowers! I love watching you color and your beautiful creations!
Beautiful stamp set and card. I love the way you did the sentiment.
Absolutely stunning Spring birthday cards, love the way you stamp the sentiment onto the die cut flowers and then underneath also using your stamp positioning tool. I love using mine especially to get clear stamped images. :O)
Beautiful card 🙂
Love this set, very pretty. I like how you incorporated the layered look stamping words behind and raised. Such a cute idea.