Hello, friends! Welcome back for another episode from my monthly video tutorial for Papertrey Ink from the “In The Studio with Yana” video series. I am sharing video tutorials for Papertrey Ink on the 24th of each month on their blog and later repost them here, on my blog; you can catch previous episodes here.
Like this project? Pin it and save for later! | Curious about my project photography? Click for details.
VIDEO TUTORIAL
As always, I filmed a video tutorial showing how to create this project from start to finish. I’m hoping you’ll enjoy it. Watch it below or on my Youtube channel.
Like this video? Please give it a big thumbs up and share with a crafty friend! Drop me a comment too, I love hearing from you!
CARD DETAILS
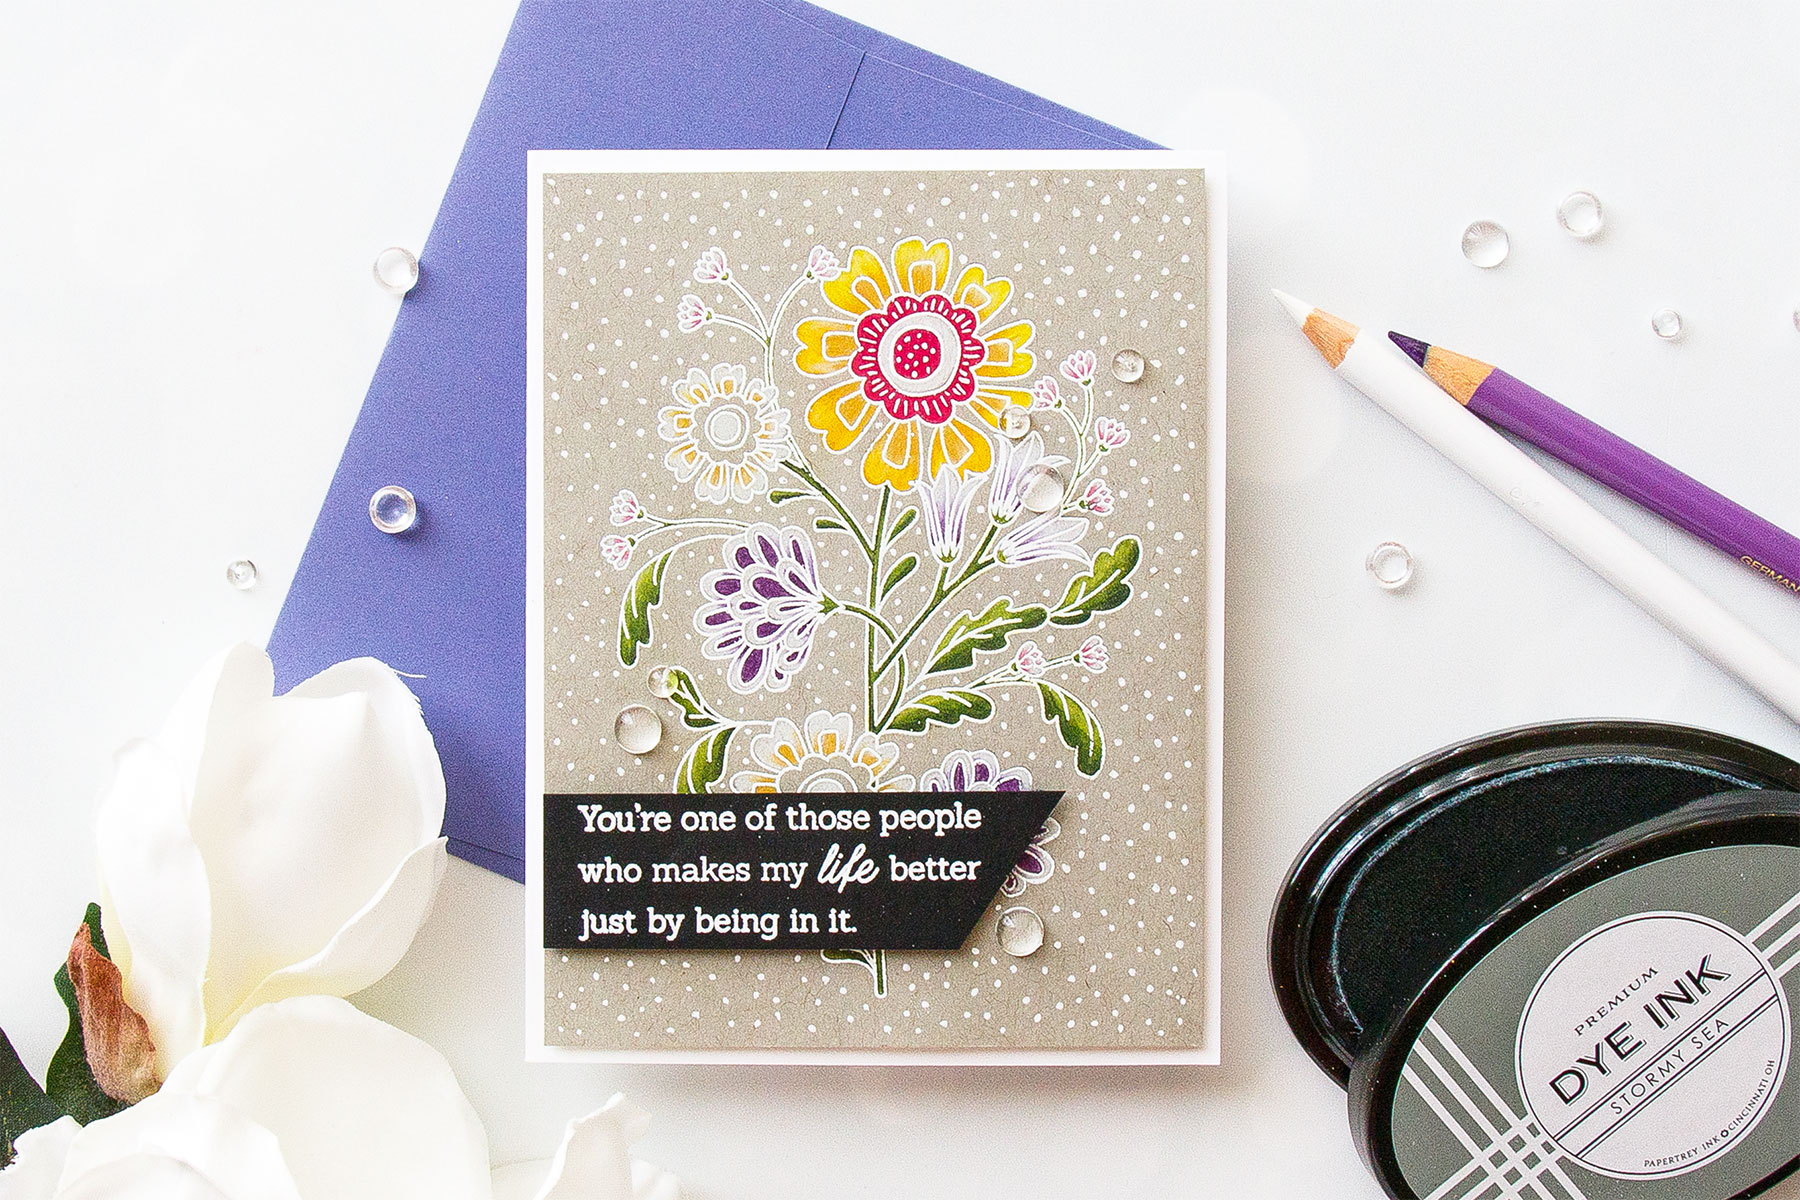
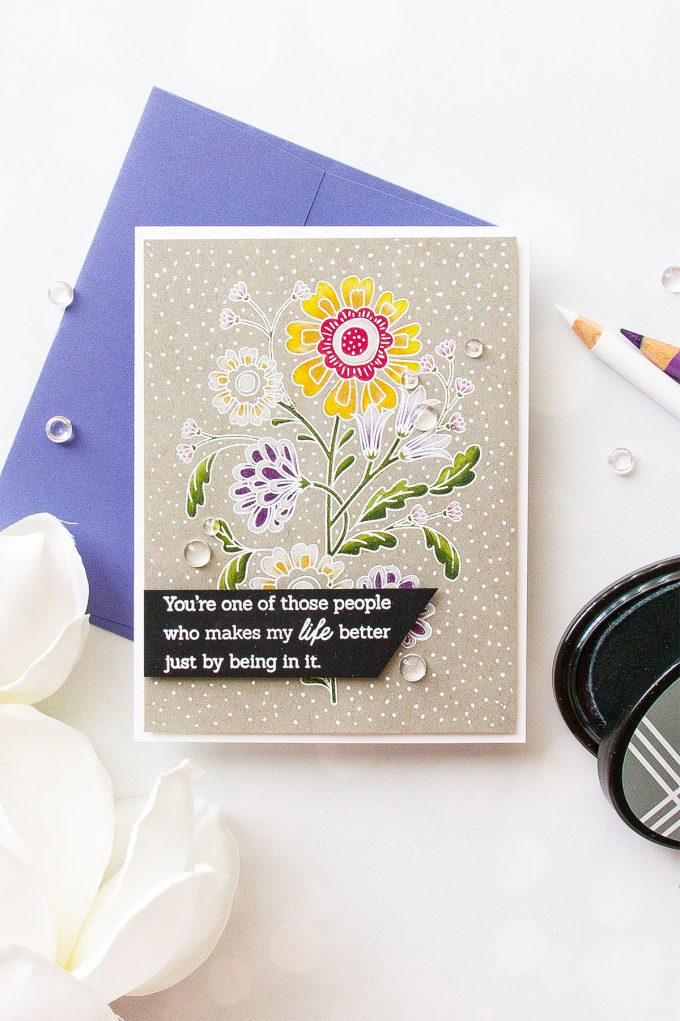
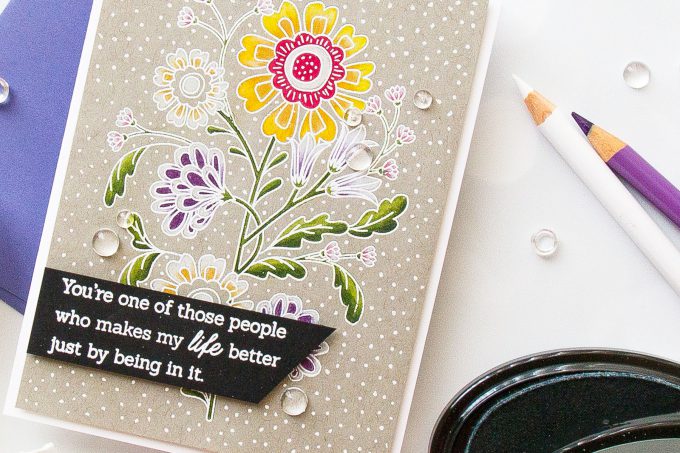
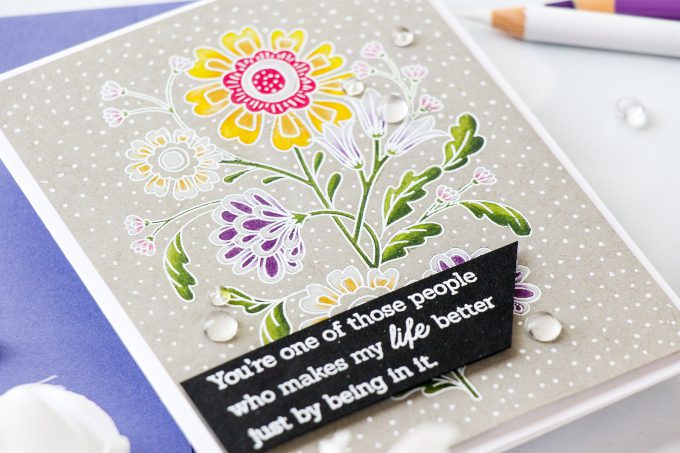
I decided to use beautiful Better Together stamp set for my project – I’ve had my eye on this set for a long time as I thought it would be a great one to use for coloring with pencils. I started by stamping image in a light color of ink onto a gray cardstock panel, I used specialty paper that works really well for pencil coloring and did my stamping in Stormy Sea ink.
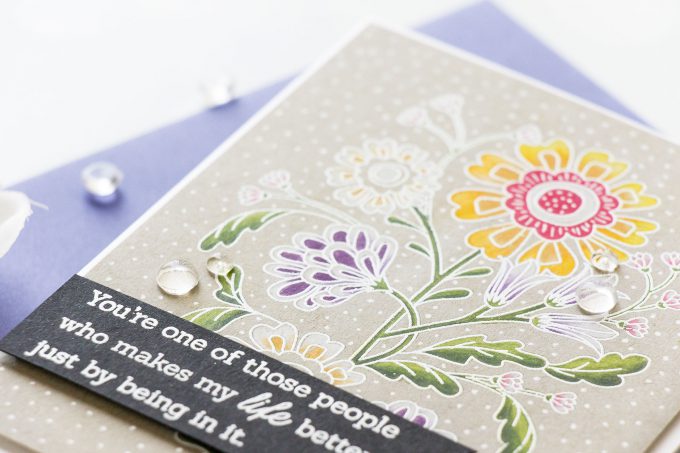
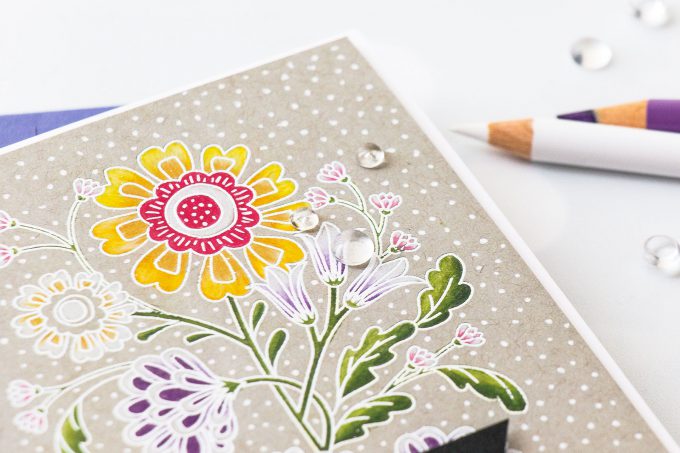
I used Polychromos pencils from Faber-Castell for coloring as these pencils happen to be my favorite. I used an array of colored pencils along with a white pencil. The white pencil was used for several things – to map out the lightest areas of the image and also, in some cases, to do blending.
Coloring doesn’t happen in one single layer, if you want your image to have detail and look dimensional you need to do coloring in stages. I like to compare pencil coloring to Copic coloring, although it is very different, in many ways it’s also very similar. You start with a light, go a medium and add dark. Next return to the medium and light colors to blend.
I very much like to color with colored pencils on dark papers, I don’t like using them on white paper and this is why I decided to do my stamping on Strathmore Toned Gray paper for this project.
Once I finished coloring my image I put it back into mini MISTI – I kept my stamp there and I didn’t move it after I had stamped the image the first time. I treated my paper with an anti static powder tool and stamped same image again, but using clear embossing ink. Next, I added white embossing powder and heat set it with the help of my heat tool.
I white heat embossed a beautiful sentiment onto black cardstock and this sentiment reads: You are One Of Those People Who Make My Life Better by Just Being in it. And this is actually also a good sentiment to put on the inside of the card.
I trimmed my panel to 4 x 5 1/4″ and foam mounted onto an A2 white card base and I also foam mounted the sentiment piece on top.
To dress this card up I added several clear droplets in different sizes and I adhered them using glue. Finally, I felt like I wanted to add some additional detail to the background so I used a white gel pen and added small white details onto the gray background where I didn’t have the coloring or the sentiment.
Have fun stamping!
SUPPLIES
I’m listing the products I used below. Click on the link to go directly to the product. Where available I use compensated affiliate links which means if you make a purchase I receive a small commission at no extra cost to you. Thank you so much for your support!
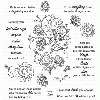 Papertrey Ink Better Together Stamp Set Shop at: PTI |
 PTI Perfect Match Stormy Sea – Inkpad Shop at: PTI |
 PTI Perfect Match True Black Cardstock Shop at: PTI |
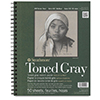 Strathmore 400 Series Recycled Toned Sketch Wirebound Journals Shop at: SSS | AZ | BL |
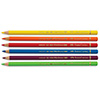 Faber-Castell Polychromos Colored Pencils Individual Shop at: BL |
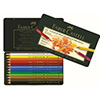 Faber-Castell Polychromos Colored Pencils 12 Piece Set Shop at: SSS | AZ | BL |
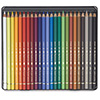 Faber-Castell Polychromos Colored Pencils 24 Piece Set Shop at: AZ | BL |
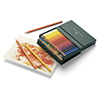 Faber-Castell Polychromos 36 Pencil Studio Set Shop at: SSS | AZ | BL |
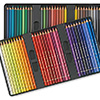 Faber-Castell Polychromos Colored Pencils 60 Piece Set Shop at: AZ | BL |
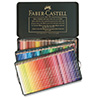 Faber-Castell Polychromos Colored Pencils 120 Piece Set Shop at: AZ | BL |
 Neenah 110 Lb Solar White Cardstock Shop at: SSS | AZ |
 ScraPerfect Crafting Pouch Shop at: SSS | AZ |
 Hero Arts Heat Embossing Gun PW200 Shop at: SSS | SC | HA | AZ |
 Hero Arts White Embossing Powder PW110 Shop at: SSS | SC | HA | AZ |
 Mini Misti Stamping Tool Shop at: SSS | SC | AZ |
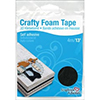 Scrapbook Adhesives Black Foam Tape Shop at: SSS | AZ |
 White Fun Foam 12 Pack 9 x 12 Shop at: SSS | AZ |
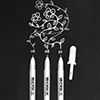 Sakura Classic White Bold Line 10 Gelly Roll Pen Shop at: SSS |
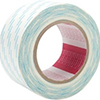 Scor-tape 2 1/2 Inch Crafting Tape Shop at: SSS |
 Tonic Deluxe Adhesive Nuvo Glue Shop at: SSS | SC |
 Pretty Pink Posh 4MM Clear Droplets (small) Shop at: SSS |
 Pretty Pink Posh 6MM Clear Droplets (medium) Shop at: SSS |


I picked up some of the gray toned paper to use for pencil coloring. Using it has helped me understand what you mean when you have said colored pencils need some “tooth” to the paper and I understand now what happened when I pencil colored images on a smoother paper. The coloring turned out well on a smoother paper, but there is a big different between the 2. Sometimes I stamp out a bunch of images, curl up with the pencils and color without any preconceived idea of a card. I’m just in the mood to color! Helps me learn to play. Thanks for the tutorials. Hope you’re well in your new home.
So pretty 🙂
I love colouring with my new Prismocolor pencils and watching you Yana I learn so much about where to add colour and what colour pencils to use. Thank you. :O)
Yana, this is such a beautiful stamp and you certainly brought it to life with your pencils. Absolutely gorgeous!
I need to get some of this paper. I love seeing the colored pencil work and the after embossing. Your card is beautiful.
So pretty. I love the white embossed image but also loved it before you embossed it. Its very cool how different they both looked.
Beautiful card. Your colouring is great.
Gorgeous!!
Gorgeous! Love the colours and you coloured it beautifully. You really do have a gift!! Thanks for sharing it with us.