This is my fifth post for the new Explore Beyond Blog from Spellbinders Paper Arts as International Blog Ambassador. You can find previous tutorials here: Easter Card | Mini album | Pin Cushion | Tree Ornament.
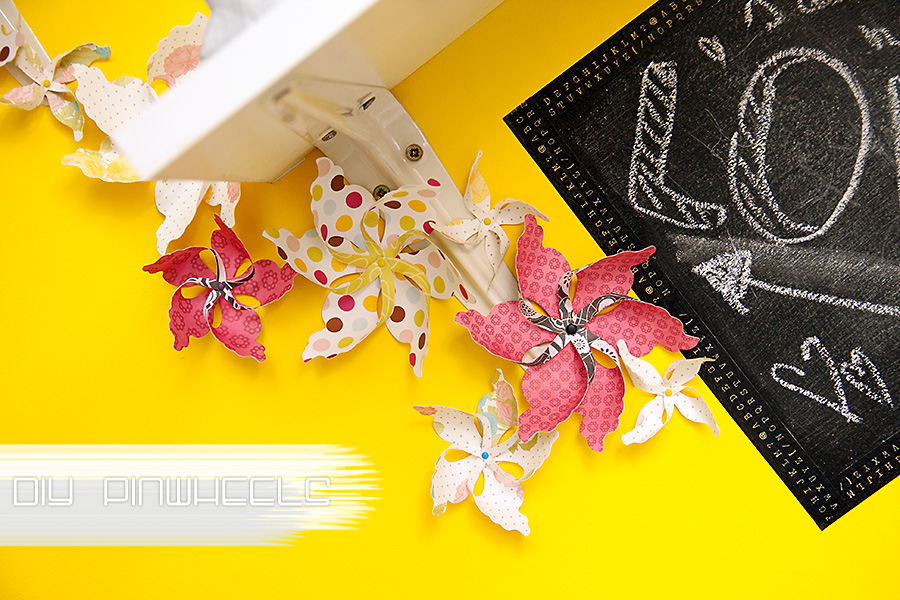
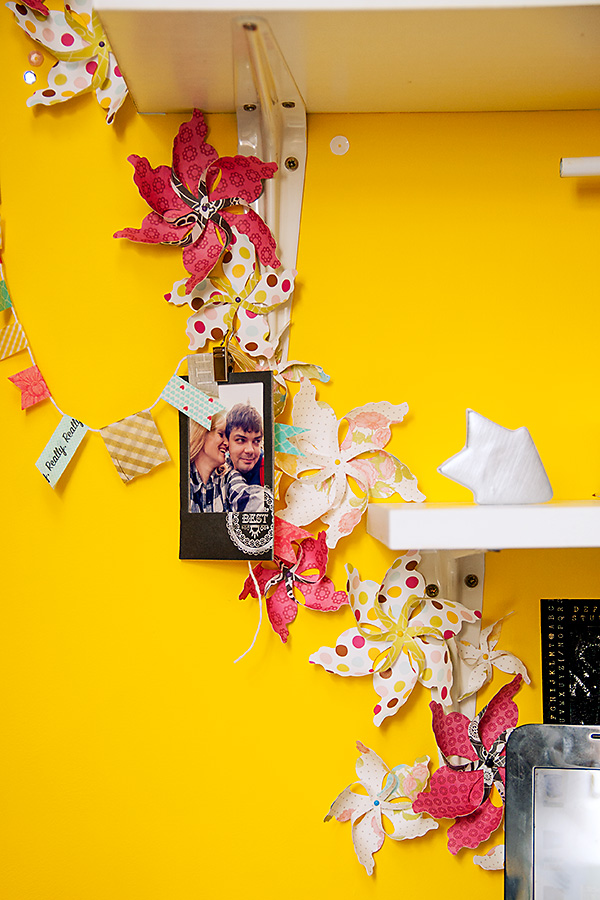
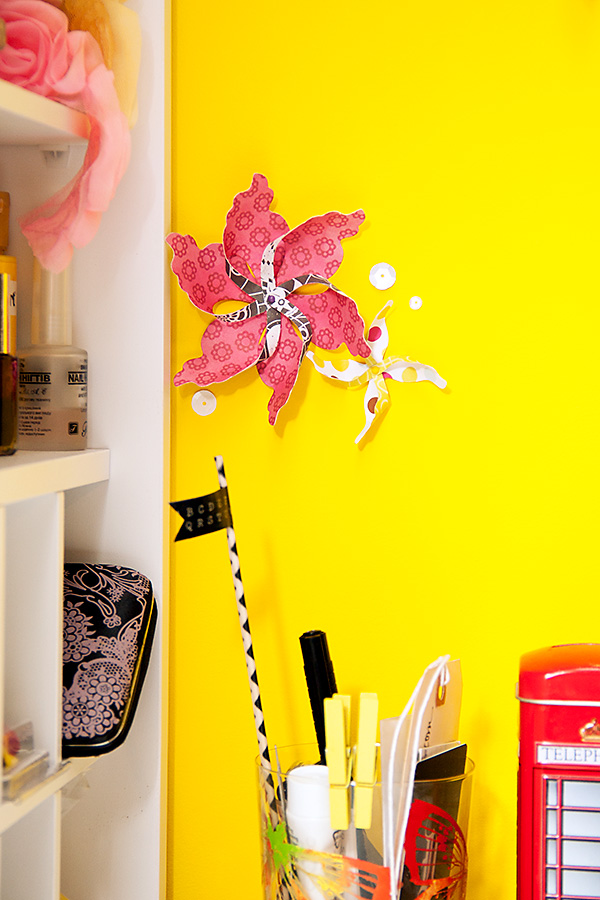
During my home office remodeling (which I talked about here, sorry its only in Ukrainian but there are still lots of photos) I decided I wanted to add a few extra pieces to the wall in front of my table. I had a new We R Memory Keepers folding table installed and painted the wall in front of it in bright daffodil yellow. I felt I needed to embellish the wall with some sort of flowers.
And I did, but instead I used pinwheels. They do look a bit like flowers, wont you agree? I wanted to completely cover the wall with multicolored pinwheels. I didn’t want them to spin, only to look pretty.
I think I made about 30-35 pinwheels and I thought that would be more than enough for the entire wall. It wasn’t, lol! It wasn’t enough to cover even a third of it.
Nonetheless, I adhered the ones the I had. I used foam adhesive for this, and to tell the truth it holds the pieces beautifully in place, not a single one has fallen off.
I also wanted to talk a bit about the Pinwheels set itself. It has 4 dies to create four different pinwheels (different design and different size). I very much liked only 3 of those and that’s what I used for my decor (didn’t use the one in orange).
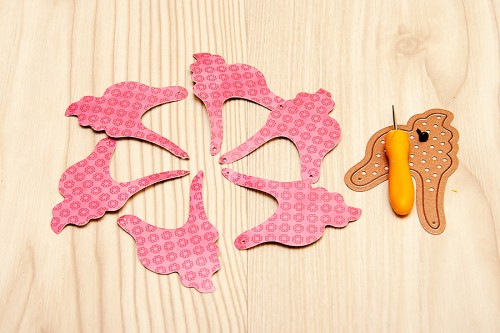
The red and orange pieces are almost ready – you only need one piece for one pinwheel. But blue and purple require you to cut at least 4 pieces each. I cut 5 and 6 (I followed the sample image on the packing), but I think 4 will do too. Or 7.
If you never made pinwheels in your life before here are some instructions just in case.
Step 1 | Use double sided paper and cut 6 pieces.
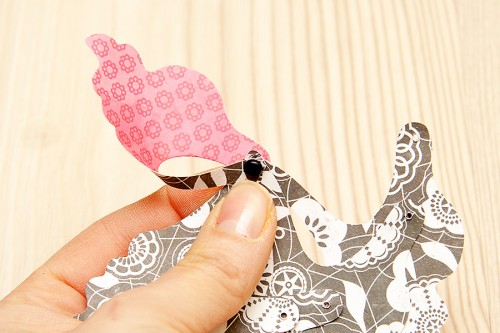
Step 2 | Thread all piece on a brad, do so from the back side (brad legs should be sticking out from the front side).
Step 3 | Starting with the first piece and gently bring its other end to the brad and thread through, do not fold. Continue with rest of the pieces.
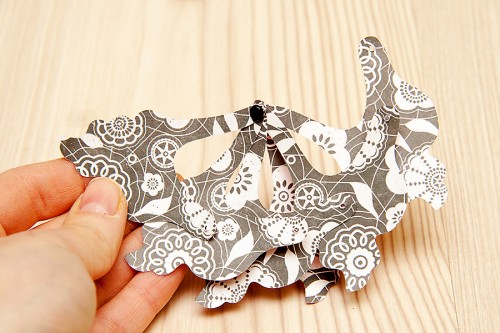
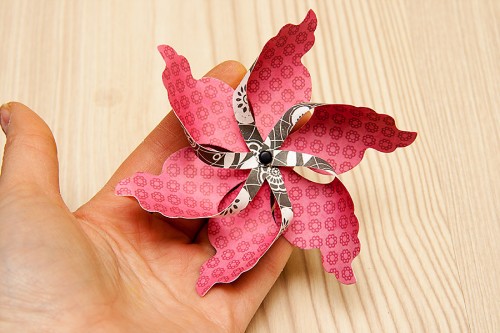
You should end up with a pinwheel looking like this – the front:
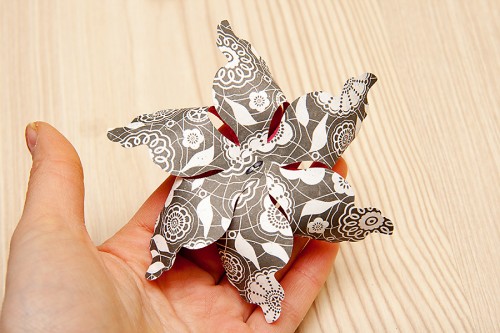
And the back:
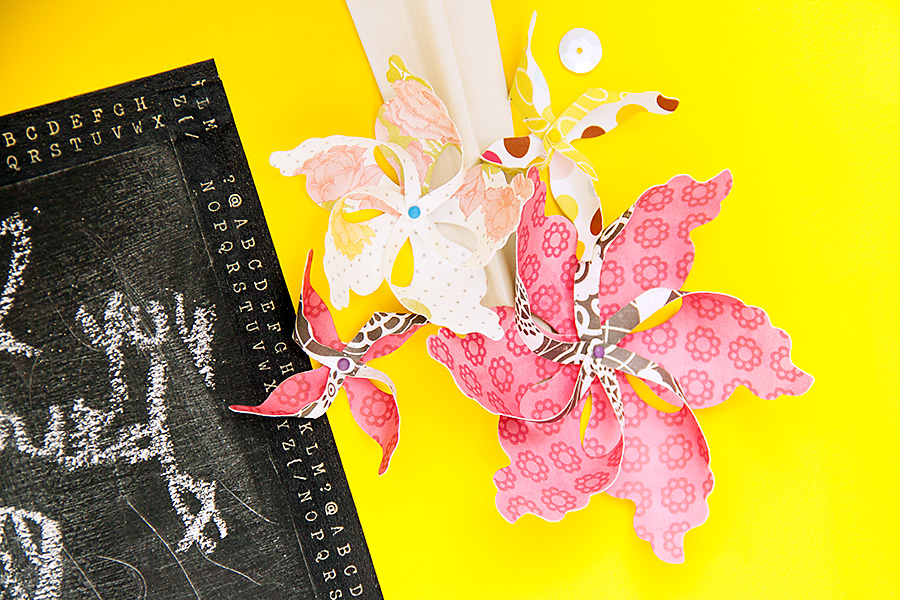
Here are a few more photos of my decorated wall:
These pinwheels can be also used in many other ways. Adhere them to a stick (or a stem) and place them in a vase, use them instead of a bow on a gift box, or place one on a card! Possibilities are truly endless!


