Now that we are past the Holiday season and all of the Christmas cards have been made and hopefully posted, it’s time to start working on something else. Birthday cards perhaps.
We’re are all used to coloring with our alcohol markers, Copics or other, on white cardstock. But, you can also color with Copics on other colors of cardstock, as long as it’s fairly light in color. I love to use colored cardstock for my handmade cards and in my previous video from My Favorite Things from Spring 2018 I shared how I color images on colored cardstock with the help of colored pencils. Sadly, I don’t always have the time it takes to color with my colored pencils as, to me, coloring with pencils is much more time consuming than coloring with Copic markers, so for this video tutorial I decided to go wild and try and to color with Copics on light pink paper.
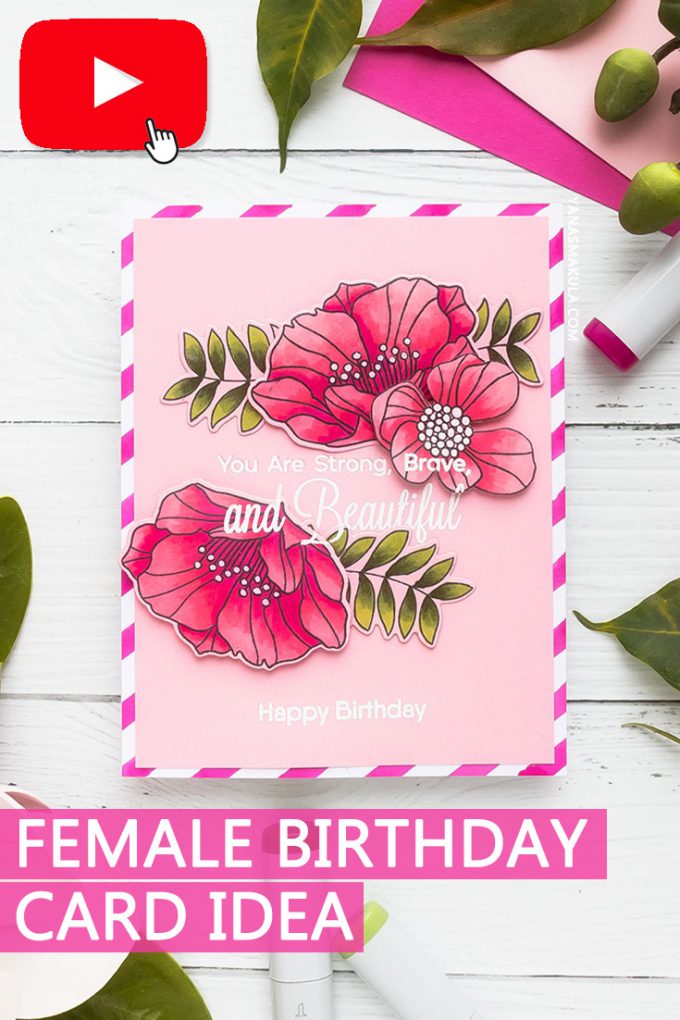
Like this project? Pin it and save for later | Curious about my project photography? Click for details.
VIDEO TUTORIAL
Watch my video tutorial below or on Youtube to learn how I made the cards I’m sharing today.
Like this video? Please give it a thumbs up and share with a crafty friend! Drop me a comment too, I love hearing from you!
CARDS DETAILS
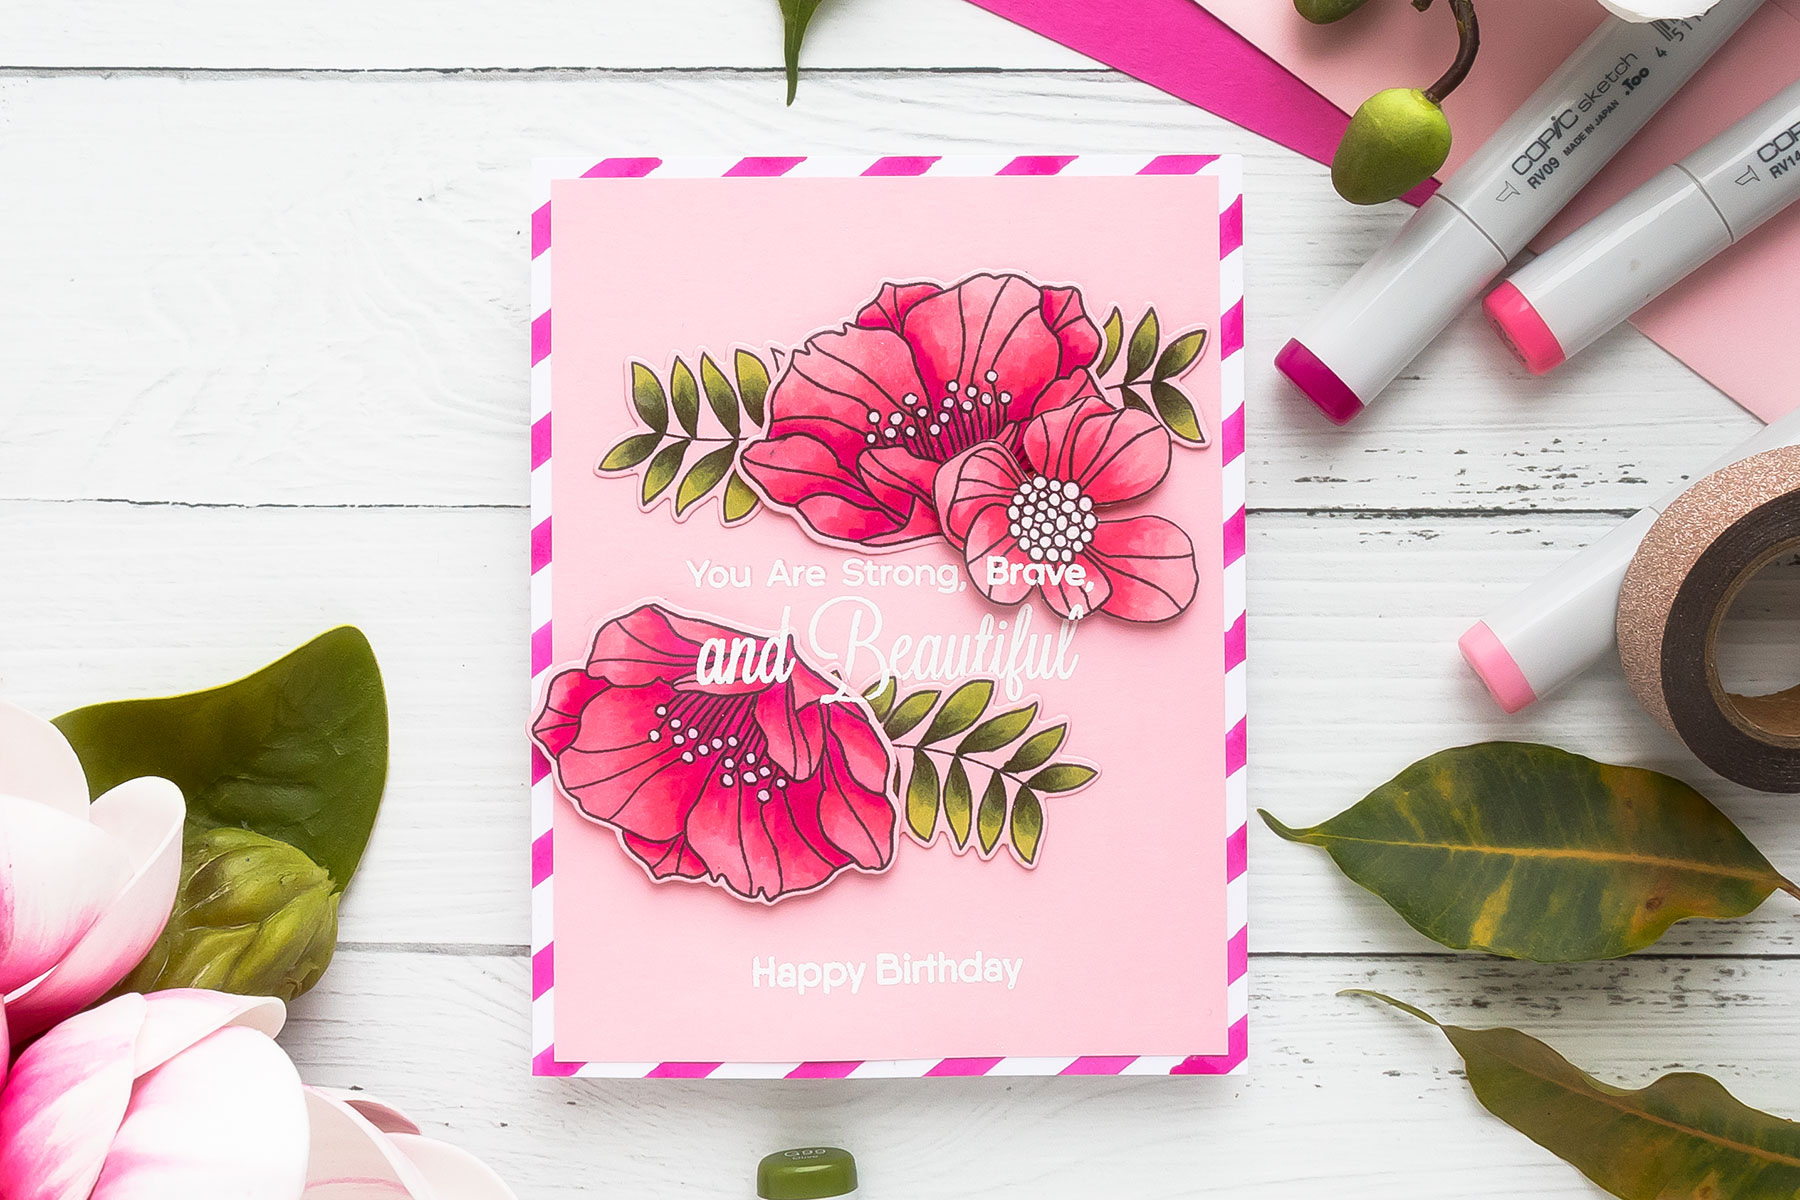
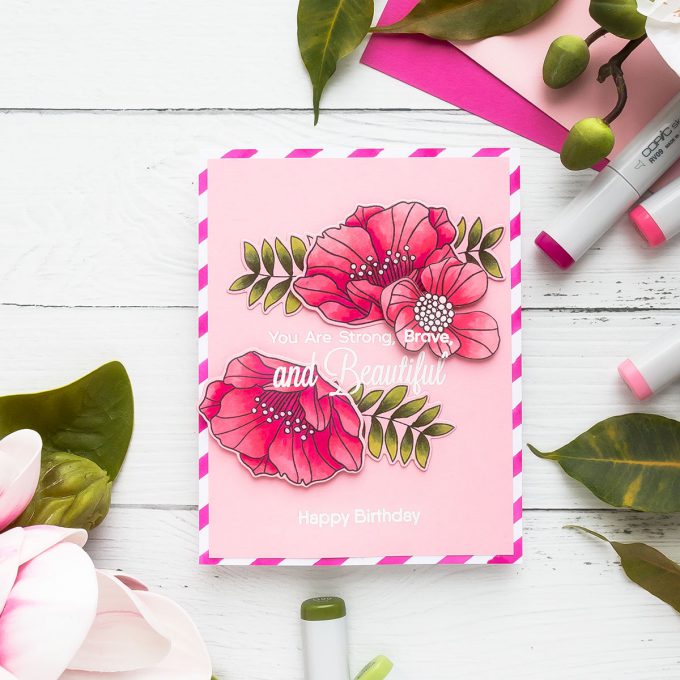
I’m making a feminine card, hence the light pink color and hence the flowers. If you are not a fan of pink you can go with other colors. The key here is to make sure to pick a light enough color of cardstock to still be able to color over it using your alcohol markers.
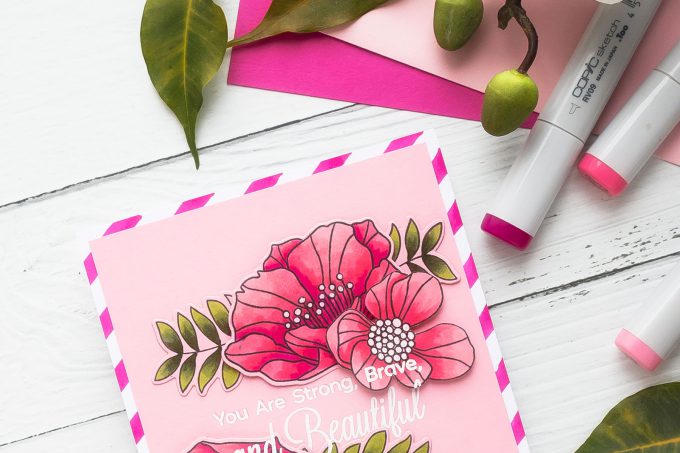
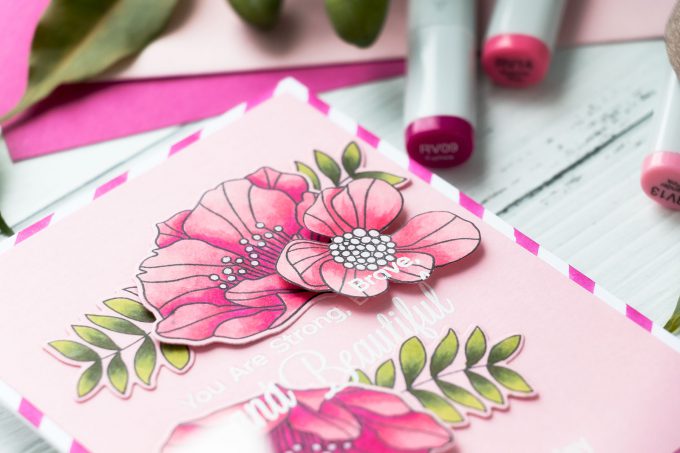
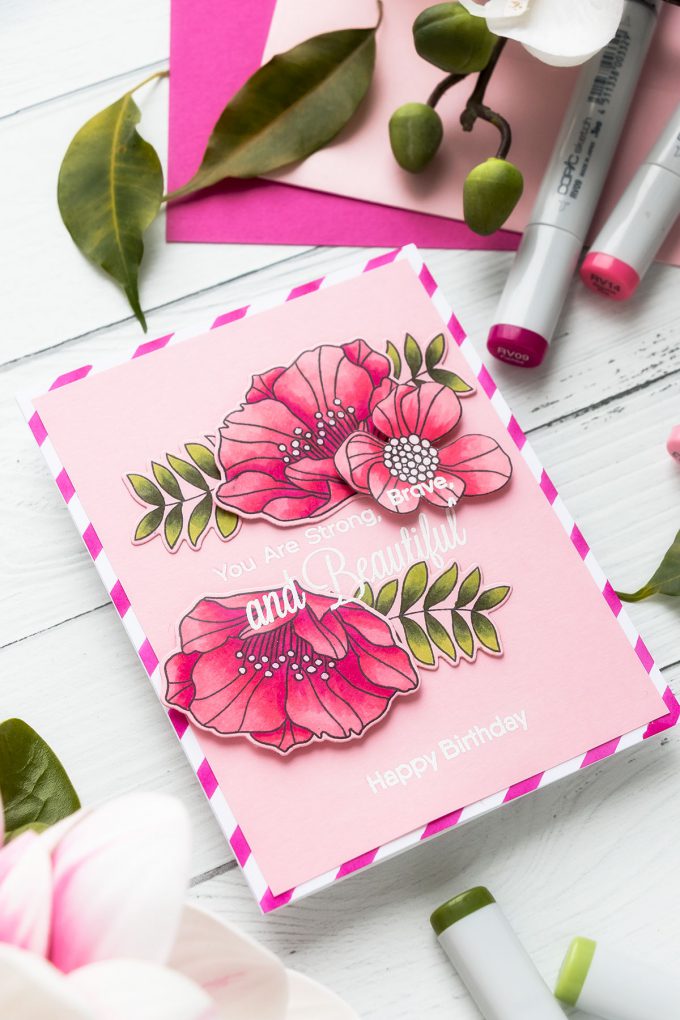
I stamped several flowers from the Brilliant Blooms set by My Favorite Things – one flower facing sideways and one large bloom. The large bloom is actually too large for the card idea I had in mind, so instead I settled on using just the inner section of that flower to have a slightly smaller bloom on my card.
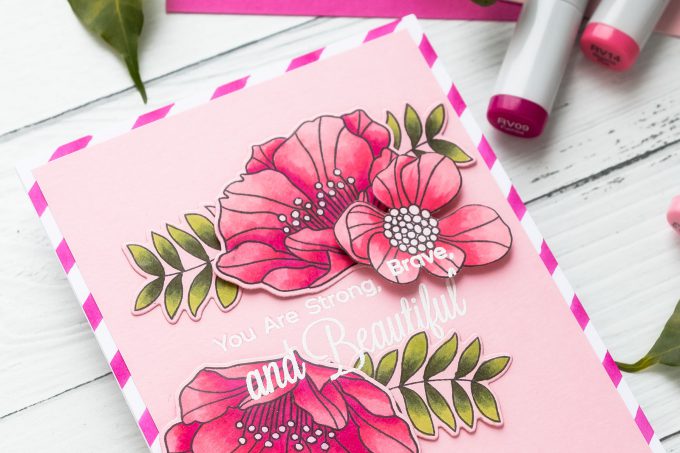
I went with my favorite pink marker color combination which is RV09, RV14 and RV13. I also tried a lighter variation of this combo skipping the darkest RV09 and adding lightest RV11 color.
I’m definitely no pro when it comes to coloring with Copic markers, but what I am is a person who loves to experiment, so while my coloring will never be the most sophisticated out there I do try to find a new thing to try every time I color.
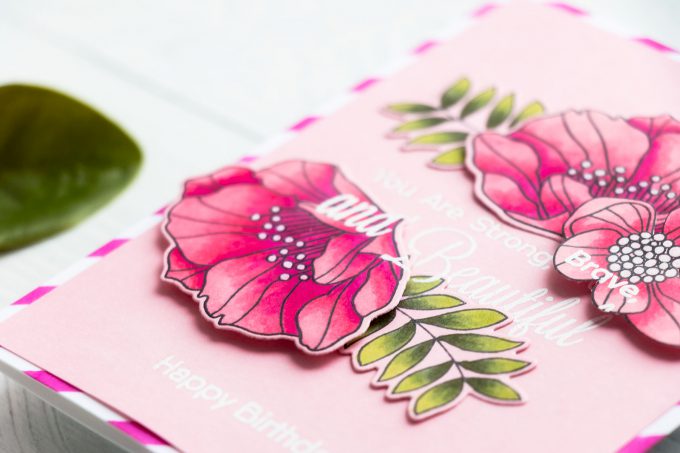
Next, I die-cut the sideways flower using a coordinating die and cut the other flower using my scissors; since that was an inner portion of a bigger flower I couldn’t use the coordinating die for it and I cut it out right up to the edge of the stamped line.
I also stamped the leaf images on the same light pink cardstock. I testes coloring this pink cardstock using green markers and the green wasn’t affected much so I knew it would look okay in the end. I used G99, G94 and YG03 markers.
You can by all means use white paper here, but if you do, your die cuts will have a white outline to them. I simply didn’t want mine to have a white outline, I wanted them to seamlessly blend with the background hence the use of the pink cardstock. These die cuts once finishes will look as if they are part of the background even though they are a separate layer. Once my coloring was done I die-cut these out using a coordinating die.
Lately, I’ve been loving diagonal stripe backgrounds on my cards and I thought I’d make one for this card as well. You can use a background stamp to stamp a background like this, but if you don’t have a stamp you can draw a background using the chisel nib of your Copic marker & a ruler.
I adhered diagonal background onto the card base and adhered the pink panel on top, I did trim it to 4 x 5 1⁄4”. The way I had placed the flowers, they overlapped the sentiment slightly. To still be able to read the sentiment I decided I would heat emboss those covered sentiment parts over the floral images in same white embossing powder for a seamless look.
I also decided I’d heat emboss Happy Birthday sentiment in white embossing powder at the bottom section of the card. Originally I wanted to stamp it on the inside of my project, but changed my mind to the front later.
To finish it off I used my white pen and colored the flower center dots white – this helped the flowers pop and really come to life.
Have fun stamping!
SUPPLIES
I’m listing the products I used below. Click on the link to go directly to the product. Where available I use compensated affiliate links which means if you make a purchase I receive a small commission at no extra cost to you. Thank you so much for your support!
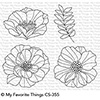 My Favorite Things Brilliant Blooms Stamps Shop at: SSS | MFT |
 My Favorite Things Brilliant Blooms Die-namics Shop at: SSS | MFT |
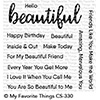 My Favorite Things Hello Beautiful Stamps Shop at: SSS | MFT |
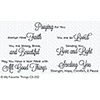 My Favorite Things Beautiful Blessings 2 Stamps Shop at: SSS | MFT |
 Neenah 110 Lb Solar White Cardstock Shop at: SSS | AZ |
 FSJ Bubble Gum 8.5×11 Cardstock Shop at: SB |
 Simon Says Stamp Embossing Ink Pad Shop at: SSS |
 Hero Arts Heat Embossing Gun Shop at: SSS | SC | HA | AZ |
 Memento Tuxedo Black Ink Pad Shop at: SSS | SC | AZ |
 Hero Arts White Detail Embossing Powder Shop at: SSS | SC | HA | AZ |
 Spellbinders Platinum Die Cutting Machine Shop at: SSS | SC | SB | AZ |
 EK Success Powder Tool Applicator Shop at: SSS | SC | AZ |
 Mini Misti Stamping Tool Shop at: SSS | SC | HA | AZ |
 Sakura Classic White Bold Line 10 Pen Shop at: SSS | AZ |
 Scrapbook Adhesives White Foam Squares Shop at: SSS | SC | AZ |
 Scor-Tape 1/8 Inch Crafting Tape Shop at: SSS | AZ |
SAVE ME/PIN ME TO PINTEREST
Like this card idea? Be sure to save it to one of your Pinterest boards for future reference!




Beautiful! Love the Copic coloring. Brilliant idea to use the pink cardstock to stamp the images on. The pink halo does blend in and I had to do a double take. Great job!
What a lovely card – thanks so much for your video! Happy New Year to you!! XO
Especially liked the way you stamped the sentiment over the top layers. Great technique! Thanks for sharing your beautiful card.
Gorgeous card!!!
I’ve never used alcohol markers on colored cardstock, but will give this a try.
You never fail to inspire me! So many new little twists to try…copic on colored cardstock, embossing on die cuts and front panel… Beautiful card!
Absolutely beautiful Yana and a must try, for sure!
Great card! Could you do more cards with the Glimmer foil paper??
So pretty!!
Such a nice card. Love your suggestion about using coloured card stock so no white seams showing.
I really enjoy your postings and your ideas for card making.