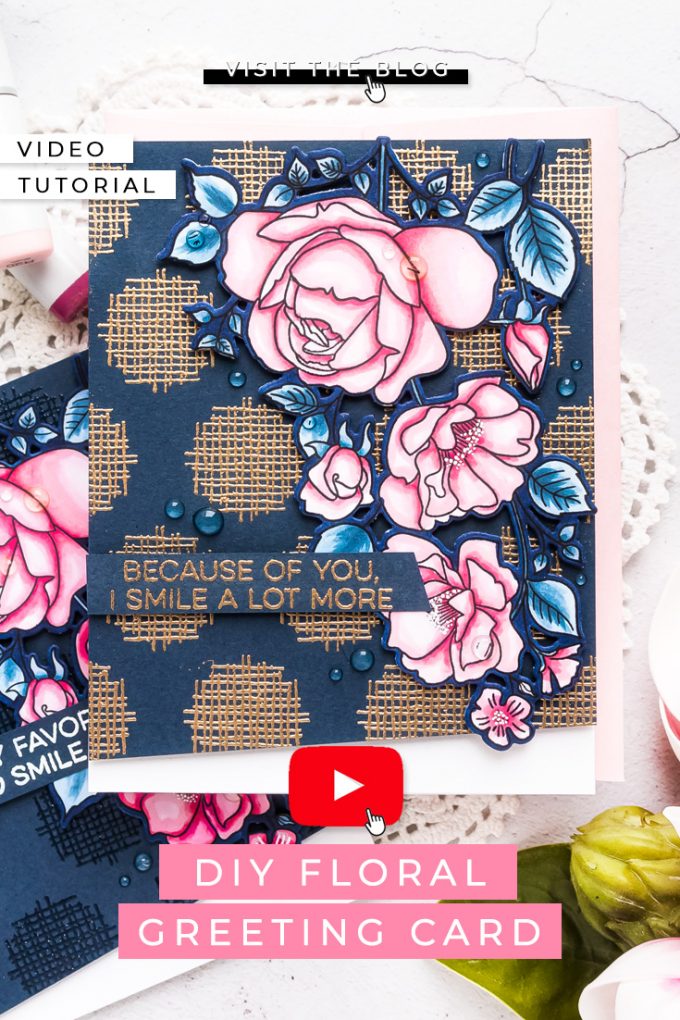
Hello, fellow stampers! In this video, I will show you how to create a beautiful floral card with lots of drama featuring Copic coloring, colored cardstock, and some heat embossing.
Did you know that Pantone’s color of the year for 2020 is blue? It is one of my favorite colors in everything and it is the color I use very often for my card making. Today’s project uses dark blue for the background of our card as well as for some of the coloring.
Like this project? Pin it and save for later | Curious about my project photography? Click for details.
VIDEO TUTORIAL
Watch the video below or on my Youtube channel.
Like this video? Please give it a big thumbs up (you can do this on Youtube video page right under the video) and share it with a crafty friend! Leave me a comment too, I love hearing from you!
CARD DETAILS
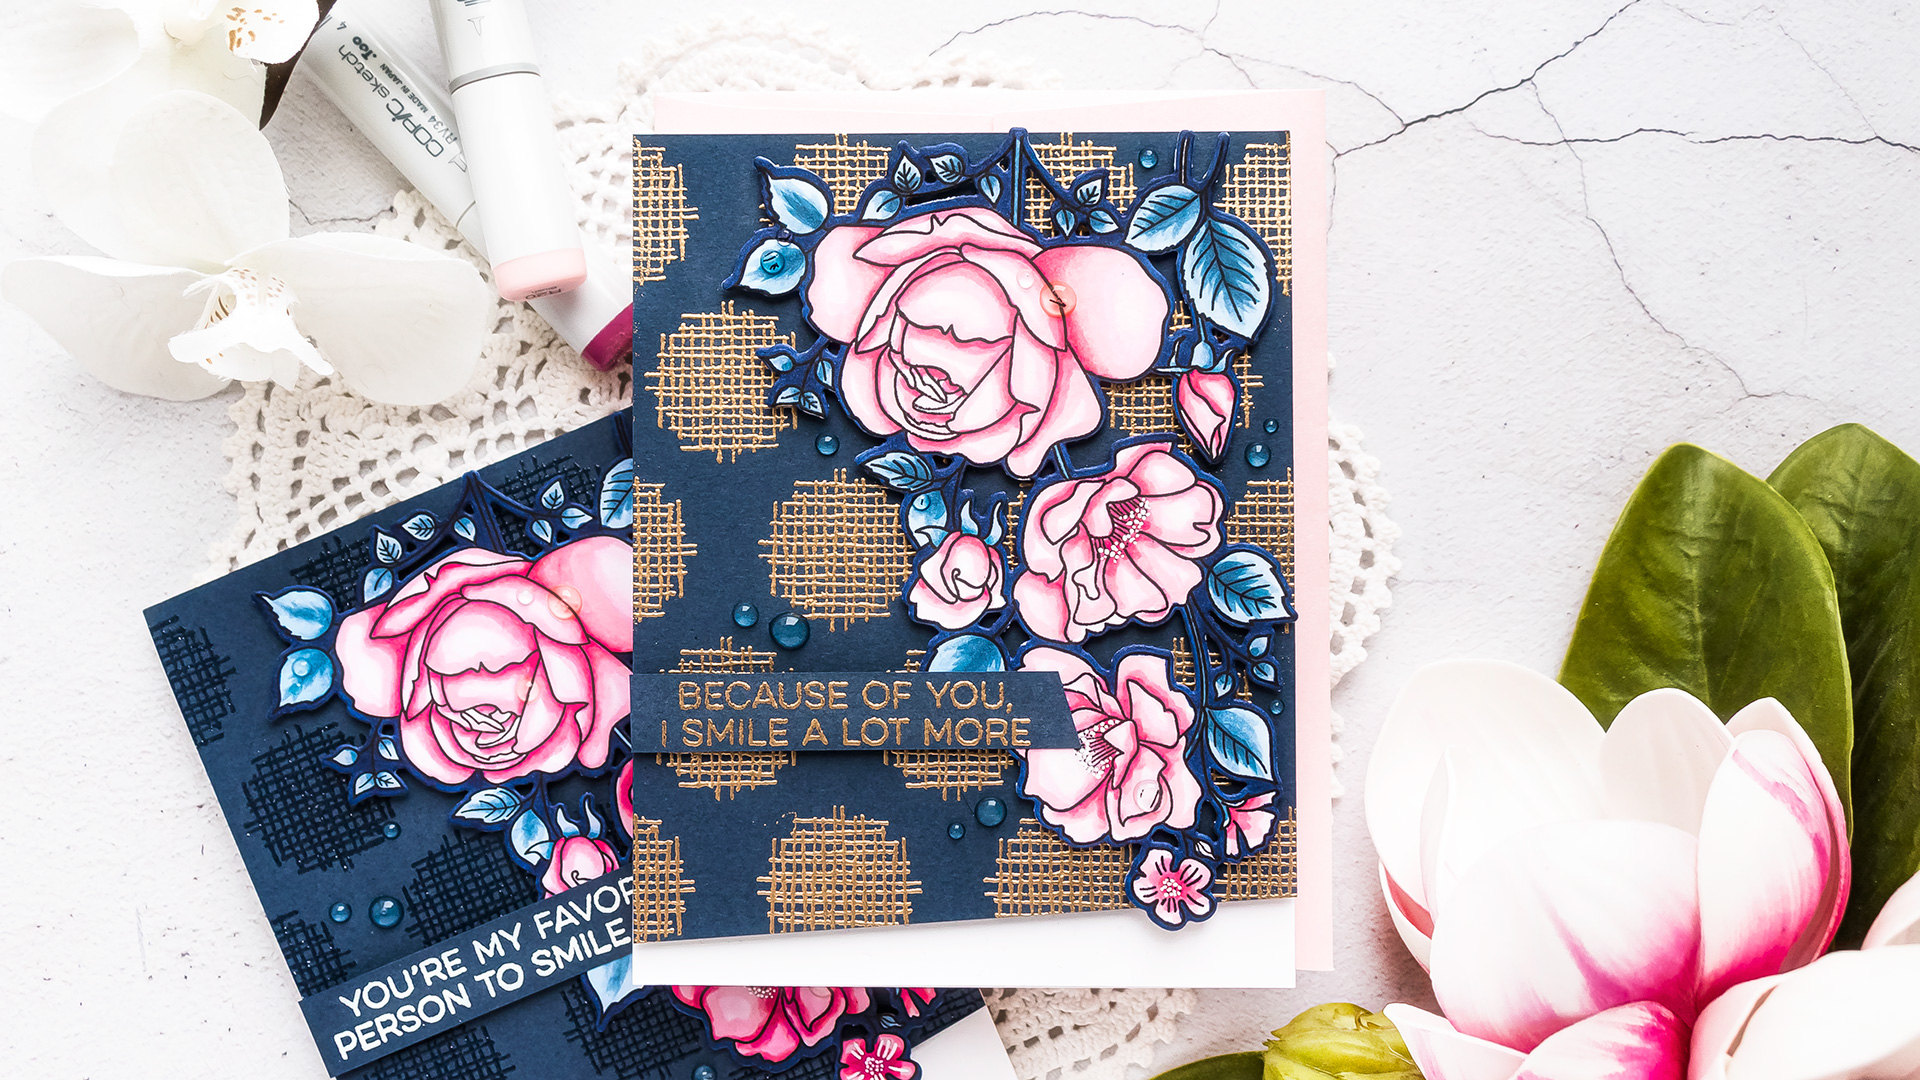
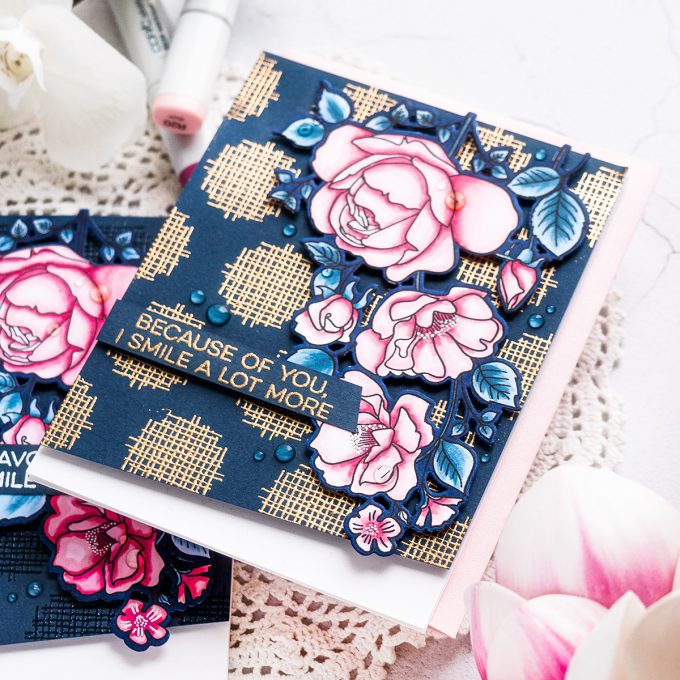
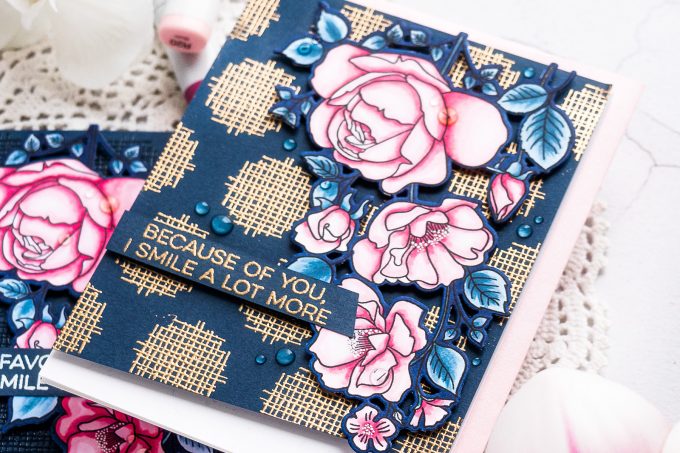
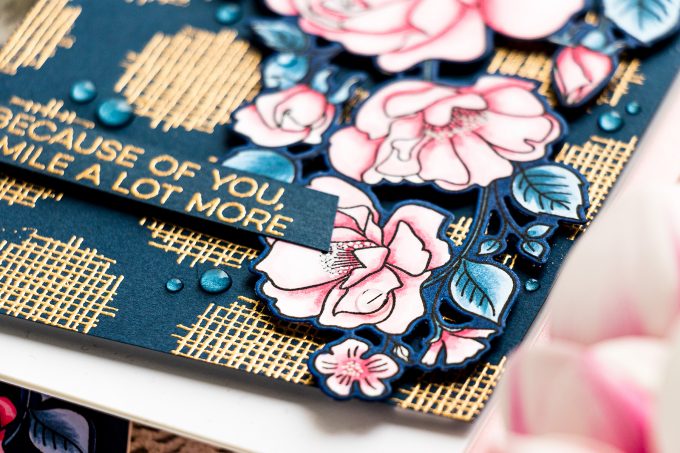
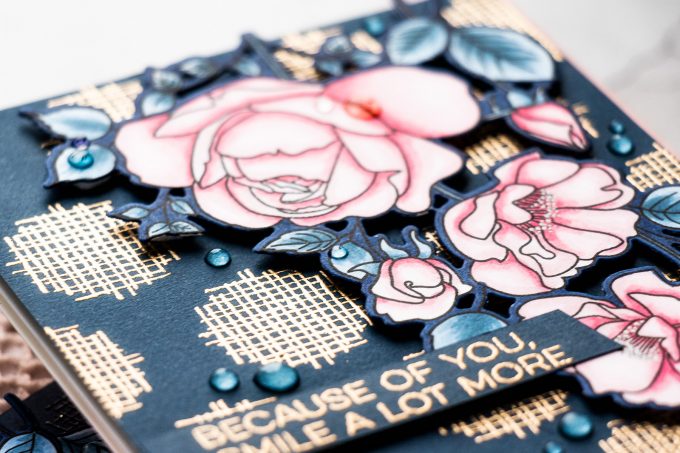
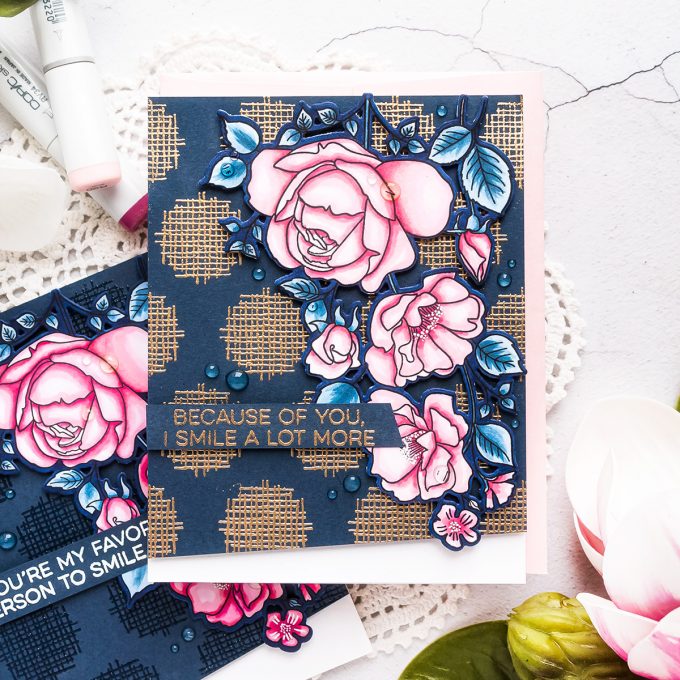
I started to work on my card by stamping the beautiful floral cluster from the Rose Garden stamp set in Copic marker friendly ink on white cardstock using my mini MISTI stamp tool. I love how delicate this image is and I also love the corner placement of this cluster. It works well on the center of the card, but can also be placed in either of the corners for added interest.
I often like to color with Copic markers as I find this medium to be a quick way to color. I don’t always have a ton of time when making cards, so I often look for something that isn’t too time-consuming and I find that coloring with Copics goes pretty quick for me. Of course, you can take all the time in the world when coloring with this coloring medium and really go all out, I simply prefer quick and simple coloring.
I’ve started coloring this image by coloring leaves. I have been doing green leaves a lot lately, for this card I decided to step outside the norm and pick a different color for the leaves – blue. I knew I’d be using a blue background for this card, so I wanted the leaves to coordinate in color with the background, so using blue seemed like a good choice. I used B97, darkest blue, B34 medium blue and B21 lightest blue to color all of the leaves of this stunning cluster.
I added strokes with my marker and details to the leaves where there was no detail and also followed the stamped detail on those leaves where the detail was stamped.
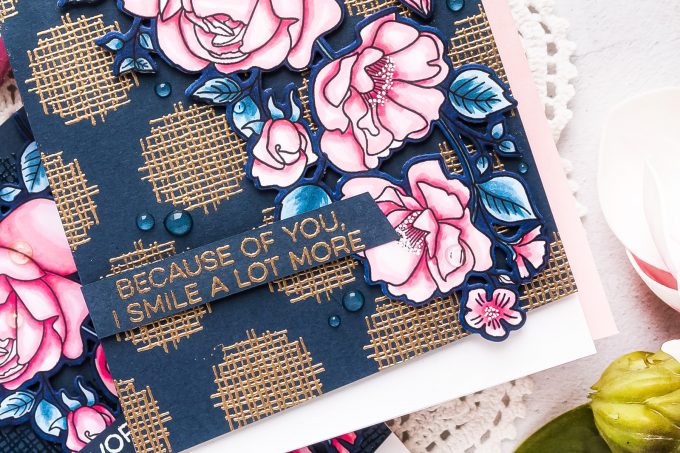
With the leaves colored I moved to color the flowers. For this, I decided to use soft pinks and used RV14, darkest pink, RV13, medium pink, RV11 another medium pink, RV10 – light pink and RV00 another light pink. I also introduced an RV09 marker to some of the flowers on another card I made with this stamp set just to provide variety to the floral cluster. I used my markers to outline each petal and colored it so that it looked somewhat dimensional and a bit curled.
I used a coordinating die available separately to cut this cluster out, this gave me a slight white border around the colored image. I typically don’t like the have a white border to my die cuts when I plan to place them on a dark background, so I remove that background so to speak with the help of a marker that matches the color of the background. I knew my background was going to be blue, so I picked a dark blue marker from my stash to color this white outline – B39 marker.
Carefully and slowly I colored the white outline outside the black stamped lines with this blue marker. I have shared other videos featuring this technique and at first, it always looks really weird, it looks as if I ruined the piece, but once I finish coloring and once I add the die-cut to the background – everything falls into place and looks cohesive. I encourage you to give this a try. Using dark colors like this blue helps add a lot of definition and drama to your projects and it helps them stand out. It is very unusual and instantly catches the eye of the viewer.
To create a background for this card I went used another product from MFT – the Crosshatch Polkadot 6×6 background. For this card, I heat embossed it in gold embossing powder. I used my paper trimmer and cut the background at a slight angle, I call this a modern cut and the idea is to have it cover an A2 white card base and thus have a bit of white show of the bottom.
To create a sentiment for this card I used the Smile Maker stamp set and heat embossed sentiments in Gold embossing powders to match the heat embossing on the background. I heat set the powder to melt it and cut the sentiment strip to a smaller size as well as made an angle cut on the right-hand side to match that angle cut on the background.
I used foam adhesive tape to adhere the background to the card base – whenever I can, I always love to add dimension to my cards and I love to pop separate layers up. Next, I used foam adhesive squares and foam mounted the floral cluster over the background placing it in the top right-hand side corner. In the same way, I added the sentiment strip overcalling the background and part of the floral cluster.
I also used a white Sakura pen to color the flower centers white and lastly, I embellished my cards with clear dots using Nuvo Drops in Morning Dew.
SUPPLIES
I’m listing the products I used below. Click on the link to go directly to the product. Where available I use compensated affiliate links which means if you make a purchase I receive a small commission at no extra cost to you. Thank you so much for your support!
 My Favorite Things Rose Garden Clear Stamps Shop at: SSS | MFT |
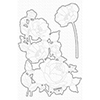 My Favorite Things Rose Garden Die-namics Shop at: SSS | MFT |
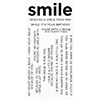 My Favorite Things Smile Maker Clear Stamps Shop at: SSS | MFT |
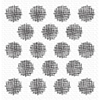 My Favorite Things Crosshatch Polka Dot Background Shop at: SSS | MFT |
 Neenah 110 Lb Solar White Cardstock Shop at: SSS | AZ |
 Simon Says Stamp Soft Navy Cardstock Shop at: SSS |
 Hero Arts Clear Embossing & Watermark Ink Shop at: SSS | SC | HA | AZ |
 Mini Misti Stamping Tool Shop at: SSS | SC | HA | AZ |
 Hero Arts Gold Embossing Powder PW100 Shop at: SSS | SC | HA | AZ |
 Hero Arts Heat Embossing Gun Shop at: SSS | SC | HA | AZ |
 EK Success Powder Tool Applicator Shop at: SSS | SC | AZ |
 Memento Tuxedo Black Ink Pad Shop at: SSS | SC | AZ |
 Spellbinders Deep Sea Die Cutting Machine Shop at: SSS | SC | SB | AZ |
 Sakura Classic White Gelly Roll Pens Set of 3 Shop at: SSS | AZ |
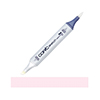 Copic Sketch Marker RV00 Water Lily Shop at: SSS | AZ |
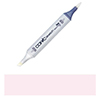 Copic Sketch Marker RV10 Pale Pink Shop at: SSS | AZ |
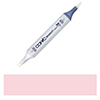 Copic Sketch Marker RV11 Pink Shop at: SSS | AZ |
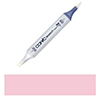 Copic Sketch Marker RV13 Tender Pink Shop at: SSS | AZ |
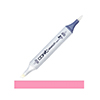 Copic Sketch Marker RV14 Begonia Pink Shop at: SSS | AZ |
 Copic Sketch Marker RV09 Fuchsia Shop at: SSS | AZ |
 Copic Sketch Marker B39 Prussian Blue Shop at: SSS | AZ |
 Copic Sketch Marker B97 Night Blue Shop at: SSS | AZ |
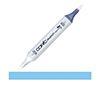 Copic Sketch Marker B34 Manganese Blue Shop at: SSS | AZ |
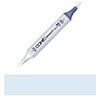 Copic Sketch Marker B21 Baby Blue Shop at: SSS | AZ |
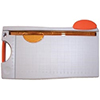 Tonic Studios 8.5 Inch Paper Trimmer Shop at: SSS | SC | AZ | TS USA |
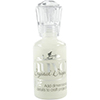 Tonic Morning Dew Nuvo Crystal Drops Shop at: SSS | SC | AZ | TS USA |
 Simon Says Stamp Big Momma Foam Tape Roll Shop at: SSS |
 White Foam Squares Shop at: SSS | SC | SB | AZ |
 FSJ Grid Paper Shop at: SB |


Love the clear EB card.
thank you, Nancy! I think I prefer the clear one as well.
Love your card, beautiful work.
thank you, Sue!