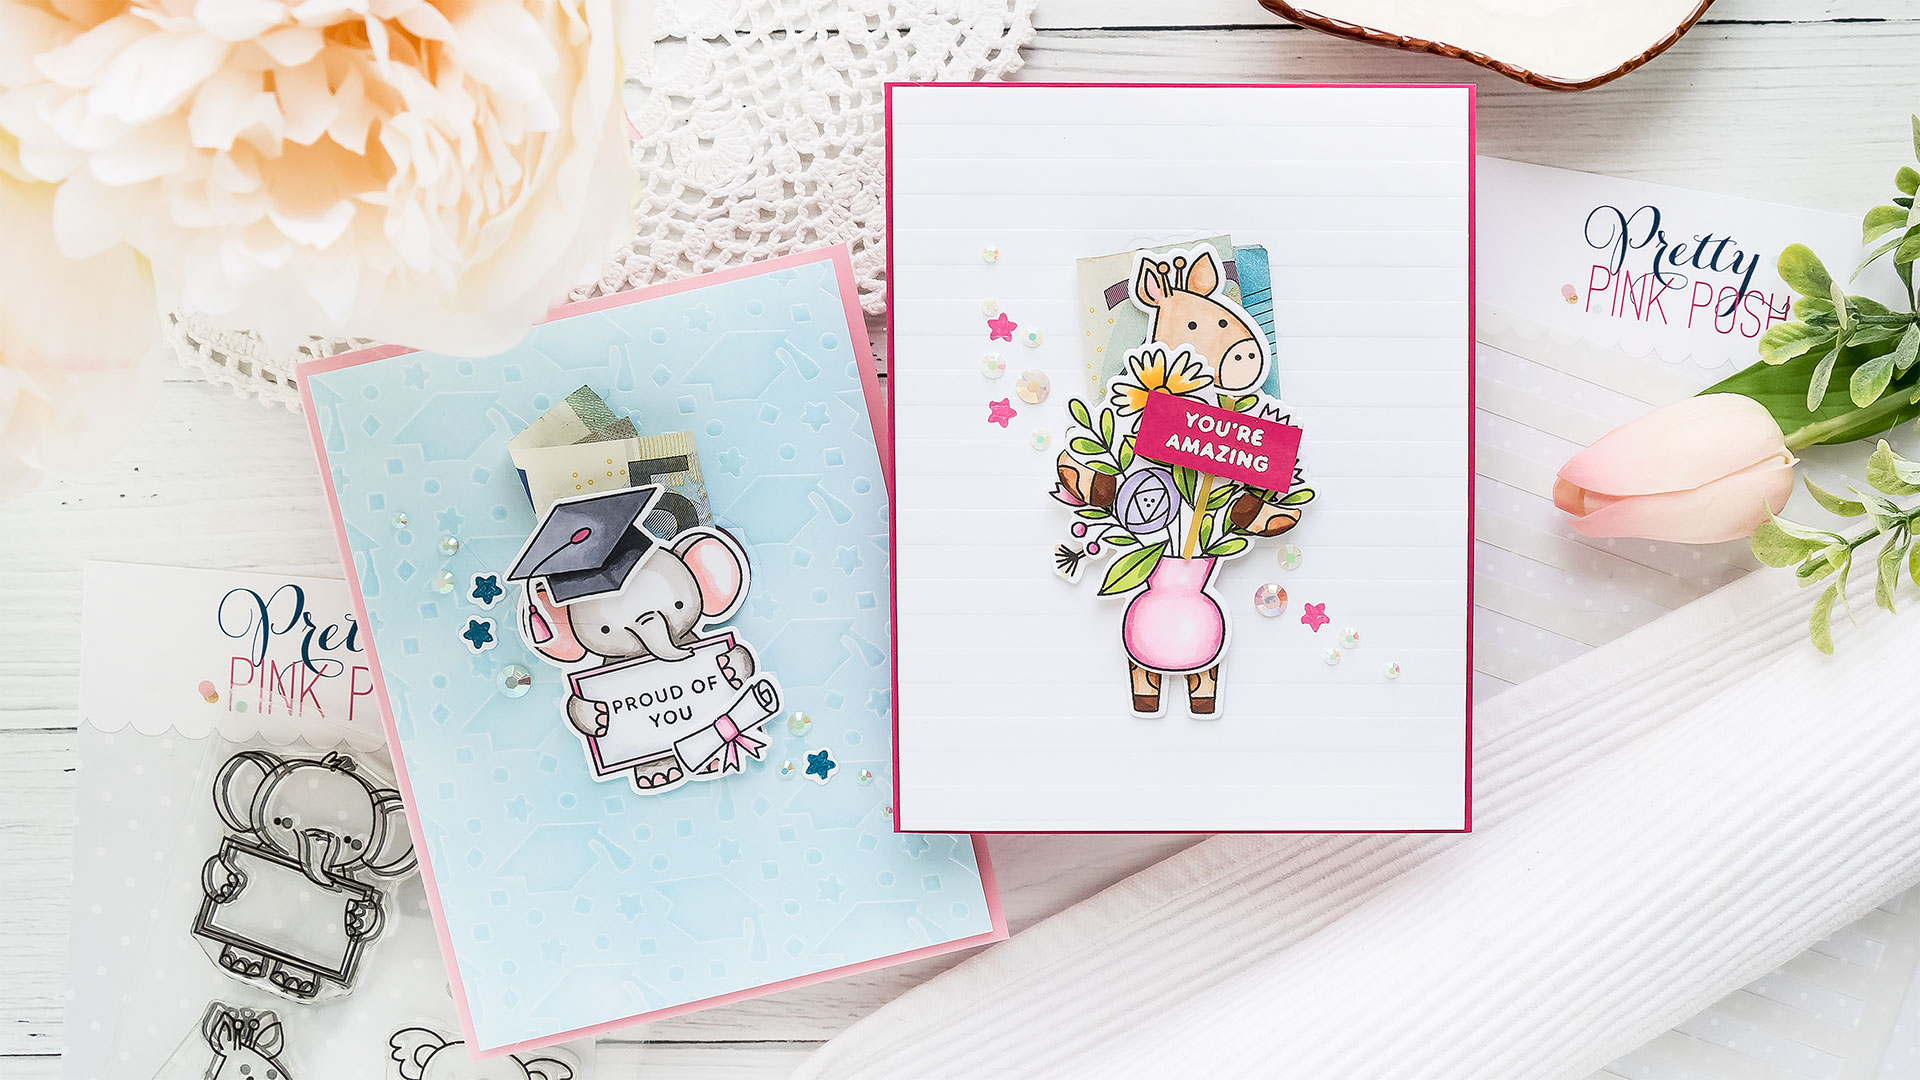
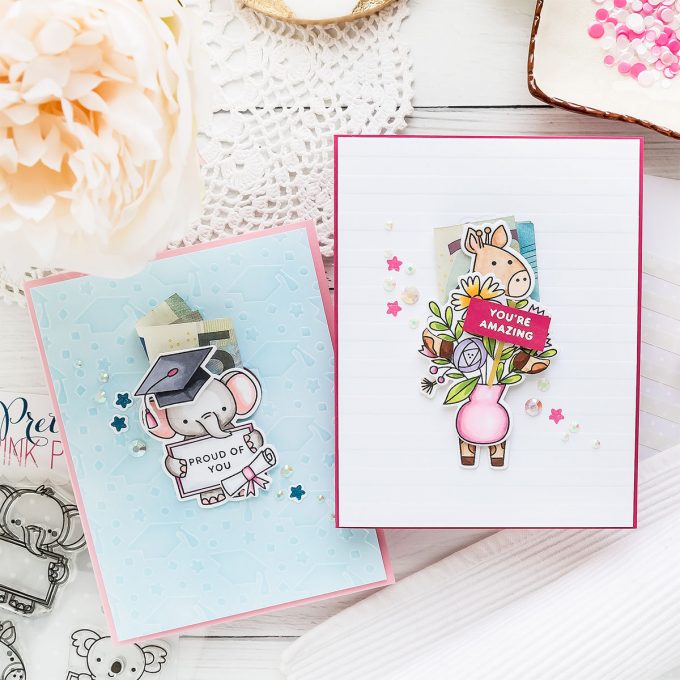
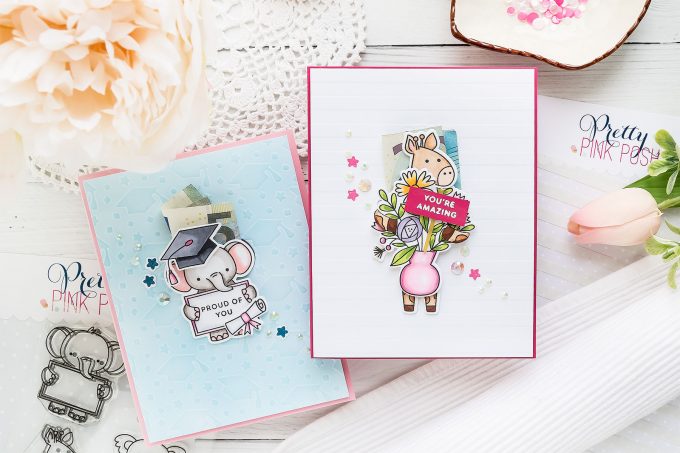
Hello, stampers! In this video, I’m sharing a very easy method to create money holder greeting cards. You won’t need any specialty dies or supplies for this type of card and you should be able to create a card design like this using most of your stamps and coordinating dies.
Like this project? Pin it and save for later | Curious about my project photography? Click for details.
VIDEO TUTORIAL
As always, I filmed a video tutorial showing how to create this project from start to finish. I’m hoping you’ll enjoy it. Watch it below or on my Youtube channel.
Like this video? Please give it a big thumbs up (you can do this on Youtube video page right under the video) and share with a crafty friend! Leave me a comment too, I love hearing from you!
CARD DETAILS
I started by stamping some images in black Copic marker friendly ink onto white paper. The size of the images you pick is the only thing that matters as you’ll want to use something that’s big enough to hide a folded bill behind it. So a small critter stamp, for example, is not going to work. But a cute giraffe, like the one I’m using here and also a gorgeous floral arrangement will. Both of these images are from Pretty Pink Posh and come from Animal Signs and Mother’s Day stamp sets respectively.
Next, I quickly colored these using Copic markers. Nothing fancy, just some quick strokes of color to bring these images to life. I used YG03, YG17, RV34, RV11, RV10, Y11, Y35, Y17, BV11, BV00, and BV000 markers. To color the giraffe I used E37, E33, E31, R0, and E51.
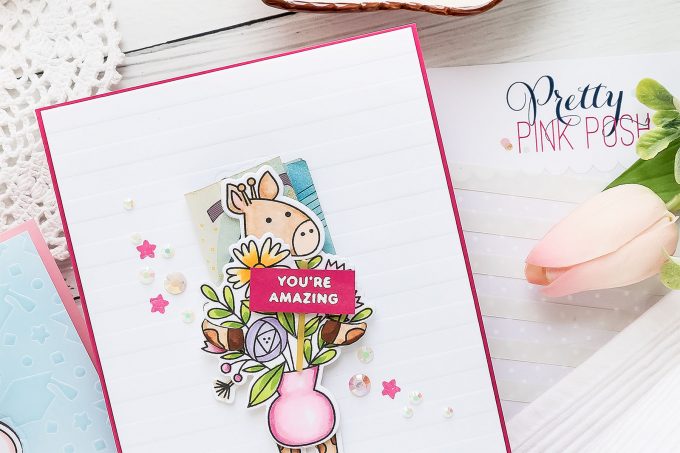
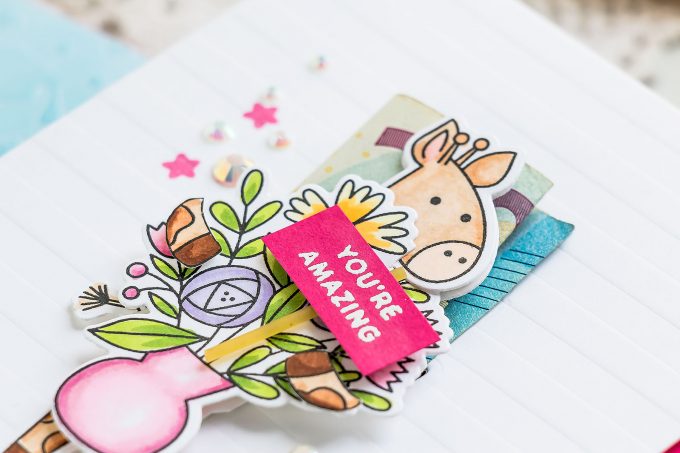
I wanted to combine these two images and have my critter holding a floral bouquet and not the frame. I did some fussy cutting to eliminate the image parts I didn’t need and using foam adhesive squares I foam mounted the flowers onto my critter, added front legs and the tail. Super cute! and it wasn’t hard to do at all.
Next, I’ve done some partial die cutting using a coordinating die. To make the partial cut I only covered the part of the die that I wanted to cut into the paper and left the other part of the die free. This allowed me to do partial die cutting and only die cut the top part of my giraffe.
I also wanted to add some dry embossing to the background. I used a new Wide Stripes stencil and dry embossed on the background. I love the result! It looks very clear and simple, yet there’s pretty linear texture in the background!
I trimmed this panel down to 4” x 5 1/4”, I also made an A2 card base using hot pink cardstock. I folded the money bill and inserted it into the partially die cut panel. Next, I added foam adhesive around it making sure not to touch it. I wanted to block the bottom part of the panel so that I didn’t have stuff falling down into the card and making it impossible to get it out.
I also used my anti-static powder tool to eliminate any of the residual stickiness on the foam tape so that nothing would stick to it. Once done, I adhered the panel onto a card base, foam mounted the critter, added the bill and dressed up this card using pink stamped stars and white jewels.
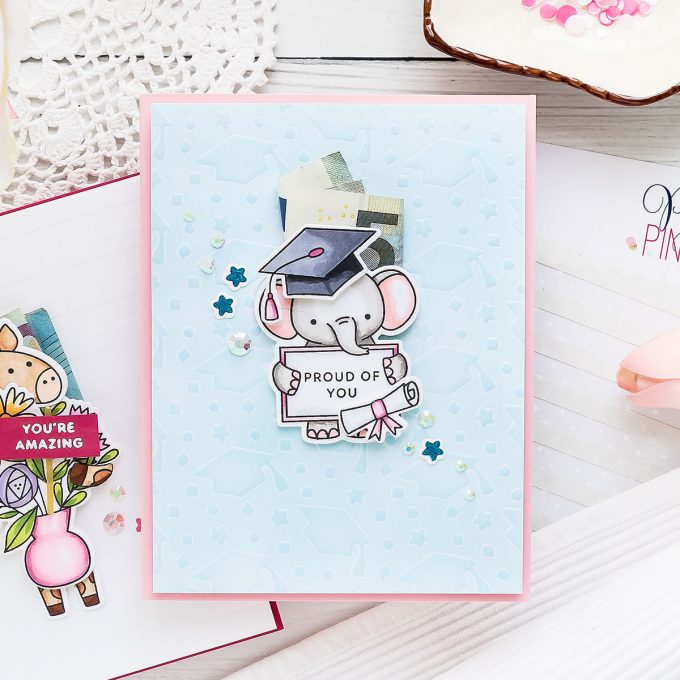
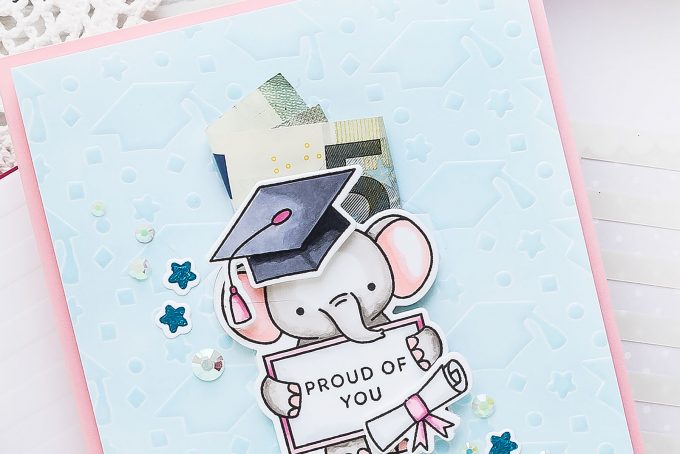
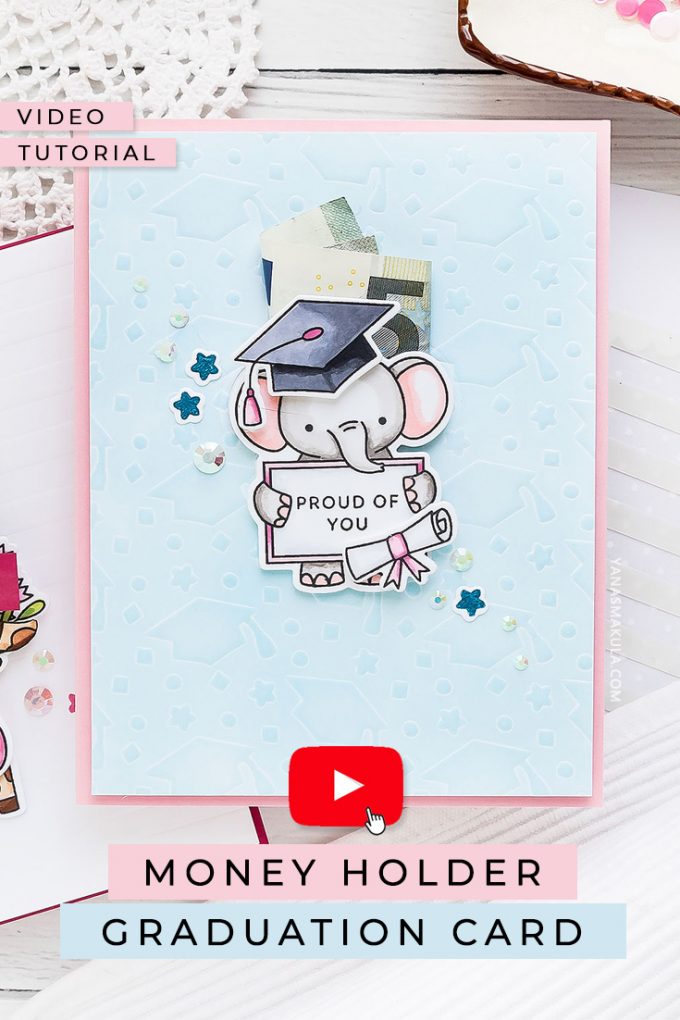
I also made one more card to share, this one is for Graduation and it uses the same concept and almost the same supplies. I used a different stencil for the background, Graduation, and blended some pastels over it to give it some color and help highlight the embossed areas.
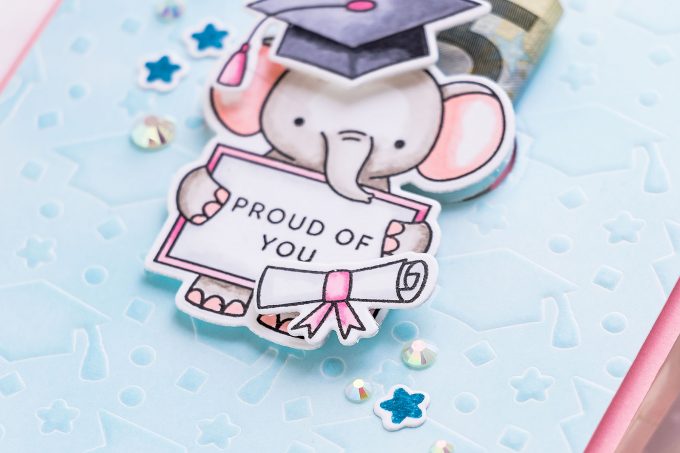
Next, I stamped, colored and cut out an adorable elephant from the Animal Signs stamp set. I used W5, W3, W1 and R20 markers. I also stamped a graduation cap and a scroll from the Congrats Grad stamp set and colored those images using Copic markers as well. I used RV34, RV11 and RV10 colors along with C9, C7, and C5 markers.
I foam mounted this darling baby elephant onto the background matching him with the partial cut already made. Next, I added his graduation cap and a scroll using foam adhesive.
I foam mounted the entire panel onto a light pink card base and also embellished it with a few stamped & die cut stars and pretty white jewels. While the slits in these cards are relatively small you should be able to tuck any folded currency bill inside or tuck a little handwritten note if you like.
Have fun stamping!
SUPPLIES
Where available I use compensated affiliate links which means if you make a purchase I receive a small commission at no extra cost to you. Thank you so much for your support!
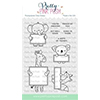 Pretty Pink Posh Animal Signs Stamp Set Shop at: SSS | PPP | AZ |
 Pretty Pink Posh Animal Signs Coordinating Dies Shop at: SSS | PPP |
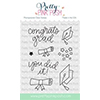 Pretty Pink Posh Congrats Grad Stamp Set Shop at: SSS | PPP |
 Pretty Pink Posh Congrats Grad Coordinating Dies Shop at: SSS | PPP |
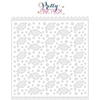 Pretty Pink Posh Graduation Stencil Shop at: SSS | PPP |
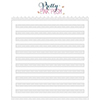 Pretty Pink Posh Wide Stripes Stencil Shop at: SSS | PPP |
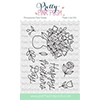 Pretty Pink Posh Mother’s Day Stamp Set Shop at: SSS | PPP | AZ |
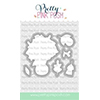 Pretty Pink Posh Mother’s Day Coordinating Dies Shop at: SSS | PPP |
 Pretty Pink Posh Pearl White Jewels Shop at: SSS | PPP |
 Simon Says Stamp Intense Black Ink Shop at: SSS |
 Spellbinders Deep Sea Die Cutting Machine Shop at: SSS | SC | SB | AZ |
 FSJ Sweet Berry Cardstock Shop at: SB |
 Neenah 110 Lb Solar White Cardstock Shop at: SSS | AZ |
 Hero Arts White Detail Embossing Powder Shop at: SSS | SC | HA | AZ |
 Hero Arts Heat Embossing Gun Shop at: SSS | SC | HA | AZ |
 FSJ Bubble Gum Cardstock Shop at: SB |
 Versamark Watermark Emboss Ink Pad Shop at: SSS | HA | AZ |
 EK Success Powder Tool Applicator Shop at: SSS | SC | AZ |
 Mini Misti Stamping Tool Shop at: SSS | SC | HA | AZ |
 Tonic Deluxe Adhesive Nuvo Glue Shop at: SSS | SC | AZ | TS |
 Crystal Ninja Crystal Katana Pick Up Tool Shop at: SSS | PPP | AZ |
 Chilled Palette Pastel Set from Making Faces by Jane Davenport Shop at: SSS | SC | SB | AZ |
 Blend In Blender Sponge Set Shop at: SSS | SB |
SAVE ME/PIN ME TO PINTEREST
Like this card idea? Be sure to save it to one of your Pinterest boards for future reference!


Soooo cute 🙂 Love these adorable sweet cards! 🙂
awww, thank you 🙂
What a great idea!! How clever of you to use spaghetti!!!!! (Thanks for the chuckle!!) I forget about dry embossing with stencils (and then I could color just what shows thru the stencil as well). Thanks, Yana!
So glad you like it, Debbie!
Yana these are truly adorable cards and a fantastic and fun way to present a cash gift. You always have such great ideas, thank you for sharing them!
Very cute gift card/money holders! Thanks for the video.
Great idea. Unique. Love it.