Hello, friends. Welcome back for another My Favorite Things tutorial. In this video, I’ll show you how to stamp 3 Autumn cards using the MFT Autumn Blessing stamp set. The cards we will be making are clean, simple to make, and perfect to send to a crafty friend or family member, or just to make for yourself during the Fall season.
Like this project? Pin it and save for later | Curious about my project photography? Click for details.
VIDEO TUTORIAL
Watch the video below or on my Youtube channel.
Like this video? Please give it a big thumbs up (you can do this on Youtube video page right under the video) and share it with a crafty friend! Leave me a comment too, I love hearing from you!
CARD DETAILS
I started by stamping several images from the Autumn Blessings stamp set in Copic marker friendly ink that is also waterproof, if you are used to using Memento ink for your Copic coloring, this ink will not work here as it will smear during the last step. Look for something that is also waterproof. Like the Intense Black ink, for example.
Next, color the images with Copic markers. I used the following colors: R39, R35, R24, R22, Y15, YR15, YR18, YG01, YG03, YG94, YG00, YG01, YG03, Y11, Y15, Y17, YG13, and YG25. Cut these leaves out using coordinating dies.
FALL WREATH CARD
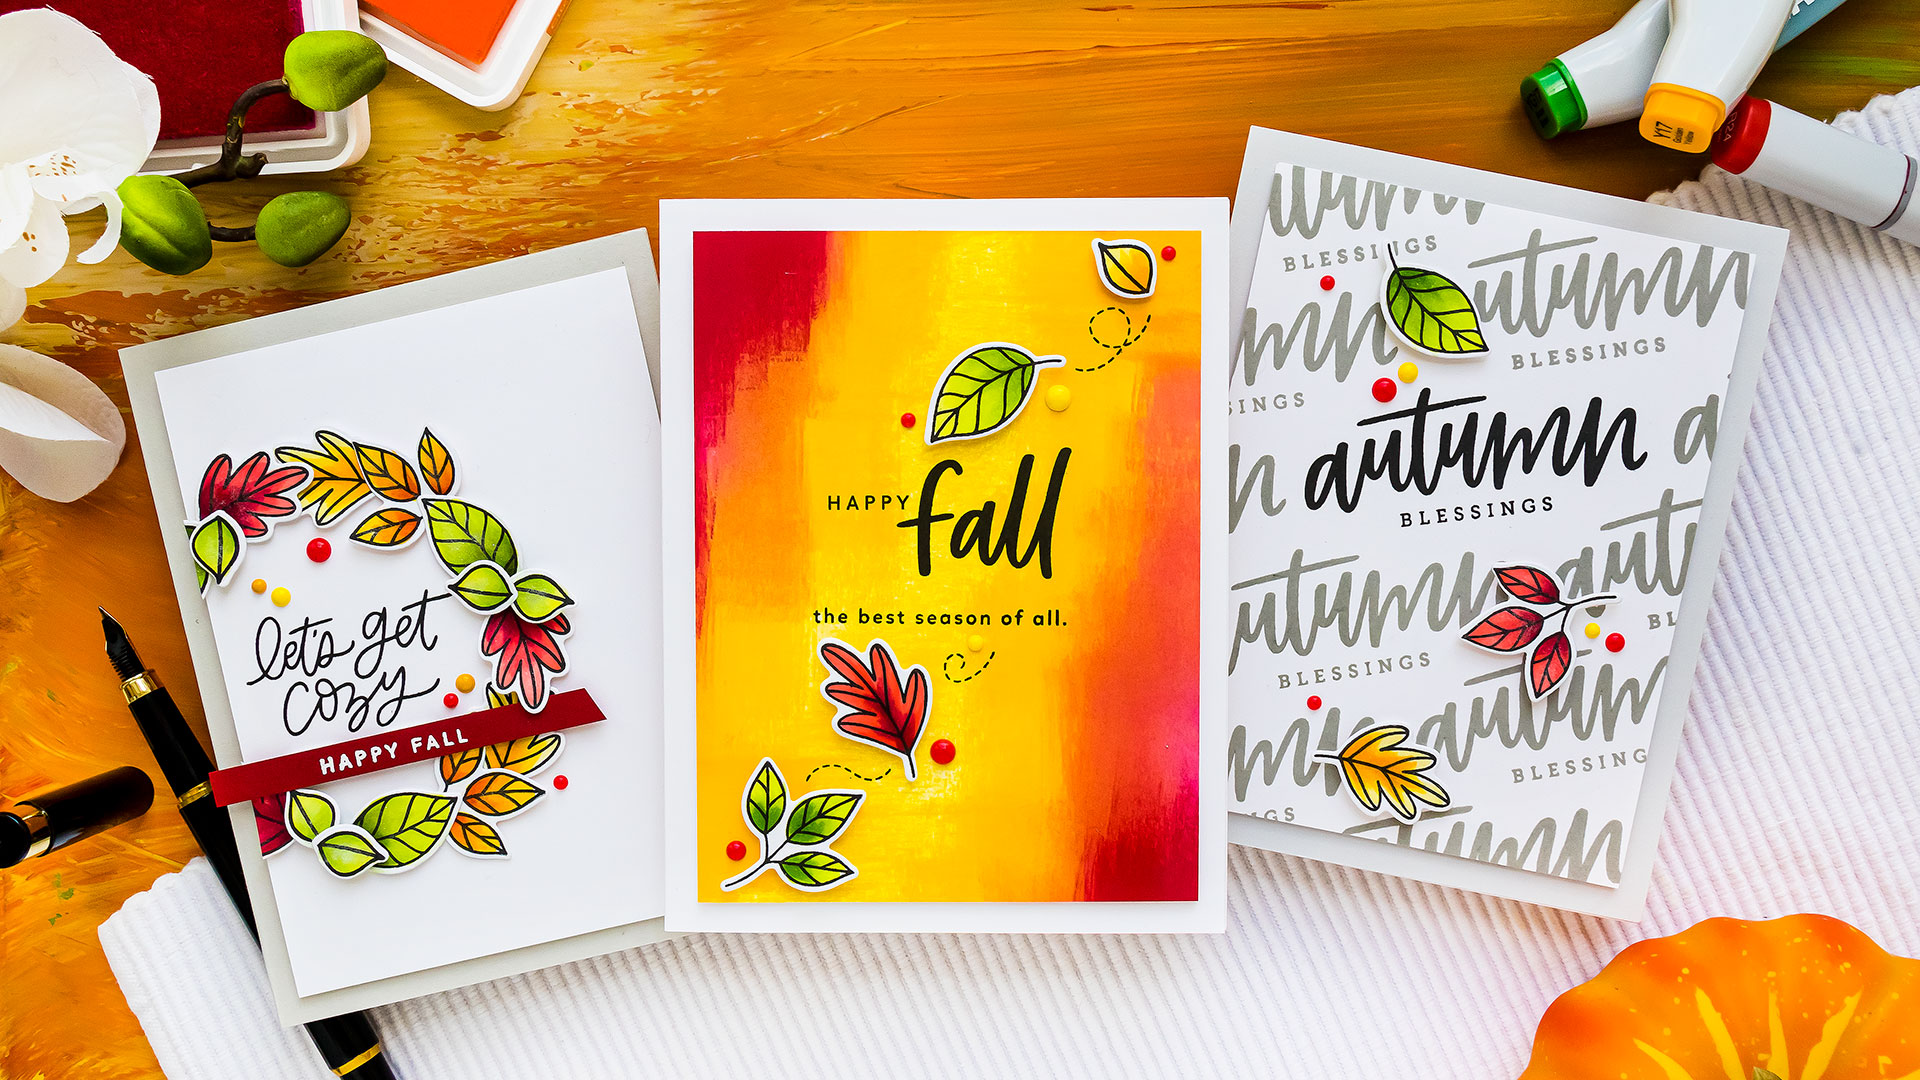
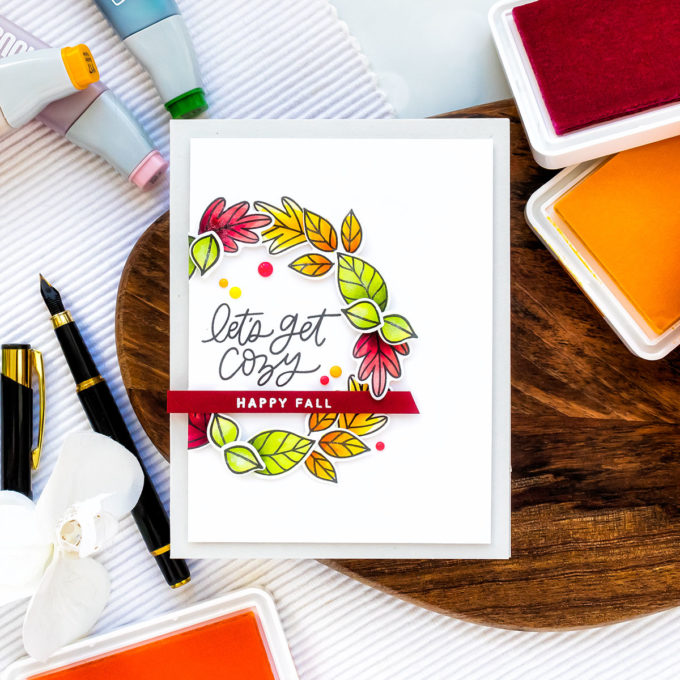
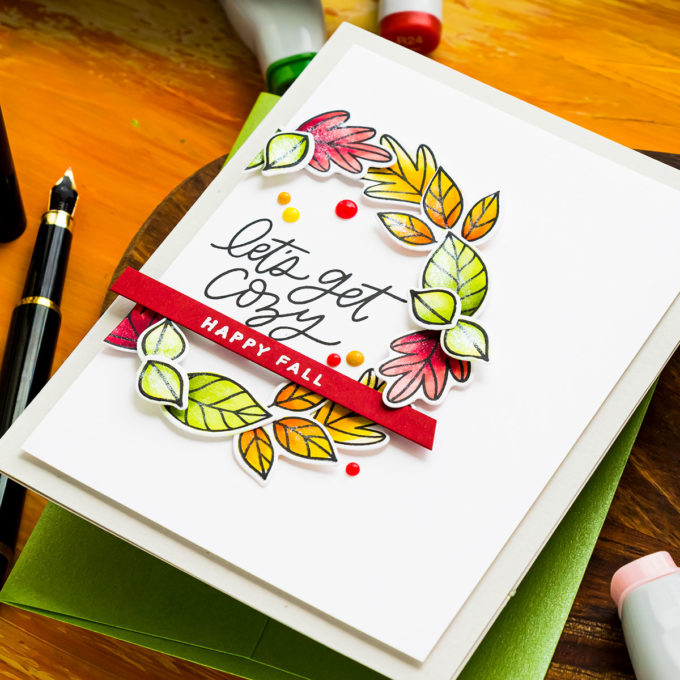
I created a partial wreath for this card (I struggled a LOT with this design). I stamped Let’s Get cozy sentiment in black ink using my Mini MISTI stamping tool, I stamped this onto a white panel that measures 3 3/4 x 5” and adhered the wreath onto the panel using glue. I like this off the center design a lot, it is more modern I think.
I cut the excess wreath off and foam mounted the panel onto the A2 light gray card base. I also white heat embossed “Happy Fall” sentiment onto a piece a red cardstock, cut that to a skinny strip, and foam mounted onto the card. I made an angled cut on one end and the other end of the strip went outside the top panel and onto the edge of the card. I also later added a few enamel dots in various shades of yellow and red. I used a shimmer pen from Tonic Studios and added shimmer onto the leaves. This is where it is important to use the waterproof ink for your stamping as these shimmer pens are waterbased.
AUTUMN BLESSINGS PATTERN
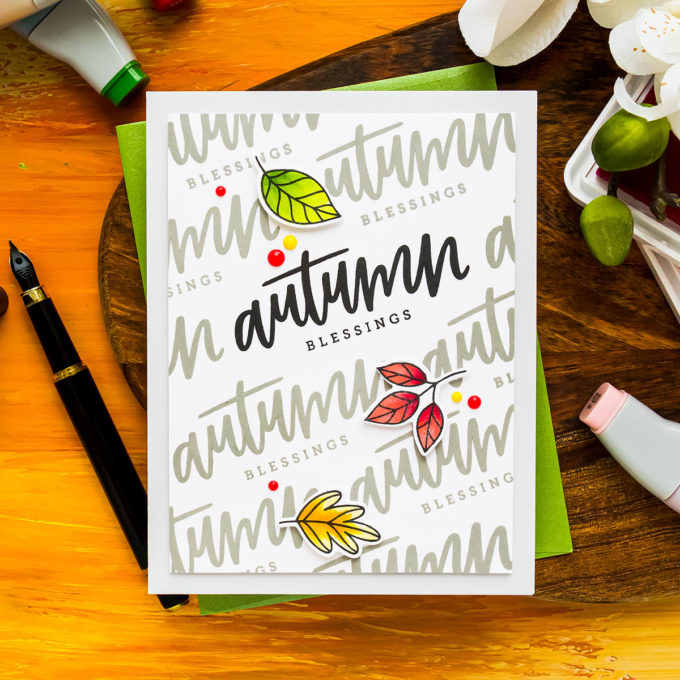
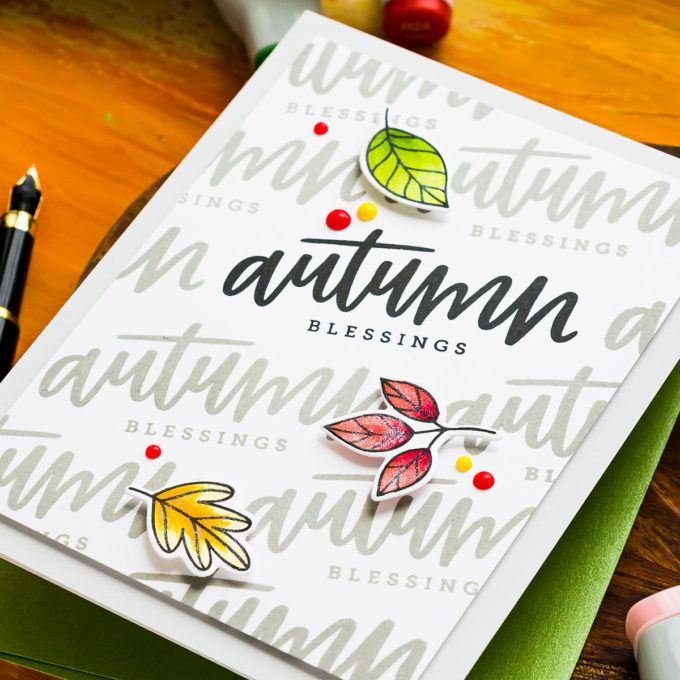
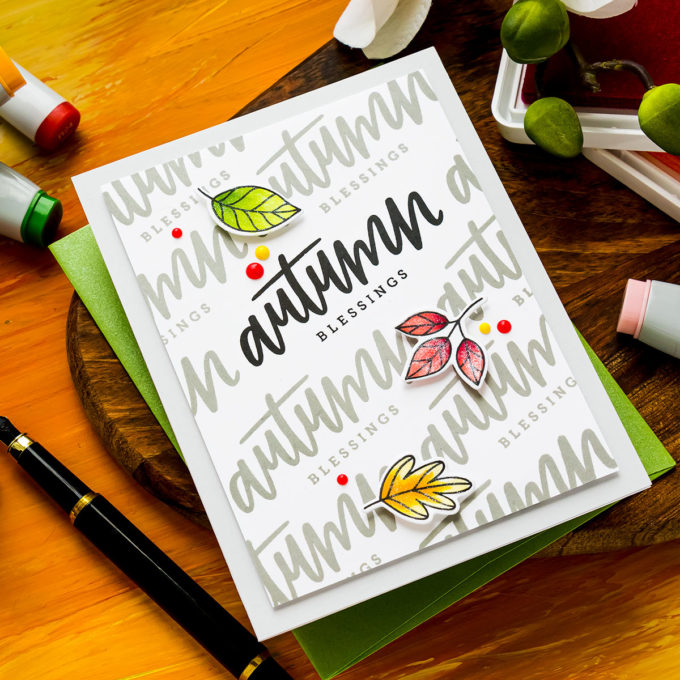
For my 2d card, I wanted to do some good old pattern stamping using a sentiment stamp. I picked one the reads Autumn blessings and stamped it at an angle using black ink onto a panel of white cardstock measuring 3 3/4 x 5”. The main sentiment was stamped in black, but for the rest of the sentiments and also the rest of the pattern I picked a light gray ink.
Next, I stamped several leaves for this card using the same waterproof and Copic marker friendly ink, I colored the images with Copic markers, I used the same colors I’ve already mentioned and I cut the leaves out with coordinating dies. The background sentiment pattern catches all the attention on this card and the leaves just add a perfect pop of color to this Fall card.
I used foam adhesive squares and foam mounted the leaves scattering them on the background. I foam mounted it onto an A2 light gray card base and added several enamel dots in yellow and red. Just a few dots here and there and that finished this card.
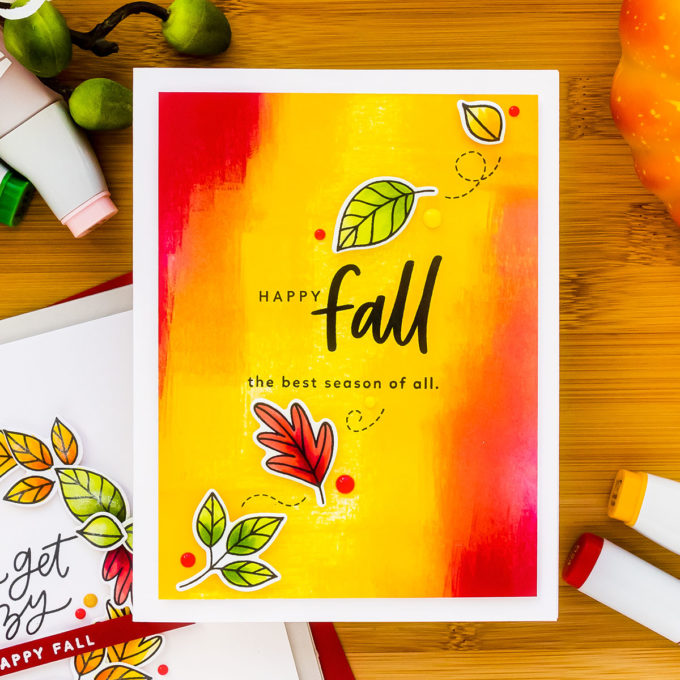
ABSTRACT INKED BACKGROUND FALL CARD
For my last card, I thought I would make a colorful background and scatter a few leaves around it as if they are falling and swirling in the wind. I pulled out my ink pads with various shades of yellow, orange, pink, and red colors and I used my abstract ink background technique to create a background. This basically is a form of direct to paper ink application where you take the ink pad and swipe it on the paper to get the ink to transfer from the ink pad onto the surface you are working on. I swipe my ink pads in various directions creating a unique one of kind inked backgrounds. You can ink blend a background using yellow, red, and orange inks, I find this method of swiping the ink pads to work a lot easier and faster when creating the background.
I let my background sit for a few minutes to allow the ink to dry. Once my background was dry I took it to my mini MISTI and stamped a sentiment that reads “Hello Fall, The Best Season Of All”. I actually did some stamp surgery to stamp this custom message, but it is easy to cut clear stamps apart as you can always put them back together the way they were.
I also stamped, colored, and die cut a few leaves foam mounted them in place using foam adhesive squares.
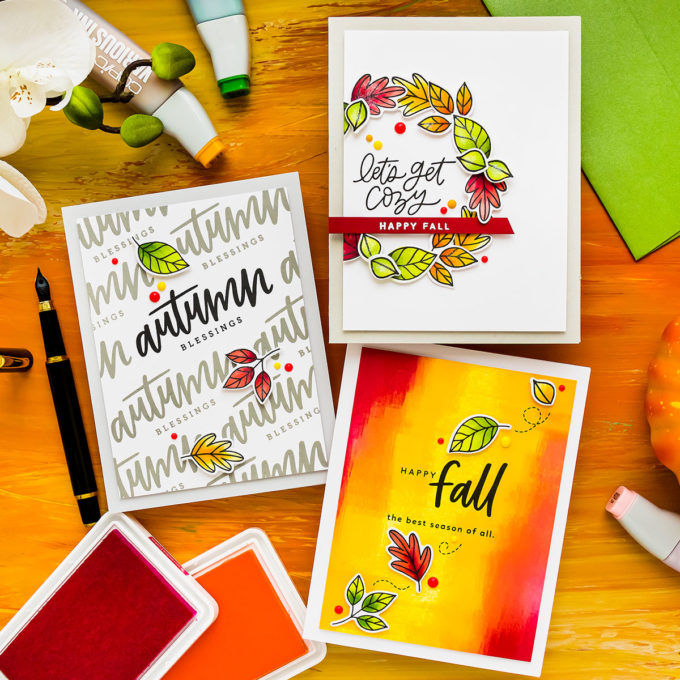
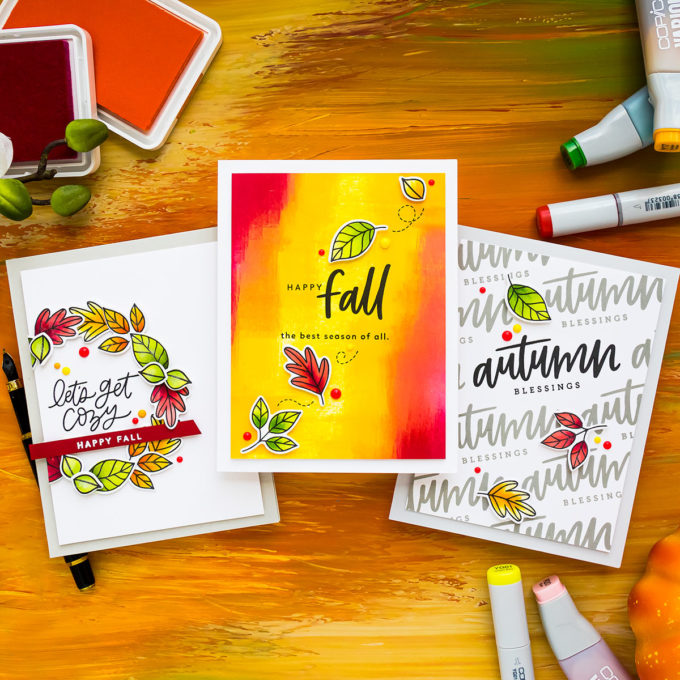
So here’s a look at all of the Fall cards I have for you today created with the MFT Autumn Blessings stamp set. I had a blast making these and I hope you picked up a few tips and tricks in my video and will give these ideas a go yourself!
Have fun stamping!
SUPPLIES
I’m listing the products I used below. Click on the link to go directly to the product. Where available I use compensated affiliate links which means if you make a purchase I receive a small commission at no extra cost to you. Thank you so much for your support!
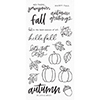 My Favorite Things Autumn Blessings Shop at: SSS | MFT |
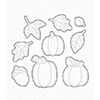 My Favorite Things Autumn Blessings Dies Shop at: SSS | MFT |
 My Favorite Things Hanging With My Gnomies Shop at: SSS | MFT |
 Spellbinders Platinum 6 Die Cutting Machine Shop at: SSS | SC | SB | AZ |
 Neenah 110 Lb Solar White Cardstock Shop at: SSS | AZ |
 Neenah 80LB Solar White Cardstock Shop at: SSS | AZ |
 Simon Says Stamp Schoolhouse Red Cardstock Shop at: SSS |
 FSJ Tin Pail 8.5×11 Cardstock Shop at: SB |
 Hero Arts CH328 Sunset Hero Hues Enamel Dots Shop at: SSS | SC | HA |
 Hero Arts Misti Mini Black Shop at: SSS | SC | HA |
 Mini Misti Stamping Tool Shop at: SSS | SC | HA | AZ |
 Hero Arts Misti Regular Black Shop at: SSS | SC | HA |
 Misti Stamping Tool Shop at: SSS | SC | HA | BL | AZ |
 Tsukineko VersaFine Onyx Black Ink Shop at: SSS | SC | AZ |
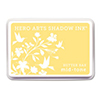 Hero Arts Butter Bar Ink Pad Shop at: SSS | SC | HA | AZ |
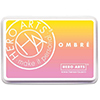 Hero Arts Ombre Spring Brights Ink Pad Shop at: SSS | SC | HA | AZ |
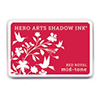 Hero Arts Red Royal Ink Pad Shop at: SSS | SC | HA | AZ |
 Hero Arts Ink Pad Intens-ified Black Shop at: SSS | SC | HA |
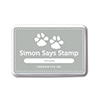 Simon Says Stamp Smoke Gray Ink Pad Shop at: SSS |
 Simon Says Stamp Embossing Powder White Fine Detail Shop at: SSS |
 Simon Says Stamp Embossing Ink Pad Shop at: SSS |
 EK Success Powder Tool Applicator Shop at: SSS | SC | AZ |
 FSJ Bloom Palette Paint Palette (2 Pack) Shop at: SB |
 Hero Arts Heat Embossing Gun Shop at: SSS | SC | HA | AZ |
 Copic Sketch Marker Y11 Pale Yellow Shop at: SSS | BL | AZ |
 Copic Sketch Marker Y15 Cadmium Yellow Shop at: SSS | BL | AZ |
 Copic Sketch Marker YR15 Pumpkin Yellow Shop at: SSS | BL |
 Copic Sketch Marker YR18 Sanguine Shop at: SSS | BL |
 Copic Sketch Marker R22 Light Prawn Shop at: SSS | BL | AZ |
 Copic Sketch Marker R24 Prawn Shop at: SSS | BL | AZ |
 Copic Sketch Marker R39 Garnet Shop at: SSS | BL | AZ |
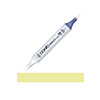 Copic Sketch Marker YG00 Mimosa Yellow Shop at: SSS | BL | AZ |
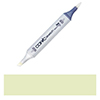 Copic Sketch Marker YG01 Green Bice Shop at: SSS | BL |
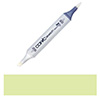 Copic Sketch Marker YG03 Yellow Green Shop at: SSS | BL | AZ |
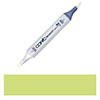 Copic Sketch Marker YG25 Celadon Green Shop at: SSS | BL |
 Copic Sketch Marker YG13 Chartreuse Green Shop at: SSS | BL |
 Copic Sketch Marker G94 Grayish Olive Shop at: SSS | BL | AZ | MFT |
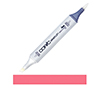 Copic Sketch Marker R35 Coral Shop at: SSS | BL |
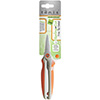 Tonic Spring-cut Fine Tip Detail Scissors Shop at: SSS | AZ | TS |
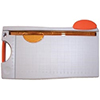 Tonic Studios 8.5 Inch Paper Trimmer Shop at: SSS | SC | AZ | TS |
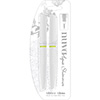 Tonic Aqua Shimmer Pen Nuvo Shop at: SSS | SC | AZ | TS |
 Sakura Classic White Gelly Roll Pens Set of 3 Shop at: SSS | SC | BL | AZ |
 Simon Says Stamp Craft Tacky Glue Shop at: SSS |
 White Foam Squares Shop at: SSS | SC | SB | AZ |



Great cards. Thank you.
Loved the fall cards, one of my favorite times of the year. The techniques you showed were wonderful.
These are Gorgeous cards!!! The colors are what I enjoy most about Fall and you captured them!!!