Hello, crafters! In this video, I’m showing how to make Hidden Panel cards for Father’s Day using stamps & coordinating dies! No specialty dies are used for this!
I chose to use an adorable Animal Signs stamp set from Pretty Pink Posh from April 2019 release. I’m also using a couple of other new products from Pretty Pink Posh today (all listed below).
Like this project? Pin it and save for later | Curious about my project photography? Click for details.
VIDEO TUTORIAL
Watch my video tutorial below or on Youtube to learn how I made the cards I’m sharing today.
Like this video? Please give it a thumbs up and share with a crafty friend! Drop me a comment too, I love hearing from you!
HIDDEN PANEL FATHER’S DAY CARD DETAILS
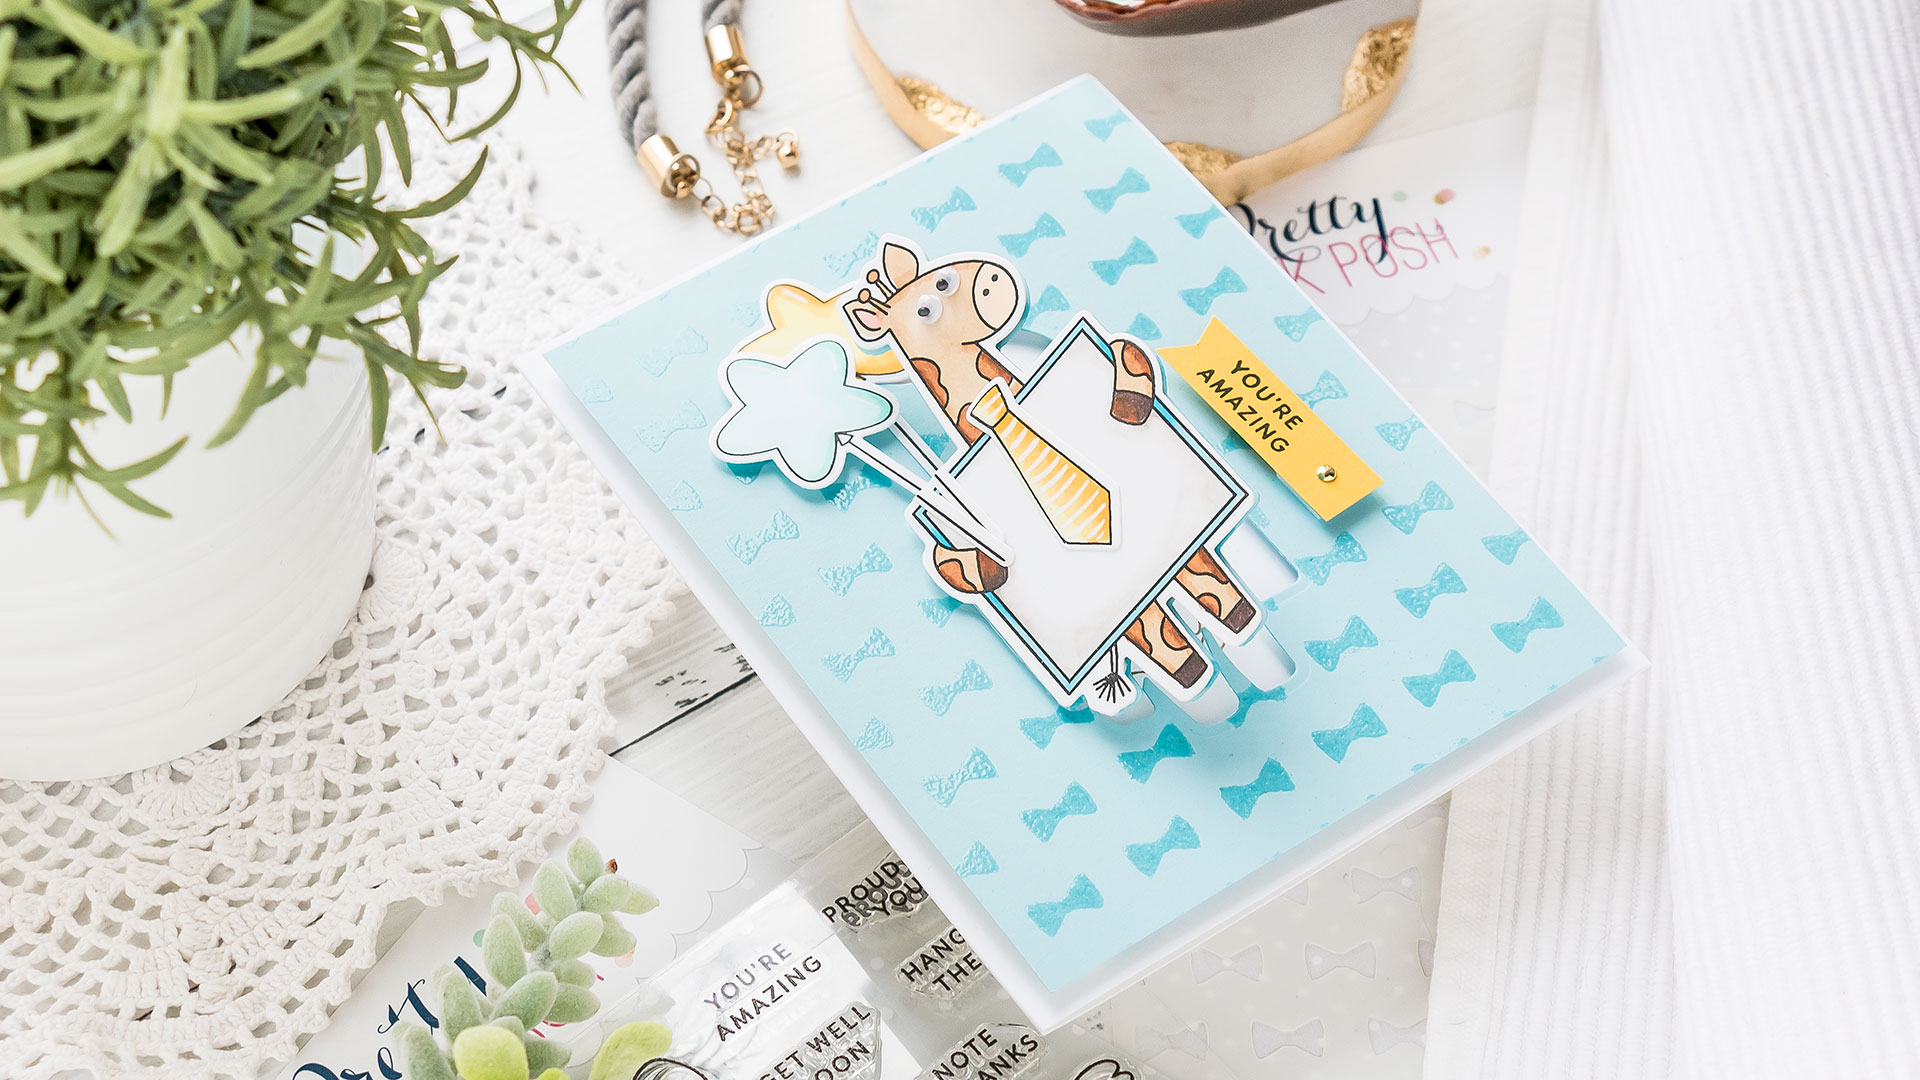
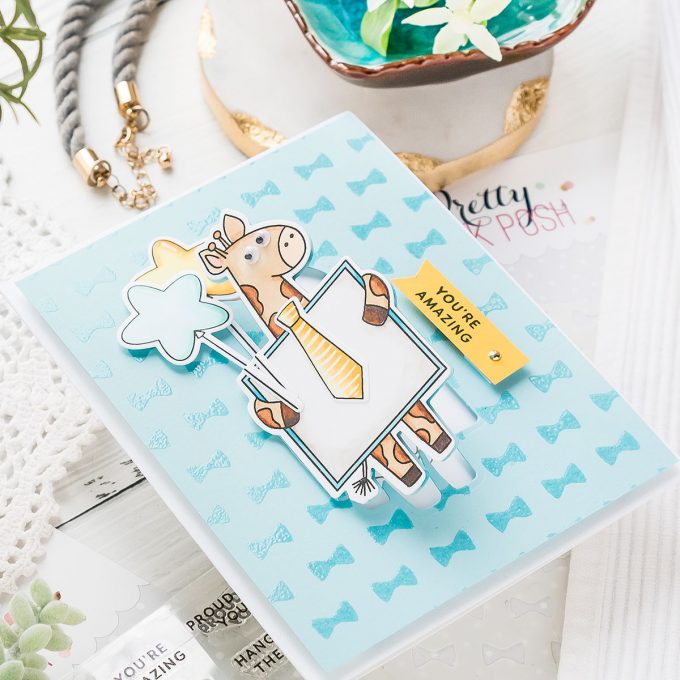
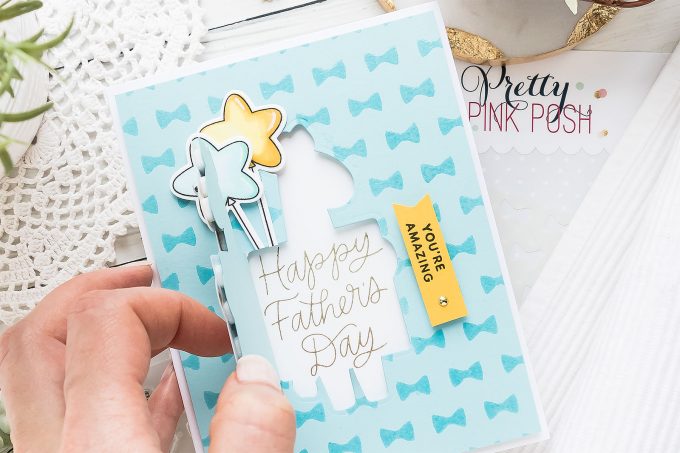
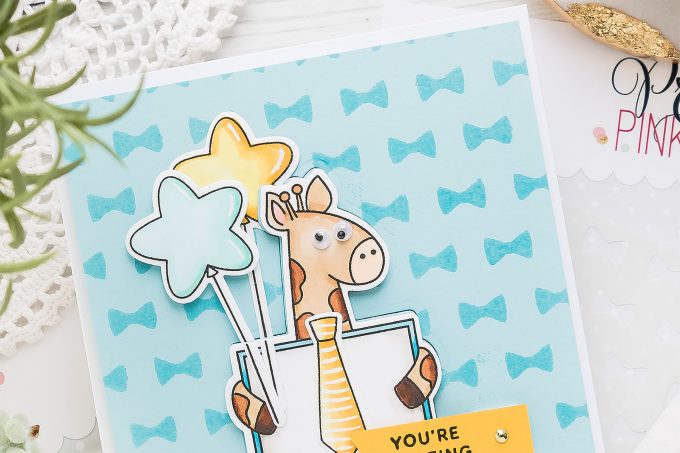
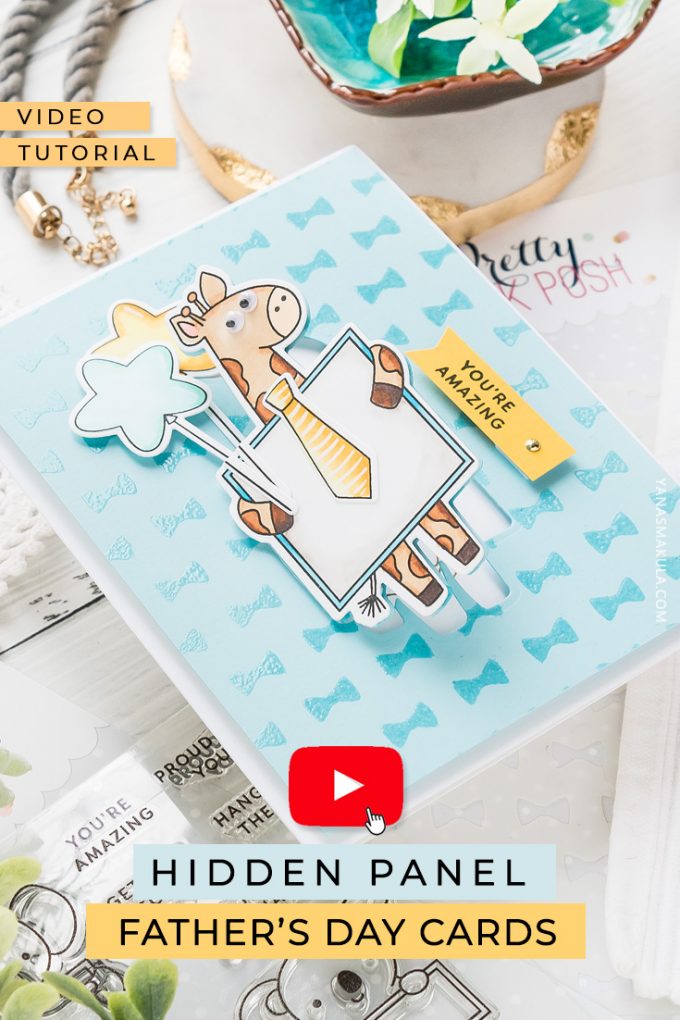
I started by partially die cutting giraffe from a panel of light blue cardstock. Watch my video tutorial to see how partial die cutting is done if you’ve never done it before. Next, I used my scoring board and bone folder to create a score line in place of the last cut line, to create a hinge. This allowed me to make a “door” in my front panel and later hide a sentiment behind it.
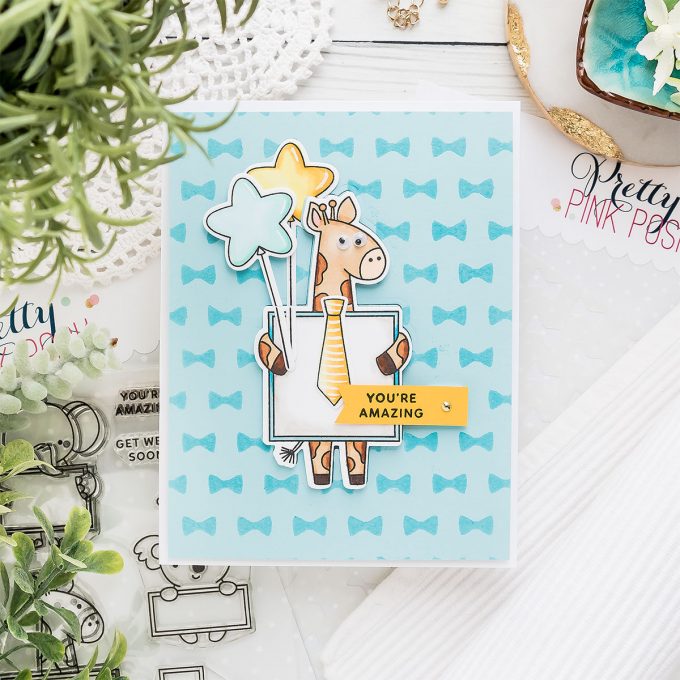
Next, I worked on dressing up the front panel. For this, I used Bow Ties stencil, clear embossing ink, and clear embossing powder for a tone on tone look. I ink blended clear ink onto the paper through the stencil, next added clear embossing powder and heat set it. My front panel is ready! I stamped Happy Father’s Day sentiment in brown ink on white cardstock panel and foam mounted the blue panel over it with the “door” open making sure I aligned everything correctly.
So this basically is what the technique is. You use a stamp and coordinating die, with the help of the die you make a partial cut to create a door on a hinge so to speak, you hide a message behind the door and use the stamp and die to decorate the front of the card. And this, of course, can be used all year round, not just for Father’s day cards, but also for Birthday, encouragement and many other kinds of projects.
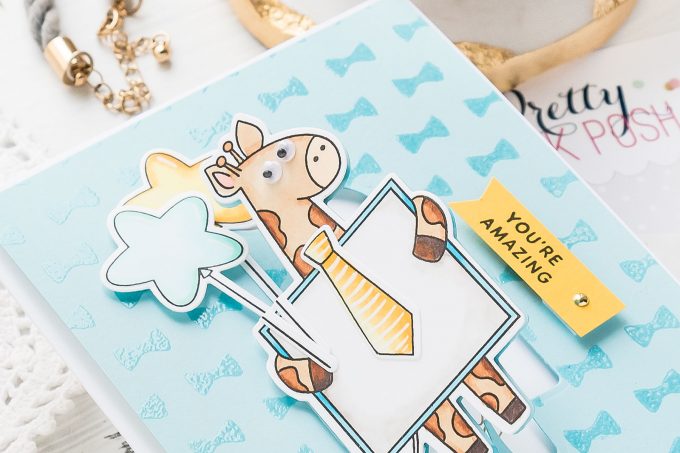
To dress up the front of the card I stamped my main character – the giraffe! I used Copic marker friendly ink and colored him using several colors of Copics: E37, E33, E31, E51, B05, B02, C1, C3 and E79 as the darkest brown marker.
I also stamped some star-shaped balloons, these come from Elephant Friends stamp set and colored them using BG32, BG11, B000, Y17, Y35, and Y11 markers.
I foam mounted the giraffe die cut onto the partial die cut flap and dressed him up in a yellow tie. Next, I attached the star-shaped balloons using glue and foam adhesive. I cut the string where it overlapped the flap so that the flap would open and close freely.
Finally, I wanted to make a closure element for the flap as it was popping open all the time and I also needed a place for another sentiment. I first stamped the “You’re Amazing” in black ink on yellow cardstock. Next, I cut a small square from light blue cardstock, the same color of cardstock I used for the background. I made the square just a bit smaller than the yellow panel. Using my tool ’n one piercer I poked a hole in both yellow banner and blue square and inserted a small brad through both paper pieces. Who knew I’d still be using brads these days? I feel like these are such an old embellishment!
Next, I placed a large foam square over the blue square and used it to adhere the closure element to the card. Because I added foam adhesive to another piece of cardstock, to that blue square and not yellow, this allowed the yellow piece to move freely.
Lastly, to dress to my giraffe up I used a white pen and added striped to his tie and adhered tiny googly eyes to make him a bit more charismatic!
The card is done! Whether you are making a card for your dad, your hubby or your son I hope you’ll give this idea a try! I look forward to making a few hidden panel cards for my girlfriends and including some secret messages on the inside.
SUPPLIES
I’m listing the products I used below. Click on the link to go directly to the product. Where available I use compensated affiliate links which means if you make a purchase I receive a small commission at no extra cost to you. Thank you so much for your support!
 Pretty Pink Posh Bow Ties Stencil Shop at: SSS | PPP |
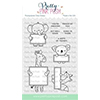 Pretty Pink Posh Animal Signs Stamp Set Shop at: SSS | PPP |
 Pretty Pink Posh Animal Signs Coordinating Dies Shop at: SSS | PPP |
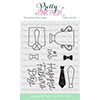 Pretty Pink Posh Father’s Day Stamp Set Shop at: SSS | PPP |
 Pretty Pink Posh Father’s Day Coordinating Dies Shop at: SSS | PPP |
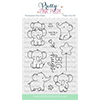 Pretty Pink Posh Elephant Friends Stamp Set Shop at: SSS | PPP |
 Pretty Pink Posh Elephant Friends Coordinating Dies Shop at: SSS | PPP |
 Spellbinders Deep Sea Die Cutting Machine Shop at: SSS | SC | SB | AZ |
 Simon Says Stamp Embossing Ink Pad Shop at: SSS |
 Neenah 110 Lb Solar White Cardstock Shop at: SSS | AZ |
 Simon Says Stamp Small Teflon Bone Folder Tool Shop at: SSS |
 Hero Arts Heat Embossing Gun Shop at: SSS | SC | HA | AZ |
 Hero Arts Clear Embossing Powder Shop at: SSS | SC | HA | AZ |
 Memento Tuxedo Black Ink Pad Shop at: SSS | SC | AZ |
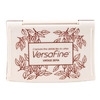 Tsukineko VersaFine Vintage Sepia Ink Shop at: SSS | AZ |
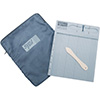 Scor-Pal Mini Scor-Buddy Scoring Board Shop at: SSS | AZ |
 EK Success Powder Tool Applicator Shop at: SSS | SC | AZ |
 Mini Misti Stamping Tool Shop at: SSS | SC | HA | AZ |
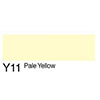 Copic Sketch Marker Y11 Pale Yellow Shop at: SSS | AZ |
 Copic Sketch Marker Y17 Golden Yellow Shop at: SSS | AZ |
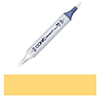 Copic Sketch Marker Y35 Maize Shop at: SSS | AZ |
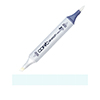 Copic Sketch Marker B000 Pale Porcelain Shop at: SSS | AZ |
 Copic Sketch Marker B00 Frost Blue Shop at: SSS | AZ |
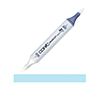 Copic Sketch Marker B02 Robin’s Egg Shop at: SSS | AZ |
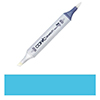 Copic Sketch Marker B05 Process Blue Shop at: SSS | AZ |
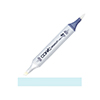 Copic Sketch Marker BG11 Moon White Shop at: SSS | AZ |
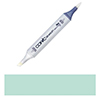 Copic Sketch Marker BG32 Aqua Mint Shop at: SSS | AZ |
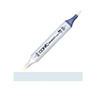 Copic Sketch Marker C1 Cool Gray Shop at: SSS | AZ |
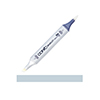 Copic Sketch Marker C3 Cool Gray Grey Shop at: SSS | AZ |
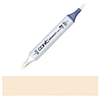 Copic Sketch Marker E31 Brick Beige Shop at: SSS | AZ |
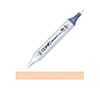 Copic Sketch Marker E33 Sand Shop at: SSS | AZ |
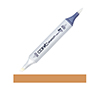 Copic Sketch Marker E37 Sepia Shop at: SSS | AZ |
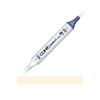 Copic Sketch Marker E51 Milky White Cream Shop at: SSS |
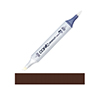 Copic Sketch Marker E79 Cashew Shop at: SSS | AZ |
 Tonic Studios 8.5 Inch Paper Trimmer Shop at: SSS | SC | AZ | TS |
 Darice Paste on Eyes Googly Wiggly Me4 Shop at: SSS |
 Sakura Classic White Gelly Roll Pens Set of 3 Shop at: SSS |
 White Foam Squares Shop at: SSS | SC | SB | AZ |
 FSJ Grid Paper Shop at: SB |
 FSJ Summer Days 8.5 x 11 Cardstock Shop at: SB |
 FSJ Pool Play 8.5×11 Cardstock Shop at: SB |
 FSJ Grand Pro Shears Shop at: SB |
 FSJ Journey Brads Mini in Silver & Gold Shop at: SB |
BLOG HOP
Hop along with us for loads of additional inspiration featuring Pretty Pink Posh stamps and other products.
Pretty Pink Posh blog
Yana Smakula – you are here
Carly Minner
Gemma C.
Thi Lam
Dana Kirby
Suzy Plantamura
Keeway Tsao
Heather Hoffman
Jeanne Jachna
Melody Rupple
Wanda Guess
Caly Person
GIVEAWAY!
There are 4 $25 gift certificates up for grabs (two winners each day, this is day 1). Winners will be picked randomly along the blog hop. Comments must be left by 11:59 PM PST on 5/8/2019. Winners will be announced on the PPP blog.
SAVE ME/PIN ME TO PINTEREST
Like this card idea? Be sure to save it to one of your Pinterest boards for future reference!
I love this card. It is simply adorable and so creative!
Great card. Clever idea. Really cute stamps. Thanks for sharing.
This is really cute!
What an adorable card! Awesome idea! Great color choices. Really loving how well the different sets are working together.
Aww that’s so sweet!! Love this hidden panel 🙂
What a cute card! I’m going to start looking through my stash to incorporate this idea into my cards! Love it! Thank you for the inspiration!
So adorable with the hidden message and the googly eyes! Fun!
fun card:)
Love the addition of the googly eyes, cuteness overloaded!
What a great idea. And BTW, I love brads! I’ve been wanting to do some partial die cutting but have struggled with it in the past because the plates I have are beveled and not a straight edge. It looked to me in the video that you have beveled plates as well and I watched how you lined everything up. Will give it a try. This really is such a cute idea. Thanks, Yana.
Soooo super cute! Love this release today and can’t wait to buy a couple of the sets. Thanks for sharing your talents and inspiration.
That is such a cute idea! I love the lift panel. And I adore giraffes..
Cute card. Can’t wait to go through my dies to see what I can make as a hinge/door.
That is such a cute card!
What an awesome card. I love the hinged sentiment.
Great release. Thanks for sharing…
Your giraffe is simply adorable!! Plus it is a ingenius idea! I always love all of your cards, they are spectacular! This one is no exceptional, it is excellent!! Thank you for sharing your wonderful talent, it is greatly appreciated.
This is amazing! I love the little tie on the giraffe, the secret message and the silly eyes!
Adorable card! So clever!!
Adorable card– love that giraffe. That’s such a clever technique. My grandchildren would love it, so I’m going to have to give it a try.
This is too cute! Great job with this card. My Gkids would love these sgamps. TFS
Such a cute giraffe! I love the google eyes and the stenciled background!!
This is such a great card! I love how you created a hidden panel, and the giraffe is adorable. 🙂
Yana, once again you have an absolutely awesome card with an idea that I can use to make many, many other cards! I love this stamp set and can’t wait to get my hot, little hands on it. Thank you so much for yet another great tutorial!
Super Cute card!!! I love this idea!!!
Cute, clever card!
I love giraffes!
Fabulous Father’s Day card. Love the yellow and white tie on your giraffe. The tab idea with the brad is perfect!! Love your coloring and the embossed bow-tie background!
So cute! Love the hidden panel for the sentiment!
So cute. I love the door you created with the fun darling image. So creative and love the colors.
Very cute card…love the hidden message.
Adorable card! Love the giraffe!
Wow , this is super fun!
Very creative, Yana! Loving the Animal Signs set.
You are so talented!
A always your card and video are wonderful Yana! I am going to try this great fun idea! Thanks so much for sharing and inspiring us all!
You outdid yourself, Yana. This card is so cute and I loved watching you make it. Can’t wait to try this myself. TFS
The giraffe is too cute. Great hidden panel.
Adorable hidden panel design with the giraffe and love the bow tie background.
What a great dad day card!
What a clever card! Love the hidden message and that adorable giraffe! Thank you for sharing how you created this!
Yana, you are one of the most creative cardmakers I know. I just love your talent and this card is precious!
Yana, I apologize if there are two comments from me. I posted my first one but I don’t see it so I’m trying again. I absolutely love your creativity and I always look forward to the next card you make. You are one my favs for sure!! This card is so ingenious and so adorable! Thank you for sharing!
Sweet hidden panel card for father’s day!
What a cute idea. Love the hidden sentiment.
The tie on the giraffe is fun. thanks for
sharing. txmlhl(at)yahoo(dot)com
Wonderful card! I seldom think about using partial die cutting. I like the idea of the little banner to keep it closed.
Super cute idea with the hidden message behind the giraffe!
Oh so creative! Love the tip about the partial die cut to make that surprise element. That interactive feature adds so much dimension and most importantly, it is making me look at the dies in another way.
Love your card! Thanks for your video tutorial.
Love the hidden panel, awesome card!
Super cute card. Thanks for your video.