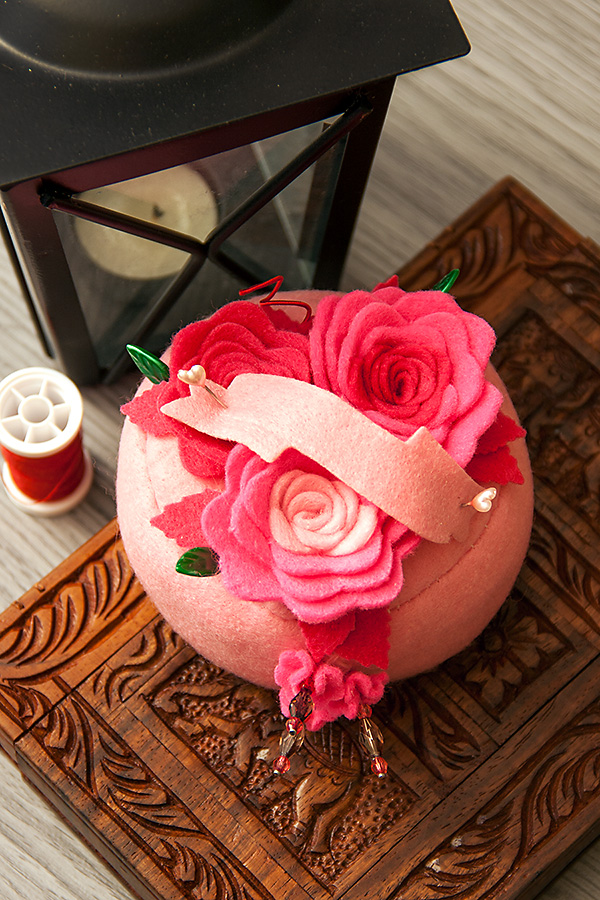
Once again I decided to make something out of my comfort zone – while I like to make cards and layouts, off the page or 3D items are rarely seen on my crafting table. Nonetheless, I felt inspired and decided to make a pin cushion for my desk.
Like this project? Pin it and save for later!
Spellbinders dies are so versatile and we often forget that they can be used on not just paper. To create this project I used several sheets of felt. I snapped a few photos along the way. I do want to point out that I’m paper crafter, I don’t usually work with fabric, therefore I don’t know all the tricks when it comes to working with this type of material. However I find this type of project to be very simple ad very easy to do.
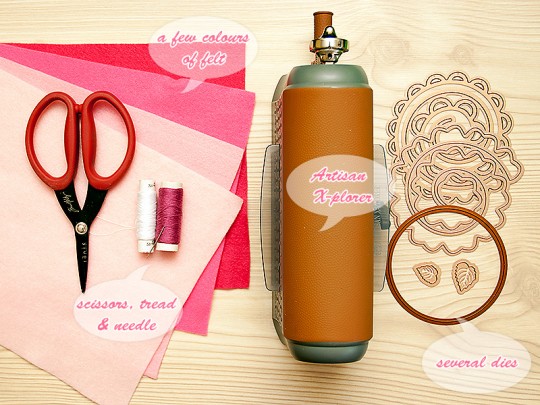
To create the pin cushion you will need: a few sheets of felt in different colors; several dies – a circle die to cut the base of the cushion, spiral flower die, leaves dies; Artisan X-plorer machine from Spellbinders; needle & thread; scissors; glue; pins.
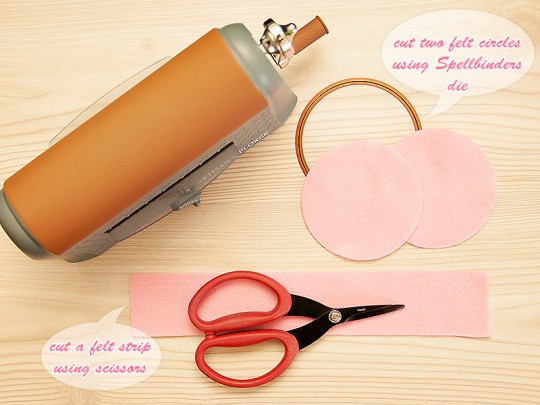
The process is very simple – first cut two circles out of felt using Spellbinders circle die. You might want to lay a piece of paper or cardstock on top of felt – I find it helps to make a clean cut. Using scissors cut a strip of felt long enough to go around the circle.
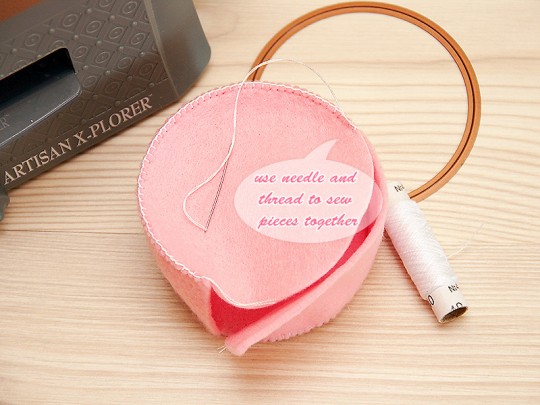
Next stitch the pieces together leaving small opening. I find this part to take the longest time.
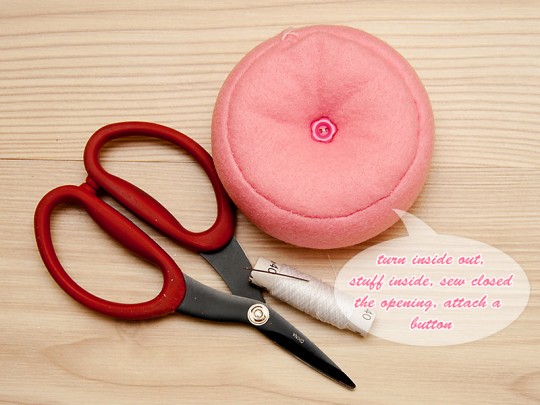
Turn your cushion inside out, stuff inside, sew closed the opening and attach a button in the middle on both top and bottom:
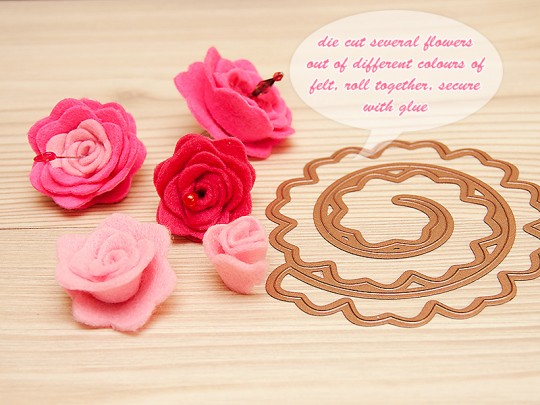
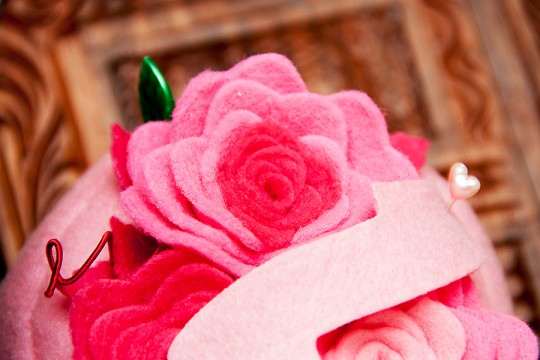
Next, cut several flowers using Spellbinders spiral die. I used different colors of felt to cut the shapes and them combined them into one flower to make it multicolored.
If you never used this or similar spiral die from Spellbinders you can watch my video below. Its in Ukrainian, but you can get the basic idea of how to cut the flower and how to roll it. I know some people find it a bit confusing:
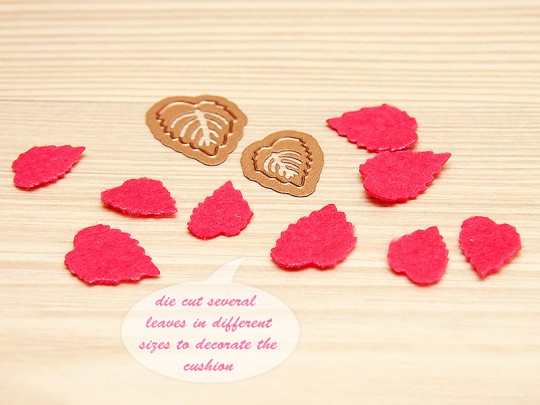
You’ll also need to cut a few leaves for the pin cushion, I cut mine in two different sizes. Spellbinders has quite a few die sets with leaves, I used Jewel Flowers and Flourishes S5-143.
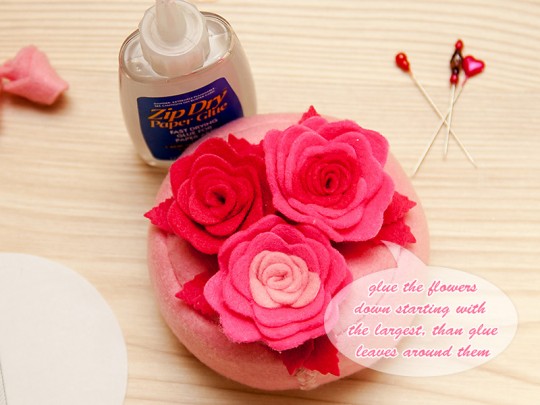
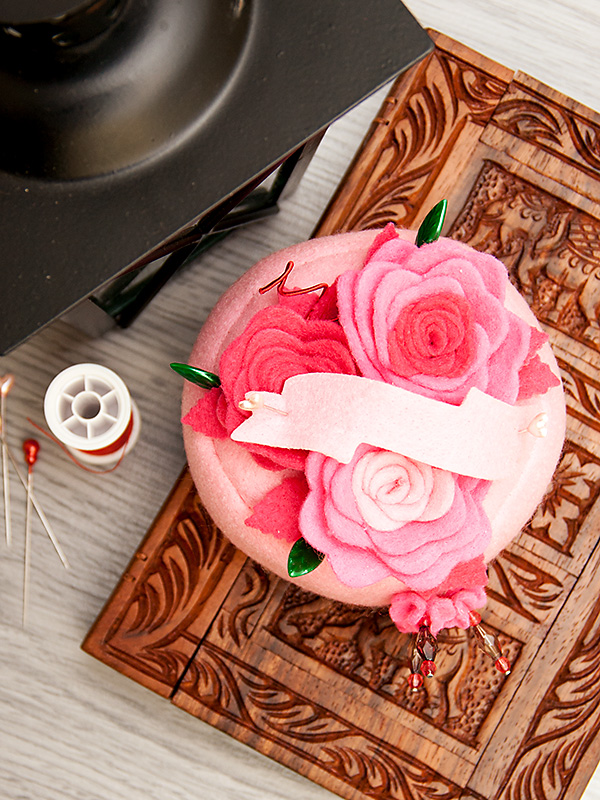
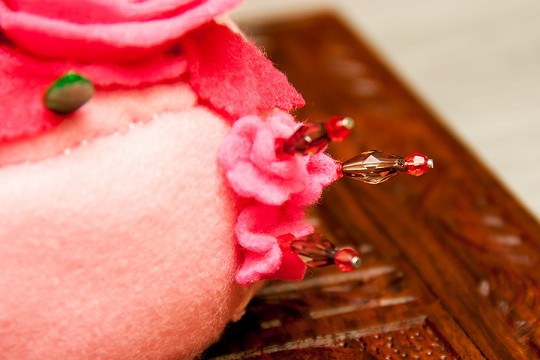
Finally, use glue (I used Beacon Adhesives Zip Dry Paper Glue) to secure your flowers and attach flowers and leaves to the cushion. Add a few pretty pins and you are done!
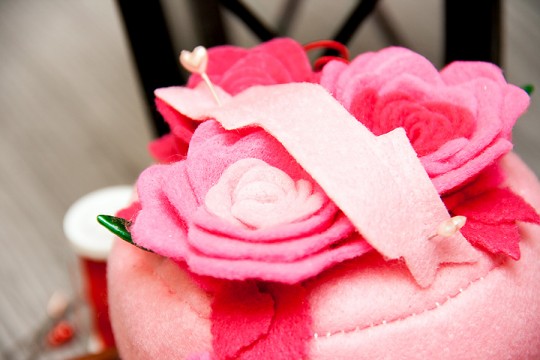
Feel free to experiment with other shapes as well. For this pin cushion I also cut a banner out of felt and attached it only using pins. This way I can easily remove it and replace with other shape should I wish to.
I hope you liked this project. Please leave me a comment. If you have any questions – I’d be happy to help you the best I can.
SUPPLIES
I’m listing the products I used below. Click on the link to go directly to the product. Where available I use compensated affiliate links which means if you make a purchase I receive a small commission at no extra cost to you. Thank you so much for your support!
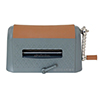 Spellbinders Artisan X-plorer Die Cutting Machine Shop at: SSS | SC |
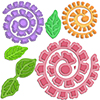 Spellbinders Bitty Blossoms S5-086 Shop at: SSS | SC |
 Spellbinders Standard Circles LG Dies S4-114 Shop at: SSS | SC |
 Spellbinders Standard Circles SM Dies S4-116 Shop at: SSS | SB |
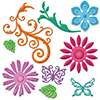 Spellbinders Jewel Flowers and Flourishes Dies S5-143 Shop at: SSS | SC |
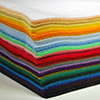 Simon Says Stamp Wool Felt Sheets Huge Assortment Shop at: SSS |
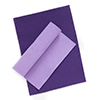 Simon Says Stamp Wool Felt Sheets PLUM PICKIN PURPLE Shop at: SSS |
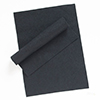 Simon Says Stamp Wool Felt Sheets BLACK Shop at: SSS |
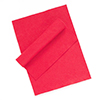 Simon Says Stamp Wool Felt Sheets Cherry Popsicle Shop at: SSS |
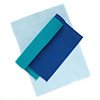 Simon Says Stamp Wool Felt Sheets OCEAN WAVES Shop at: SSS |
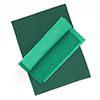 Simon Says Stamp Wool Felt Sheets GET LUCKY GREEN Shop at: SSS |
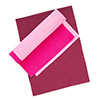 Simon Says Stamp Wool Felt Sheets LIPSTICK PARTY Shop at: SSS |
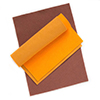 Simon Says Stamp Wool Felt Sheets Caribbean Spices Shop at: SSS |
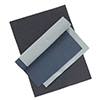 Simon Says Stamp Wool Felt Sheets NIGHT SKY Shop at: SSS |
 Simon Says Stamp Wool Felt Sheets 3 Shades Of Sunshine Shop at: SSS |
This post was updated on July 24th 2016.

And I just bought a pin cushion. This one is so very PRETTY. Thank you for your video too!
Thank you for posting your project on Die Cut Divas Flickr group. at http://www.flickr.com/groups/crafty/
thank you Arlene! its always a pleasure to share projects in your group.
This is so pretty and practical too!
thank you, Cathy!
This is so adorable! I wish I could give you a hug, you made my day! Baerbel
Baerbel – thanks! Lets pretend you did 🙂 And now I’m hugging you back 🙂
This is so pretty!! I love it and thank you for showing us viewers how it’s done.