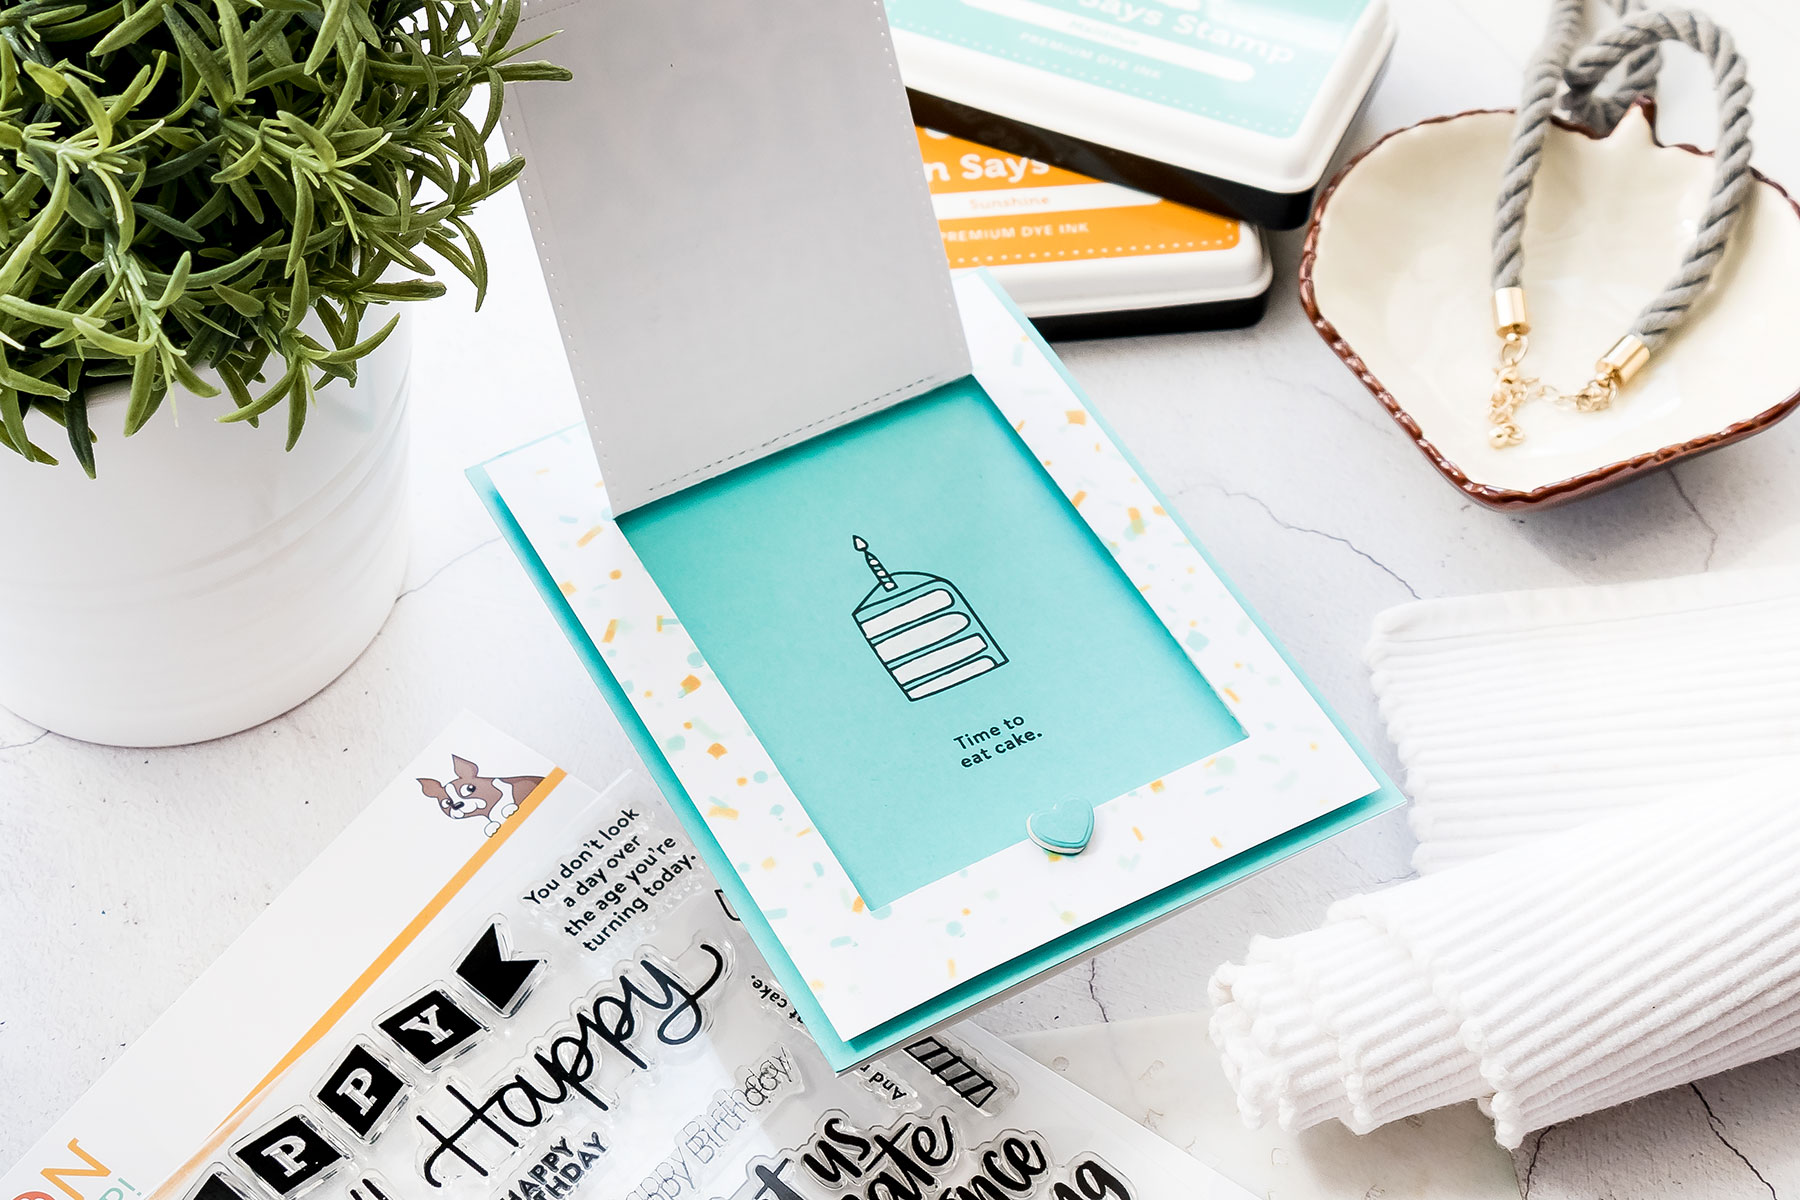
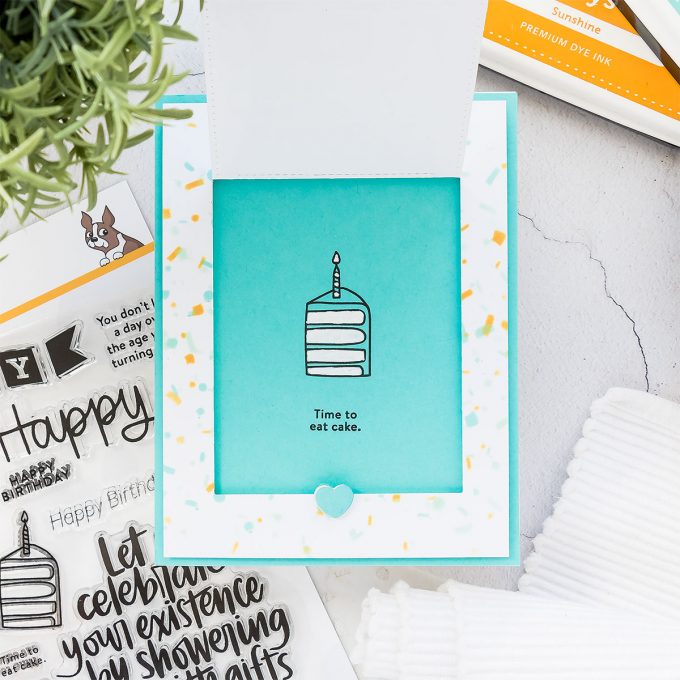
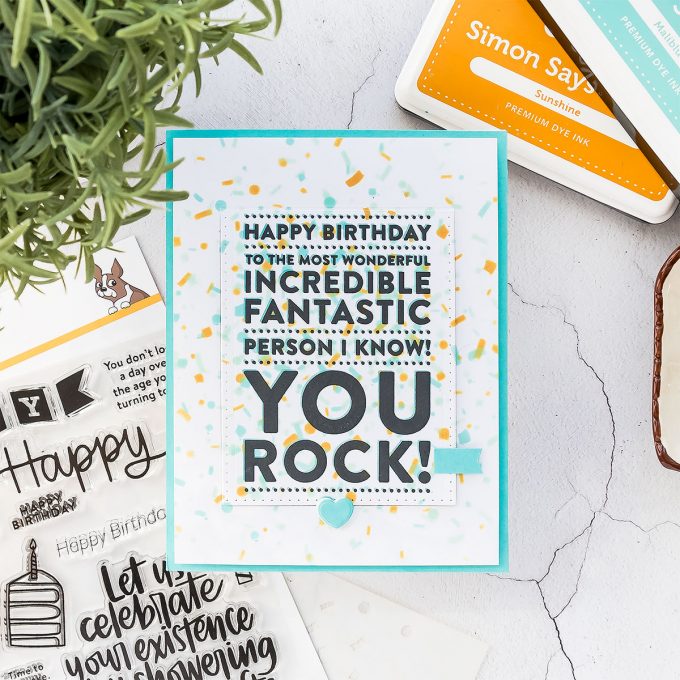
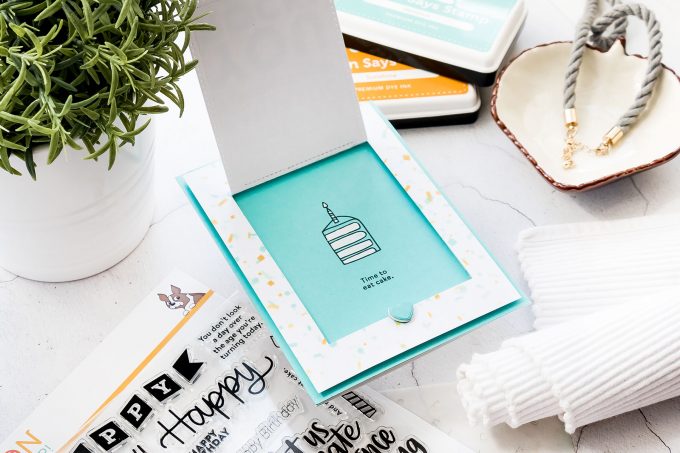
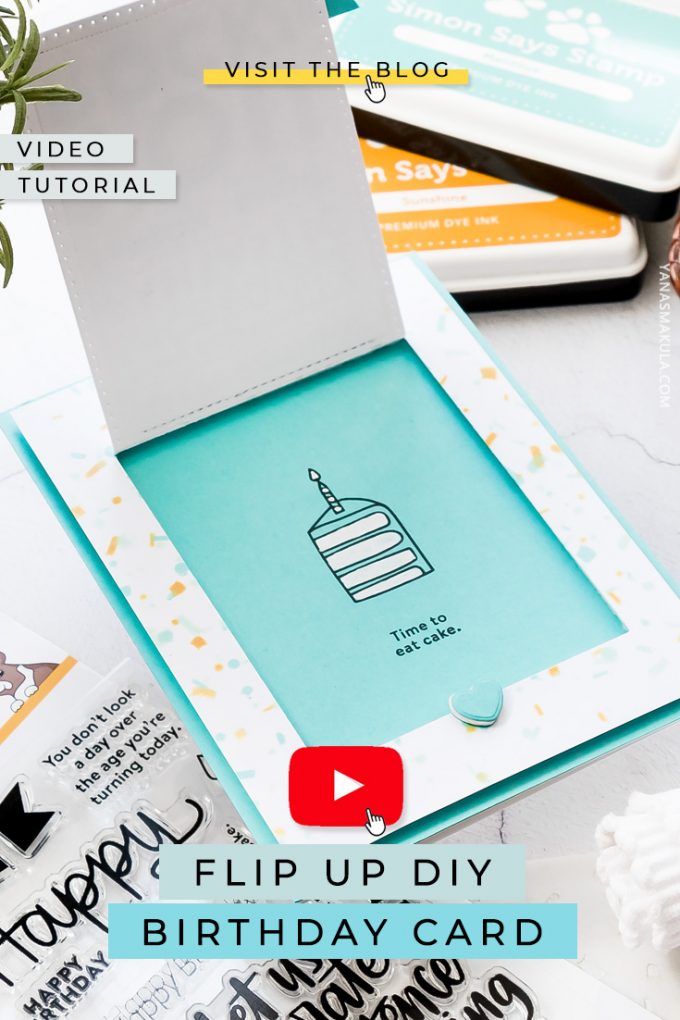
Hello and welcome back for another Yippee For Yana video (catch my previous episode HERE)! I’ve been very much into making Birthday cards lately and to diversify things a bit I came up with fun flip up card idea featuring simple stamping and partial die cutting techniques!
Like this project? Pin it and save for later | Curious about my project photography? Click for details.
VIDEO TUTORIAL
As always, I filmed a video tutorial showing how to create this project from start to finish. I’m hoping you’ll enjoy it. Watch it below or on my Youtube channel:
Like this video? Please give it a big thumbs up (you can do this on Youtube video page right under the video) and share with a crafty friend! Leave me a comment too, I love hearing from you!
FLIP UP BIRTHDAY CARD DETAILS
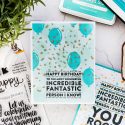
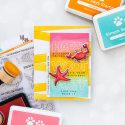
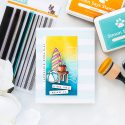
I used a new stencil from Simon Says Stamp, Confetti, it’s a fabulous one to create some cool confetti-like backgrounds for Birthday and party cards. You probably think this stencil doesn’t look like much at a first glance, but often it’s the simplest things that pack the most punch and so it this stencil.
I did some simple ink blending using ink blending tools (I like to use Ranger’s tools with a Spellbinders foam) and several colors of inks from Simon – Duckling, Mint, Maliblue, Audrey Blue.
To avoid having the exact same pattern on my paper when blending 4 different colors of ink, I’m flipped my stencil to the other side and rotated it 90 degrees. If you want you can turn your stencil and flip it up to 8 times to have different ink blending for each layer. Imagine using all sorts of different colors for your confetti background and maybe also using texture or glitter pastes and even embossing powders (here’s a similar card idea using gold glitter paste and this stencil).
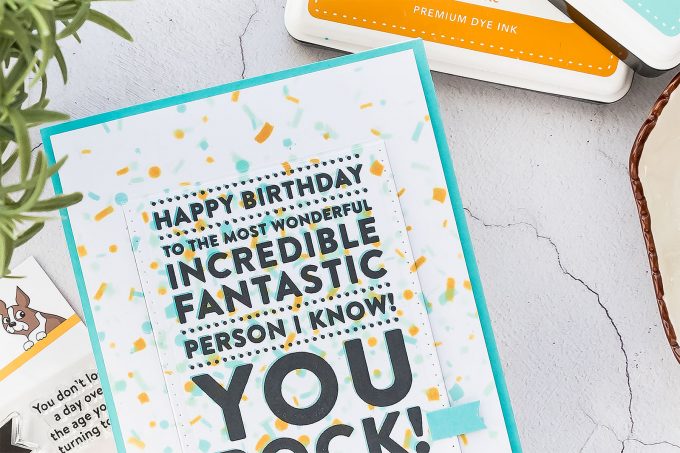
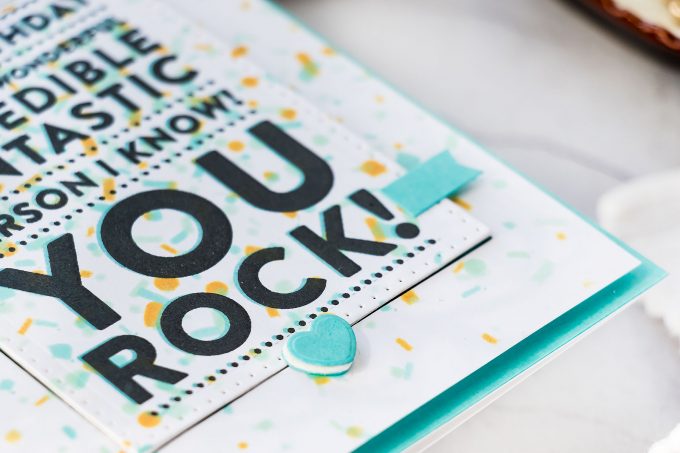
Next, I stamped a big sentiment from the Big Birthday Greetings stamp set in the center of my ink blended background. I love block style sentiments, they are perfect to take center stage on a card! I first stamped it in Audrey Blue ink, next offset slightly and stamped in black.
I trimmed my panel to 4 x 5 ¼” and used a rectangle die to die-cut a partial panel in my background. Watch my video tutorial for a detailed how-to. Finally, I used foam adhesive tape to adhere my panel to an A2 light blue card base. I only added adhesive to the sides of the panel, not to the flap itself and I need to be able to open it up. Next, I stamped the image of a cake and additional sentiment on the card base directly behind the flip up pane. I used a white pen to color the cake (I’ve been loving this technique ever since I discovered it HERE). Have fun stamping!
MORE BIRTHDAY CARD IDEAS FOR MEN
SUPPLIES
I’m listing the products I used below. Click on the link to go directly to the product. Where available I use compensated affiliate links which means if you make a purchase I receive a small commission at no extra cost to you. Thank you so much for your support!
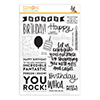 Simon Says Clear Stamps Big Birthday Greetings Shop at: SSS |
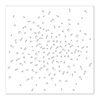 Simon Says Stamp Stencil Confetti Shop at: SSS |
 Simon Says Stamp Audrey Blue Cardstock Shop at: SSS |
 Neenah 80LB Solar White Cardstock Shop at: SSS |
 Simon Says Stamp Duckling Ink Pad Shop at: SSS |
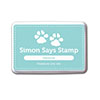 Simon Says Stamp Maliblue Ink Pad Shop at: SSS |
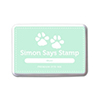 Simon Says Stamp Mint Dye Ink Pad Shop at: SSS |
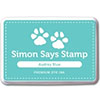 Simon Says Stamp Audrey Blue Ink Pad Shop at: SSS |
 Simon Says Stamp Big Momma Foam Tape Roll Shop at: SSS |
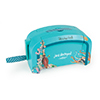 Spellbinders Deep Sea Die Cutting Machine Shop at: SSS |
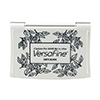 Tsukineko VersaFine Onyx Black Ink Shop at: SSS |
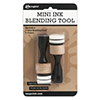 Ranger Mini Round Ink Blending Tools Shop at: SSS |
 Spellbinders Circle Replacement Foam Shop at: SSS |
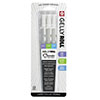 Sakura Classic White Gelly Roll Pens Set of 3 Shop at: SSS |
SAVE ME/PIN ME TO PINTEREST
Like this card idea? Be sure to save it to one of your Pinterest boards for future reference!


I love this card Yana, I love the design as its unexpected. Well done.
This is super cool! I love the color and the simple background 🙂
Cool idea!!! Thanks!
Fabulous idea, CAS but fun. Will give this a go for sure x
Very sweet card. Love the flip design.