Hello, crafters. Welcome back for another Yippee For Yana video!
I know it’s been a while since I shared any updates. We are okay. The reason I don’t share anything is that it is incredibly hard to talk about it. The important thing is – we are okay.
In this video, I’m sharing several ideas for creating with tiny stamps. Almost every stamp set out there includes some sort of tiny supportive images, the main goal of which is to complement the main image or images in that particular set.
Like this project? Pin it and save for later | Curious about my project photography? Click for details.
Let’s look at the Bunny Blessings stamp set from Simon, for example, you have your main images – the bunnies in various poses and the 2 birch tree images. Everything in between is filled with tiny images designed to help you build the scenes for the bunnies. You have flowers, eggs, butterflies, and more.
We often forget about these tiny images and can even overlook them in our card making. But creating with tiny images is super fun as there are lots of ways you can use them. I encourage you to dig through your stash, pick a stamp set with some tiny stamps and create with me.
I thought about 3 different ways to create cards using tiny stamps:
- Use just one tiny image repeatedly to create an entire background.
- Use tiny images to form a simple shape on a card.
- Build little scenes using tiny images.
VIDEO TUTORIAL
Watch the video below or on my Youtube channel.
DETAILS
I used my mini MISTI stamping tool and stamped a row of tiny stamps from this stamp set onto white cardstock. I cut my paper into smaller panels to be able to stamp the images efficiently without having to re-position the stamps on the lid of my MISTI. Next, I used my Copic markers and colored each image using 2 or 3 shades. With the coloring finished I used coordinating dies and cut these out.
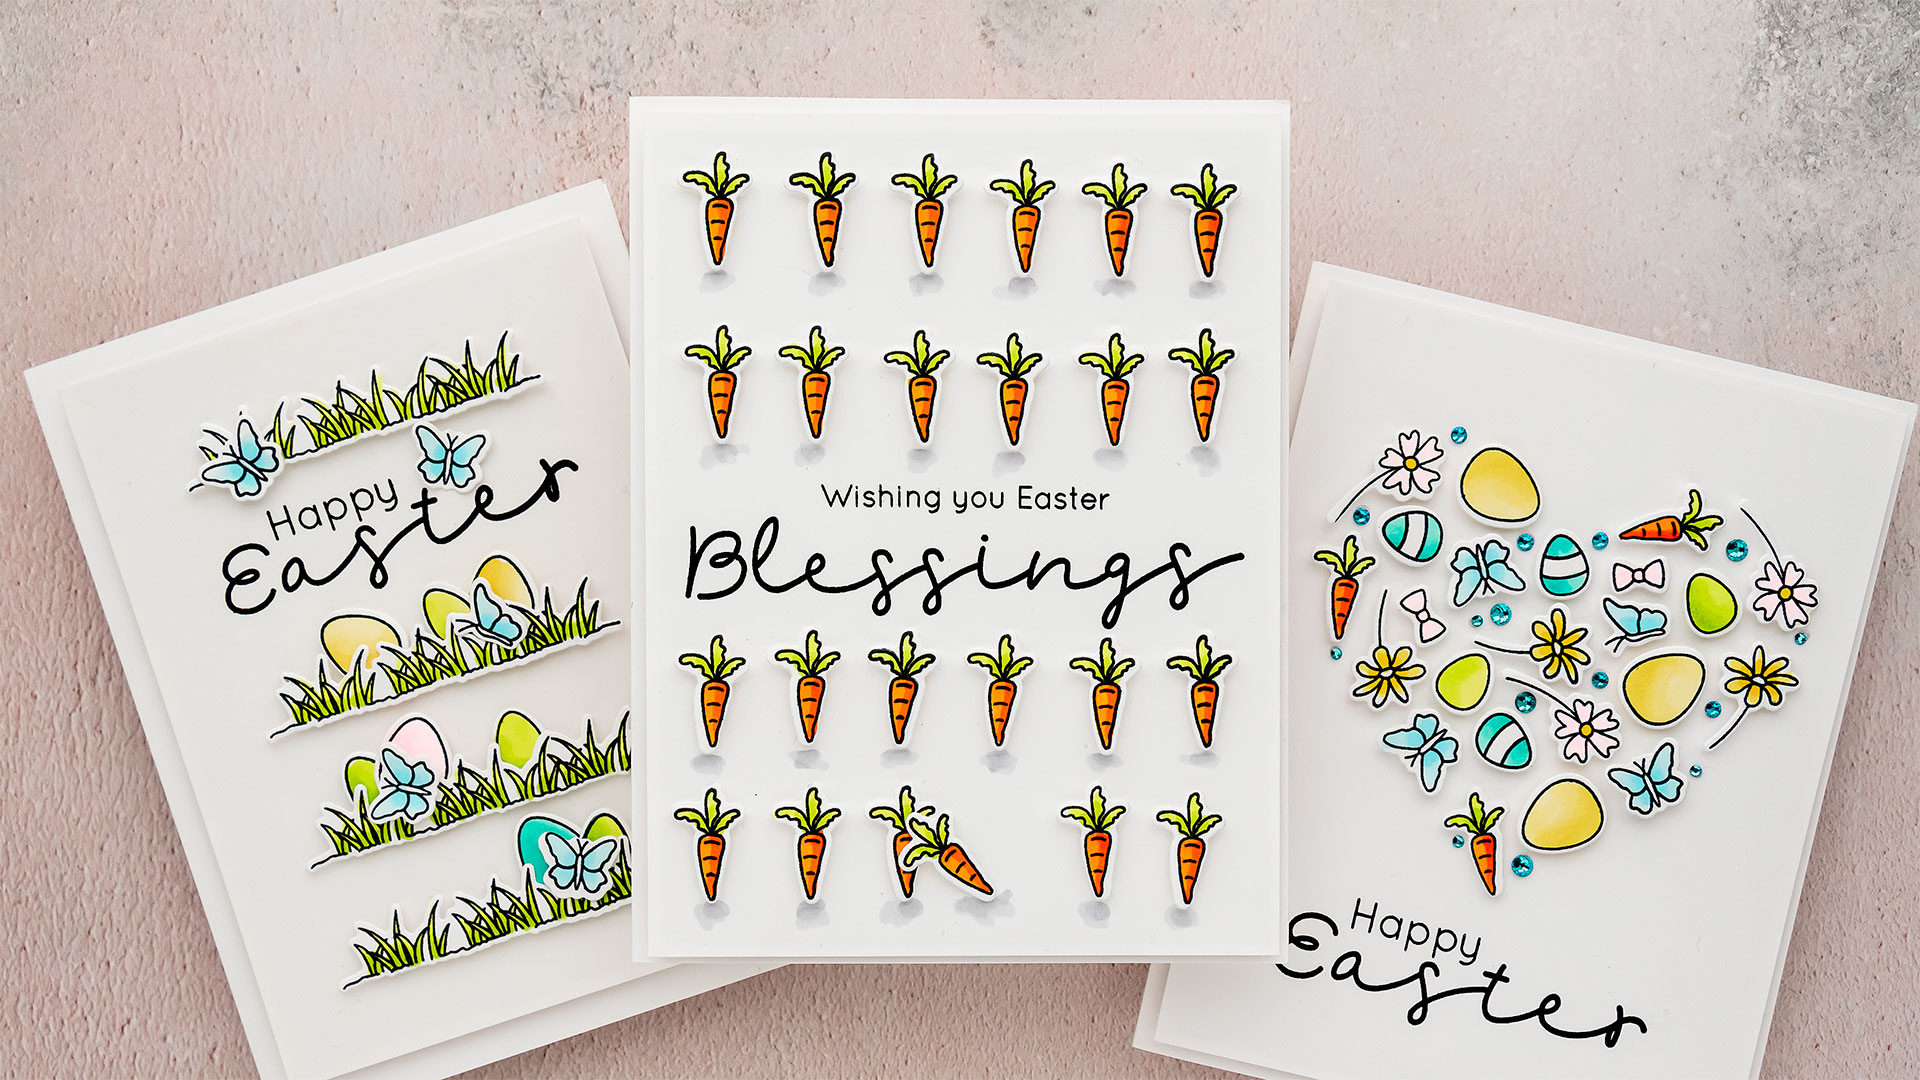
CARROT CARD
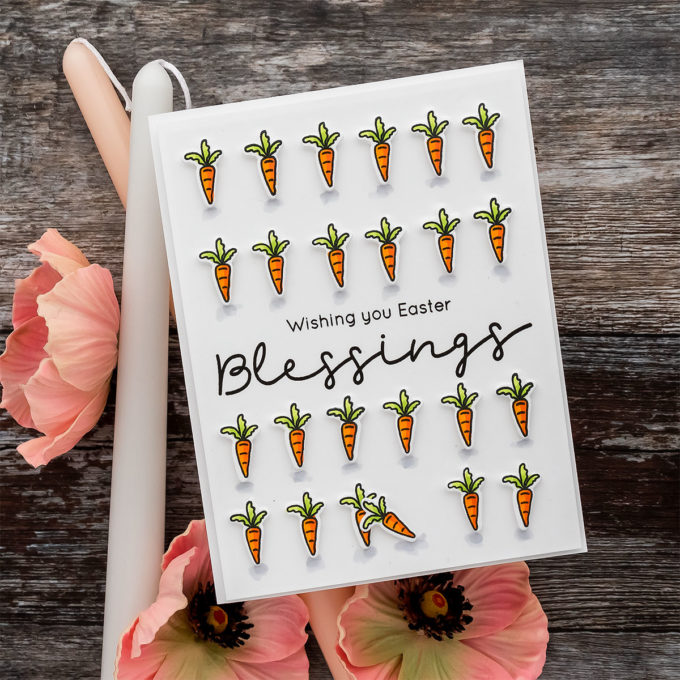
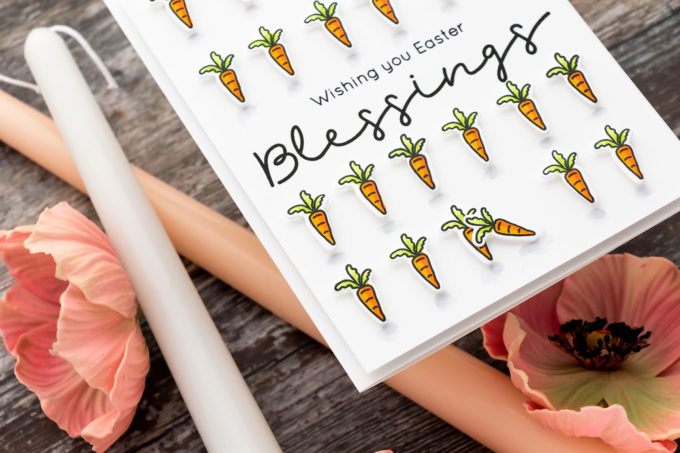
My first card uses just one design, a carrot, to create a linear pattern for the card. I first stamped a sentiment in the center of the panel using VersaFine Onyx Black ink – I’m making Easter cards and the sentiment reads Wishing You Easter Blessings.
I poured my carrot die cuts onto the desk and added a foam square onto each before placing each carrot onto my background. I first needed to position the carrots before I would foam mount them on the card.
You can use a different image instead of a carrot for this type of card background. For example, this can be a heart, a leaf, a tiny branch, a fruit, a tiny gift, and more.
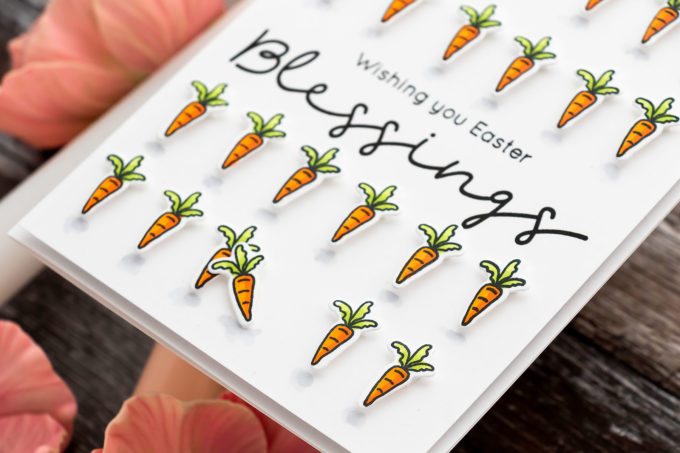
Once I positioned the carrots and was happy with the placement I foam mounted them one by one. I did add a twist to my linear design by leaning one of the bottom carrots onto the one next to it. I wanted to do that to break up the monotony of this design and add an unexpected element to it.
Next, I added shading under each carrot using C3 and then a C1 marker. I trimmed this panel to 4 x 5 1/4” and foam mounted it onto A2 card base creating a very Clean & Simple card.
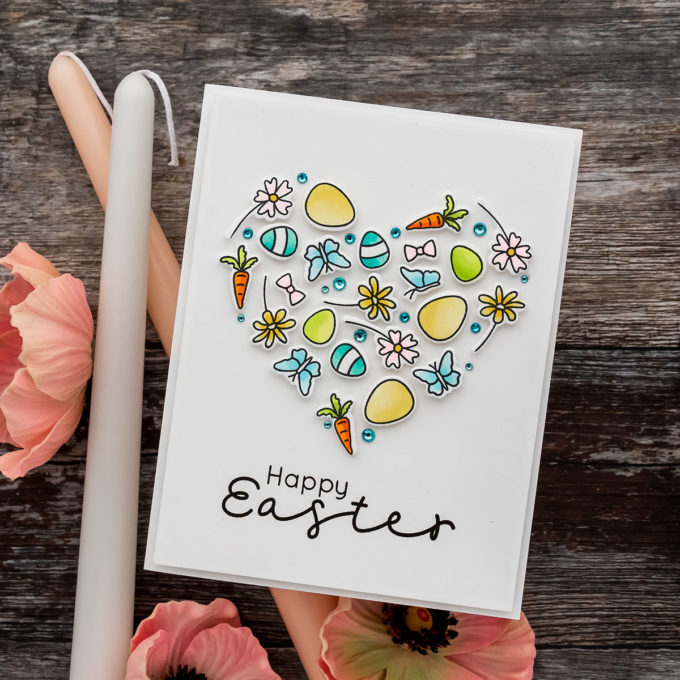
HEART SHAPE CARD
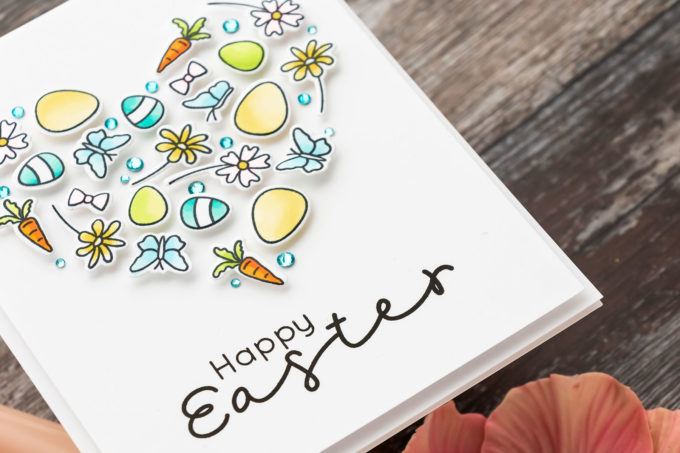
For my next card, I created a heart shape focal point using all of the various tiny images. To make things easier, I used a heart mask from Simon – I positioned the mask onto a piece of white cardstock cut to 4 ¼” x 5 ½” and taped the mask in place. This gave me the perfect guide for creating my heart. I added the tiny shapes one by one filling the heart in.
You can also create a circle shape for an everyday card or an elongated triangle for a Christmas card. Building these shapes is super fun and this really lets you utilize your tiny stamps. If you don’t have a stencil mask to help you define the shape on your background you can simply trace a shape using a pencil and just erase the pencil line once you are done. The stencil masks are optional, but they are like MISTI – they make the job a thousand times easier.
I foam mounted each of the shapes and filled the gaps in with teal gems. I stamped a sentiment under the shape and foam mounted this background onto an A2 card base.
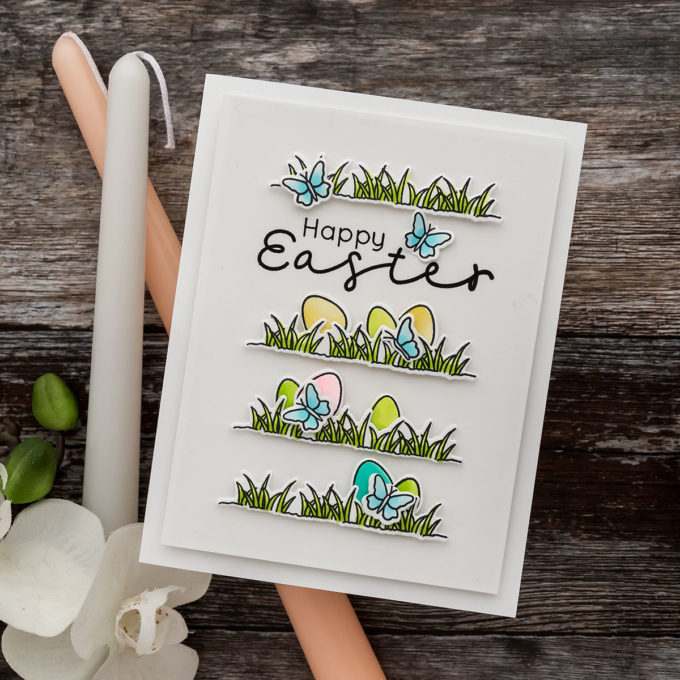
MINI SCENE CARD
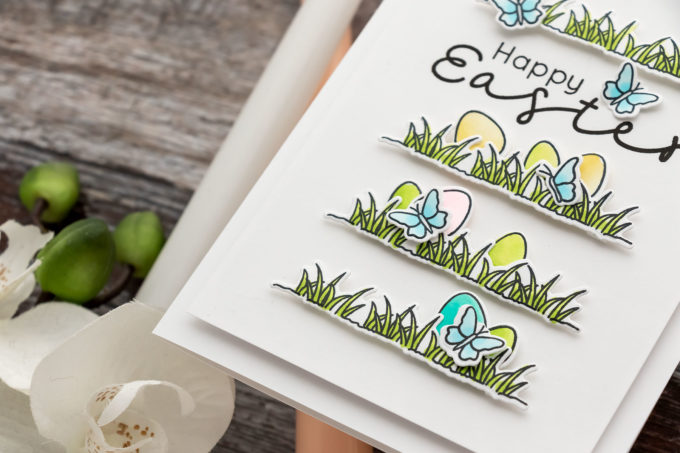
For my third card, I used tiny images to build an easter scene. I additionally stamped, colored, and cut out 4 grass pieces, to help me ground the scene. I used another stencil mask from Simon – this time a rectangle one for A2 cards and added 4 rows of grass, separated by a Happy Easter sentiment and filled with some easter eggs and butterflies.
Tiny stamps provide countless stamping opportunities as they allow you to create all sorts of designs. I hope you’ll give this idea a try!
Have fun stamping!
SUPPLIES
I’m listing the products I used below. Click on the link to go directly to the product. Where available I use compensated affiliate links which means if you make a purchase I receive a small commission at no extra cost to you. Thank you so much for your support!
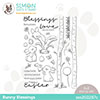 Simon Says Clear Stamps Bunny Blessings Shop at: SSS |
 Simon Says Stamp Bunny Blessings Wafer Dies Shop at: SSS |
 Simon Says Stamps and Dies Bunny Blessings Shop at: SSS |
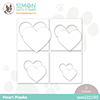 Simon Says Stamp Stencils Heart Masks Shop at: SSS |
 Simon Says Stamp Stencil A2 Masks Shop at: SSS |
 Simon Says Stamp White A2 Side Fold Scored Cards Shop at: SSS |
 Spellbinders Platinum Die Cutting Machine Shop at: SSS |
 Neenah 80lb Solar White Cardstock Shop at: SSS |
 Memento Tuxedo Black Ink Pad Shop at: SSS |
 Mini MISTI Stamping Tool Shop at: SSS |
 Tsukineko Versafine Onyx Black Ink Shop at: SSS |
 Spellbinders Best Ever Craft Tape Shop at: SSS |
 Fun Foam Sheets Shop at: SSS |
 White Foam Squares Shop at: SSS |
 Copic Markers Shop at: SSS |


what a fabulous idea; simple but clever! thanks for the inspiration today!
Sending you love and keeping you in my prayers.
Very cute cards. Liked how you utilized tiny images. So often they get lost in the stamp sets and never used. Thanks for sharing these techniques on how to use them.
Really cute cards. Thank you for reminding me to look at more than the main images, stay safe x
How clever! And they are supercute. I have to go through my stash of tiny things. You have a really good eye for colour and design ☺️✌️
So glad you are safe. All 3 cards are adorable, Yana. I’ve been struggling with Easter cards this week and you have just inspired me to expand my vision of the possibilities. I’m so glad you have this creative outlet during these dark days. Stay safe.
Lovely, as usual. I have not commented before but need to send you hugs and strong support for you and your country. You, Oles and Denzil are heroes. Everyone I know salutes you and your country for your courage. You have SO MUCH SUPPORT! Stay strong, dear one.
On a lighter note, as a fellow leftie, I love to watch you create such beautiful things with your lovely hands. I have seen very few left-handed papercrafters. Thank you for all the sharing and inspiration.
Great Easter cards, thanks for the video and God bless you and bring peace to your country.
Really gorgeous cards Yana … so glad you’re ok
Awesome cards. You’ve inspired me to look at my stamp collection for tiny images. You and your family are in my daily prayers..
This is such a great, creative idea and these cards are. It is such a relief to hear your voice and no that you are safe. I admire you, Oles, Denzil and your country for your courage and pray for you all every day.
All 3 cards are fabulous! That carrot with the perfection line up – oh my I can only aspire! Can’t do free hand ever! You [and family] are in my thoughts and prayers!