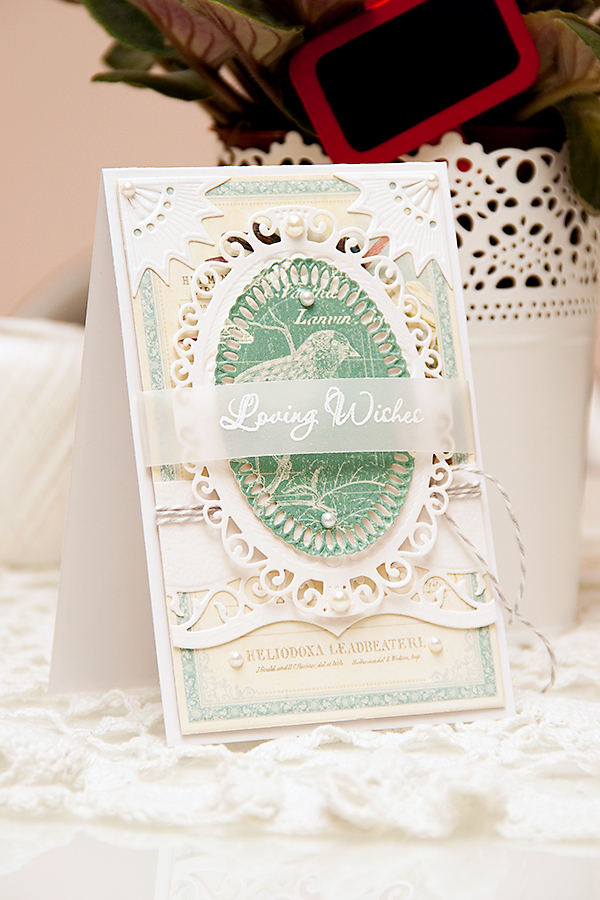
In case you are wondering, this is not going to be a Clean & Simple card. And the reason for that is the post I did for Spellbinders Explore Beyond Blog last week. I noticed that a lot of my readers enjoyed that card (which is far from being a clean and simple one) so I decided to make a few more fancy and elegant cards like that.
Like this project? Pin it and save for later | Curious about my project photography? Click for details.
VIDEO TUTORIAL
I’m sharing a video tutorial showing how to create this card from start to finish. Also there’s a closer look at Spellbinders Enhancing Elements dies. Watch the video here or on my Youtube channel:
If you enjoyed watching the video please help me spread the word by clicking that like button, commenting and sharing it with your crafty friends! Thank you!
ADDITIONAL INSPIRATION
I have a few more cards like the one above (using Spellbinders dies and Graphic 45 Botanical Tea papers), although none with a video tutorial. Just in case you want to take a look, here are a few links:
- Spellbinders + Graphic45. Part One;
- Spellbinders + Graphic45. Part Two;
- Spellbinders + Graphic45. Part Three;
CARD DETAILS
On my video I mention something called Spellbinders Card Recipes. This is something I came up with when working with fancy Spellbinders dies. There’s a post on the Ukrainian version of my blog about one of the recipes (its not in English), sharing a link just in case you wanted to take a look.
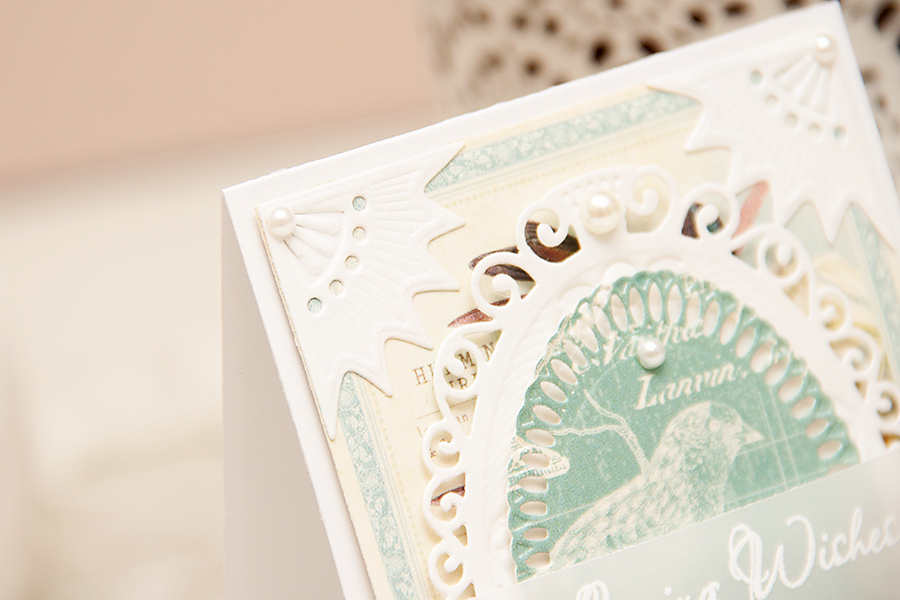
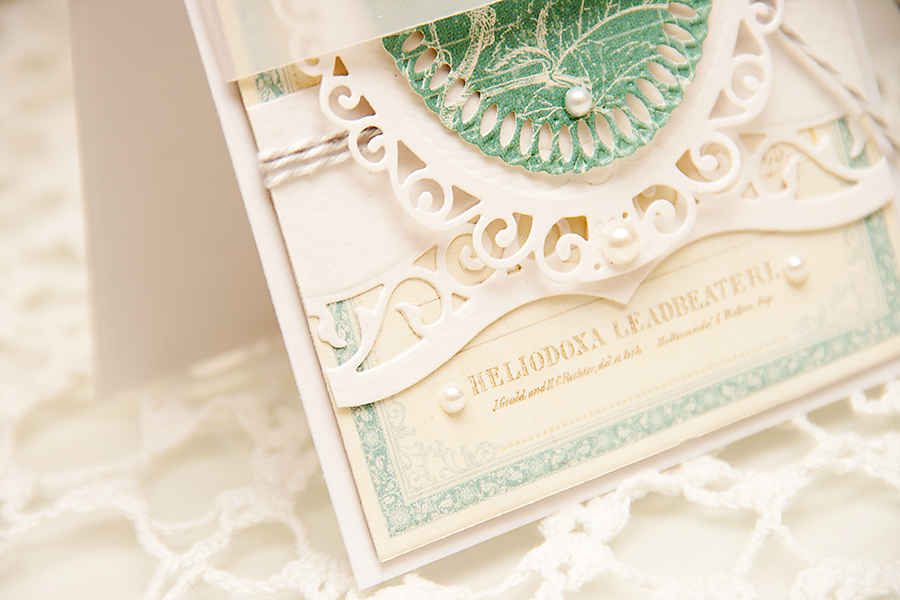
Once again I used quite a few different dies to create this card. I went with Gold Corners One (sadly, this set has now been discontinued), Elegant Ovals and Gold Ovals One (more about “Gold” type of dies below) and A2 Bracket Borders One.
Spellbinders “Gold”dies, for example Gold Ovals, Gold Circles etc are designed to enhance a shape, not cut a shape out. Its best to use Gold Ovals with some type of an oval die, regular oval or a fancy oval. Same goes for circles, squares and other shapes.
For my die cutting I used regular watercolor paper (something I no longer do). I love how it adds additional texture to my die cuts. As for the patterned paper – this is Botanical Tea 12×12 paper pad from Graphic 45 (discontinued).
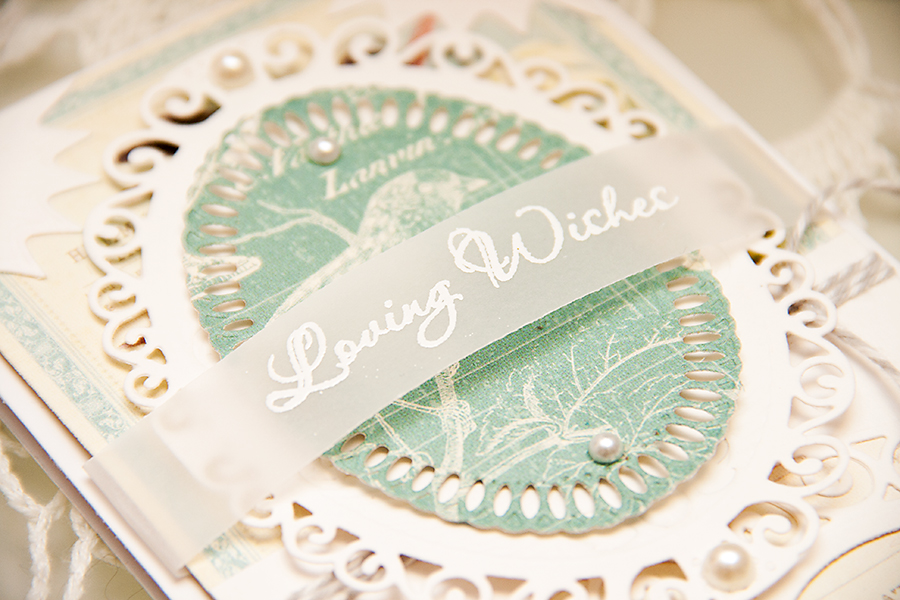
The sentiment, Loving Wishes, is from Stampendous; I heat embossed it in white embossing powder onto vellum and wrapped around the front panel. I always love to embellish my fancy Spellbinders cards with pearls, so I added a few to this one as well.
SUPPLIES
I’m listing the products I used below. Click on the link to go directly to the product. Where available I use compensated affiliate links which means if you make a purchase I receive a small commission at no extra cost to you. Thank you so much for your support!
 Spellbinders 5 x 7 Matting Basics B Dies Shop at: SC | SB | AZ |
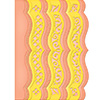 Spellbinders A2 Bracket Borders One S5-181 Shop at: SSS | SC | AZ |
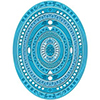 Spellbinders Gold Ovals One Dies Shop at: SB | AZ |
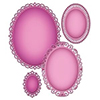 Spellbinders Elegant Ovals S4-425 Shop at: SSS | SC | SB | AZ |
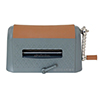 Spellbinders Artisan X-plorer Die Cutting Machine Shop at: SSS | SC | AZ |
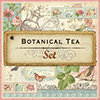 Graphic 45 Botanical Tea Set Shop at: AZ |
 Neenah 110 Lb Solar White Cardstock Shop at: SSS | AZ |
 Neenah 80LB Solar White Cardstock Shop at: SSS | AZ |
This is such a pretty card! Thanks for the video tutorial!
Beautiful card! Stay safe!
Just beautiful!