Welcome back for another Clean&Simple die cutting episode!
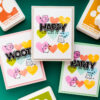
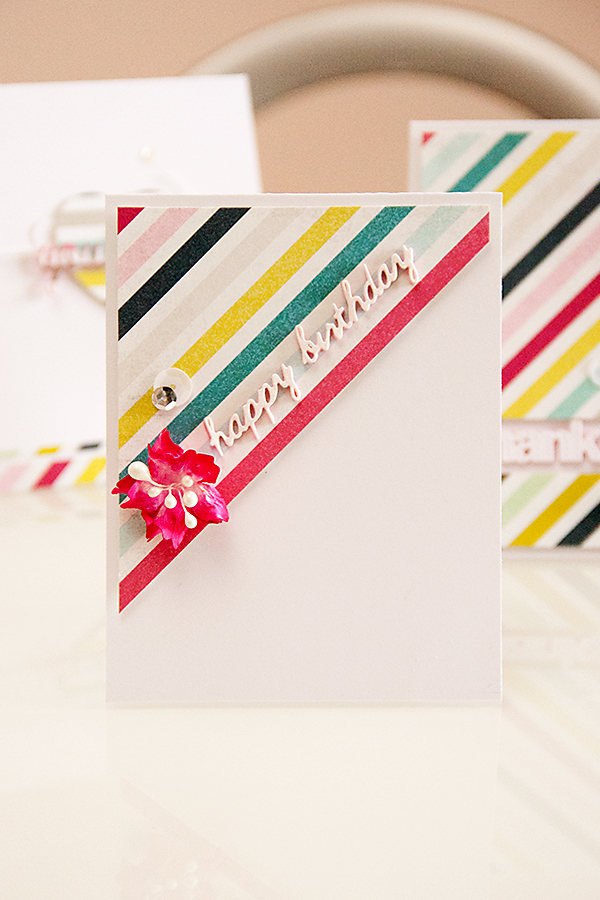
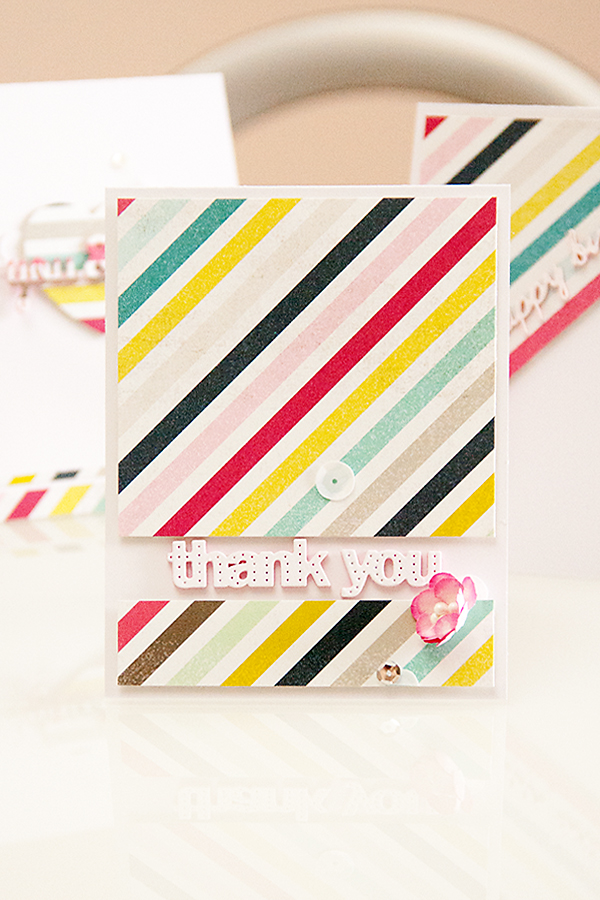
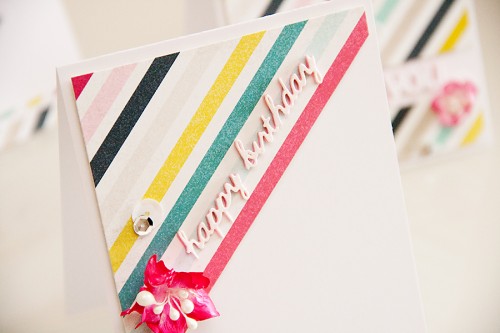
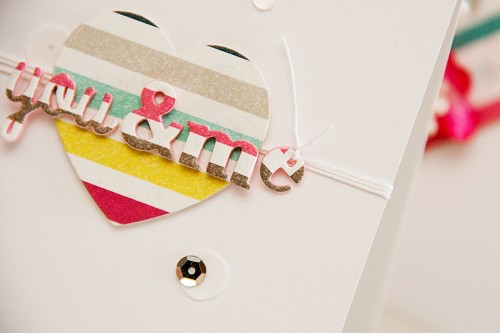
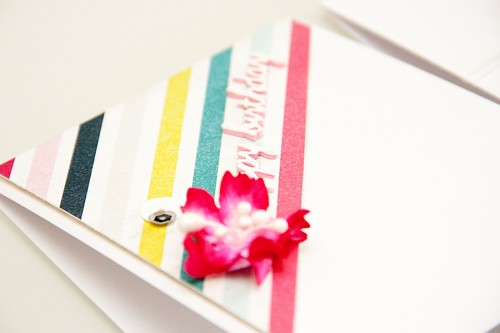
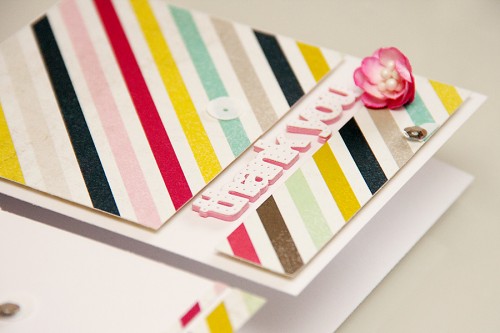
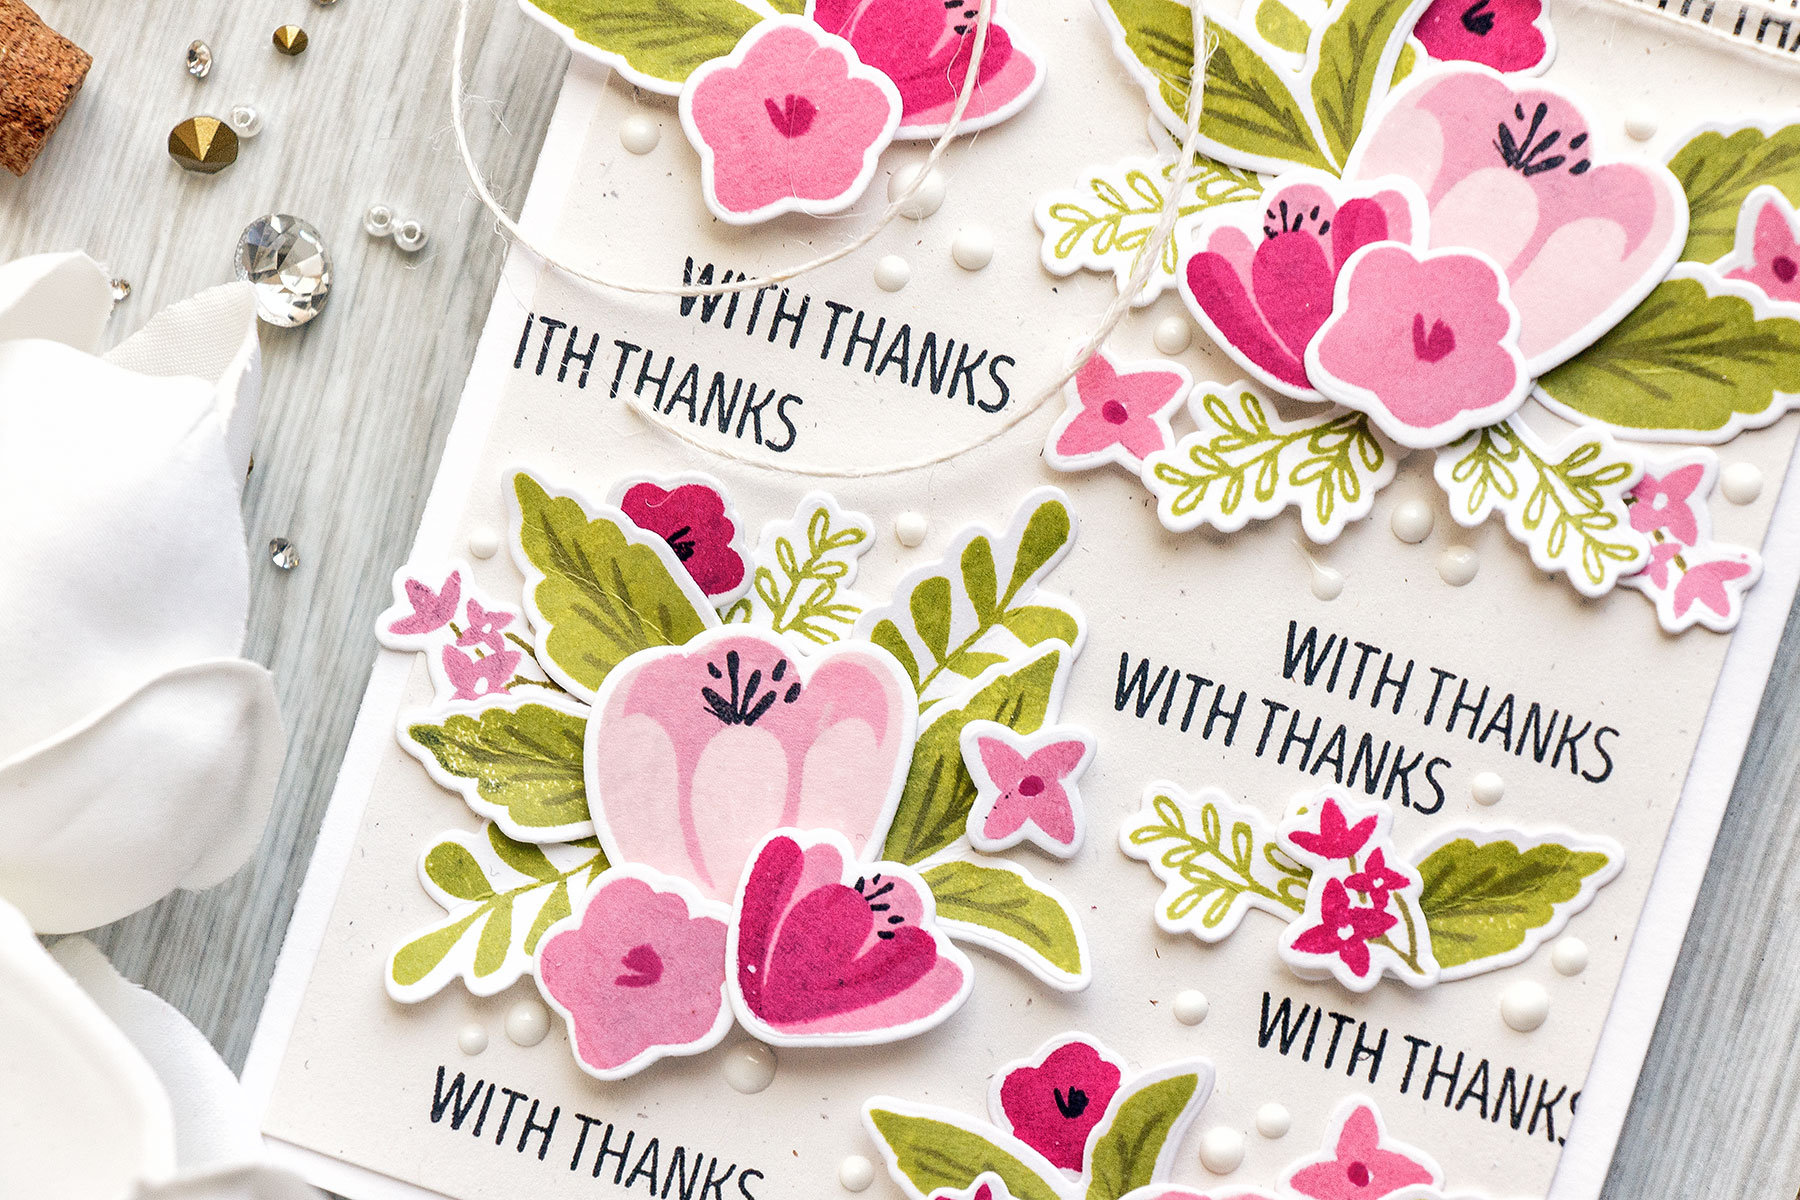
Today I want to talk a bit about craft foam. A couple of days ago I shared a card where I used craft foam instead of dimensional adhesive. I die cut the foam and followed the shape of a paper die cut exactly and was able to layer it underneath the actual die cut for added dimension.
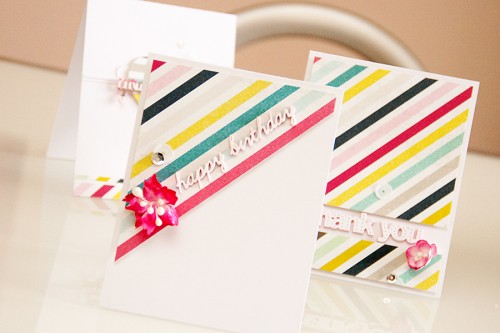
So today in this episode I want to show you how that was done and also share a couple of quick and easy cards using a minimum amount of supplies.
This is another post from the bi-weekly “Clean & Simple Die Cutting” series. You can view all posts from this series by clicking here.
Here’s my video tutorial for you:
If you like my video please be sure to like, comment and share with your crafty friends! Thanks!
A few details:
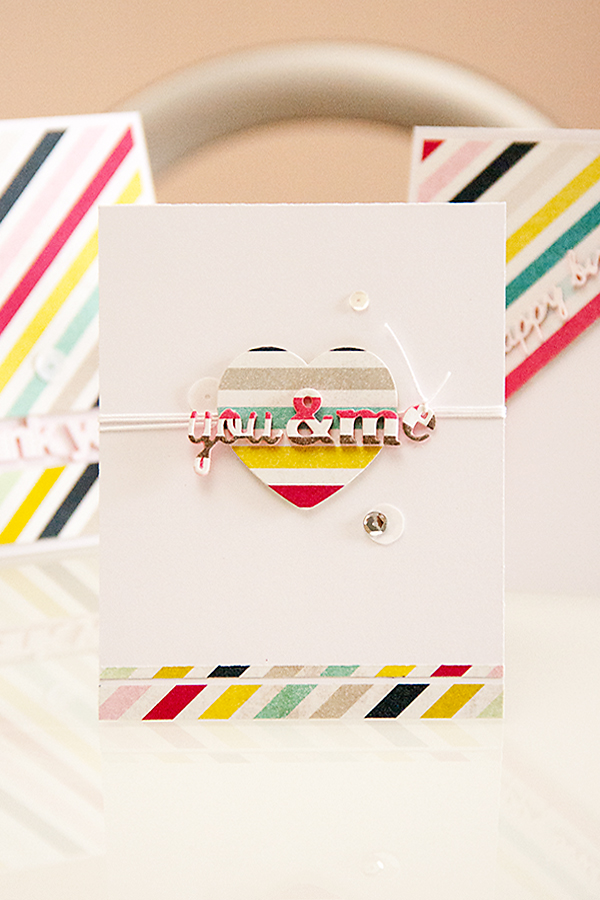
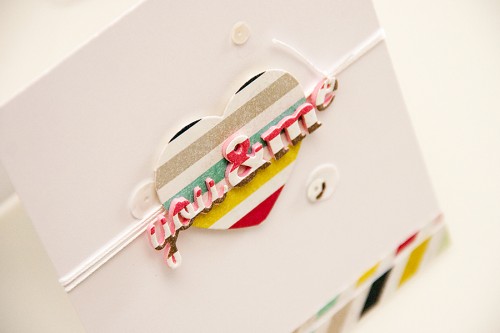
because letter E didn’t fit the heart I had to attach it some other way – so I added some thread and made it look like it was tied to it





What a brilliant idea! Thank you for the inspiration!
Thanks for the reminder about the craft foam! Looks awesome!
Super cute cards with minimal supplies!!! Thanks for the idea. I hate to take the time to cut out a bunch of die cuts of one word just to pop it up! I’d much rather just do it twice!!
This is such a great idea!!! Thank you so much for the video explaining how to use craft foam!
Hey! So glad to find you. I really enjoy your videos, the cards are neat and fresh, great techniques, beautiful results. So much inspiration! Take care and thank you for sharing.
What an excellent idea! I will be trying this very soon.
Your videos are great – I have been popping around and watching a few. You have fabulous English also – I was expecting a strong accent. Well done and thank you for sharing your talent.