This is another post from the bi-weekly “Clean & Simple Die Cutting” series. You can view all posts from this series by clicking here.
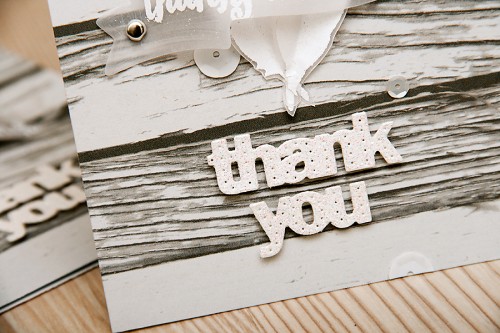
The more I play with dies – the more I realize how versatile and unique they are. You can cut with them, you can emboss, you can stencil and with a bit of imagination you can also make stamps with them! This is what my today’s post is all about – making custom foam stamps with the help of wafer thin dies.
Now I do have to say that this technique is far from being a new one. I made my first foam stamp about 3 years ago (and I had a video done back them as well, its one of the most watched videos on my Youtube channel) with the help of Cuttlebug dies. Today I’m showing how you can make your own custom stamps with the help of wafer thin dies like Spellbinders. All you need for this is a bit of craft foam and double sided tape.
Here’s my video tutorial for you:
If you like my video please be sure to like, comment and share with your crafty friends! Thanks!
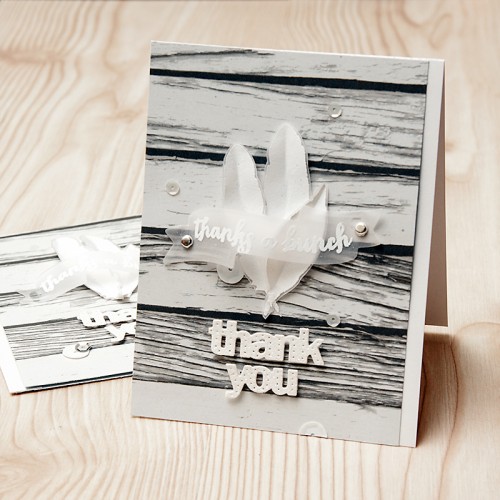
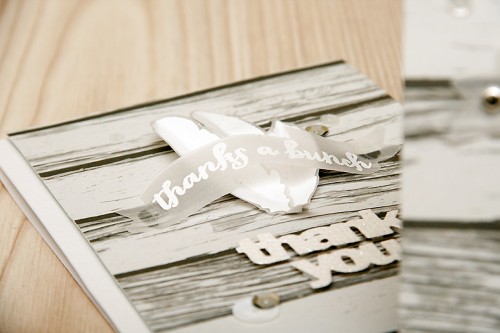
Other than using custom stamps I also used regular clear stamps from Hero Arts for this card – I heat embossed a sentiment with white detailed embossing powder from Stampendous on vellum.
A few more details:

Links that begin with (E) lead to USA online stores and manufacturer websites. Links without (E) lead to my store in Ukraine.




SUCH a good idea and I even have some craft foam to play with. I also adore that soft taupe colored cardstock – hope I can find something like it at my annual stamp show next weekend . . . lovely card, Yana!
thank you Sue! I’m so happy you liked it!
thanks for the tutorial and lovely card you made with the feathers!
thank you Betty!