Hello-hello, friends! I can’t believe November is almost over! The time seems to go flying by faster and faster each year. Today I have a trio of patterned paper Holiday cards to share all created using Spellbinders products. Yep, you are correct to think that Spellbinders doesn’t make paper goods, but they do now offer select paper products as a part of their Club Kit Extras.
I used November “Deer” Santa extras from November card kit to make all of the cards I’m posting today. This month extras include: 6×6 paper pad, stamps set, printed paper die cuts, image and sentiment chipboard stickers. All of these products are made in China, they are not premium quality (hence the price), but they do make nice cards. They also would make for a great gift for someone who’s new to cardmaking (perhaps you have a friend who’d like their hand at making handmade cards but doesn’t know where to start – these goodies would surely help someone dip their toes in cardmaking).
Like this project? Pin it and save for later | Curious about my project photography? Click for details.
VIDEO TUTORIAL
As always, I filmed a video tutorial showing how to create this project from start to finish. I’m hoping you’ll enjoy it. Watch it below or on my Facebook page:
(if you are reading this post in your email, please click over to my blog to see the video)
CARD DETAILS:
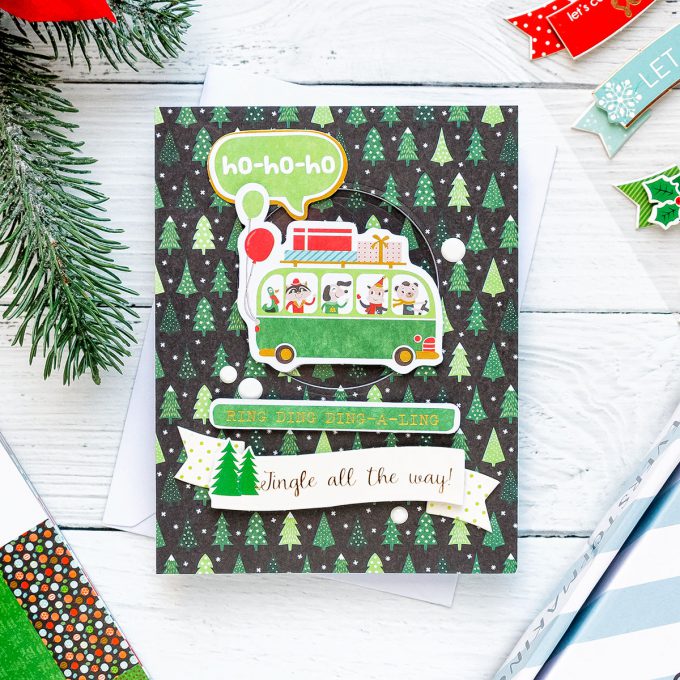
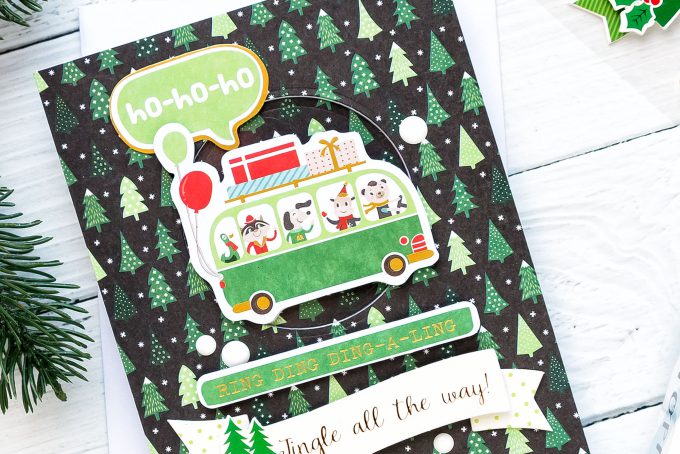
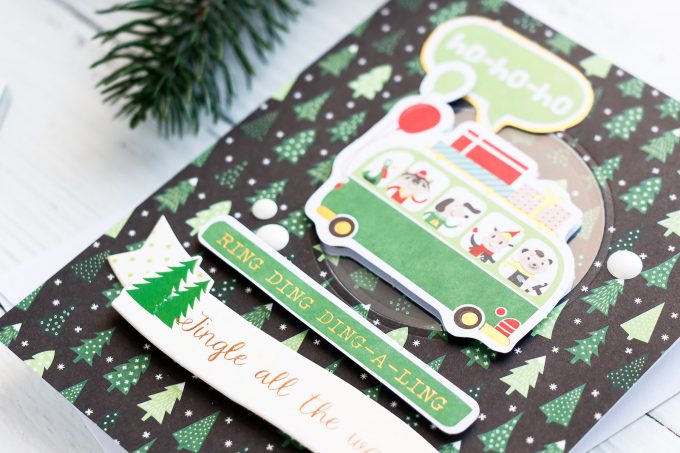
The printed die cut pack includes 2 of each die cuts and this gave me an idea for the card below. I die-cut a circle window in the front panel of my card, layered a piece of clear acetate in-between (quick tip – use the left over acetate from the sticker sheet) and foam mounted a Holiday bus die cut on top. To hide the adhesive from the inside of the card I coved it up using the the 2nd identical die cut. Win-win!
I used foam adhesive from my stash and foam mounted many of the card’s elements to give this project some dimension. If you know me – you know it’s one of my favorite things to do. I added some additional printed die cuts and a chipboard banner sticker with a “Jingle All The Way” sentiment. Lastly, I embellished my card using white enamel dots (although looking at this project now – these could have been easily skipped as they have gotten lost amidst the busy patterned paper).
MERRY CHRISTMAS CARD
For my next 2 projects, the love of simplicity has dictated the use of papers and embellishments. Hence the cards ended up being very clean & simple looking.
Like this project? Pin it and save for later | Curious about my project photography? Click for details.
VIDEO TUTORIAL
As always, I filmed a video tutorial showing how to create this project from start to finish. I’m hoping you’ll enjoy it. Watch it below or on my Facebook page:
(if you are reading this post in your email, please click over to my blog to see the video)
CARD DETAILS:
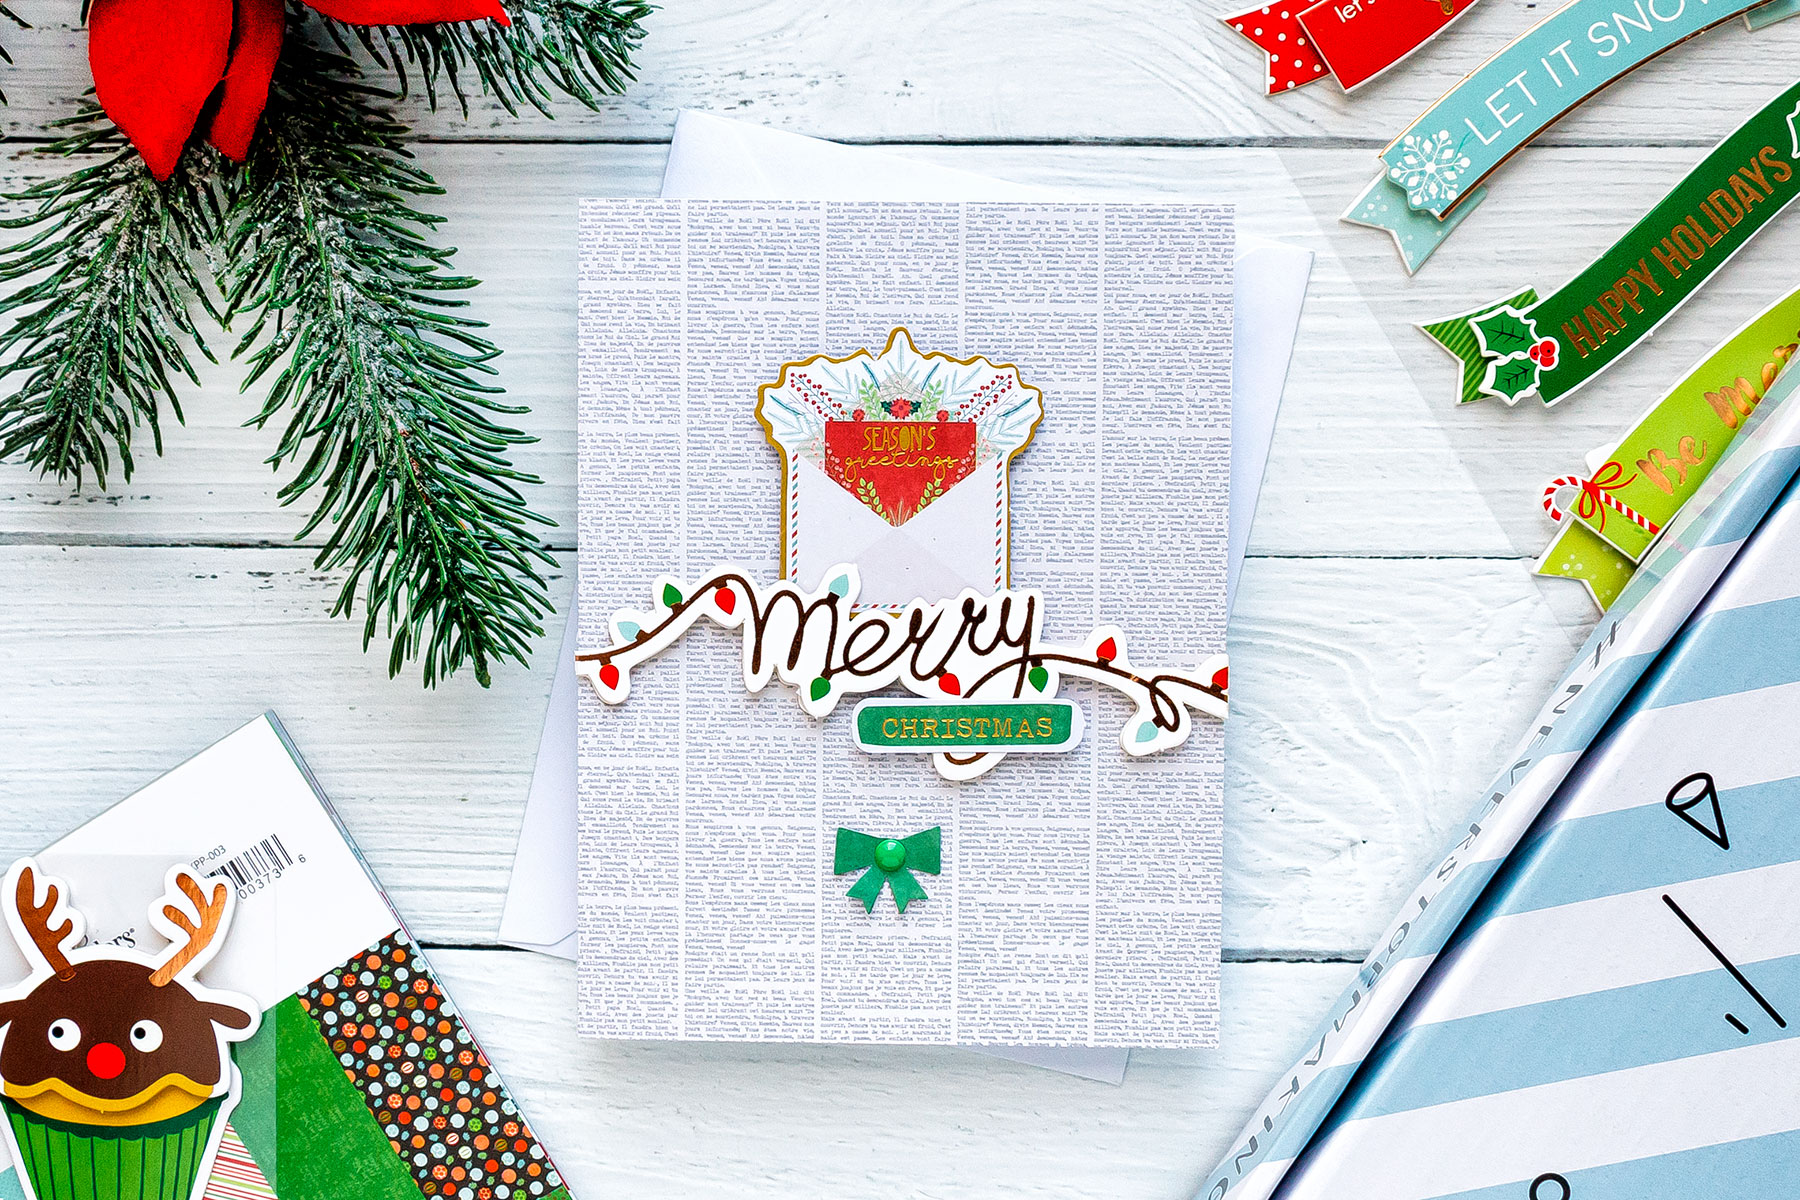
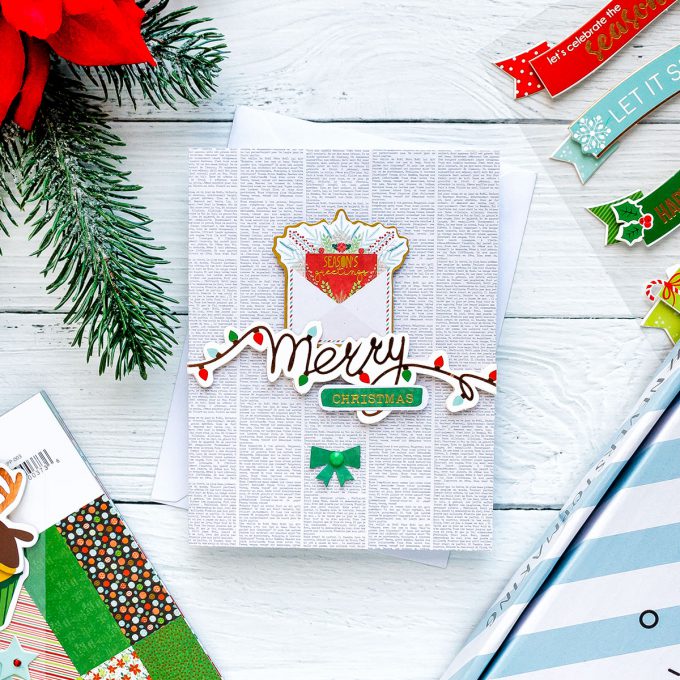
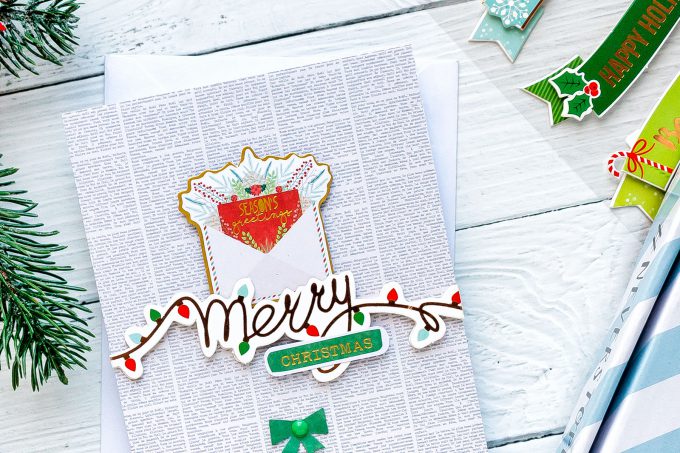
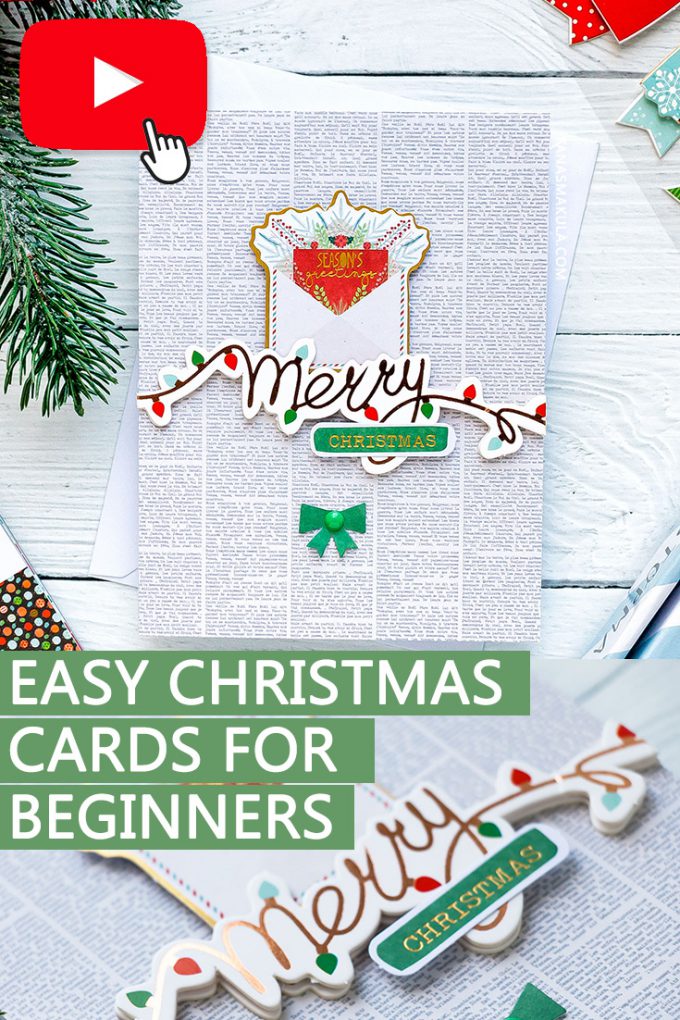
This card could not have been any simpler. I covered the front of an A2 white card base with newspaper print patterned paper (I love this design! and btw – you get 3 of each patterned paper sheets in the pack, so a lot of paper!).
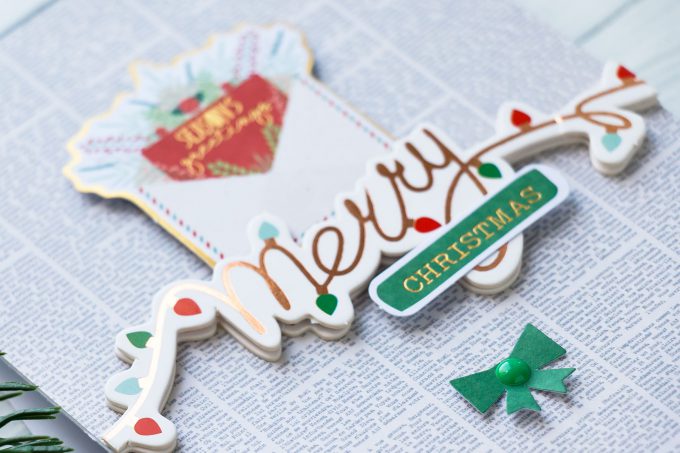
Next, I picked the layered chipboard “Merry” sticker and adhered it going across the card. I trimmed the ends slightly as it was a bit wider than 4 1/4″. I also added “Christmas” printed die cut over the loop of the letter “y” and tucked a pretty printed envelope die cut above the “Merry”; I made sure to use foam adhesive to pop it up on my card.
Lastly, I added a tiny green bow and accented it using a green enamel dot from my stash. Easy and pretty!
IT’S THE MOST WONDERFUL TIME CARD
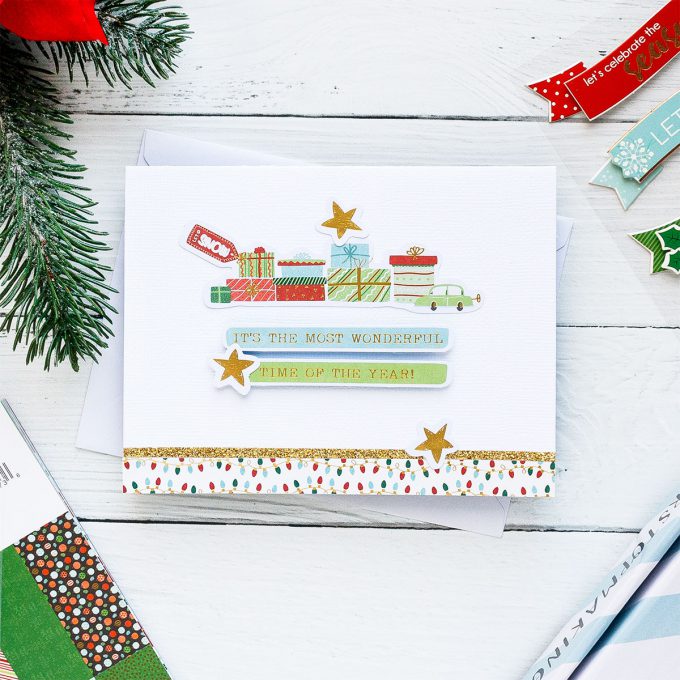
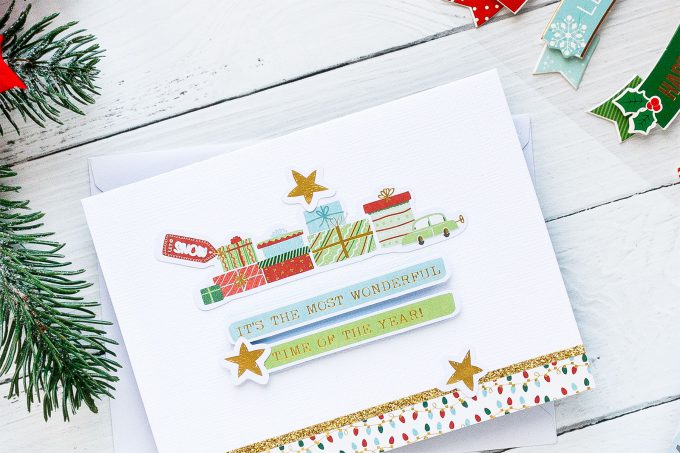
The last card for today is almost a one layer project if you don’t mind the popped up sentiment strips. I used a textured card base from my Spellbinders November Card Kit (it’s sold out) as a base for this project. Next, I added a strip of Christmas Lights patterned paper along the bottom edge (the lights string is actually done in gold and looks very pretty in real life). I also accented it with a thin gold glitter strip from my stash.
Next, I adhered a pile of gifts printed die cut and foam mounted my sentiment underneath to balance things out. Finally, I embellished this card using a few gold printed die cut stars. Once again an easy and pretty card!
SUPPLIES
I’m listing the products I used below. Click on the link to go directly to the product. Where available I use compensated affiliate links which means if you make a purchase I receive a small commission at no extra cost to you. Thank you so much for your support!
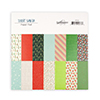 Deer Santa Paper Pad Shop at: SB |
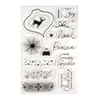 Deer Santa Clear Stamp Set Shop at: SB |
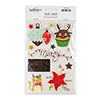 Deer Santa Holiday & Sentiment Stickers Shop at: SB |
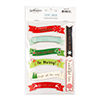 Deer Santa Chipboard Sentiment Stickers Shop at: SB |
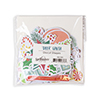 Deer Santa Diecut Shapes Set Shop at: SB |
 Spellbinders Platinum Die Cutting Machine Shop at: SSS | SC | SB | AZ |
 Neenah 110 Lb Solar White Cardstock Shop at: SSS | AZ |
 Spellbinders Standard Circles Small Dies Shop at: SB | AZ |
 Scrapbook Adhesives White Foam Squares Shop at: SSS | SC | AZ |
 Scor-Tape 1/8 Inch Crafting Tape Shop at: SSS | AZ |
SAVE ME/PIN ME TO PINTEREST
Like this card idea? Be sure to save it to one of your Pinterest boards for future reference!


Awesome creations!! The first one is super cool and so fun
OMG! Yana! I have so much patterned paper, and this idea is perfect!! I was going to “use it all up” last Christmas, and I barely made a dent. This idea is perfect. Thank you for bringing this! I’ve pinned it to remind me!!
I love pattern paper and really enjoy seeing cards created using pattern. Thanks for sharing your very pretty cards.