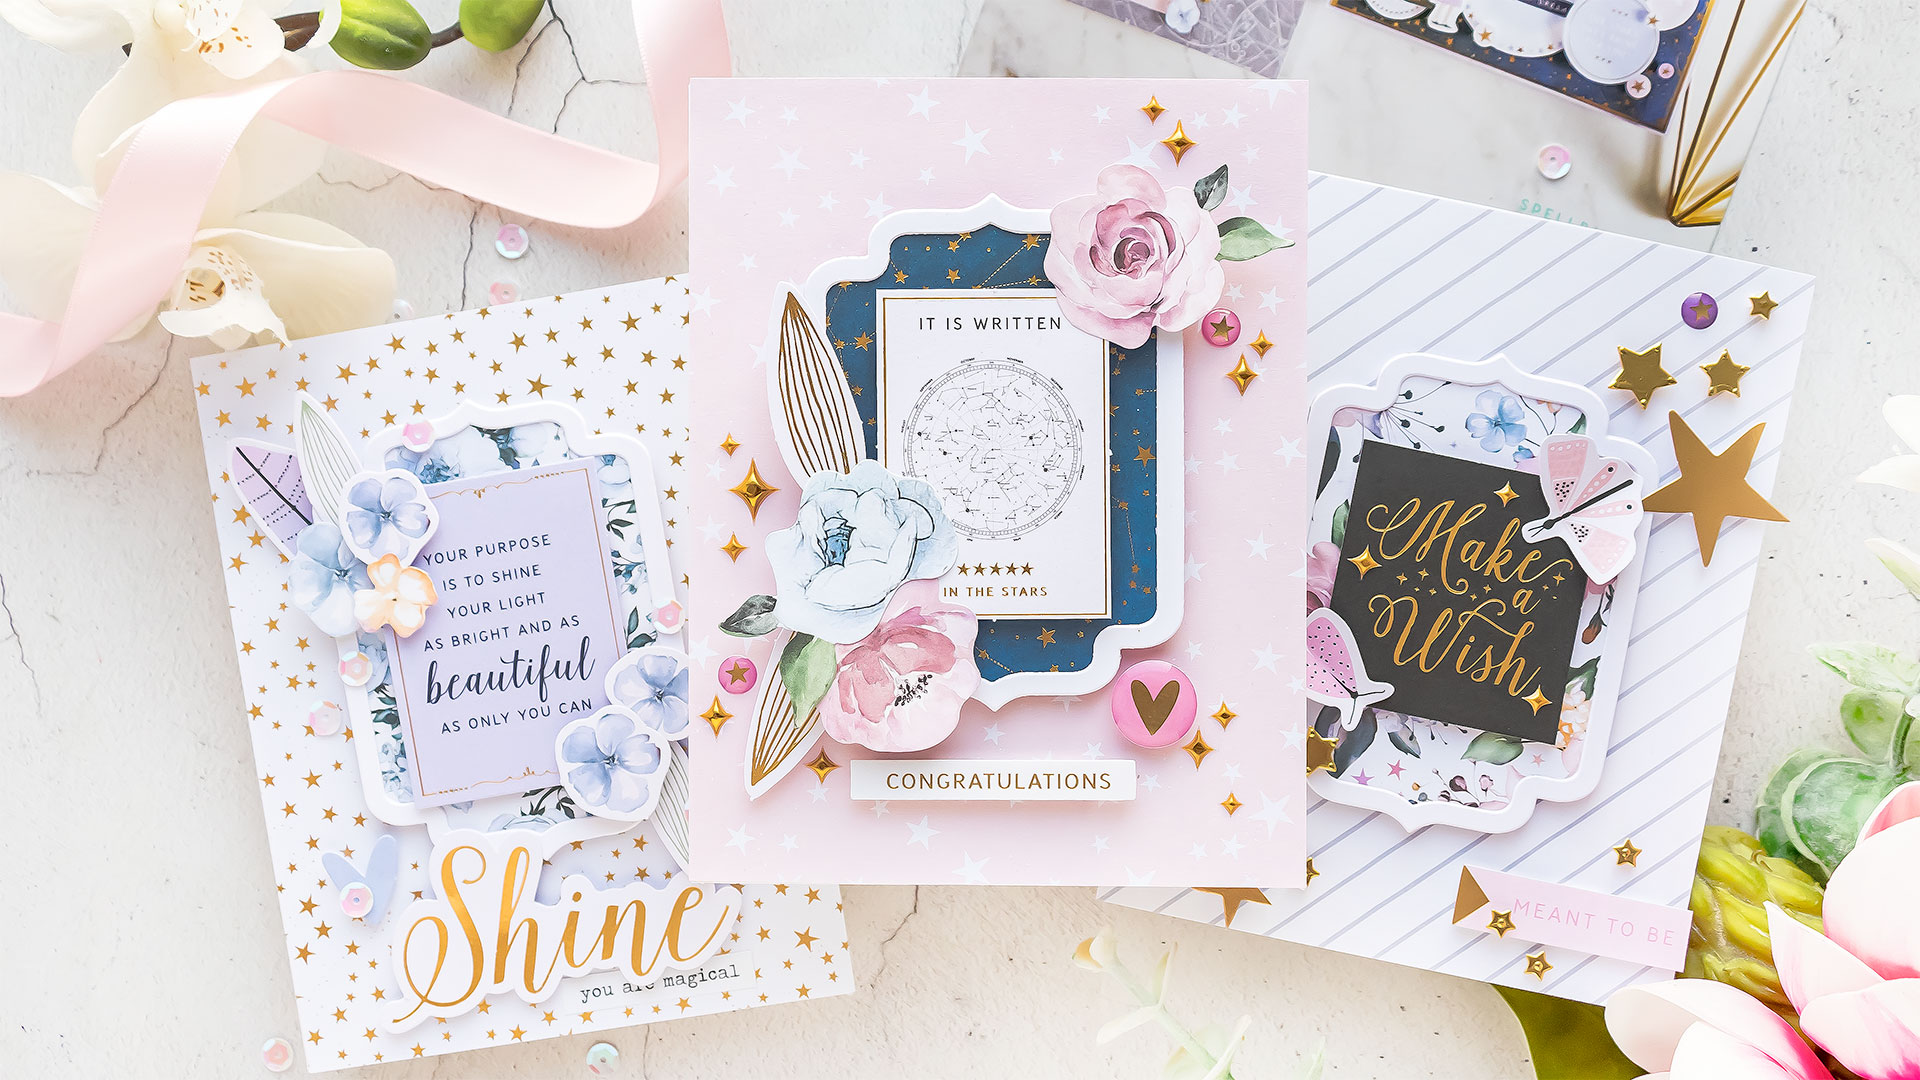
One of my favorite parts about cardmaking is photography! I am an amateur photographer (my hubby and his Dad are both very good at this and they always give me tips) and I love to creatively style my projects when I take photos for my blog. While there’s still a lot for me to learn (I never change the settings on my camera as I am simply afraid to mess things up) I wanted to share a little bit about various props I use to make my photos better.
I am breaking this post into a few sections for easy reading/scanning. I hope you’ll find this information useful! Feel free to share with your friends or ask questions in the comments section.
LAY FLAT PHOTOGRAPHY
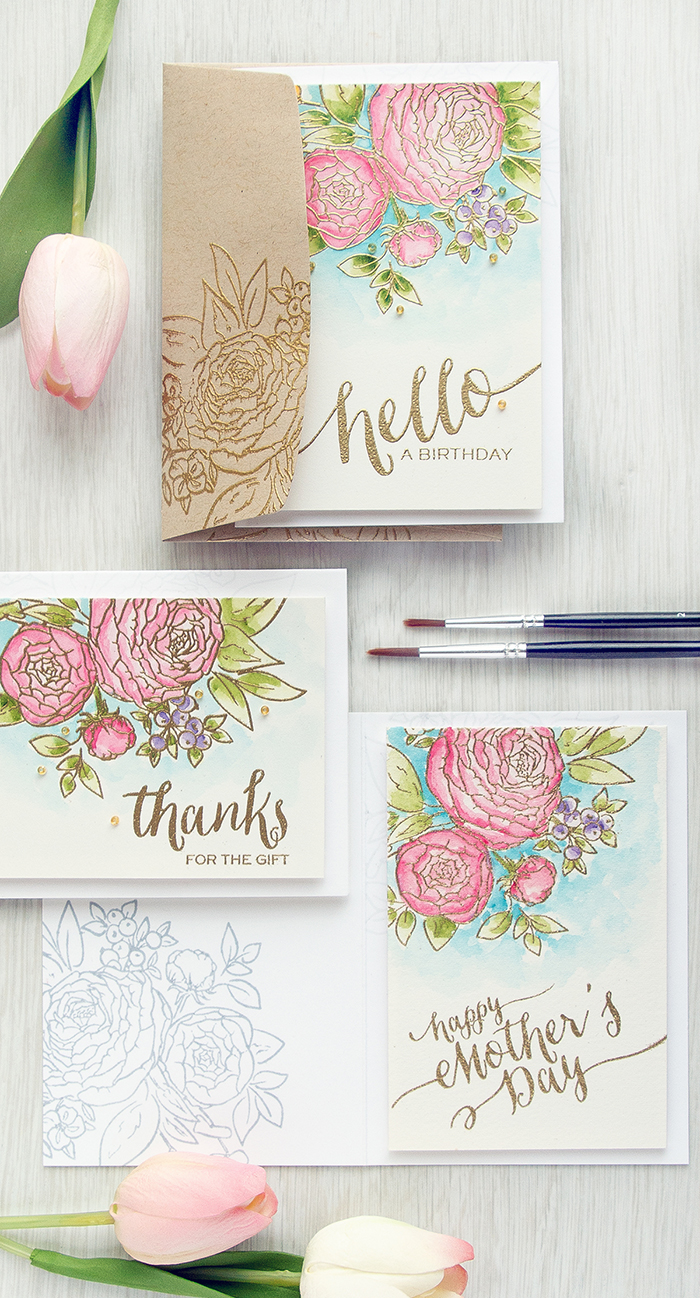
Since our move to Arizona my space is very limited (we live in a one bedroom apartment), thus I prefer lay flat photography for my projects. What is “lay flat”? This simply means that the object you want to photograph lays flat on a surface and the camera is located directly above it.
With lay flat I need no more than 4 sq feet of space on my desk to take good photos. In the past I used to take different style photos (I still love and I take them from time to time) but that kind of styling requires a lot more room which I don’t have.
BACKGROUNDS
When going for a lay flat picture one of the most important elements in your photo is the background. There are many different websites that sell gorgeous professional backdrops for photos (Debby Hughes has some listed on her blog). I am yet to shop there lol! Instead I use everyday household items and surfaces as backgrounds.
BACKGROUNDS – YOUR FURNITURE
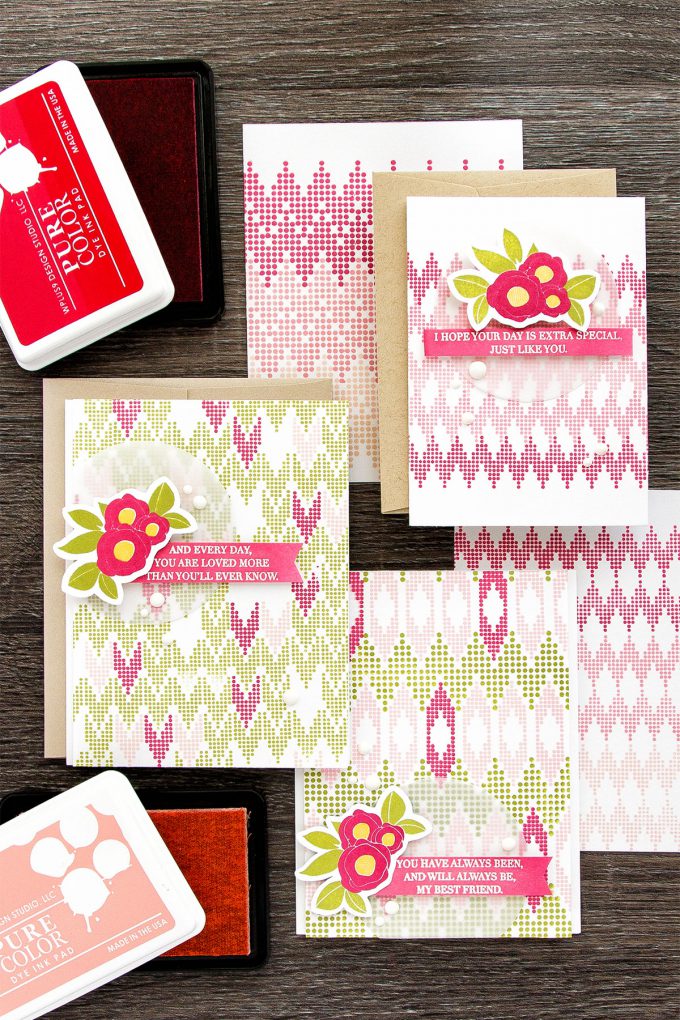
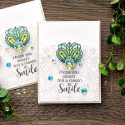
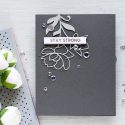
One of the backgrounds I use most often is the surface of my computer desk. When I was shopping for this desk I knew I would use it for photos so I kept that in mind when picking out the color and texture of the wood. I love to use it for simple, almost one-layer light projects. The dark color of the background helps the card colors pop. Click image to see bigger photos.
BACKGROUNDS – ON THE FLOOR
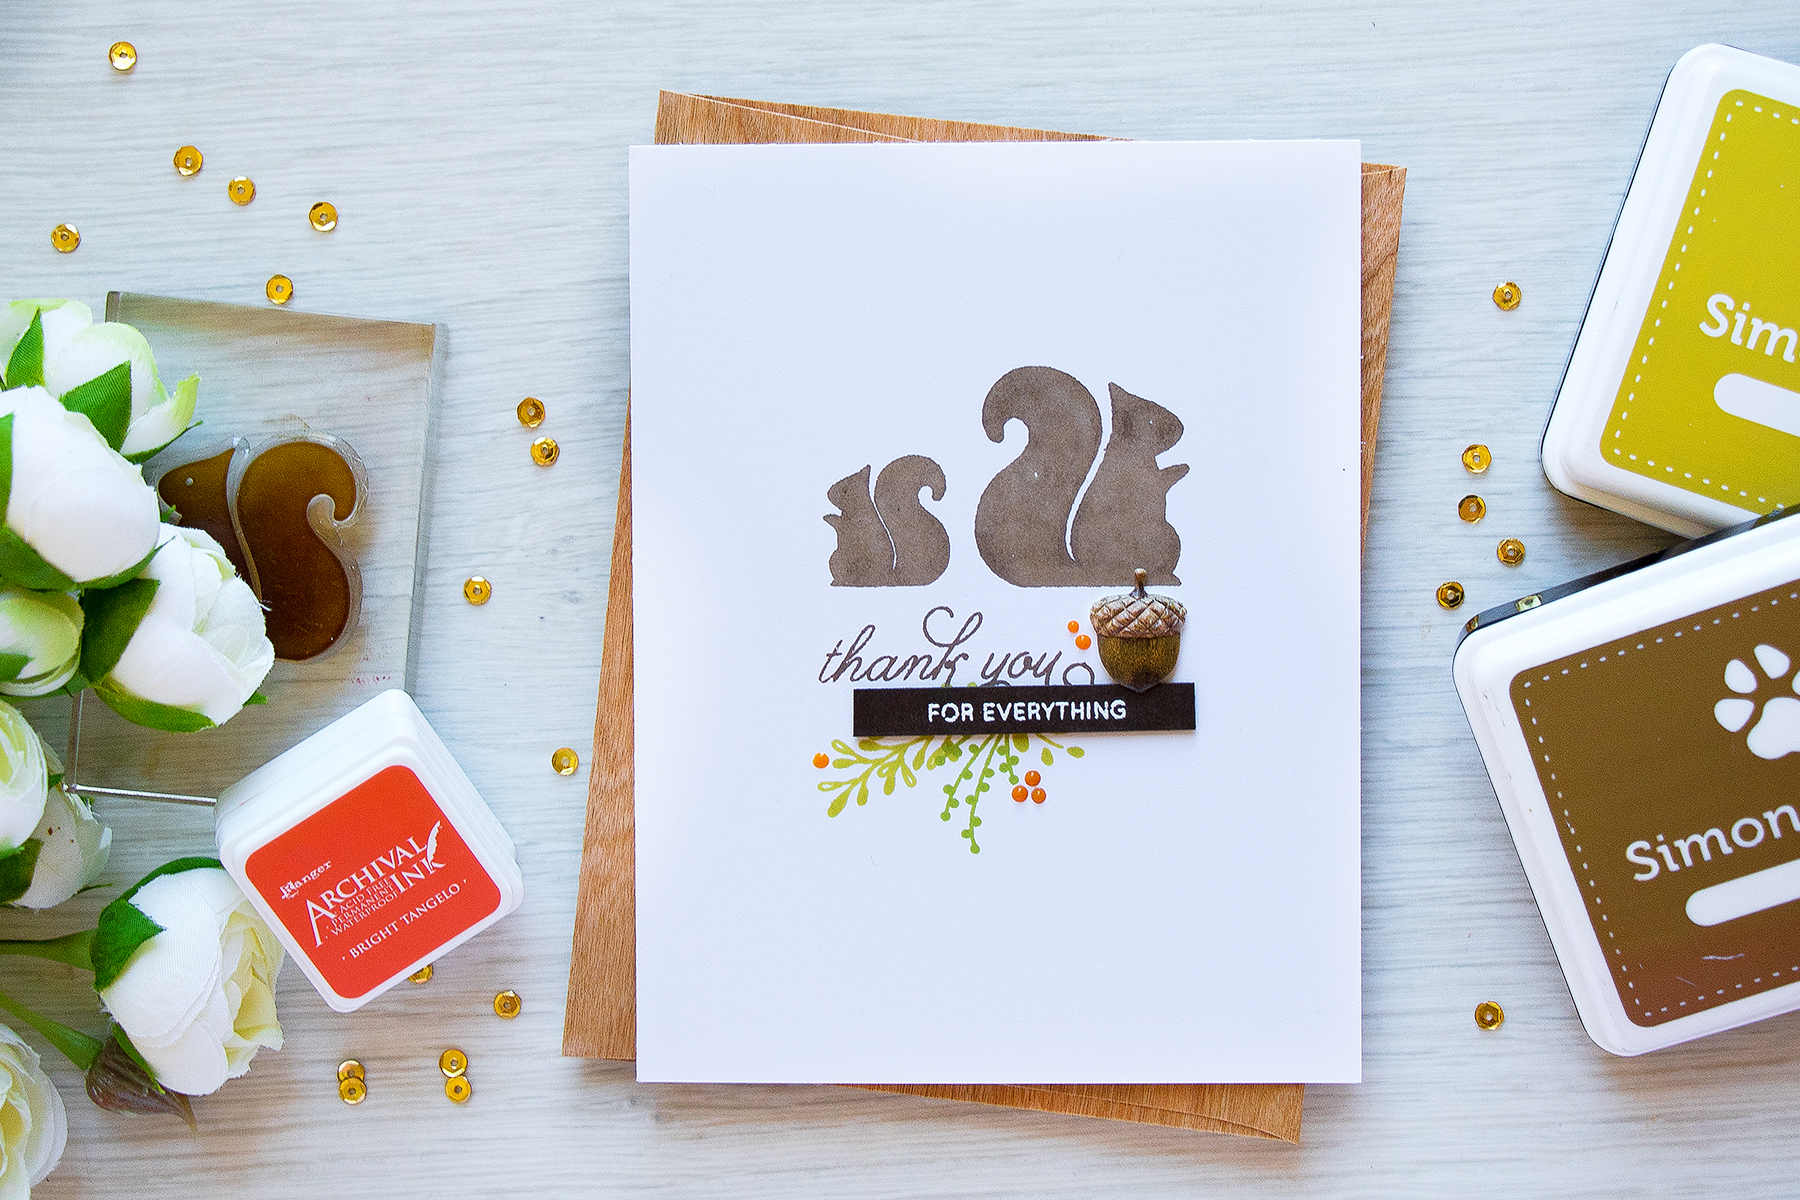
For a light woodgrain background I like to use a floor board. This is an actual floor board I brought with me from Ukraine. My Mom has this exact floor in her bedroom and when she had this floor installed there was one left over board which I kept for my photos. I had it cut slightly smaller and now often use it when I need to take vertical or skinny horizontal photos. It is very narrow so it doesn’t always work for every photo, but it works great for small 4 Bar cards.
BACKGROUNDS – WOOD SLICE
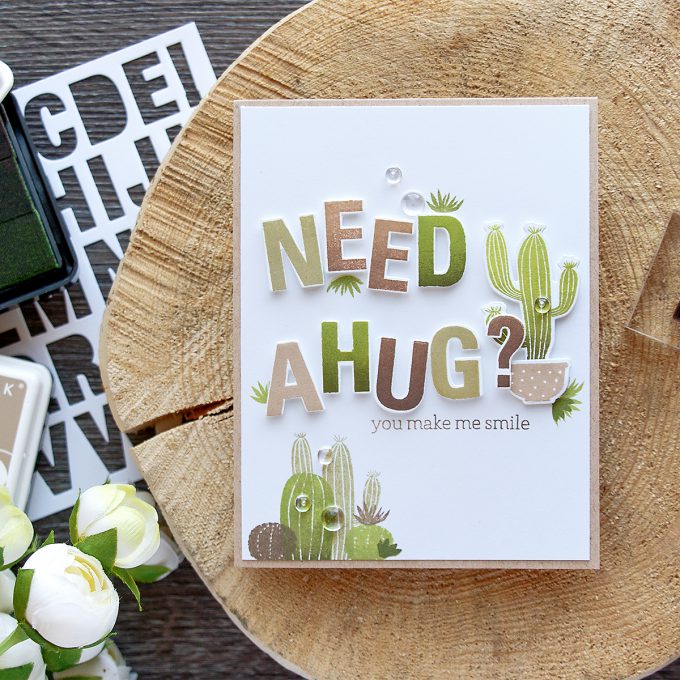
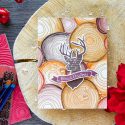
This is something I recently bought for just $5 at Junk In The Trunk. This is a natural, unpolished, unstained, very uneven slice of wood. I find it works great for Fall or floral projects. I love to use it on my desk to “break up” the background and add some movement to my photo.
BACKGROUNDS FROM THE KITCHEN
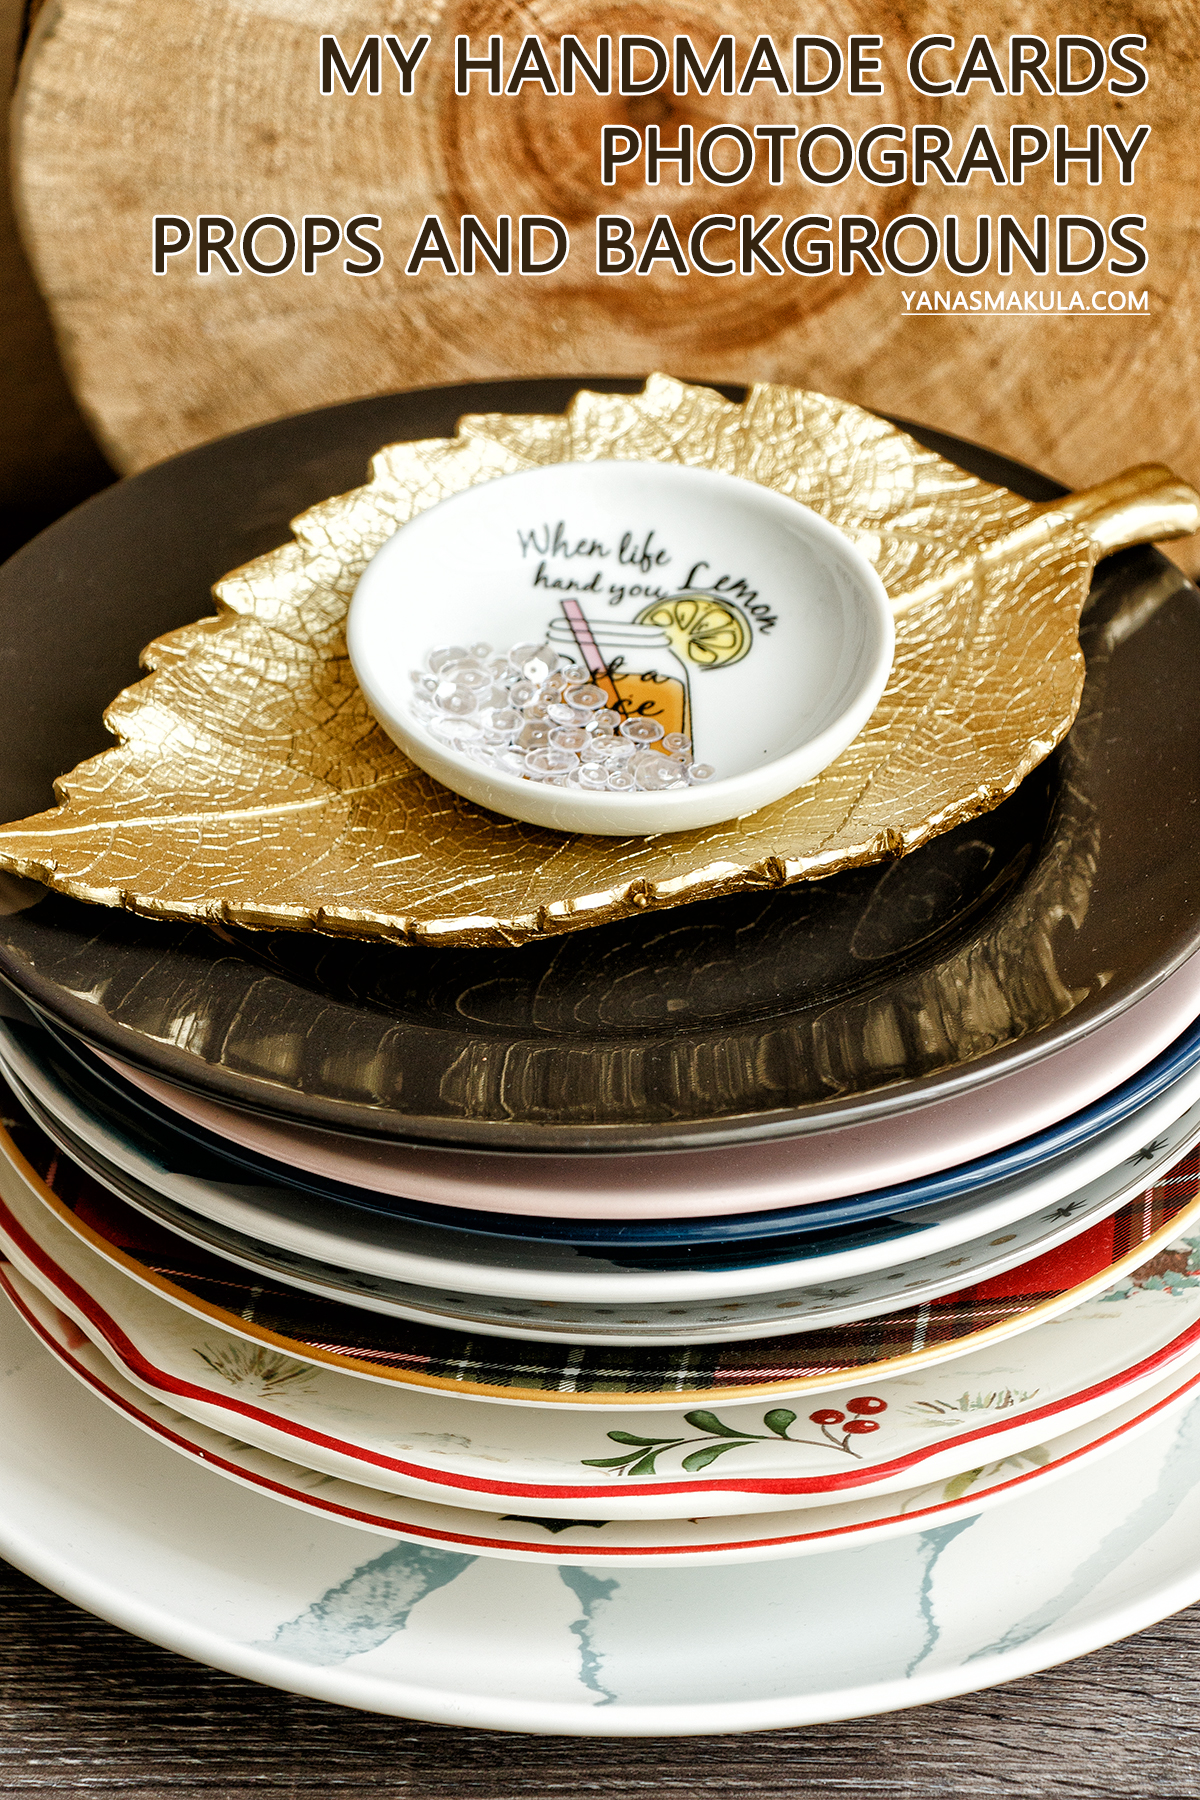
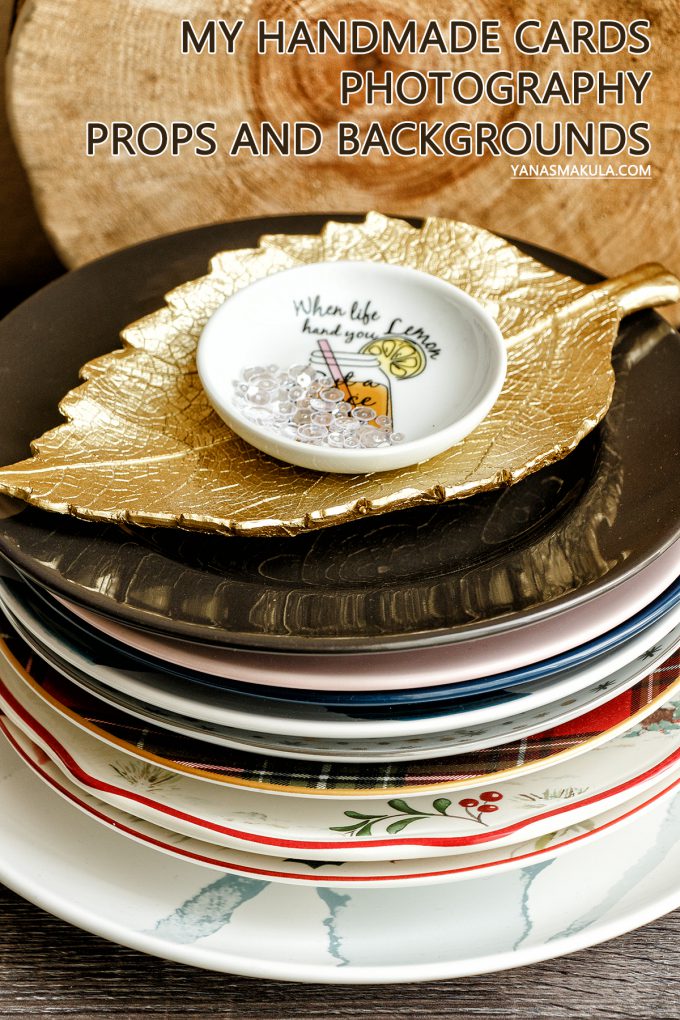
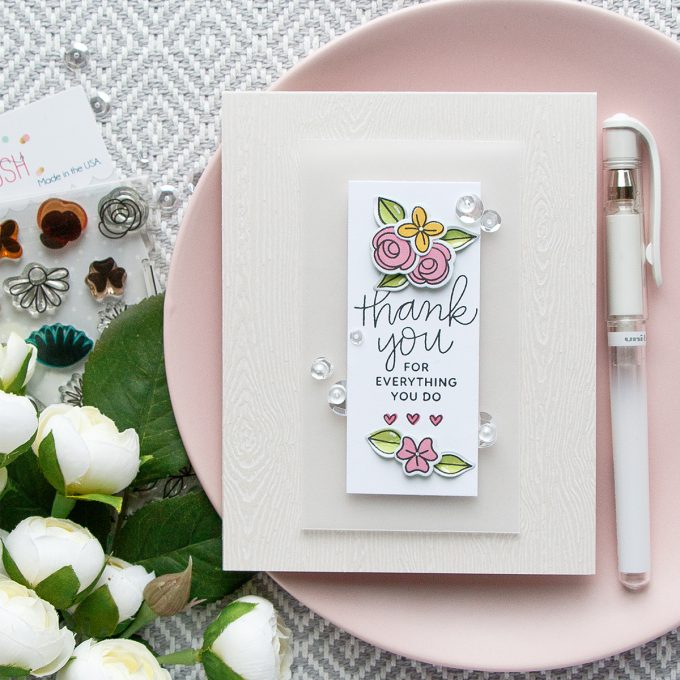
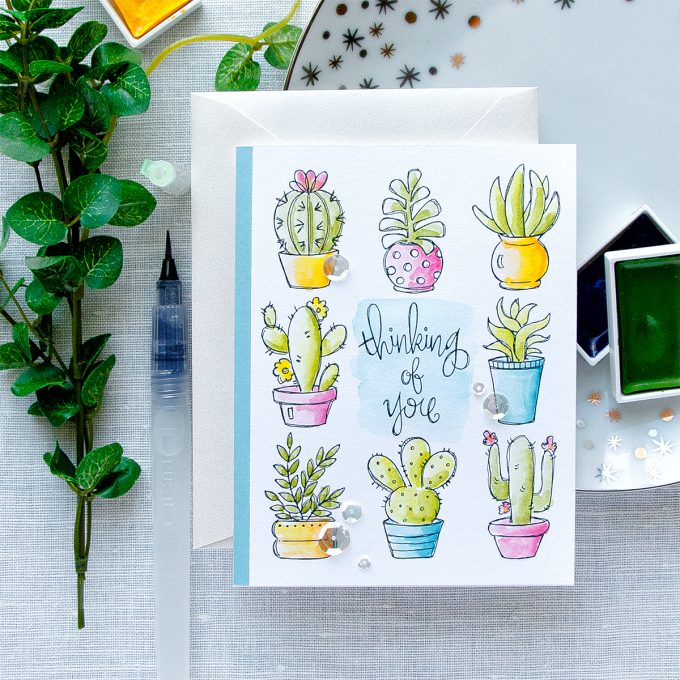
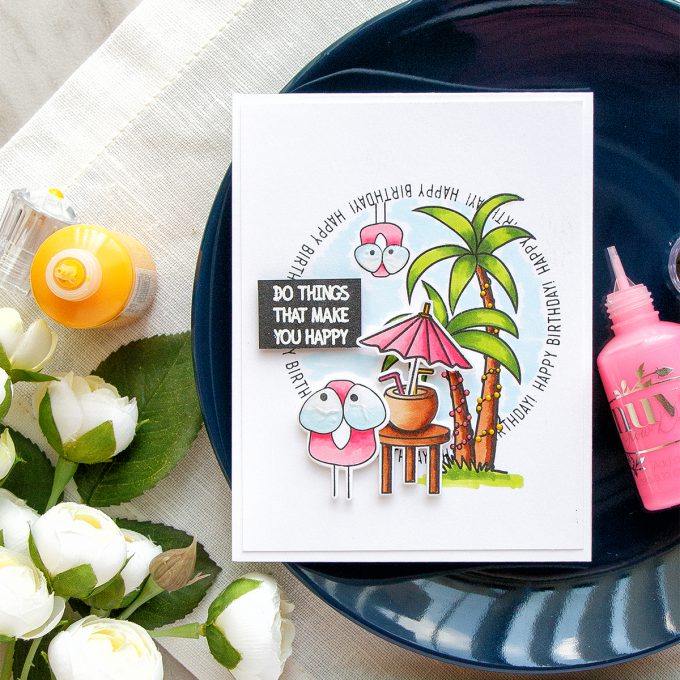
Ceramic plates are fantastic for taking photos. I prefer to use matte plates, but shiny plates also work really well. These are regular dinner plates you can find at any store. I got mine from TJ Maxx, Walmart, Pier 1 and IKEA. I don’t buy the whole plate set, only a single plate and keep it near my desk with all of my photo props (I don’t keep these in the kitchen).
I only have a handful of plates as it’s hard to find a good design that does not compete with the card, but rather complements it. Keep in mind even a plain white plate can work great as a background prop.
BACKGROUNDS FROM THE LINEN CLOSET
Neutral colored, natural fabric or non-shiny plastic placemats and napkins make great backgrounds. Bright colored items can be used as backgrounds as well, but you’ll be limited to using them for just 1 or 2 projects, so don’t go buying every color placemat you can find. You can find these at just about any home decor store. I bought mine at Ikea and Walmart.
This is a $2 plastic placemat from Walmart
BACKGROUNDS – TILE
I was pleasantly surprised to learn that one can buy tile by 1 piece (instead of a pack) here in the USA. I went to Home Depot and Lowes and picked up a marble-looking tile (for under $2) and two self adhesive plastic tiles (for under $1 each). You might already have a pretty tile somewhere in your home, check the kitchen or bathroom floor or even the balcony for a nice background.
PHOTO PROPS
There are many, many items one can use a photo prop. I always look for simple home decor pieces to include in my photos (and decorate my home with) and I also tend to use my supplies in photos as well.
PHOTO PROPS – FLOWERS & GREENERY
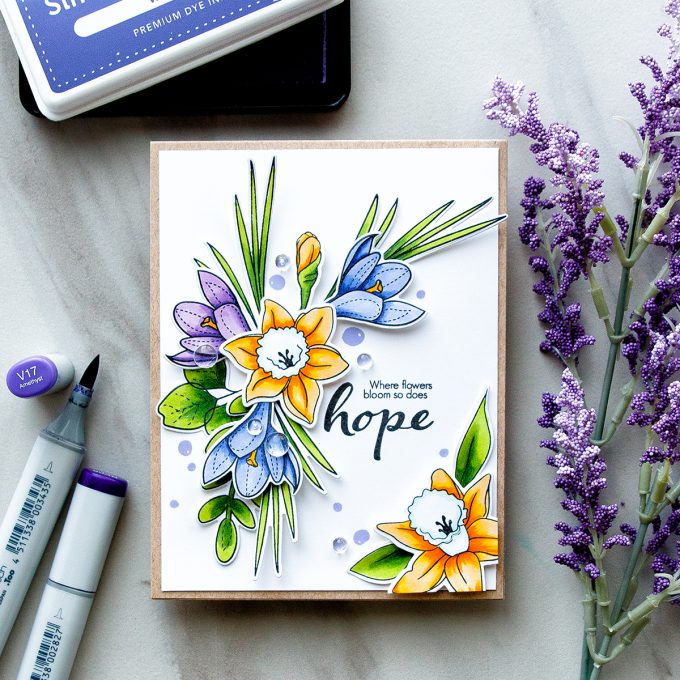
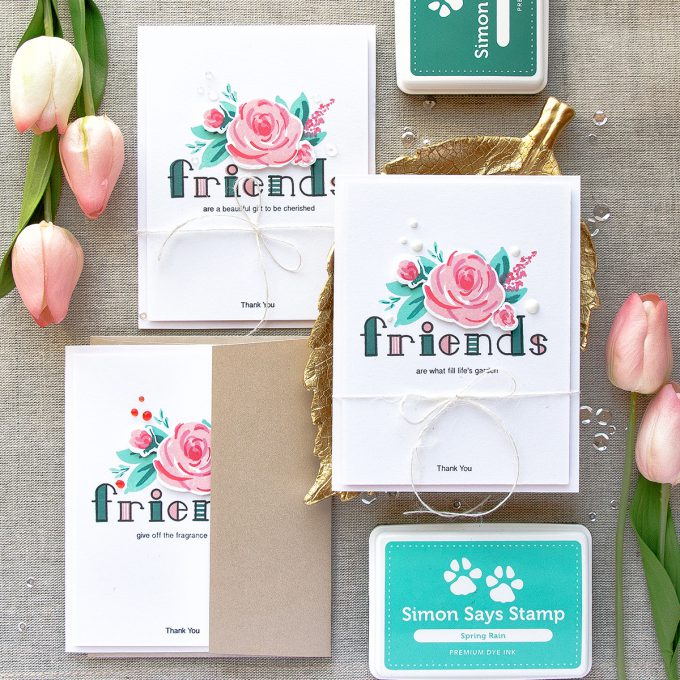
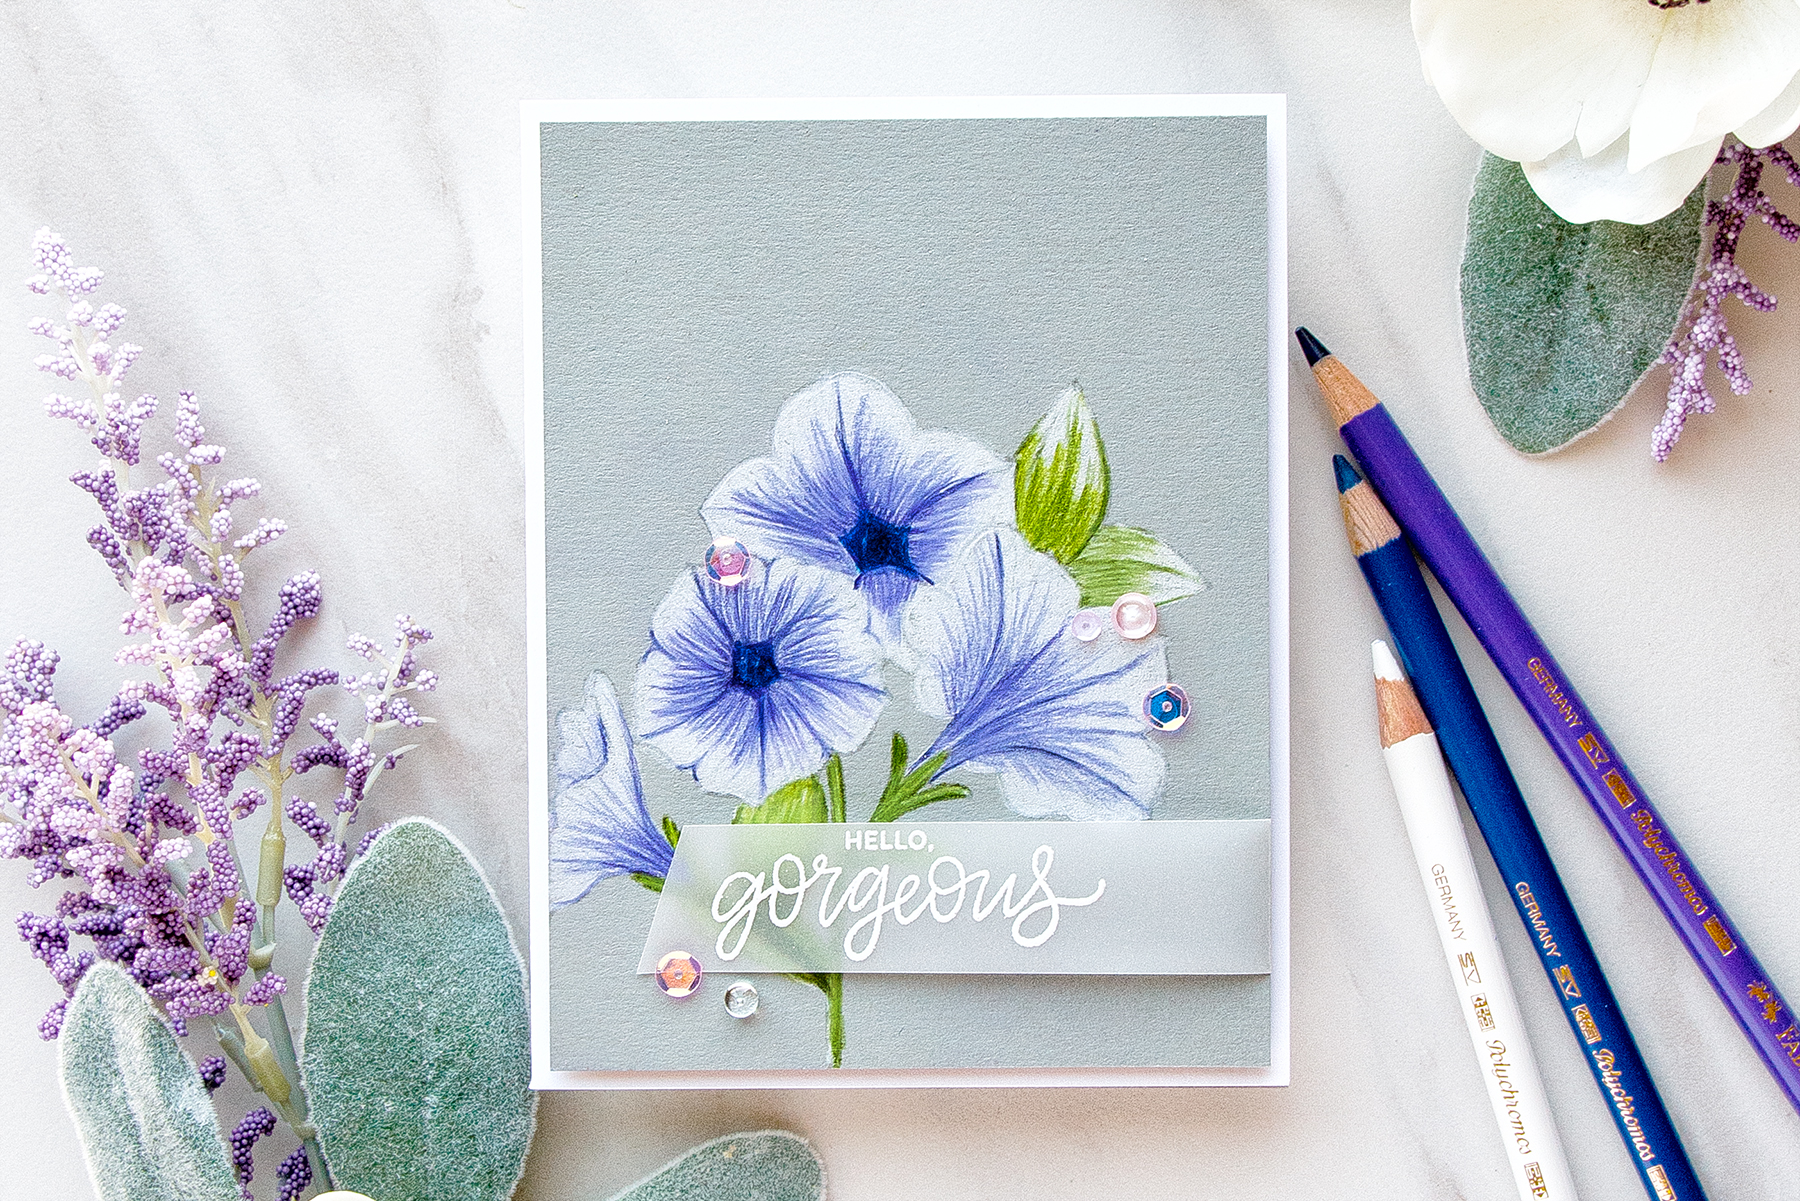
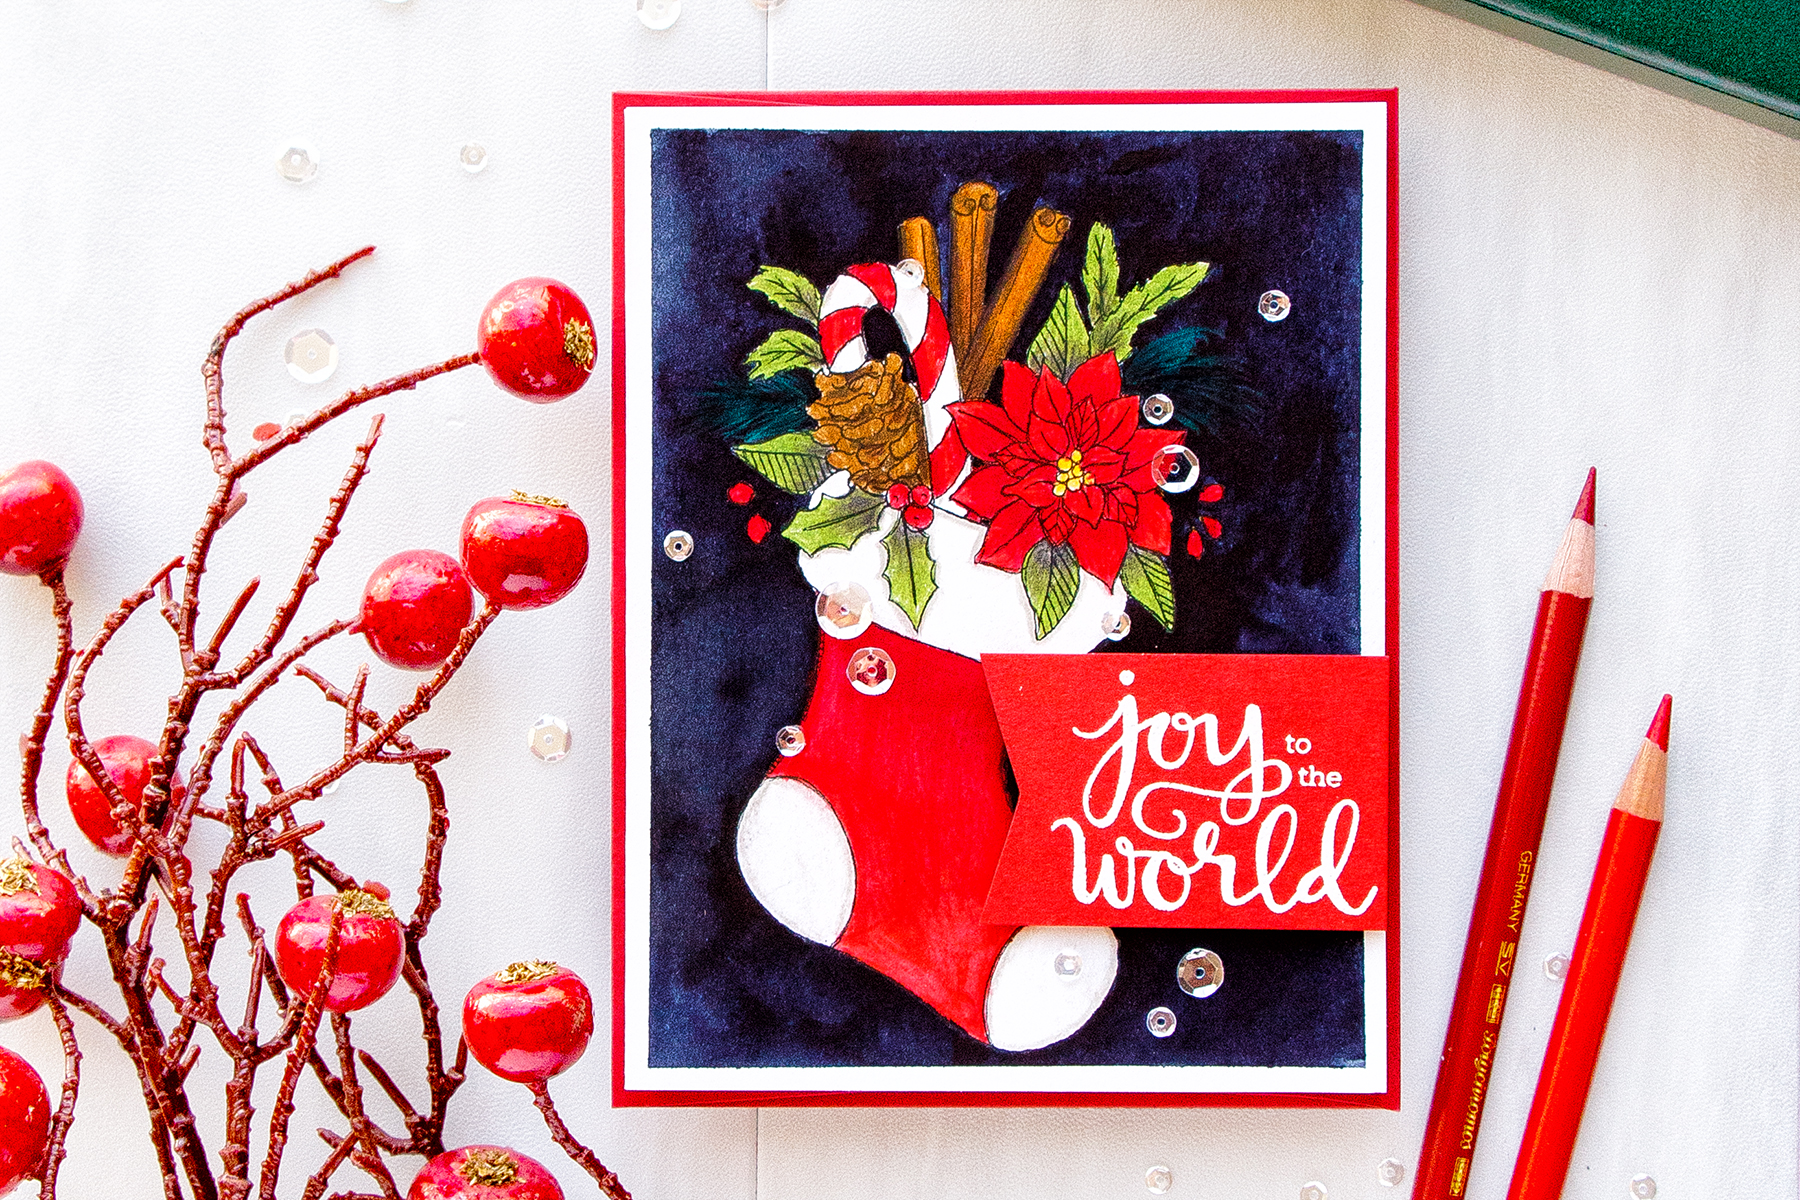
I love to use silicone flowers for my photos (I also have some fabric flowers, but I don’t quite love them as much, they don’t look very real). I used to have a huge collection of flowers, now I scaled down to just a handful seasonal, however I am always looking for new florals to add to my collection.
I also love to use simple greenery instead of flowers. This doesn’t always work, but it offers a nice change to my photos.
PHOTO PROPS – CRAFT SUPPLIES
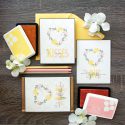
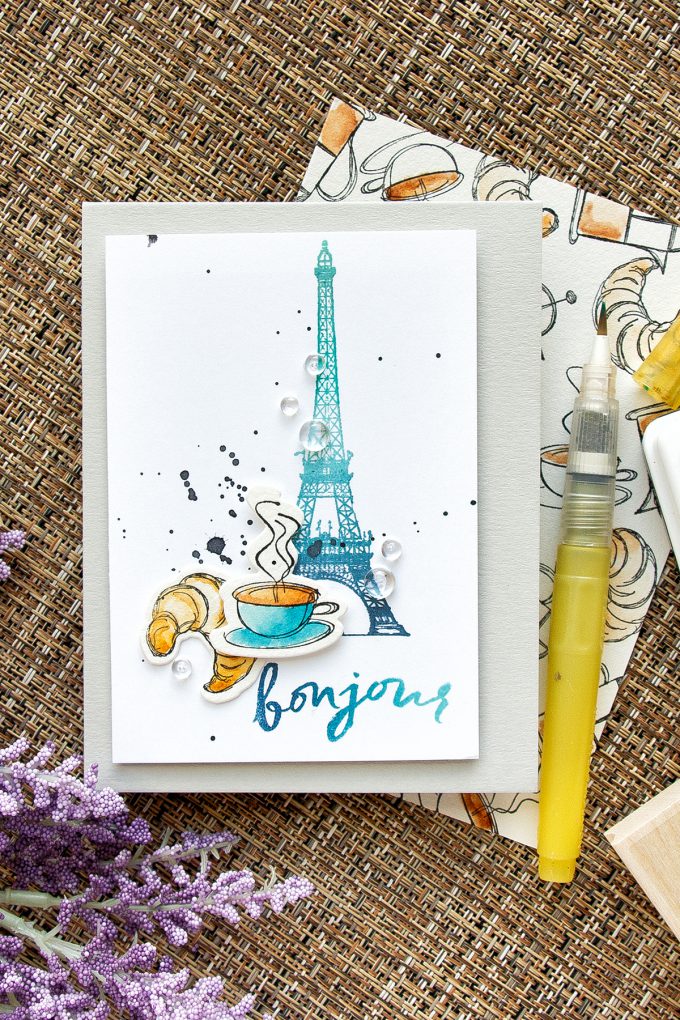
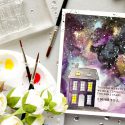
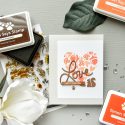
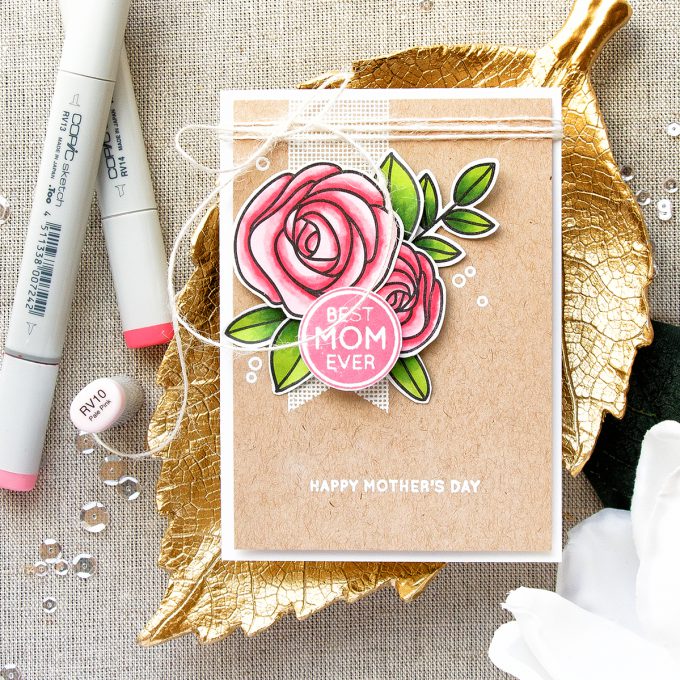
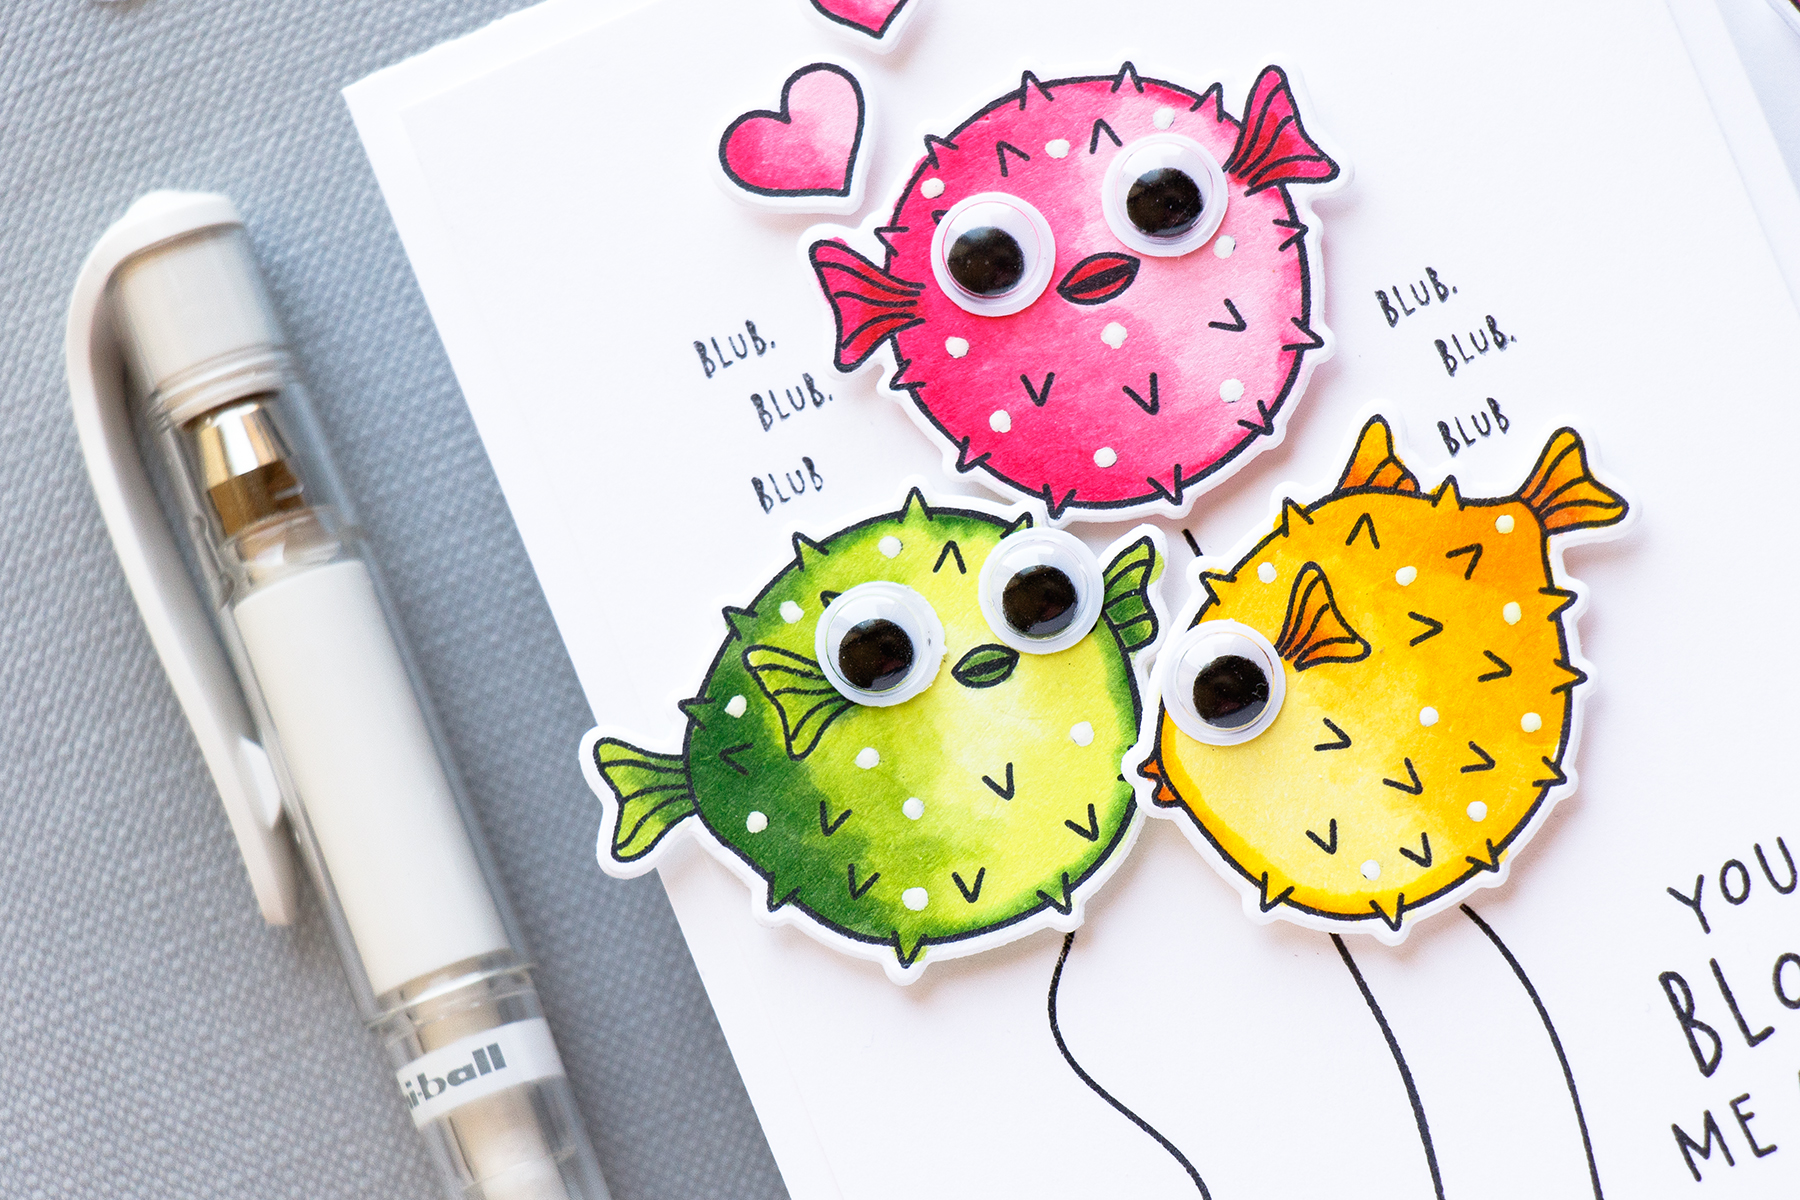
Whenever I photo a project where I did a bit of coloring I try to include coloring mediums I used. Ink pads, brushes, even stamp sets all make great props for photos. Other ideas include: watercolor pans, pretty pens, pencils, stamp sets and dies, additional stamped and die cut pieces, washi tape, twine.
PHOTO PROPS – SEQUINS
Sequins make everything better! I seem to always sprinkle a few sparkling clear sequins from Pretty Pink Posh around my focal point. I love to use this particular sequin mix because it is a bit sparkly, it is clear (and thus goes well with any project) and has a good variety of sizes. I keep my photo sequins separately from my crafting sequins – they are stored in a small dish in my desk where I take my photos.
CAMERA & GEAR I USE
The camera I use to take photos is (affiliate link used at no additional cost to you) Canon EOS 7D MARK II along with EFS 18-135mm lens. I also have an external Flash which I used to use a lot (Speedlite 580EX II) but hardly ever use these days as I much prefer taking photos with natural light next to a window. I use a step stool to be able to stand directly above my styled photo. I also often use one or two $1 whiteboards to reflect light and block the color from whatever color shirt or pants I’m wearing.
I take my photos in RAW and always edit them in Photoshop.
CONCLUSION
It is very easy to get carried away with all the specialty photo props and equipment. I am not saying do not invest in high quality professional items, but do first look around your home to see what you can use. You might have a gorgeous wood or tile floor or a beautiful collection of napkins and placemats that can be used as backgrounds. If you have a garden – you can try picking fresh flowers to use as props.
As for the camera – if you have good lights you can take wonderful photos using just your phone.
I hope this blog post has been useful and encouraging. Feel free to leave me a comment, ask questions, email. I am just an amature, but I love what I do and I think this is what matters most.












Wow! thanks for sharing your expertise on photographing the cards you make. I’m just about to leap into a website and I appreciated your helpful information.
Your photographs are always look beautiful and professional. Thank you for sharing your tips – these are so simple but the result is outstanding! Thank you, Yana!
Your photos are always as beautiful as your cards! Love that dish you have your sequins in – cute! Thanks for all you do and all that you share with all of us!
Yana, Thank you so much for this lovely article. You have given us so many wonderful ideas. Your photos are always so lovely! hugs, treen
Great tips Yana as your cards are always beautifully photographed! I have a light box that my daughter bought when she started her jewellery business. She has since invested in a more expensive one so I became the recipient of the original one. I have a lot to learn yet about using it AND photography but it is fun playing around with it and getting insight from others. So thanks for sharing what you have learnt!
Fabulous tips!! Your photos are wonderful
Yana, I love your style of photographing your cards. I like the use of the plates, flowers and art tools. I think you should be proud!…and Welcome to the States!!!
Thanks for the fabulous and informative post!! You know how much I admire your work and your photographs too! ❤️
this is so very helpful! Thank you! I’ve been trying to figure out ways to improve the photos of my cards! Perfect timing for me =)
Great, great post Yana! Thank you for all your trade secrets! LOL I’ve always loved how you photograph your cards…always beautiful!
Great blog post, love all of your wonderful ideas! I use my dining room table for most of my photos (about the only use it gets 🙂
Your cards and pictures are so amazing, I would never believe you are an amateur.
Thank you so much for posting this, I always wonder how I’m going to take pictures of my cards for my Etsy account and I’m definitely going to use some of your tips, thanks again ❤️
This is so so helpful! I have always taken notice of your pictures of your cards. They’re always so creative and really bring out the card. I don’t post pictures of my cards as they are horrible and do nothing for the cards. I use to take pictures every once in a while but almost always deleted them. Maybe some of your tips will benefit me…or maybe not. One can always hope, right?!! Lol. Thanks for sharing your expertise
A wonderful informative post – thanks so much Yana
Your set up and photos are always so lovely. You are sweet to share the back story information, thank you!
I’ve always thought that you have gorgeous photos of your cards. Thank you for all of the very useful advice. Those tulips look so real. I was wondering if you had planted them around your home, they look so fresh!
You may think your an amateur at this Yana but I think your brilliant at doing what you love xx
Fantastic post. Thanks for sharing your tips & tricks.
Great tips! I’ll have to look for some linens, placements and flooring to use!
Yana, your card photos are delish! They are beautiful with lot of texture and detail. Thanks for sharing!
So much wonderful information! Makes me wish it wasn’t bed time and I could go in my studio and play photographer. Thank you for sharing all these useful tips.
Great backgrounds and what a difference they make … I like the ones you used with the cards. Great to have an idea of how and what goes where.. Thanks for sharing your ideas.
Thanks for sharing! This is such a help. Love your cards and photos!
Amazing work; both cards and photographs
Thanks so much!
Thank you for taking the time to share. This was very helpful as I am right at the point when I want to go one better for my card photos. Beautiful work!
Thank you for the informative post! Thanks for sharing.
Thank you so much for this information!!!
This is a fabulous article – thank you!
Very needed post! You’re one of the best “on the market” when it comes to photos (and cards too;)) and your tips are so helpful! What I appreciate the most is that you shared your way of thinking when choose backgrounds and props. Your post makes it obvious that great photos don’t mean $$$ spent on backgrounds and props 😉
Great ideas and beautiful styling! Thanks for the tips.
Just brilliant and so very needed! I have admired your work for such a long time! Thank you so very much for sharing with us!
Thank you, Yana! I’ve been looking to improve my photo shots for my projects and your prop ideas have set off a light bulb in my head. Thank you so much x
Thank you for the info.! I wanted to take different photos of my cards but didn’t know where to start. You explained it all so well. Thankutoomuch!!!
Thanks for all the suggestions, you have me looking around my house. Your staging is awesome and so are your cards.
Yana,
Thank you for sharing! I just love your photo’s they are amazing.
I learned a lot! Thank you!
I too love to take nice photo’s of my cards and enjoyed reading your tips.
Great information for a newbie like me! Thanks!
Oh wow I’m so pleased you’re in the blog hop or I might never of found you. . What inspirational ideas you have. THANKYOU SOOOOO much for sharing your talent. X.
Amateur?! No way…you are every bit as good as any professional – your photography is amazing! I would love to know how you get your photos so nice and tall (and consistently sized) for Pinterest?
awww, thank you, Debbie! I just plan them like that ahead of time and when I go to edit – I crop them vertical, horizontal and square
Great information! Thank you for this post.
Very helpful post, Thanks Yana!
This was a great post Yana, thanks for sharing your expertise! When you are taking the photo are you facing the window or is the light behind you? Thanks so much Sharon Prophet
thank you, Sharon! The window is either in front of me or to the side. Never behind me as that will cast a shadow from my body.
Thank you so much for this post – lots of great information! I’m always trying to improve my photo-taking, and I do use items from around the house, but you’ve given me lots of ideas that I hadn’t thought of!
Hello Yana, I have been following your works for such a long time. I really loved the cards you created prior to you jpining your current DT. More interest, more embellishing, which set them apart from your current designs. Anyway, I do appreciate this post. I have learned so much that I was struggling with. The camera, the props…..Thank you. Check my works on instagram at Dahlia622.
Thank you for all the tips, going to try some of these my self
Hi Yana,
Thank you so much for this post. I love making my cards, but have no idea how to style the photographs. I always feel that the pictures I take, don’t compliment all the love and hard work I put into making the cards. I am excited to try some of the techniques and ideas you shared.
Take care
Tracy
Thank you so much for sharing. These are really great tips and you photos are always gorgeous.
You are very talented in both your cardmaking and you photos! I always love the layouts of your cards….Thank you for sharing you ideas. I only take photos of my cards for my own use, but I love to have them look good! Your photos inspire me!!!
Thank you, Yana. You do take some of the best photos to showcase your gorgeous cards.