Hello crafters. In today’s video, I’ll show you how you can make unique abstract painted backgrounds for your handmade cards using watercolor paper, acrylic paint, and a flat brush. It is a very simple technique. I’ll also show you how I used these backgrounds to make several cards.
Like this project? Pin it and save for later | Curious about my project photography? Click for details.
VIDEO TUTORIAL
Watch the video below or on my Youtube channel.
Like this video? Please give it a big thumbs up (you can do this on Youtube video page right under the video) and share it with a crafty friend! Leave me a comment too, I love hearing from you!
DETAILS
You’ll need several colors of acrylic paint, 1” wide flat paintbrush (flat brush works the best for this; the size of the brush will determine the size of the strokes on your paper, so if you want smaller strokes, use a smaller brush), and watercolor cardstock. Any thick watercolor paper will do. You want something to be able to hold a lot of moisture.
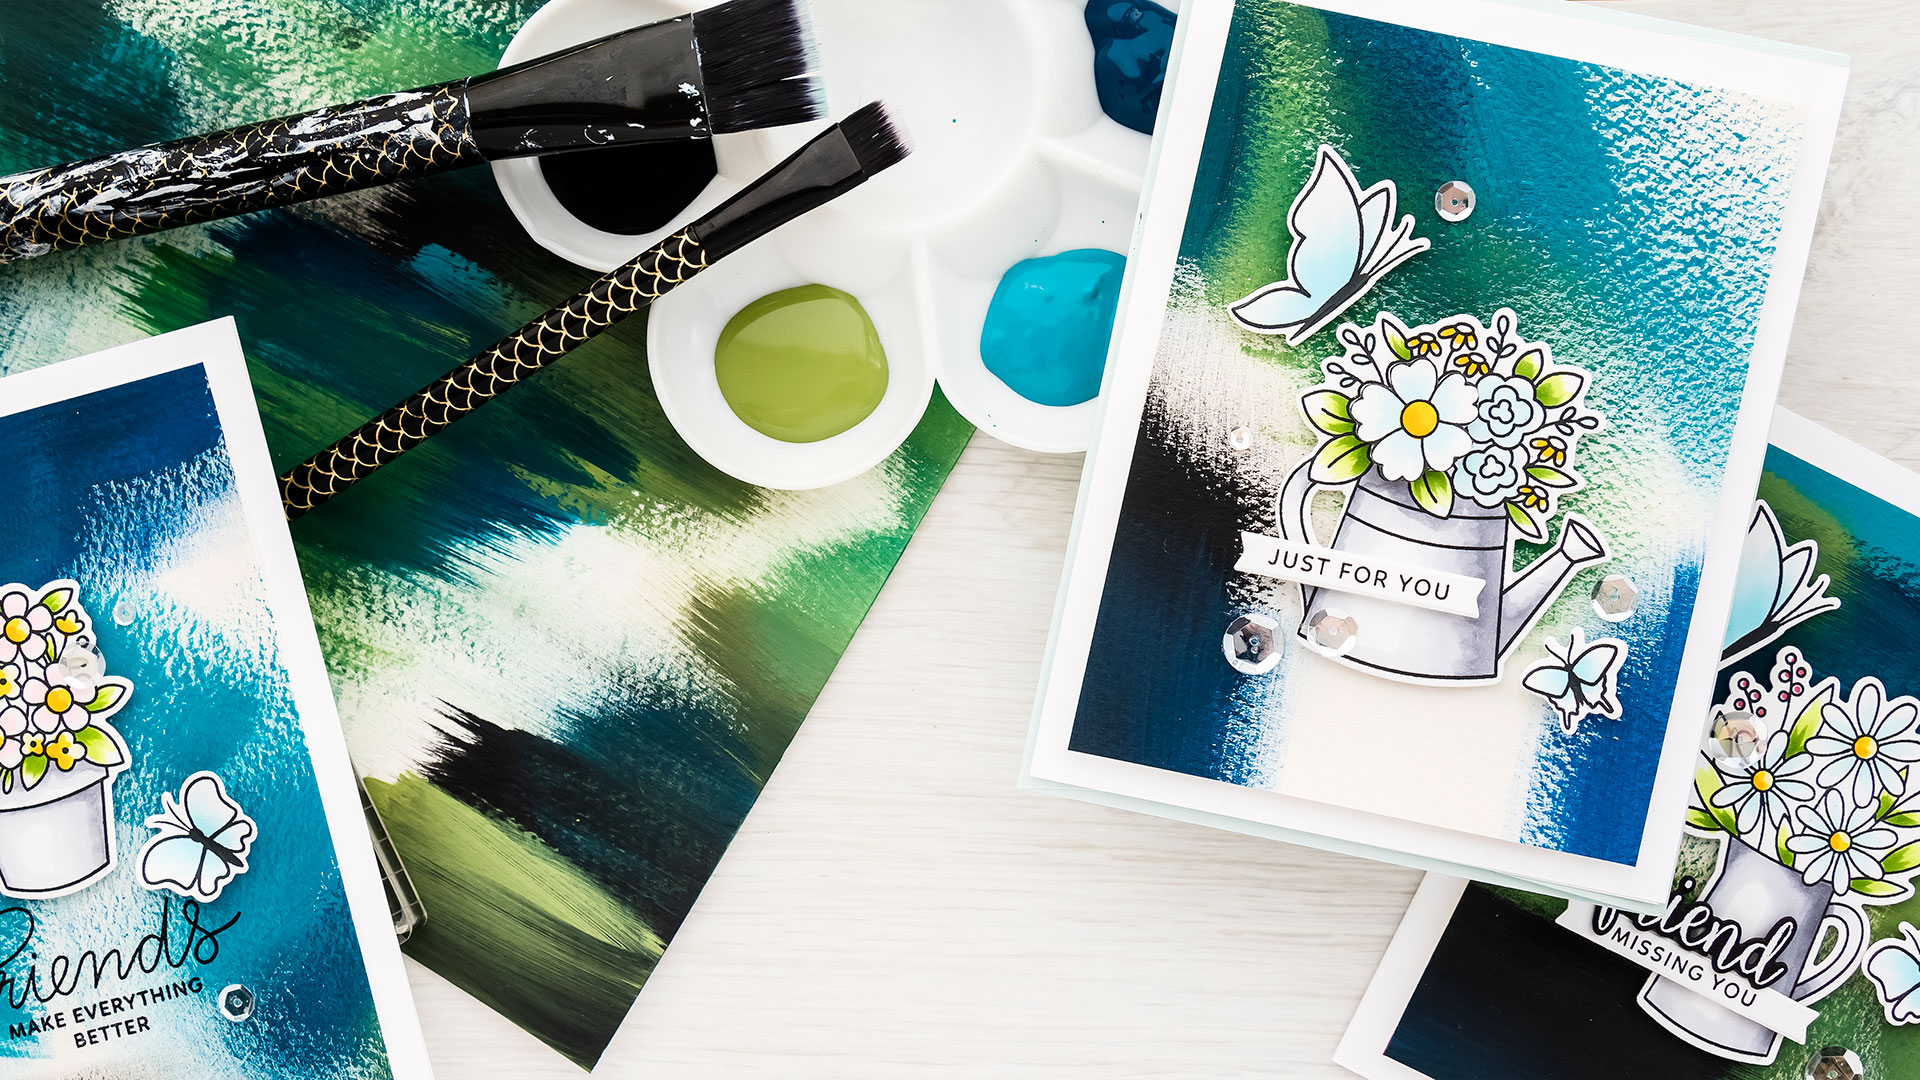
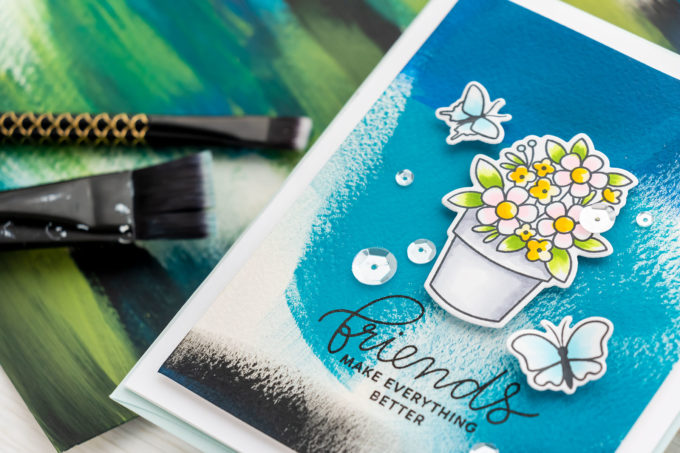
The idea is not to use any water here. The brush is dry and the technique here is to use a dry brush and simply use the paint from the bottle as it. Do not dilute it with water, use the paint consistency the way it is. I like to add a drop of paint onto the paper and then use the brush to spread it. I alternate between a light and a heavy hand for various kinds of strokes. I keep my strokes in one direction, up and down. For this particular color combo, I start with the black paint, the darkest color, and move to dark blue, teal, and green. So I go from dark to light. This way I don’t have too much black on the finished piece, but I do have some black strokes.
I do not clean the brush between the different colors. I might wipe it on the scrap paper off to the side, but I prefer to just work all the paint I have on the brush onto the watercolor paper I am working on. This way, the paint mixes directly on the brush giving me different shades. It is a very calming process and I don’t think there is a right or wrong way to it.
With the background done I set it aside to dry, it usually won’t take long as there isn’t that much paint on it. If you want, you can also add touches of metallic paint, maybe gold or silver, for some shine and shimmer, or simply spray the background with a shimmer spray if you’d like to add some sparkle. From here I can trim my backgrounds to size.
CARD IDEAS
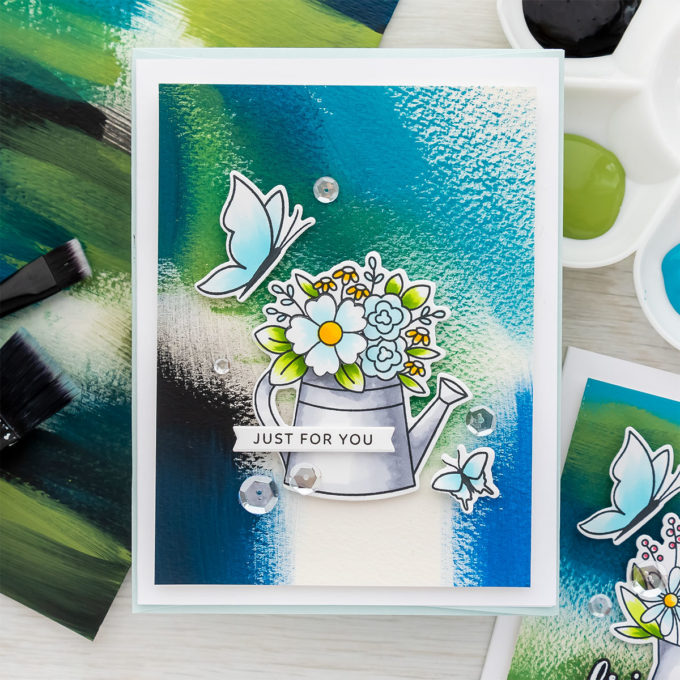
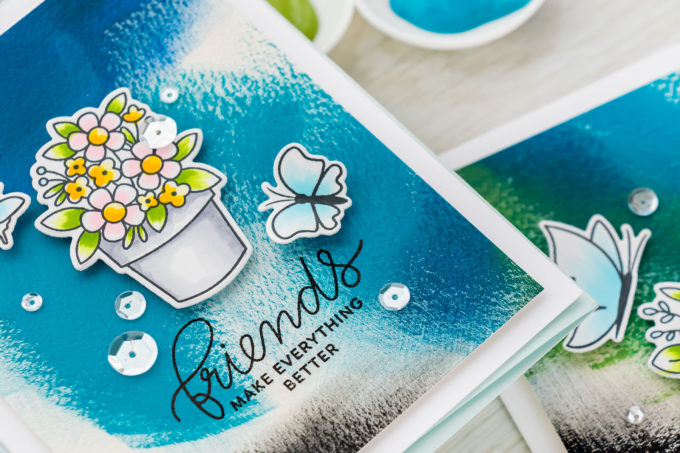
I used my abstract backgrounds to create cards with several new products from Pretty Pink Posh. I used the Flower Bouquets set to stamp and color simple floral arrangements. I used the following marker colors:
- YG01, YG03, and YG17
- Y11, Y08, and Y35
- R85, RV00, RV10, and RV11
- B000, B00
- W5, W3, and W1.
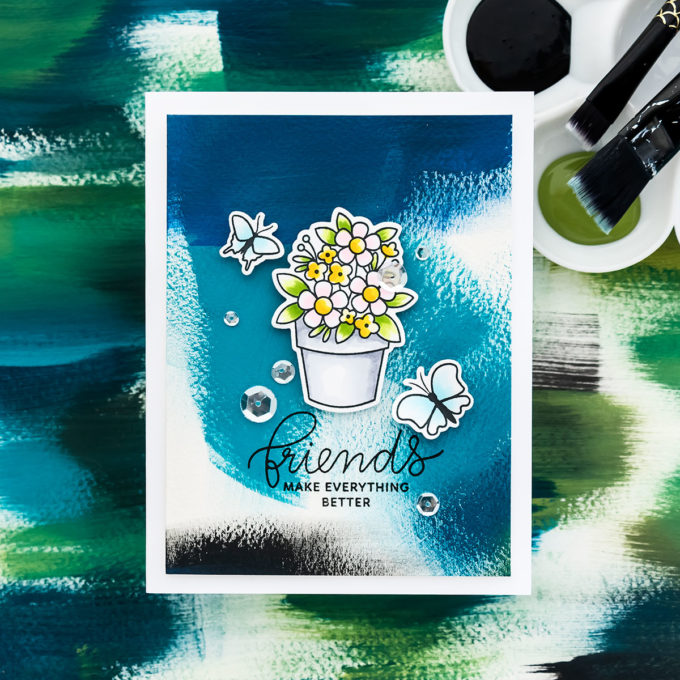
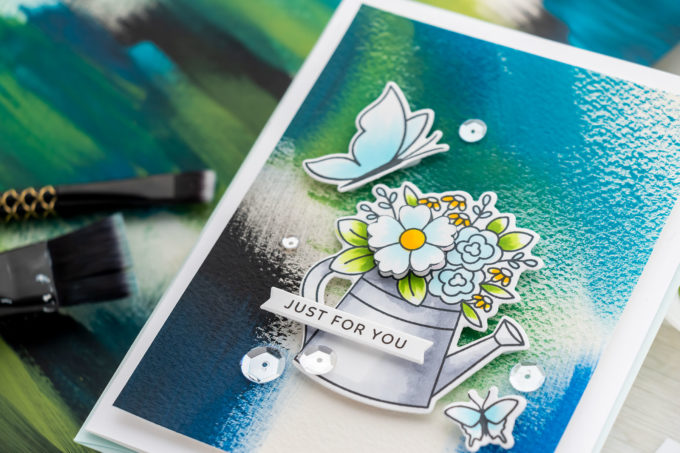
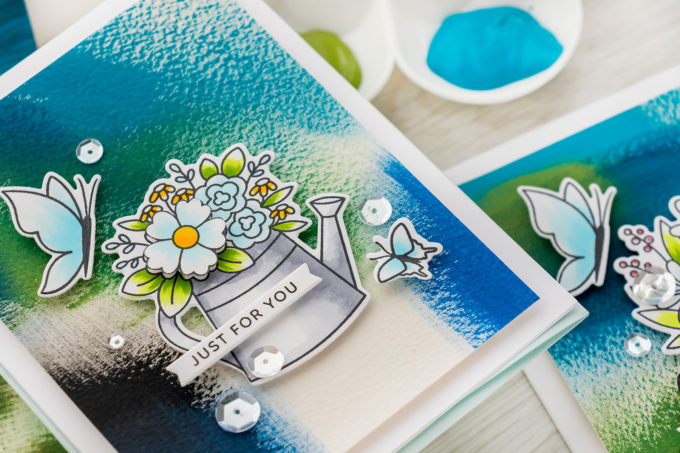
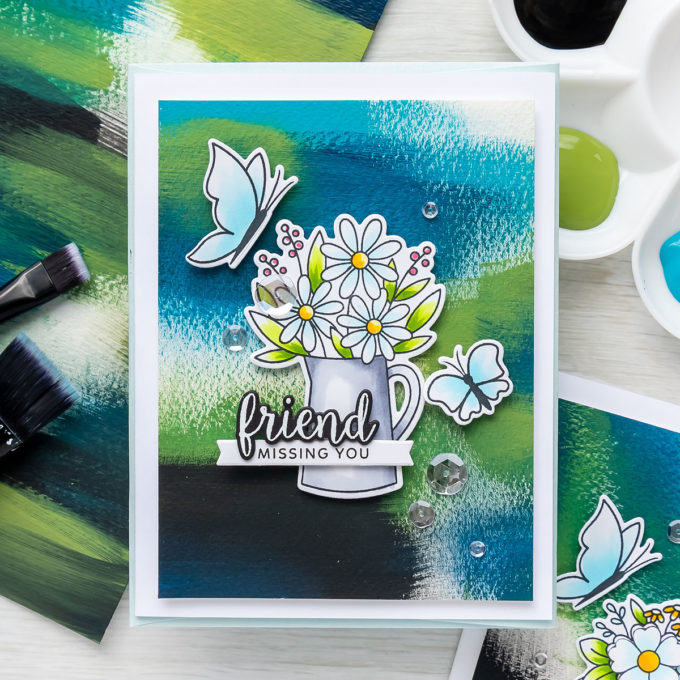
I trimmed my backgrounds to 3 3/4 x 5″ and foam mounted onto A2 white card bases. I added a floral arrangement in the center of each card and picked a sentiment to go along with it. I also colored some butterflies using the Butterfly Friends stamp set. I colored the butterflies using B000 and B00 markers. The sentiment comes from the Simple Sentiments set.
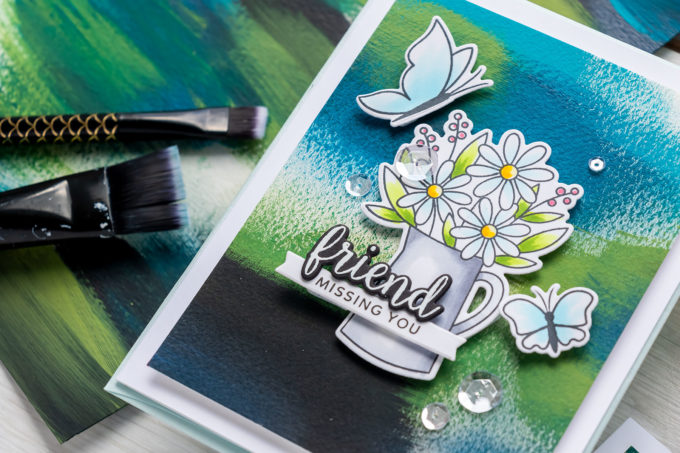
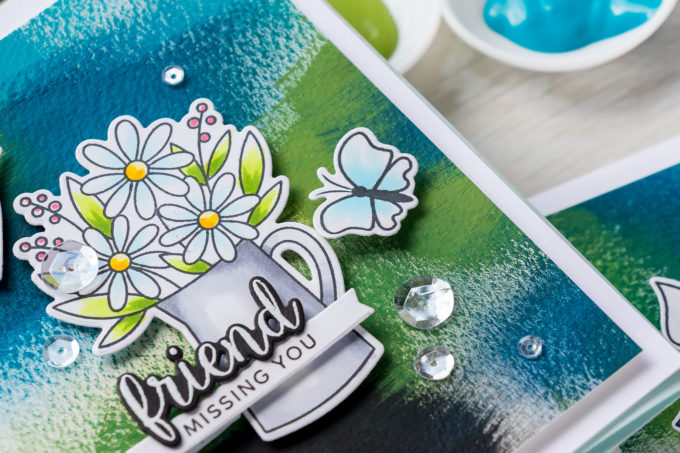
For my 2nd card I followed the same idea, the sentiment was created using a combination of 2 sets – the Simple Sentiment for the “Missing You” part and Butterfly Friends for the “Friend” part.
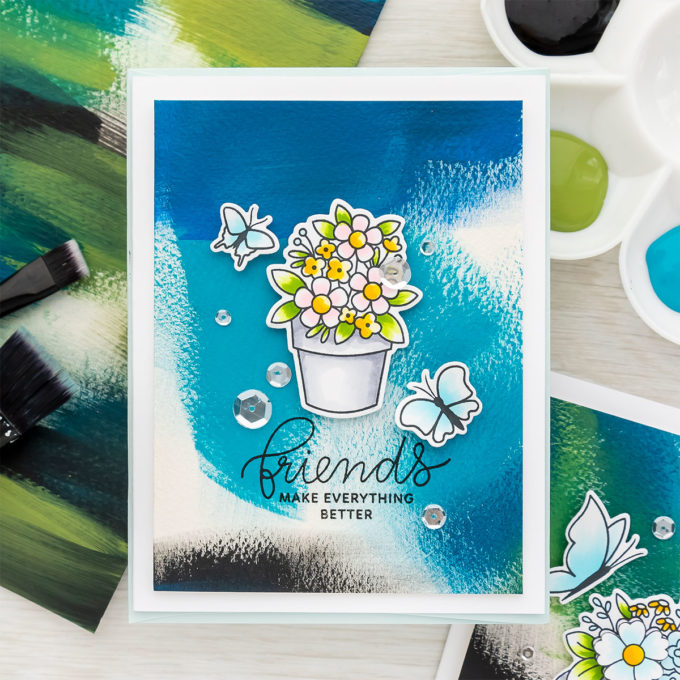
For the 3rd card, I stamped the sentiment directly onto the background using VersaFine Onyx Black ink. The background was made on textured paper and since I used cold-pressed watercolor paper and it has texture, it was not the best option for stamping, but using MISTI I was able to manage to stamp a sentiment. This one comes from the Encouraging Greetings Stamp set.
Thank you so much for joining me today, have fun stamping!
SUPPLIES
I’m listing the products I used below. Click on the link to go directly to the product. Where available I use compensated affiliate links which means if you make a purchase I receive a small commission at no extra cost to you. Thank you so much for your support!
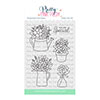 Pretty Pink Posh Flower Bouquets Stamps Shop at: SSS | PPP |
 Pretty Pink Posh Flower Bouquets Dies Shop at: SSS | PPP |
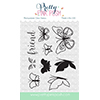 Pretty Pink Posh Butterfly Friends Stamp Shop at: SSS | PPP |
 Pretty Pink Posh Butterfly Friends Dies Shop at: SSS | PPP |
 Pretty Pink Posh Simple Sentiments Stamp Set Shop at: SSS | PPP | BL |
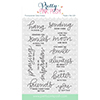 Pretty Pink Posh Encouraging Greetings Stamp Set Shop at: SSS | PPP |
 Acrylic Paint Shop at: SSS | SC |
 Arches Cold Press Watercolor Pad 9×12″ Shop at: SSS | AZ | BL |
 Ranger Studio Paint Artist Brushes Shop at: SSS | SC | AZ |
 Magnetic Personality Brush Set Shop at: SB | AZ |
 Mini Misti Stamping Tool Shop at: SSS | SC | AN/HA | AZ |
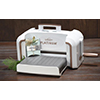 Spellbinders Platinum Die Cutting Machine Shop at: SSS | SC | SB | AZ |
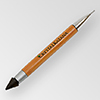 Jewel Picker Pick Up Tool Shop at: SSS | SC | PPP | AZ |
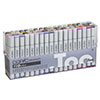 Copic Markers Shop at: SSS |
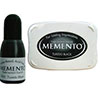 Memento Tuxedo Black Ink Pad Shop at: SSS | SC | AZ |
 Tsukineko VersaFine Onyx Black Ink Shop at: SSS | SC | AZ |
 Pretty Pink Posh Sparkling Clear Sequins Mix Shop at: SSS | PPP |
 Bearly Art Mini 2 fl oz Precision Craft Glue + Tip Kit Shop at: SSS | SB | AZ |


Can’t wait to try this idea. Thank you so much for sharing this video with us. Love these cards!!
These are so cool!
Really beautiful cards. The colours are gorgeous, cool and bright. It’s a great combination.
Fantastic card. Love the backgrounds. Thank you for the great tips.
Totally loved this end result. TFS
I loved this background painting technique. When you added your decorations and embellishments it was so pretty and interesting. A good way to use up some of that acrylic paint that’s sitting in the stash.
I love this so much! That background is STUNNING!
This looks sooo Fun!!! Love your cards!!!
oh these are stunning going to try it!!! beautiful cards as usual!!!