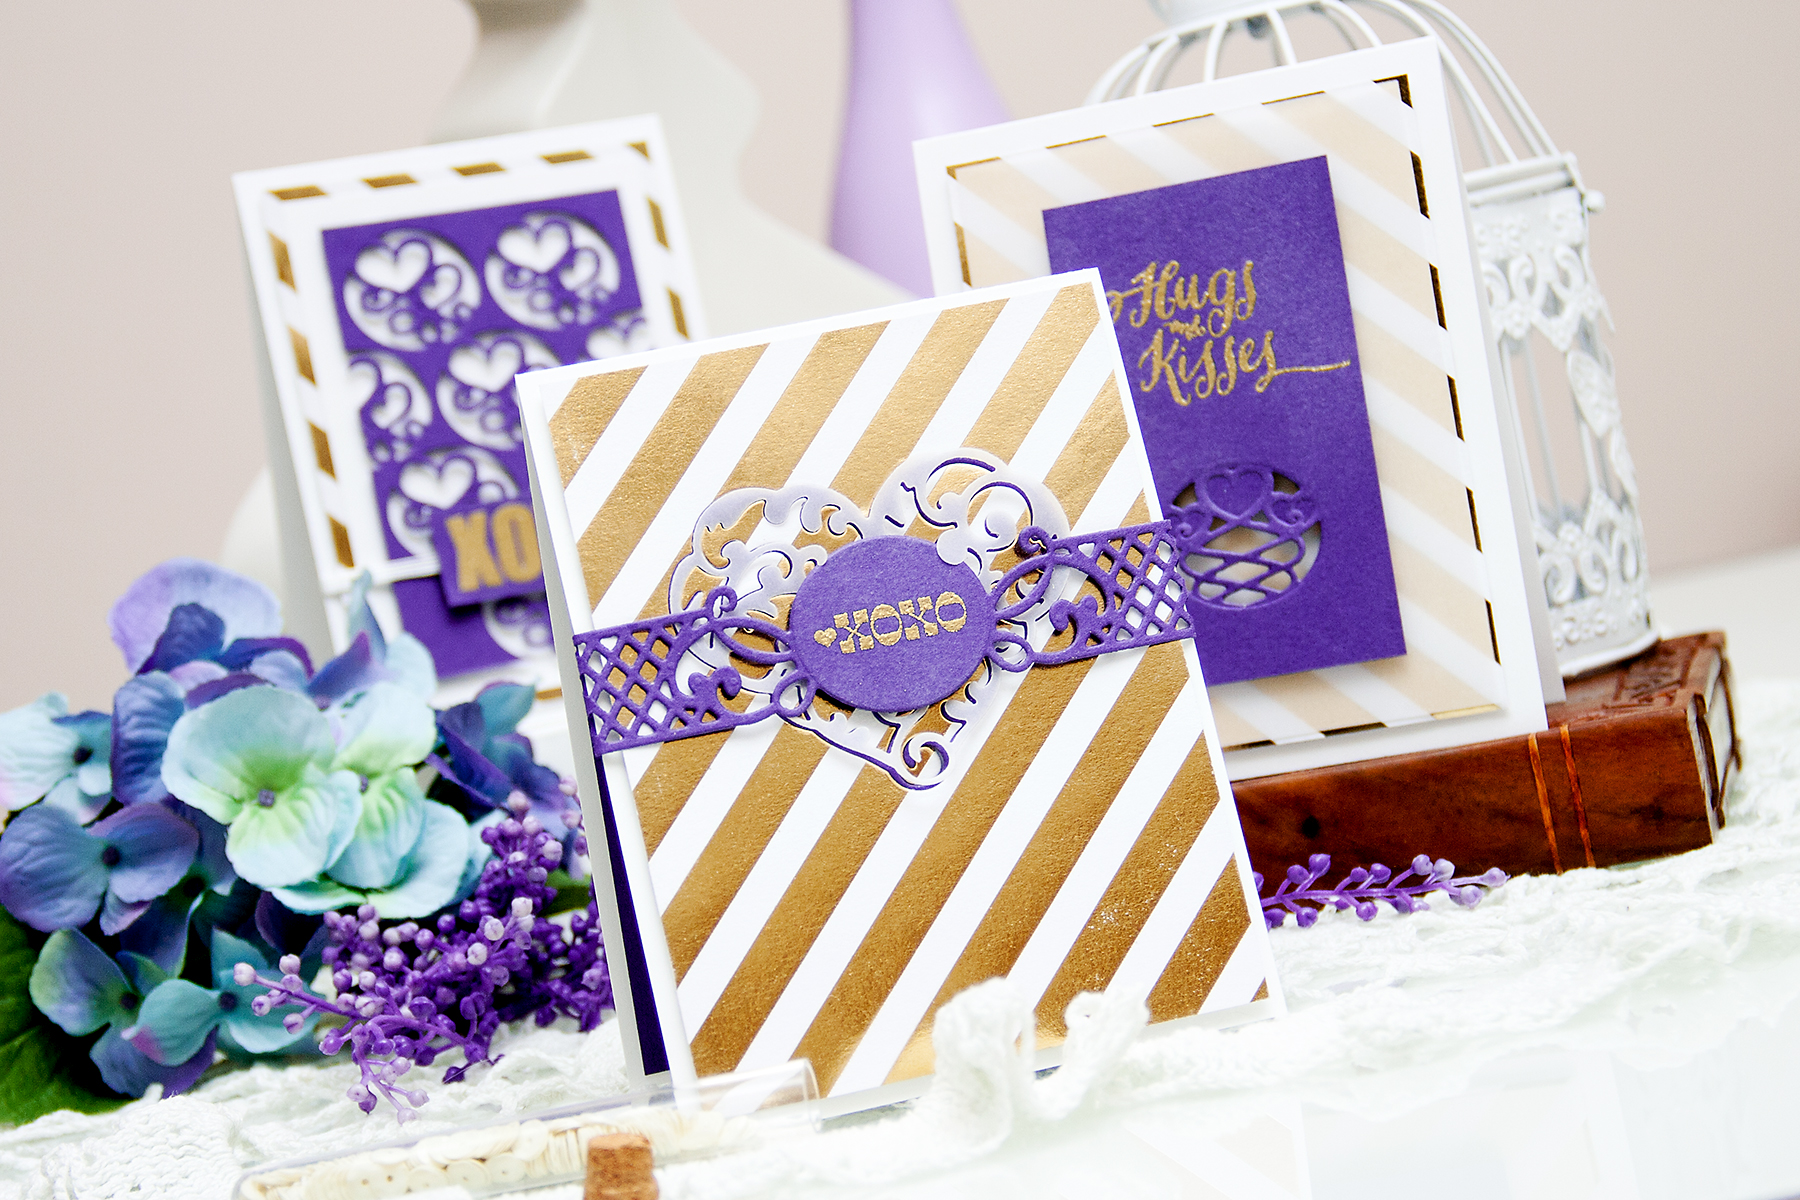
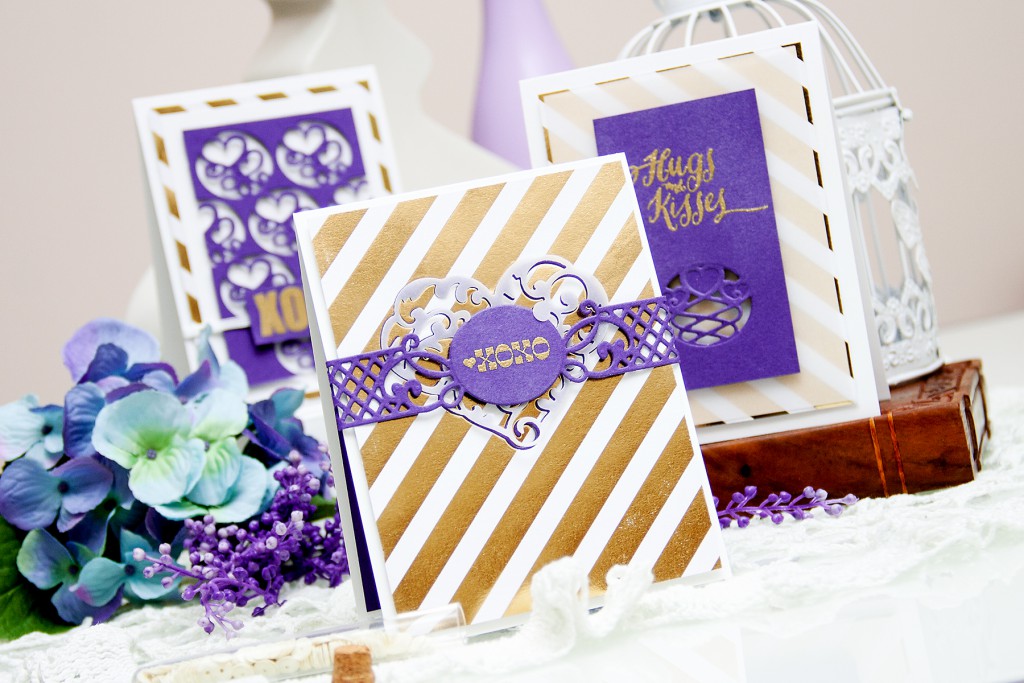
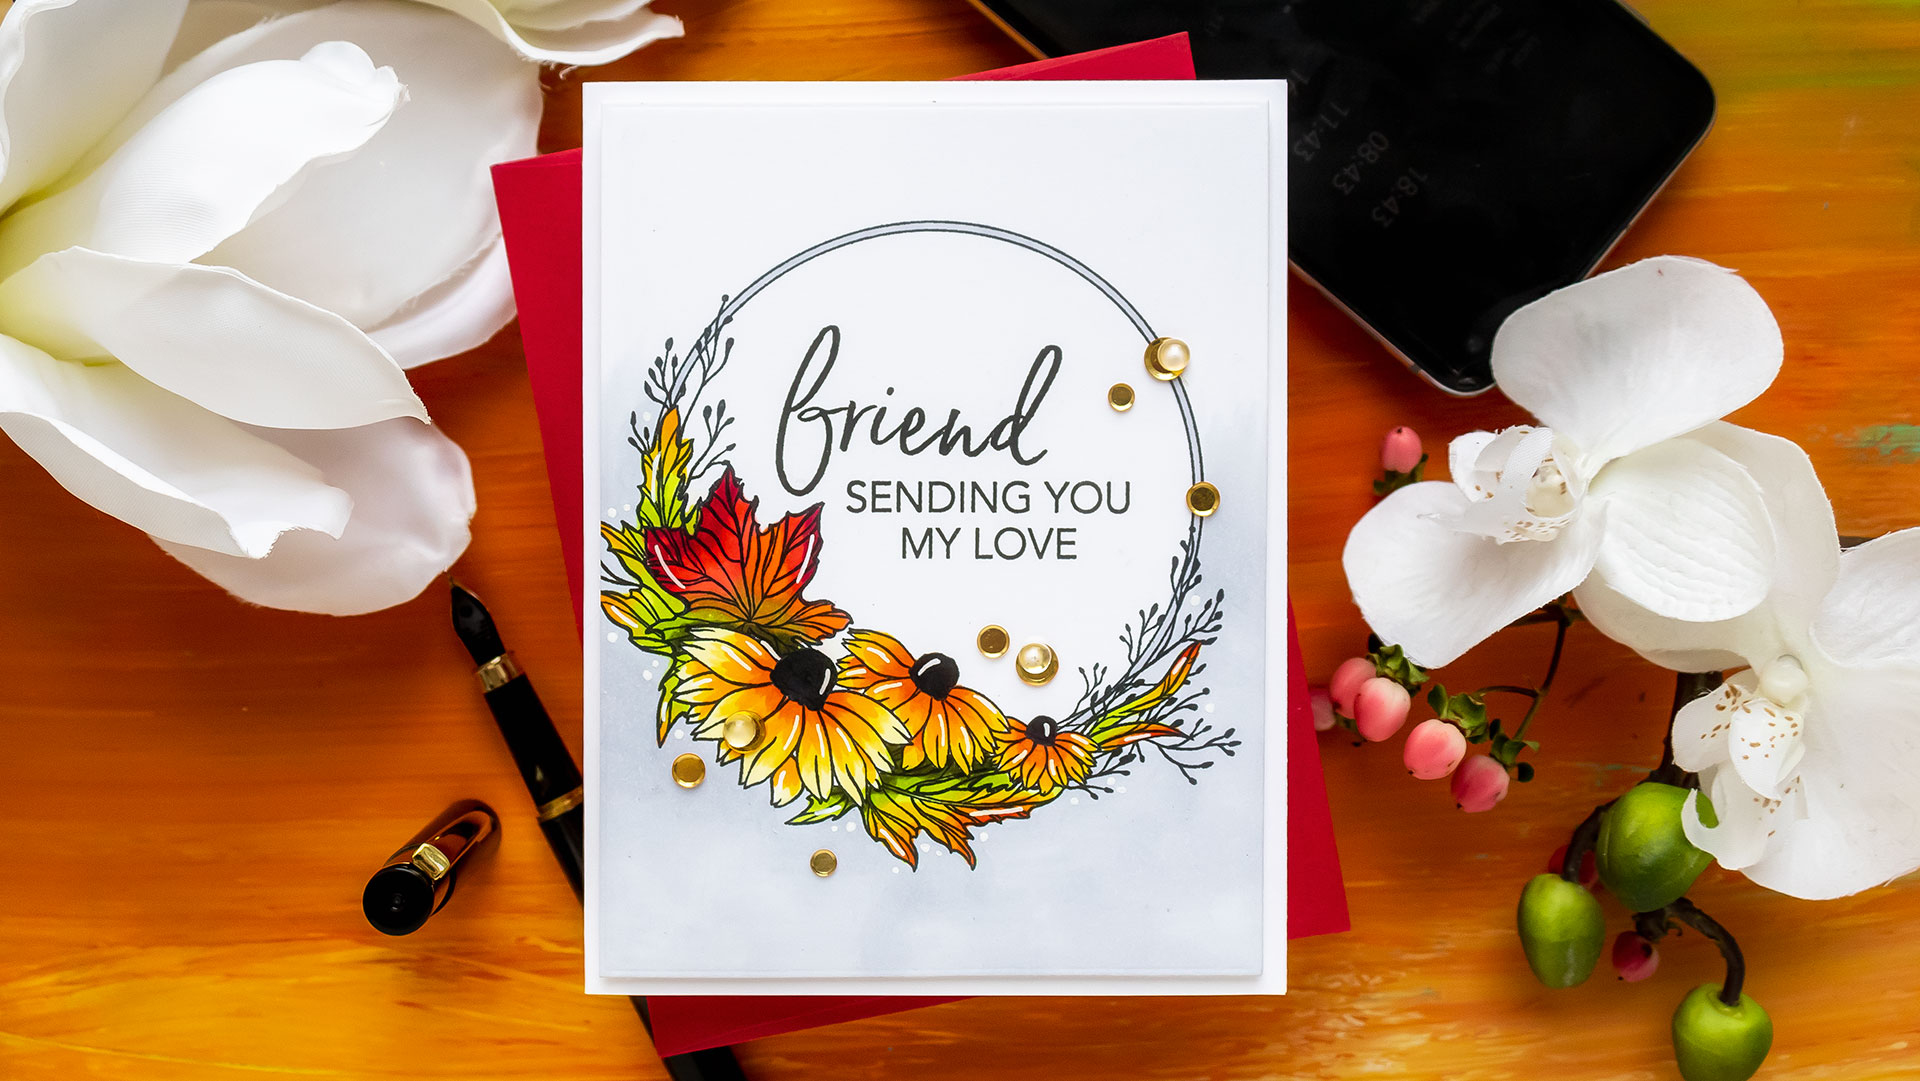
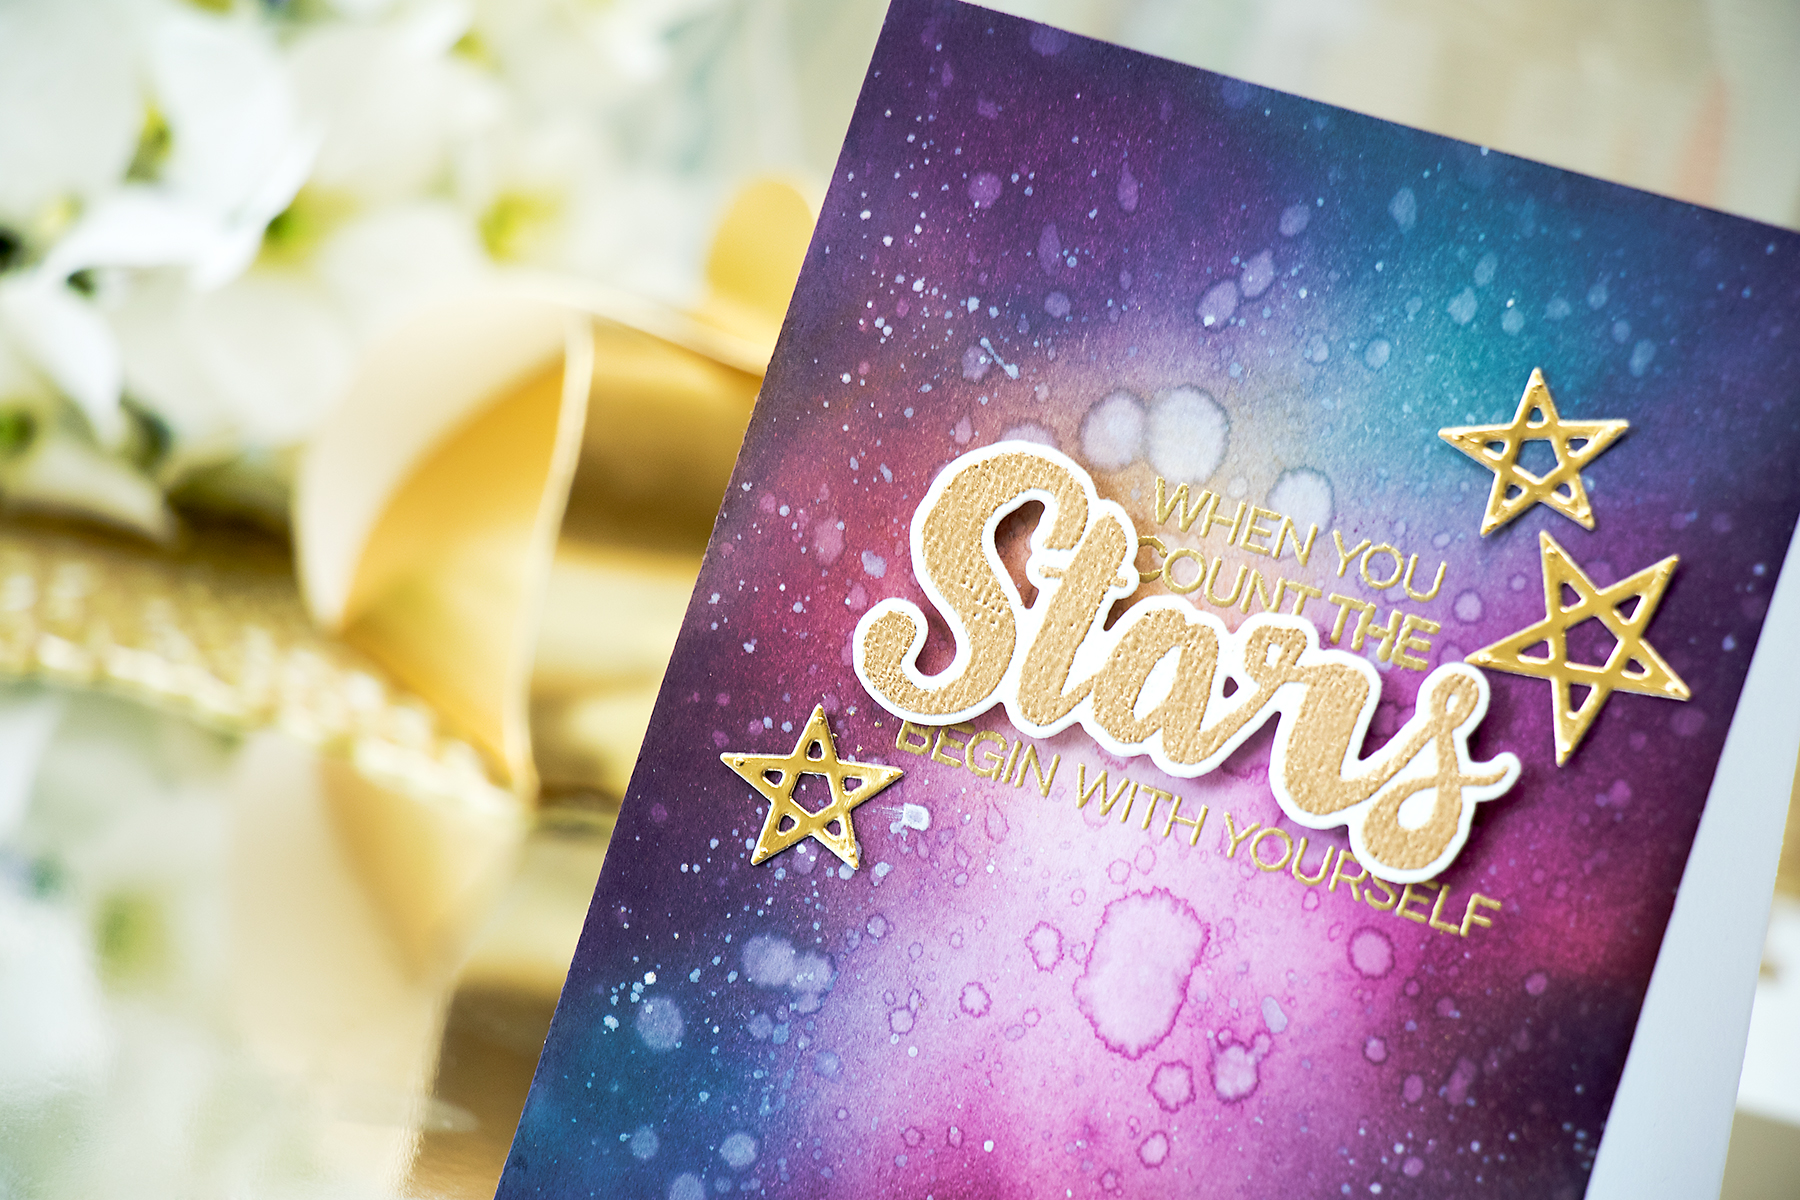
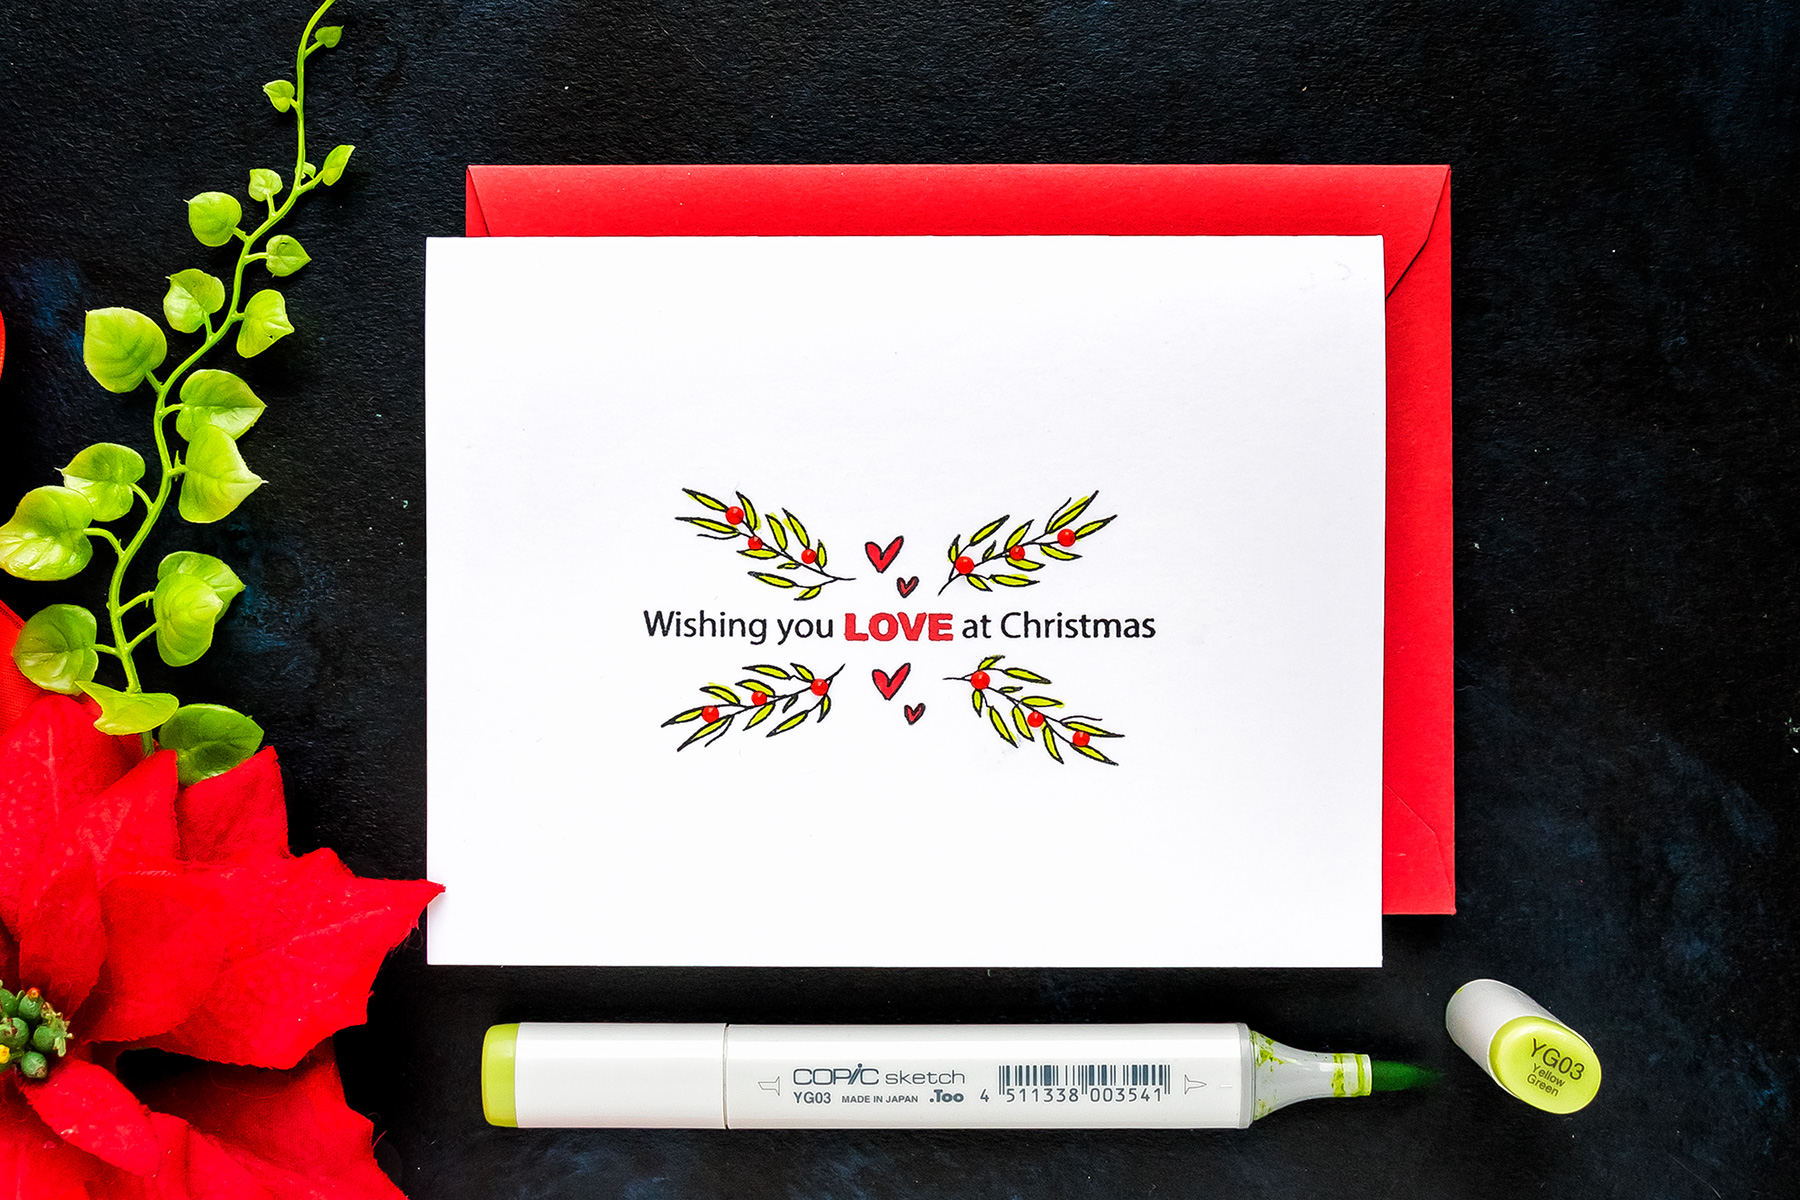
Happy Friday, friends! I have several Love & Valentine’s Day Cards created for the Spellbinders Teach Me section (unfortunately, this section is no longer available). They have a really cool educational spot with Easy, Intermediate and Advanced cards using one die.
So here’s a look at the cards I created using the fabulous Romantic Agenda Die from Spellbinders:
DIFFICULTY – EASY
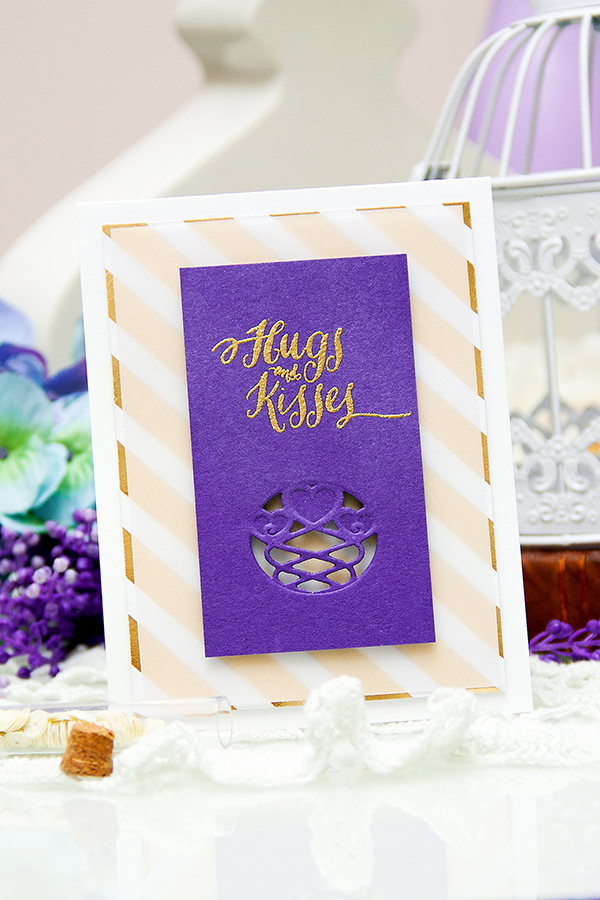
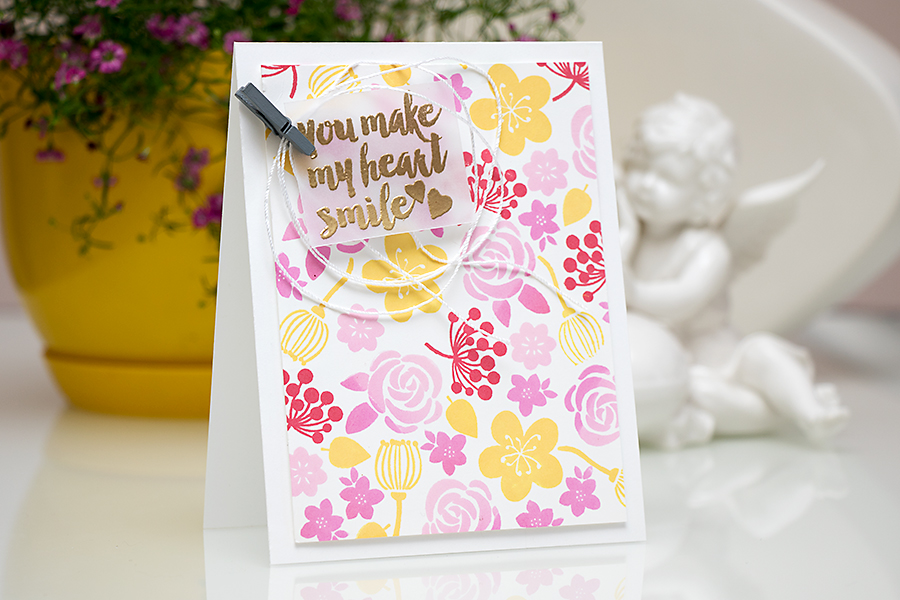
Let’s start with an Easy project – Hugs & Kisses Card:
INSTRUCTIONS:
- Create an A2 top folding card from an 11 x 4¼” piece of white cardstock.
- Trim patterned paper to 5 x 3 ¾ ” and adhere to card base using foam squares.
- Trim vellum to 4 ¾ x 3 ½ “ and adhere on top of patterned paper.
- Trim Delightful Daisy cardstock to 2 ¼ x 4”.
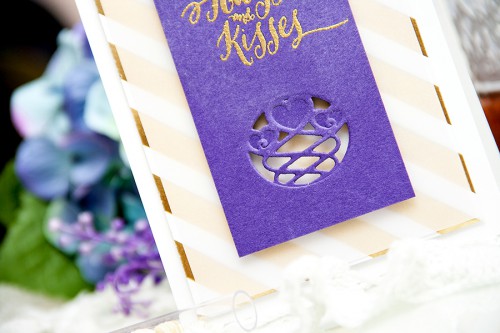
- Cut/emboss Romantic Agenda insert in the bottom part.
- Stamp and heat emboss sentiment in the top part.
- Adhere on top of vellum using foam squares.
DIFFICULTY – INTERMEDIATE
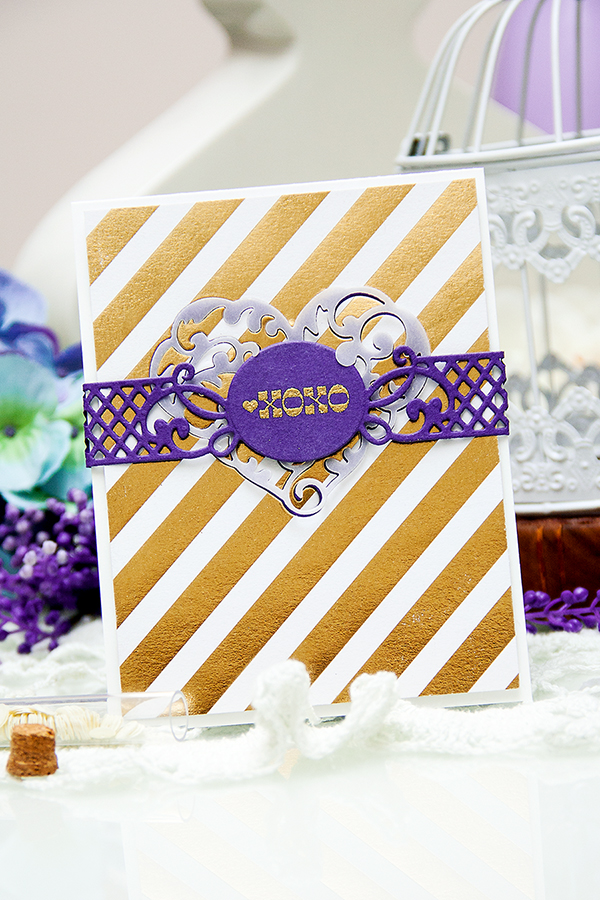
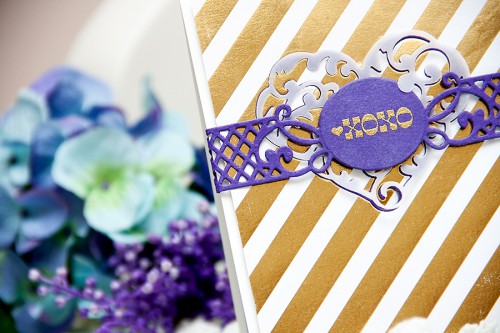
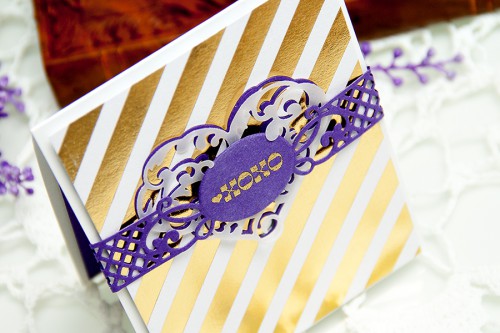
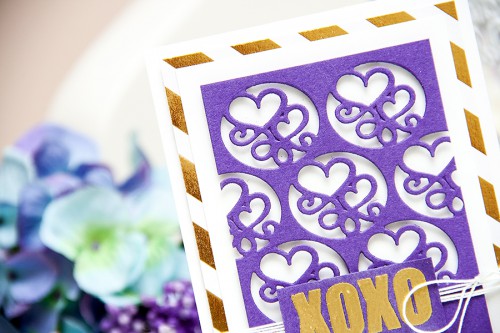
Next up is – Intermediate XOXO card:
INSTRUCTIONS:
- Create an A2 top folding card from an 11 x 4¼” piece of white cardstock.
- Trim patterned paper to 5 ¼ x 4 ”.
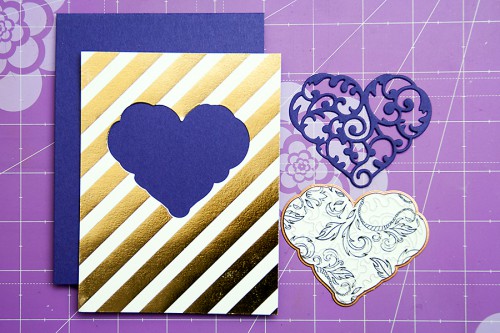
- Cut Heart from the Heart & Flutter set in the top part of patterned paper and in a piece of Delightful Daisy cardstock. Create an inlaid look by replacing the die cut patterned paper heart with the cardstock heart in the patterned paper panel. Adhere to card base using foam adhesive.
- Cut Heart from the Heart & Flutter set out of vellum, adhere on top of the heart in patterned paper for a softer look.
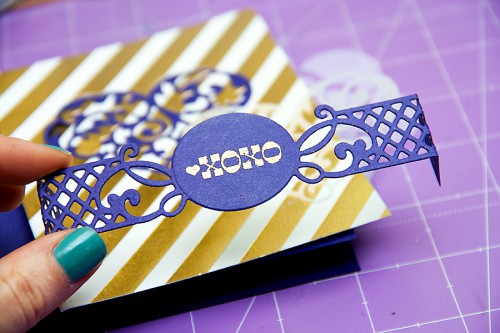
- Cut/emboss Romantic Agenda die without the insert, stamp and heat emboss sentiment in gold.
- Adhere band on top of the heart using foam adhesive, wrap the ends around the card front. Secure on the inside with a piece of Delightful Daisy cardstock.
DIFFICULTY – ADVANCED
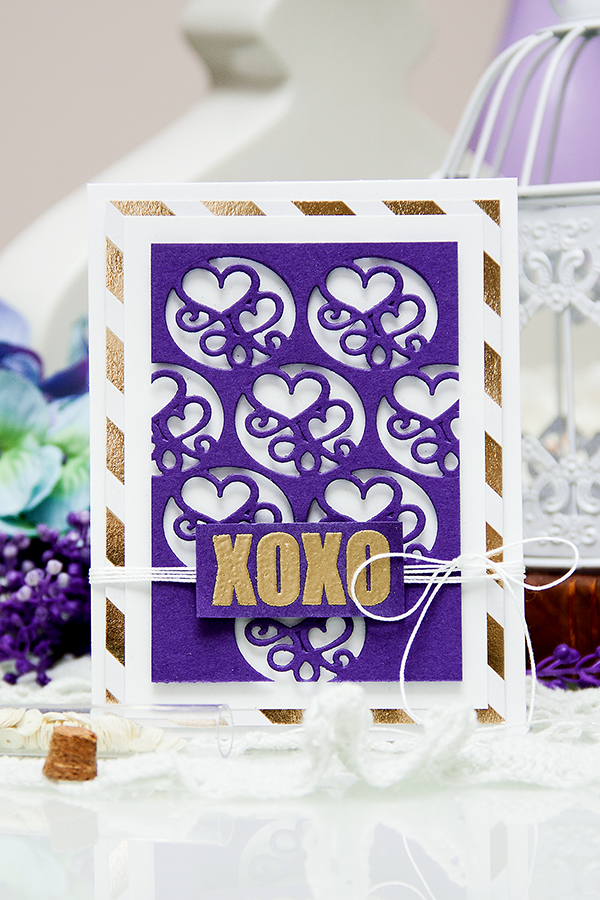
And finally the last one – An Advanced XOXO project:
INSTRUCTIONS:
- Create an A2 top folding card from an 11 x 4¼” piece of white cardstock.
- Trim patterned paper to 5 x 3 ¾ “ and adhere to card base using foam squares.
- Trim white cardstock to 4 ¾ x 3 ½ “ and adhere to patterned paper.
- Trim Delightful Daisy cardstock to 4 ¼ x 2”.
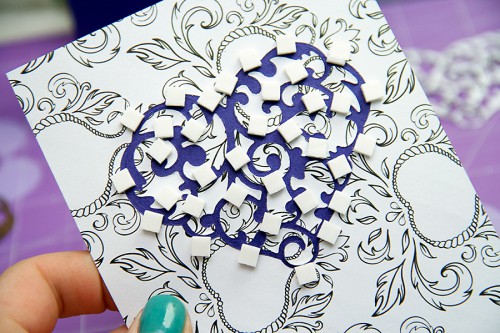
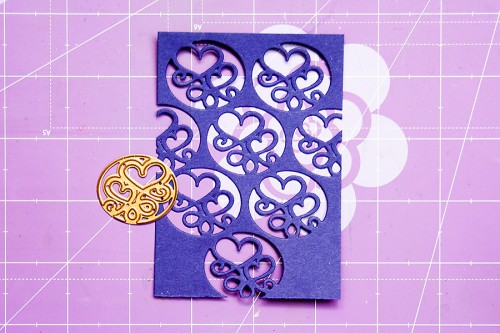
- Begin by creating a custom die cut background by cutting an insert from the Romantic Agenda in the center. Continue cutting the same image on the cardstock panel until you have a full die cut background.
- Adhere background on top of white panel using foam adhesive. If needed, cut adhesive squares in half to fit in smaller spaces of the background.
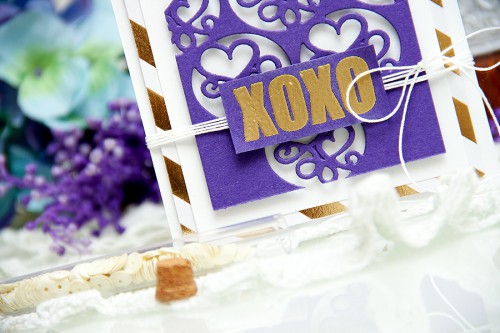
- Wrap white floss several times and tie into a bow.
- Stamp and heat embossed sentiment on a piece of Delightful Daisy cardstock, adhere on top of the background using foam adhesive.
- Adhere on top of vellum using foam squares.
SUPPLIES
I’m listing the products I used below. Click on the link to go directly to the product. Where available I use compensated affiliate links which means if you make a purchase I receive a small commission at no extra cost to you. Thank you so much for your support!
 Spellbinders Tool ‘n One Shop at: SSS | SC | AZ |
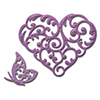 Spellbinder Hearts and Flutter Dies Shop at: SSS | SC | AZ |
 Spellbinders Artisan X-plorer Die Cutting Machine Shop at: SSS | SC | AZ |
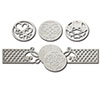 Spellbinders Romantic Agenda Dies Shop at: SSS | SC | AZ |
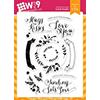 Wplus9 Valentine Wishes Stamp Set Shop at: SSS | WP9 |
 Simon Says Stamp Vellum Shop at: SSS |
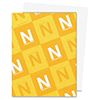 Neenah 80 Solar White Paper Pack 250 Sheets Shop at: SSS | AZ |
 Hero Arts Heat Embossing Gun PW200 Shop at: SSS | SC | HA | AZ |
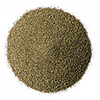 Hero Arts Gold Embossing Powder PW100 Shop at: SSS | SC | HA | AZ |
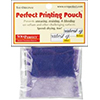 ScraPerfect Crafting Pouch Shop at: SSS | AZ |
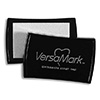 Versamark Watermark Emboss Ink Pad Shop at: SSS | HA | AZ |
