Hello crafters! I’m sharing Birthday card ideas featuring custom Birthday sentiments created with alphabet dies.
If you have alphabet dies in your stash – you have unlimited sentiment options for your cards. And while often time sentiment is the last thing we think about when designing a project, in this video I’ll show you how you can make the sentiment the main design element of your card.
Like this project? Pin it and save for later | Curious about my project photography? Click for details.
VIDEO TUTORIAL
Watch the video below or on my Youtube channel.
Like this video? Please give it a big thumbs up (you can do this on Youtube video page right under the video) and share it with a crafty friend! Leave me a comment too, I love hearing from you!
CARD DETAILS
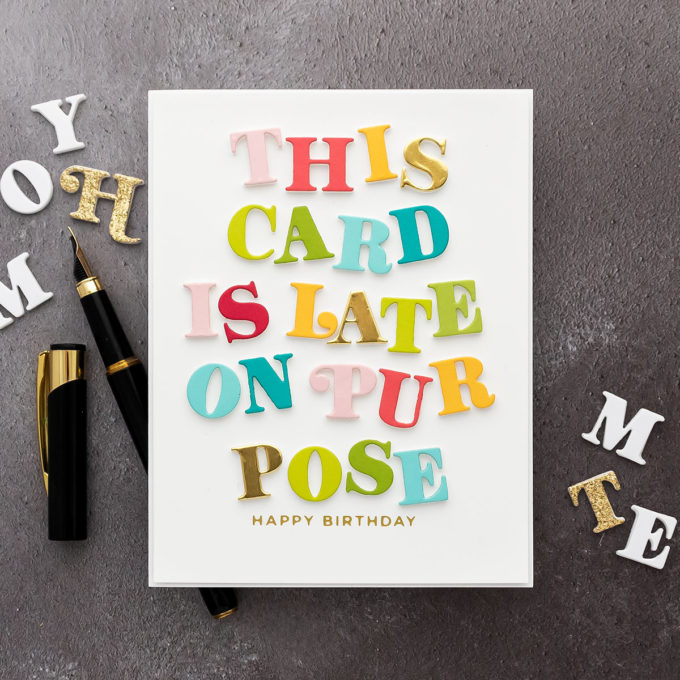
I die cut lots of letters using Spellbinders Be Bold Uppercase alphabet dies. The size of these is optimal for creating sentiments – the letters are a little over 3/4” tall.
All of these letters are separate dies, this is not one plate with letters, but all separate dies giving you more die-cutting options. Think about negating die-cutting. There are 2 versions of some letters. The second version has a playful larger loop font in letters B, D, F, G, H, L, P, U. There’s a total of 34 letter dies in this set. I like to use the playful loop letters for the start of the words when I spell my sentiments.
Aside from this uppercase die set, there’s also a lowercase alphabet set, and punctuation die set. The lowercase also has additional letters with a playful loop. The lowercase set also includes a set of numbers and you can use those to spell a date or age. I die-cut letters from various colors of cardstock and from white fun foam.
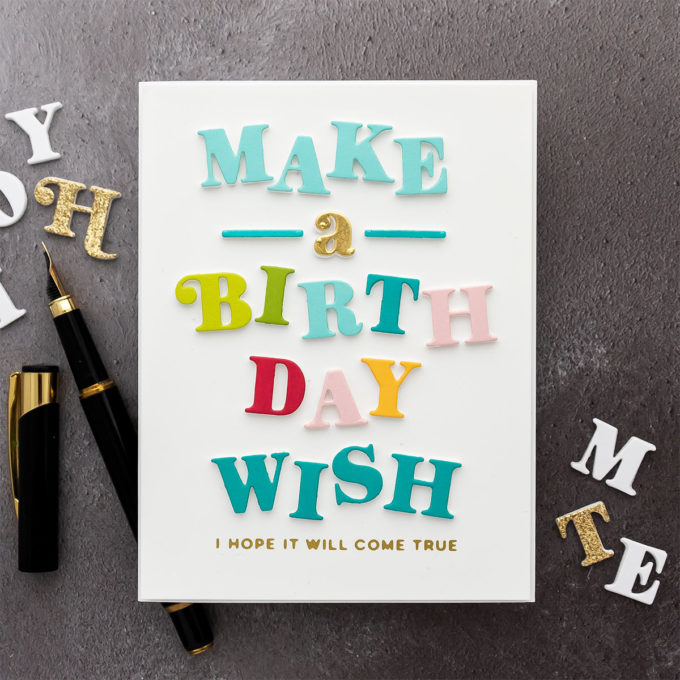
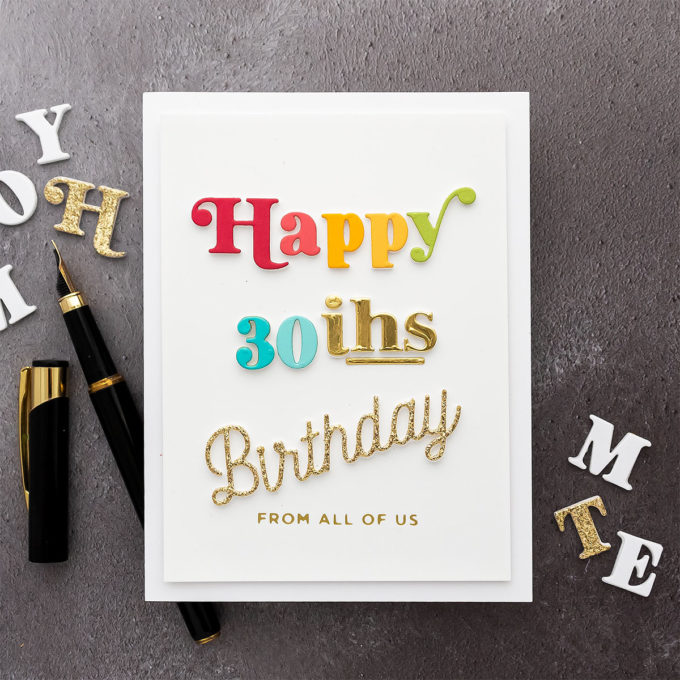
Because I always lack Birthday cards, I decided I would create several Birthday themed cards using these die-cut letters. Because of the size of the letters I was able to spell a custom sentiment so large, that the sentiment itself became the main design element of the card. I didn’t add any embellishments to my cards, but you could add little flower die cuts to these if you want.
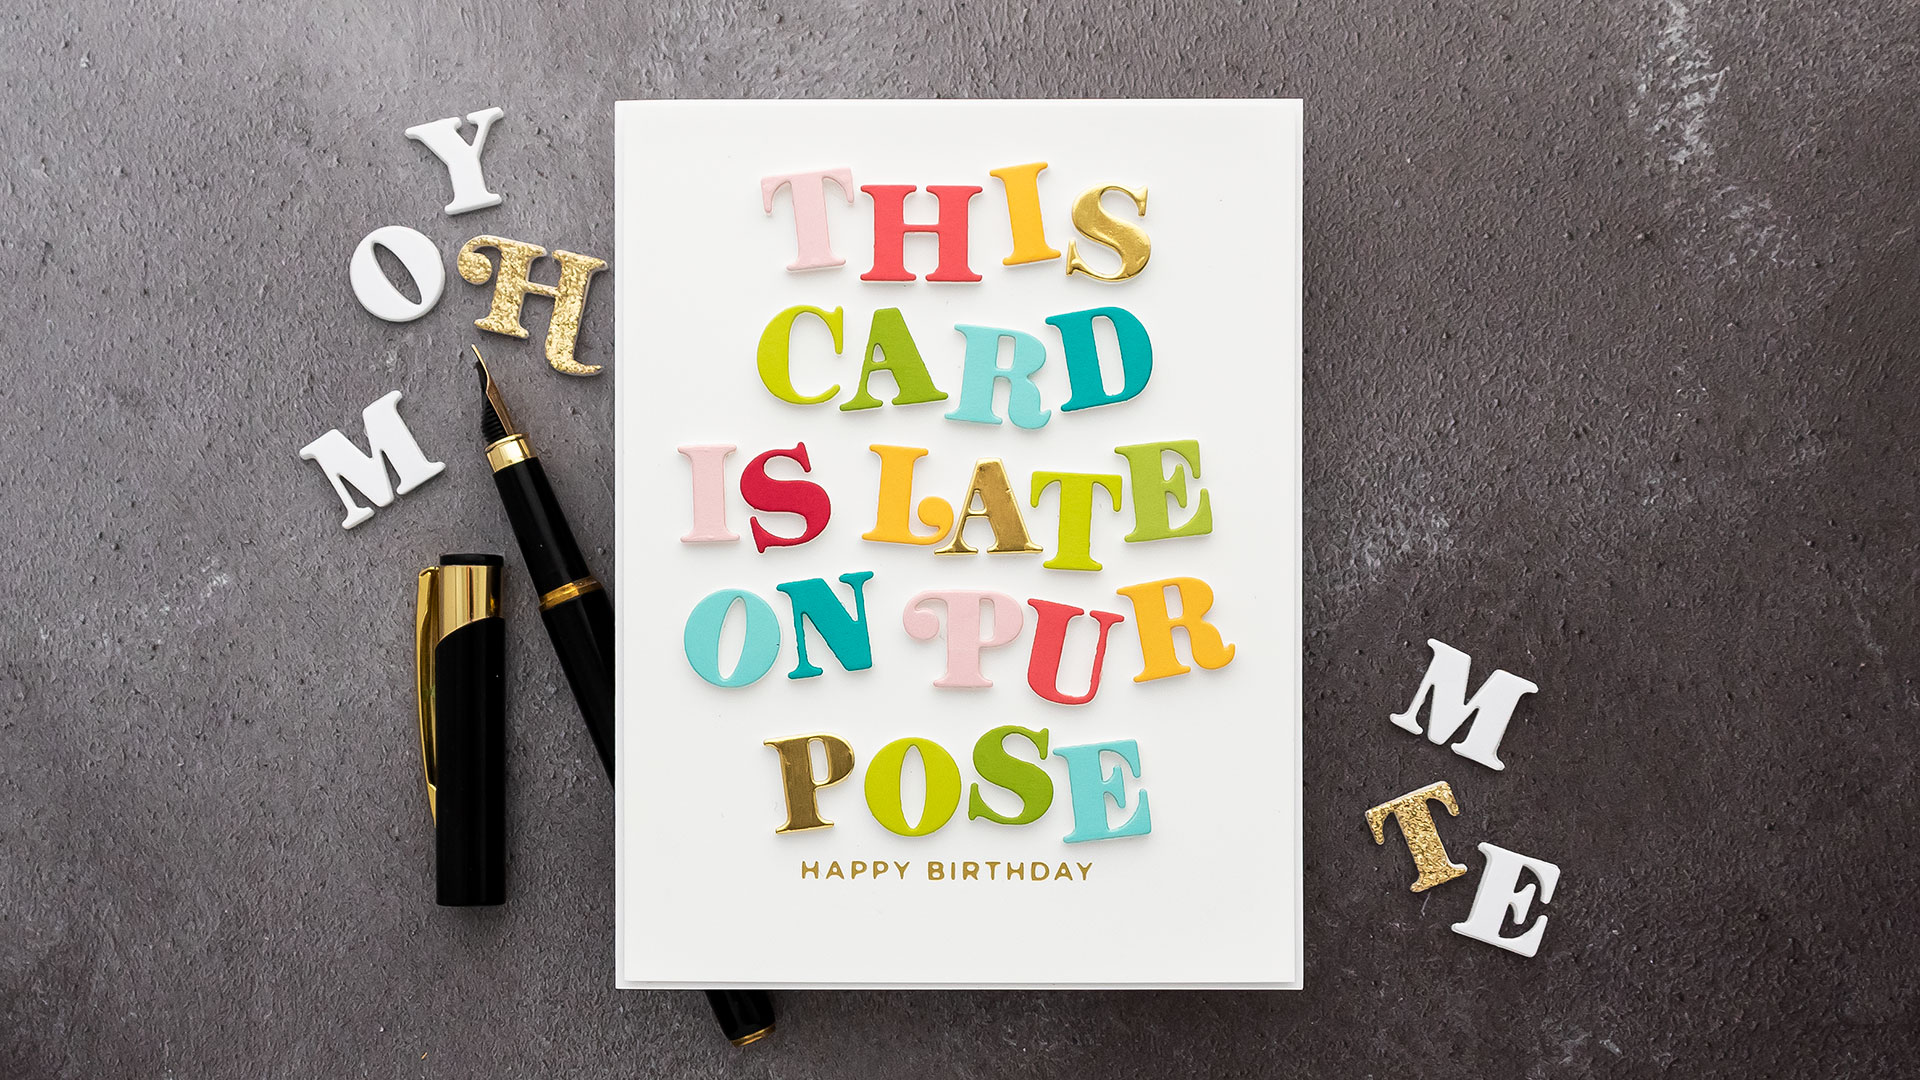
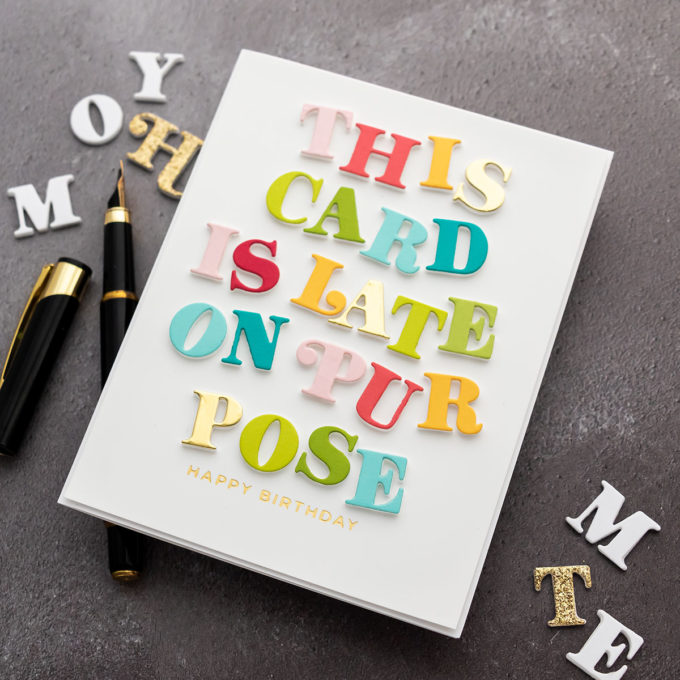
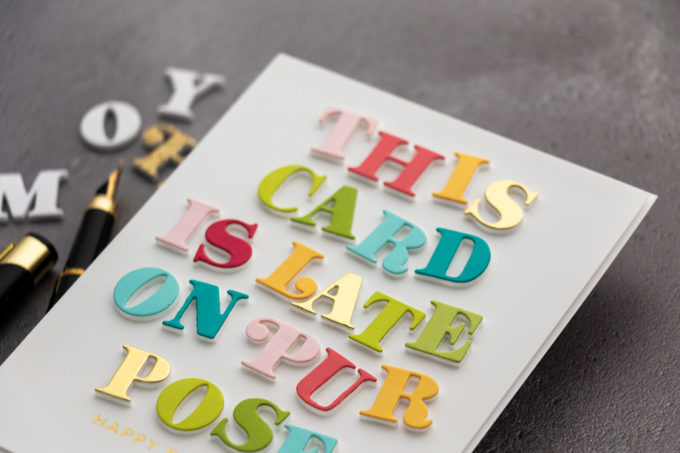
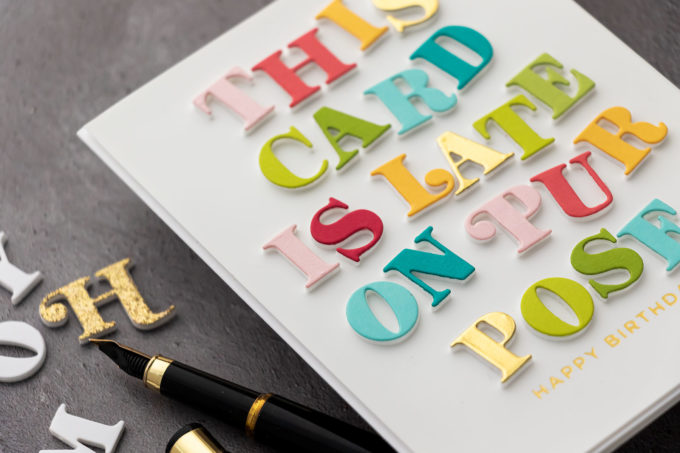
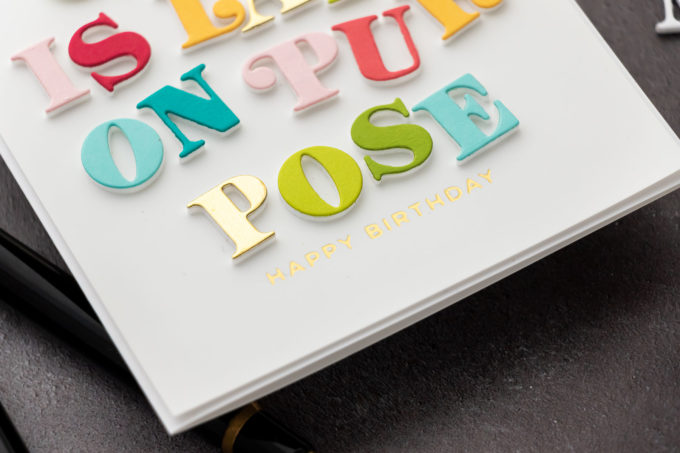
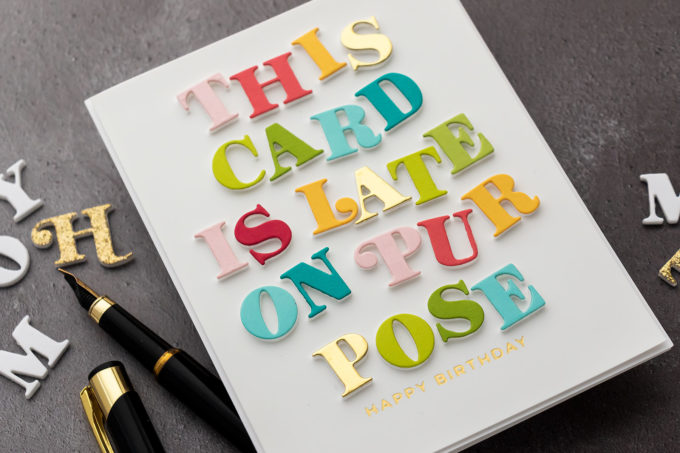
I don’t have any belated birthday sentiments in my stash, so for the first card I spelled one that reads: “The card is late on purpose”. I added a sub sentiment, Happy Birthday, and I foiled one using Matte Gold foil using Glimmer Hot Foil System. You can just as easily stamp one if you don’t have a foiling machine.
I adhered each letter onto a fun foam die cut to pop the letters up, it is a tedious process as you do have to adhere each letter one by one, but I didn’t mind as I just wanted to play. Alternatively, you can first adhere your colored cardstock to the fun foam using adhesive sheets, or use colored fun foam. Or die cut from white fun foam and color it using alcohol markers. But I love the colors of my colored cardstock, so I didn’t mind doing all the gluing.
Next, I trimmed the foiled panel, I cut about 1/8” off and I used 2 panels of scrap cardstock to pop the foiled panel onto the A2 card base. What this did – this added a little bit of dimension to my card, but not too much.
I knew I wouldn’t be able to adhere the letters straight onto the card, I mean I could have if I measured everything and maybe used a laser ruler or smith like that to help, but I didn’t want to complicate things, so instead, I positioned the letters wonky right away and then just adhered them one by one without worrying about this sentiment being straight. I did worry about misspelling the sentiment, as I do tend to do that a lot. But I don’t think I did. At least I hope I didn’t!
I alternated various colors of cardstock starting with Peony from Hero Arts, next is Dahlia from Spellbinders and all of the rest are also from Spellbinders, the yellow color is Beeswax, the gold one is Mirror Gold, I did add some gold letters to go along with the gold filing, next is Peridot and Rainforest, and the final two colors are Waterfall and Lagoon and repeat.
I did this on a white background, but you can also die-cut white letters and pop them onto a colored background. You could have the entire sentiment be one color and use a different color for just one of the words to emphasize it. You could use a gradient, for example, to go from very pale pink to red. So many options. And think about creating all the different custom sentiments. You can add the name of the recipient, you can create funny or snarky sentiments, you can build sentients based on the other sentiments you already have in your stash, you can include the age of the recipient, and so on.
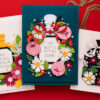
The other 2 cards I made read: “Make a Birthday Wish” with a foiled sub sentiment – I hope I will come true:
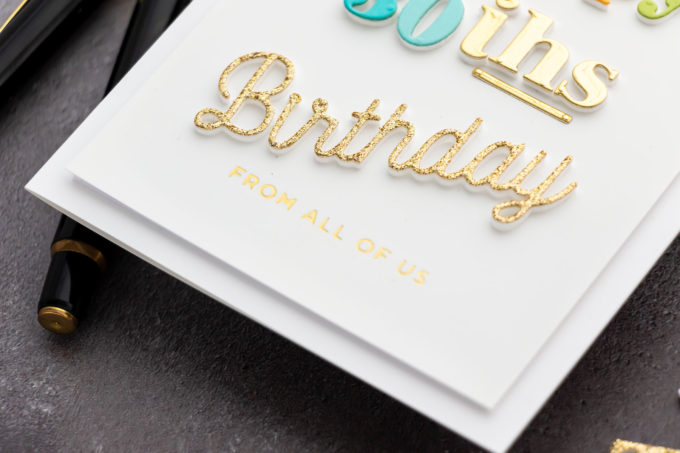
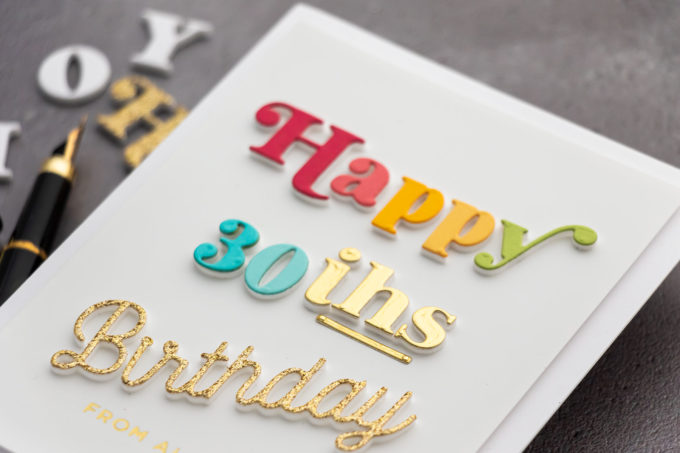
And “Happy 30th Birthday”. I used yet another die set to die cut the word Birthday – it is from the Smooth Lines Mix & Match Sentiments set from the same Be Bold collection.
You can use any Alphabet dies for cards like this – I am in love with this Spellbinders set, or rather all of these sets, and I’m sure I’ll be reaching for them again and again in the future. Plus I still have loads of die-cut letters left.
Have fun die cutting!
SUPPLIES
I’m listing the products I used below. Click on the link to go directly to the product. Where available I use compensated affiliate links which means if you make a purchase I receive a small commission at no extra cost to you. Thank you so much for your support!
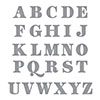 Be Bold Uppercase Alphabet Etched Dies Shop at: SC | SB |
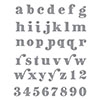 Be Bold Lowercase Alphabet and Numbers Etched Dies Shop at: SC | SB |
 Be Bold Punctuation & More Etched Dies Shop at: SC | SB |
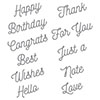 Smooth Lines Mix & Match Sentiments Etched Dies Shop at: SC | SB |
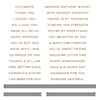 Spellbinders Mini Everyday Sentiments Glimmer Shop at: SSS | SC | SB |
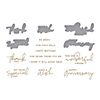 Spellbinders Yana’s Special Sentiments Glimmer Shop at: SSS | SC | SB | AMZ |
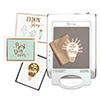 Spellbinders Glimmer Hot Foil System Shop at: SSS | SC | SB | AMZ |
 Glimmer Specialty Cardstock 10 Sheet Pack Shop at: SSS | SC | SB |
 Glimmer Hot Foil – Matte Gold Shop at: SSS | SC | SB | AMZ |
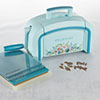 Limited Edition Platinum 6 Aqua Die Cutting and Embossing Machine Shop at: SB |
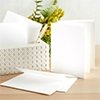 Spellbinders A2 White Card Bases – Side Fold – 25 pack Shop at: SB |
 Simon Says Stamp Cardstock Gold Glitter Shop at: SSS |
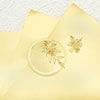 Spellbinders Mirror Gold Cardstock Shop at: SB |
 Hero Arts Hero Hues Premium Cardstock Peony Shop at: SSS | SC | CCC | AMZ |
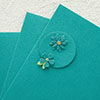 Lagoon Color Essentials Cardstock Shop at: SB |
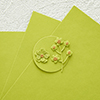 Rainforest Color Essentials Cardstock Shop at: SB |
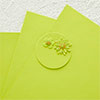 Peridot Color Essentials Cardstock Shop at: SB |
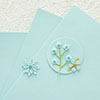 Waterfall Color Essentials Cardstock Shop at: SB |
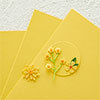 Beeswax Color Essentials Cardstock Shop at: SB |
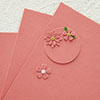 Dahlia Color Essentials Cardstock Shop at: SB |
 Spellbinders Tool ‘n One Shop at: SSS | SC | SB | AMZ |
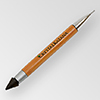 Jewel Picker Tool Shop at: SSS | SC | SB | MFT | AMZ |
 Fun Foam Sheets Shop at: SSS | SB | AMZ |
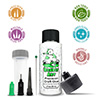 Bearly Art Mini Precision Craft Glue Shop at: SSS | SB | AMZ |
Great tip when you want to die cut allot of letters by putting the letters on tape and then running all of them through each time with a different color of cardstock. Also, like the wonky arrangement. Great card. Thank you.
thank you! yes, doing them wonky was so much easier!
Haha! These are so fun!!
yes! and I have loads more letters left 🙂
Misspelling—Either 30th or 30ish, depending on whether the recipient is 30 on that birthday or 30-ish. Professional proofreader here in a past life with a sense of humor, so I can’t help myself. Typos allow us to smile at ourselves! Very original, fun, bold, colorful cards, Yana. I truly enjoy the wonky of it all!
thank you, Kathy 🙂 Yes, it is very typical of me to make a typo. I’ll see if I can fix that card.