Hello friends! Christmas season will soon be upon us so it’s a good idea to start making these handmade Christmas cards early to avoid the stress during the season. Today I have a tutorial to show you how you can create stunning Holiday cards using a small number of cardmaking, stamping and coloring supplies (this is the time of the year when a lot of new people join cardmaking and try their hand at making handmade cards for the first time, so I wanted to share a video showing Holiday cards with a small number of supplies without breaking the bank).
Like this project? Pin it and save for later | Curious about my project photography? Click for details.
I do sometimes like to go overboard with my Holiday cards especially if I do a lot of die cutting and layering and my family love to receive those cards. My friends on the other hand prefer simpler & cleaner Holiday cards. In today’s video I’ll show you an example of an easy to make Christmas card using using just a handful a things. Lately I believe that less is more and that’s the spirit or the motto of my cardmaking video today.
If you are visiting my blog for the first time or have not yet subscribed – be sure to do so! I share lots of handmade projects every week delivering them straight to your inbox! I also occasionally share information about crafty sales and new product releases I love. Subscribe here.
VIDEO TUTORIAL
As always, I filmed a video tutorial showing how to create this project from start to finish. I’m hoping you’ll enjoy it. Watch it below or on my Youtube channel.
Like this video? Please give it a big thumbs up (you can do this on Youtube video page right under the video) and share with a crafty friend! Leave me a comment too, I love hearing from you!
CARDS DETAILS
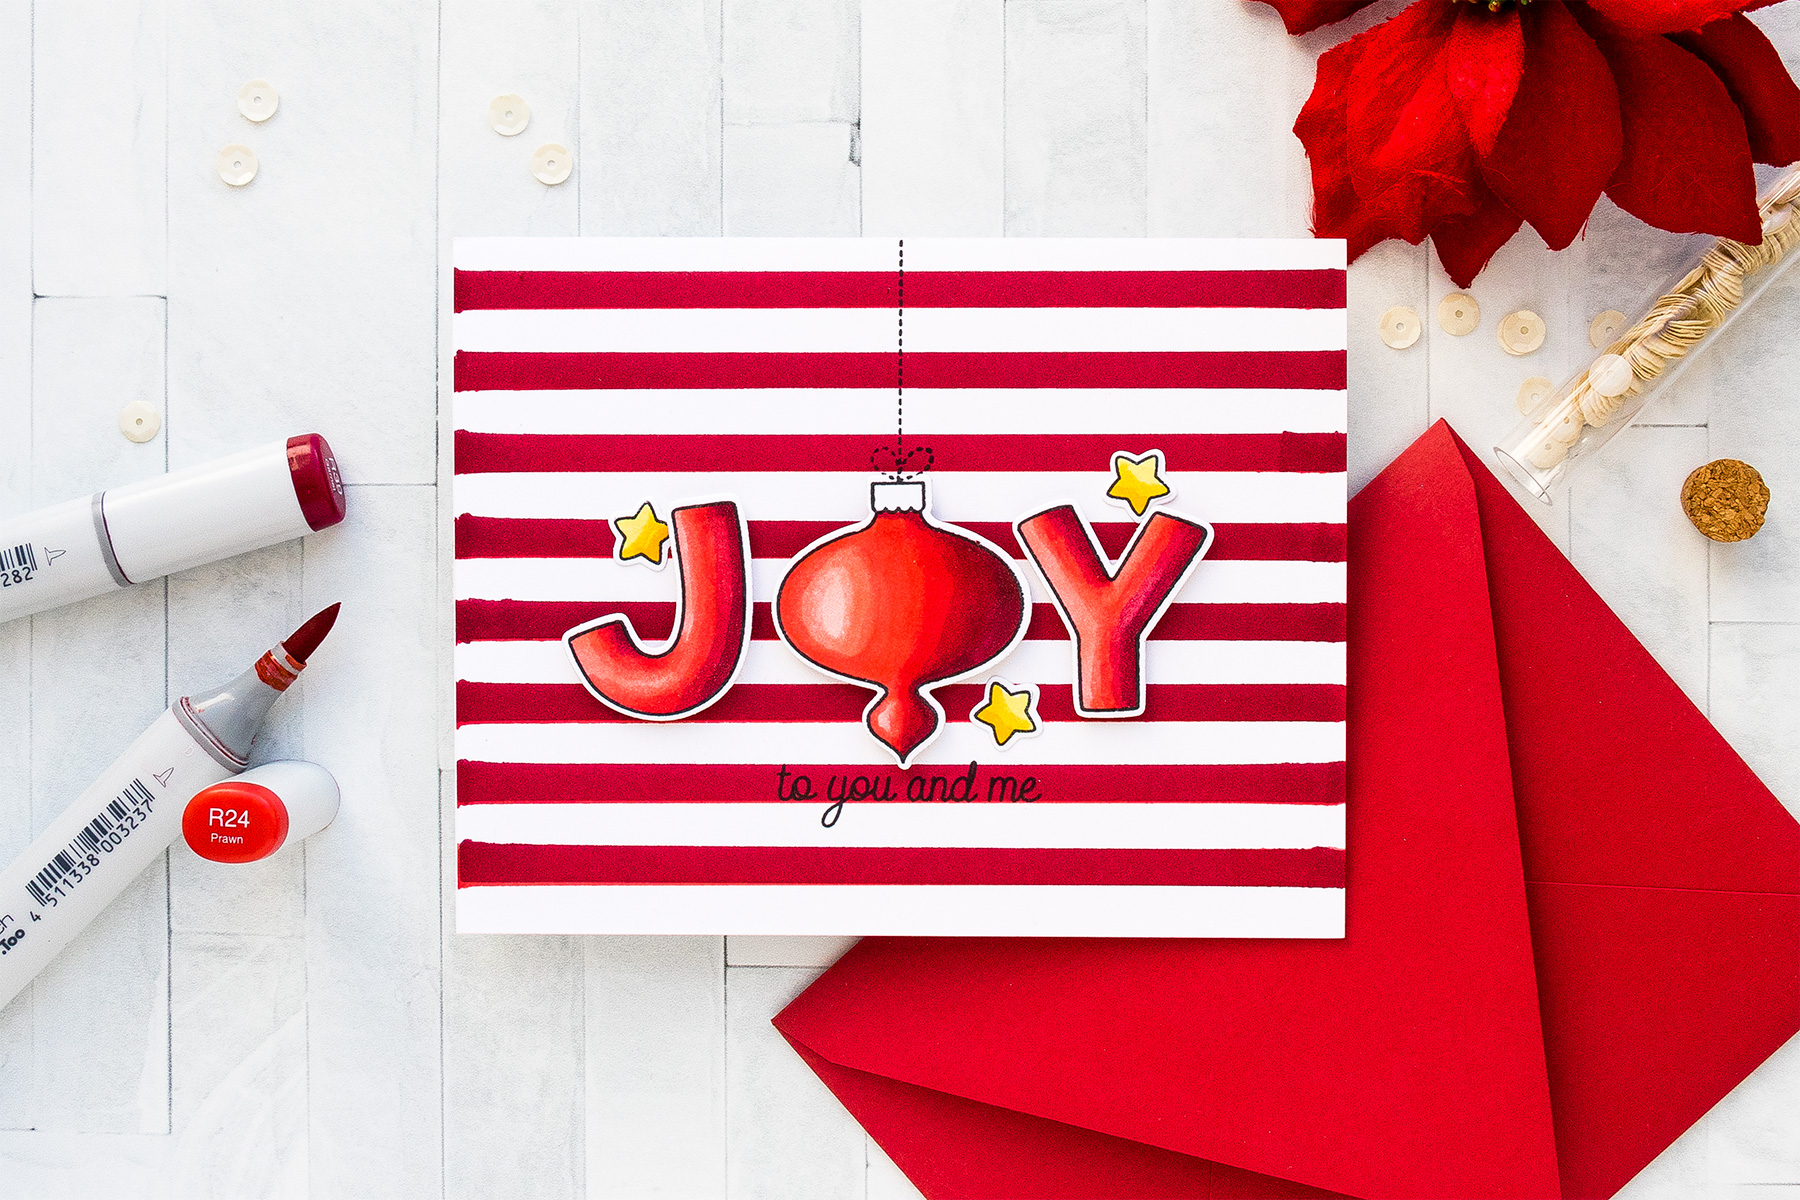
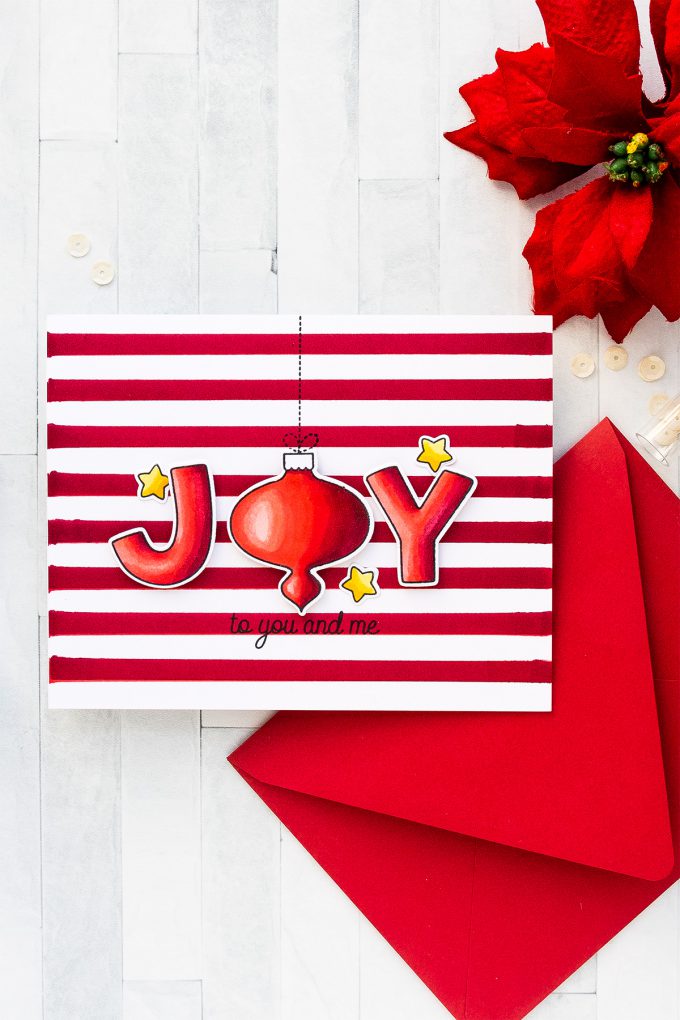
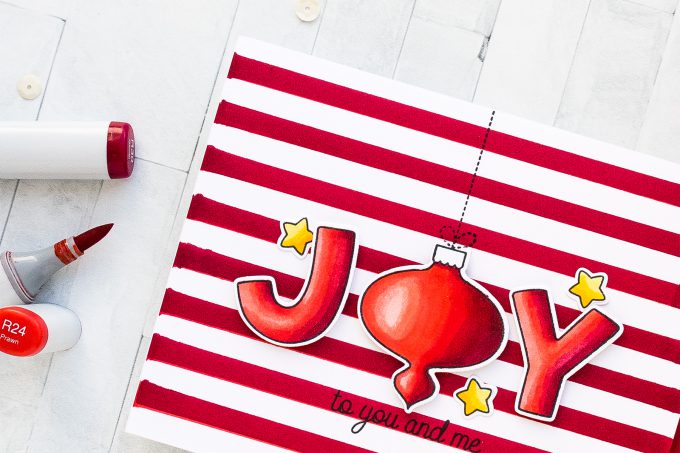
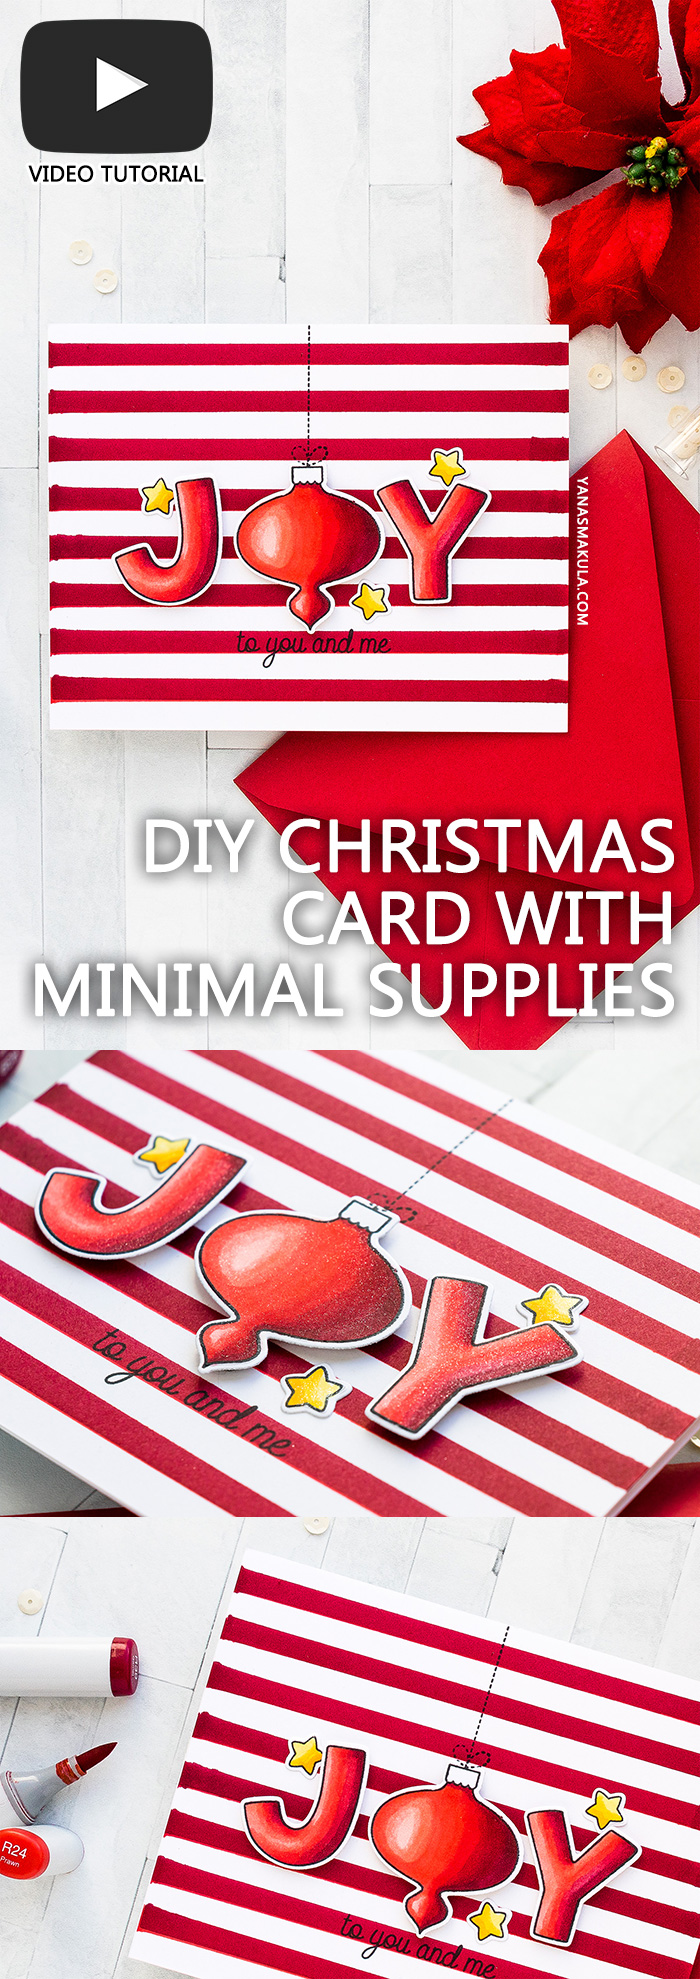
I started making my card by creating a striped background. Stripes are always fitting for a Holiday card and a striped background is very easy to make. It’s super simple – all you need is a marker and a ruler. Of course you can always stamp a striped background, but less is more is the focus of this post & video so instead of stamping a background I wanted to show you how you can make one or a bunch of backgrounds yourself.
Use some sort of grid under your panel (this can be either grid paper or the lid of your stamping tool if you have one; I would not do this on a cutting mat because marker will permanently stain it). Next, with the help of a ruler and chisel nib of a Copic marker (or any other marker) draw horizontal or vertical (or you can even go diagonal!) lines every 1/4″. You can decided to have wider lines if you like and space them differently if that’s what you prefer.
I used R89 marker to create stripes for this card.
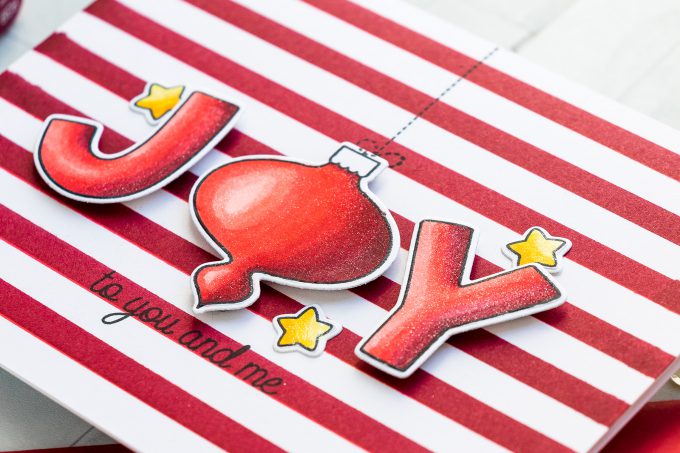
Next, I stamped ornaments using copic-marker friendly ink onto white paper and colored them using the following Copic marker colors: R89, R39, R27, R24, R22 and R20 to create lots of dimension, deep shadows and highlighted areas on my ornaments to help them appear dimensional.
The light source for this card is coming from the left top side and thus the right side of my ornaments is the darkest – this is where I applied my shadows using the R89 and R39 markers. Next I’m used my transition shades the R27 and R24 to blend the shadows into a a circle highlight area that was colored using R22 and R20 markers to create an almost white like highlight on these.
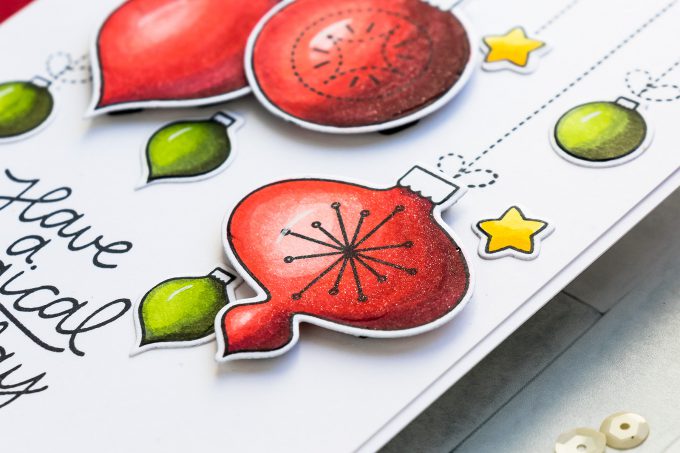
Once my coloring was done I used a Nuvo Aqua Shimmer pen to add a bunch of sparkle to these ornaments – this pen looks beautiful or darker papers and it really does shine here on these ornaments.
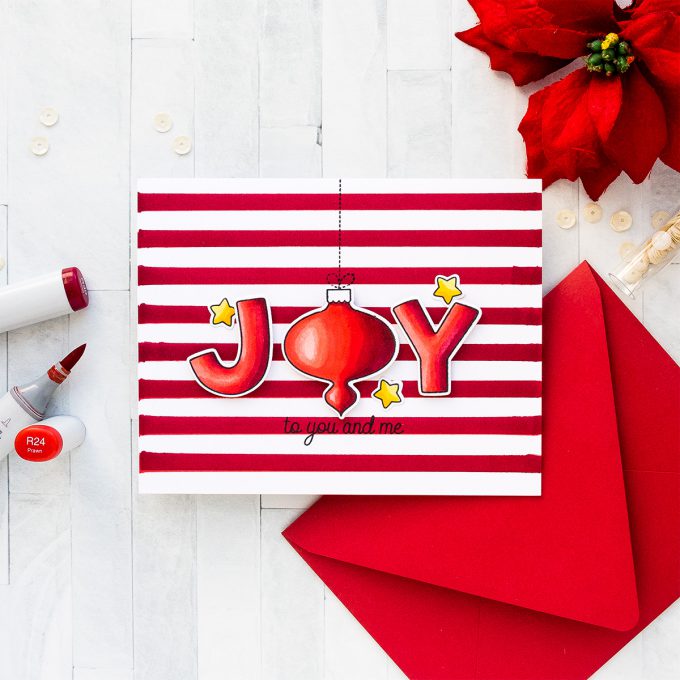
There are coordinating dies available for these images so I cut mine out and foam mounted onto the card. I show a variation of this card on video with a Glossy coated finish – be sure to watch it for more tips. I foam mounted my ornaments to spell the word Joy on the striped background, stamped the ornament string and “to you and me” sentiment in black ink. Lastly, I added several colored and die-cut stars.
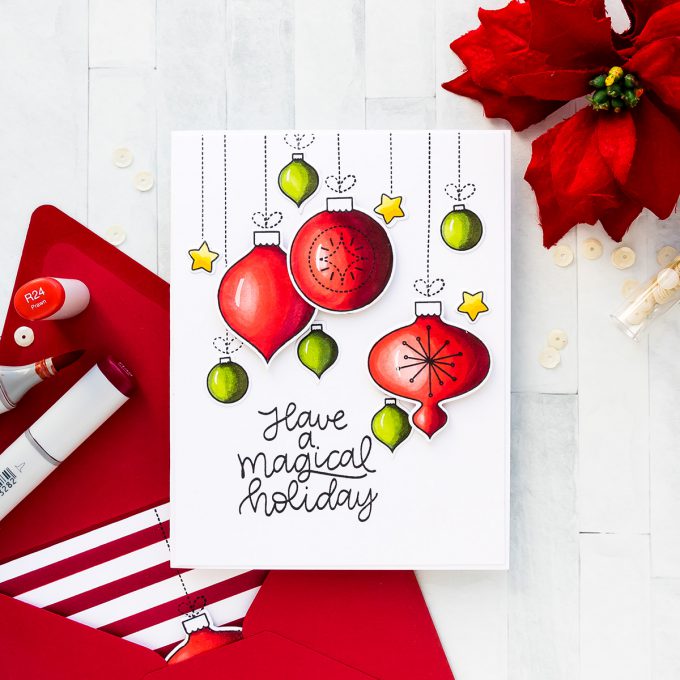
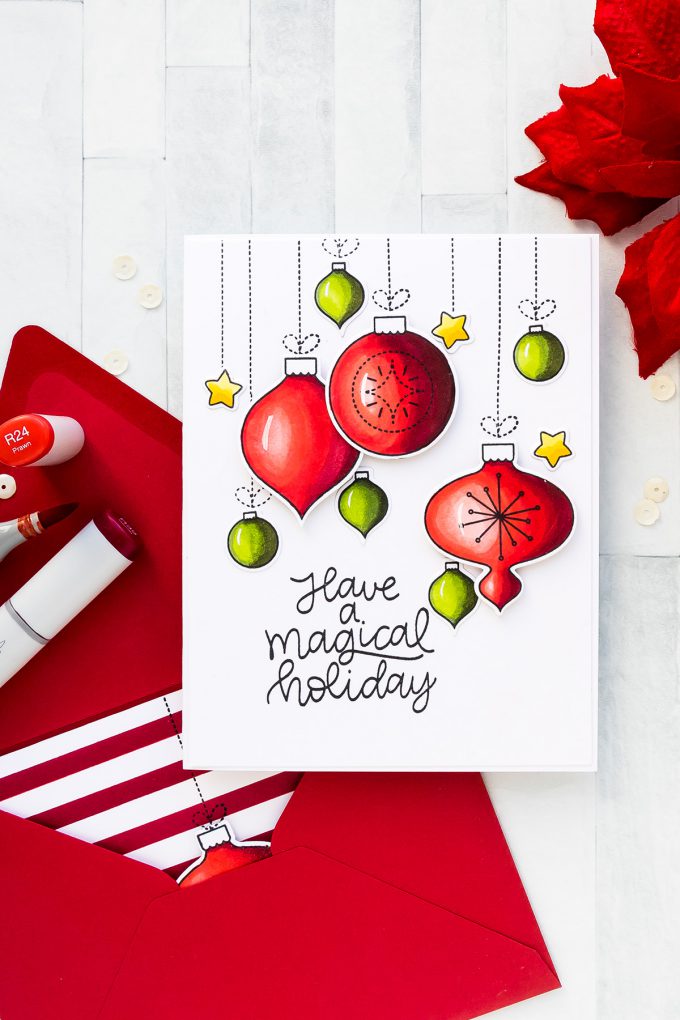
I do have one more card idea using same stamp set and same supplies. Here I also added smaller ornaments in green along with some beautiful hanging stars and stamped “Have a Magical Holiday” sentiment in black ink.
STAMPTEMBER MAMA ELEPHANT EXCLUSIVE
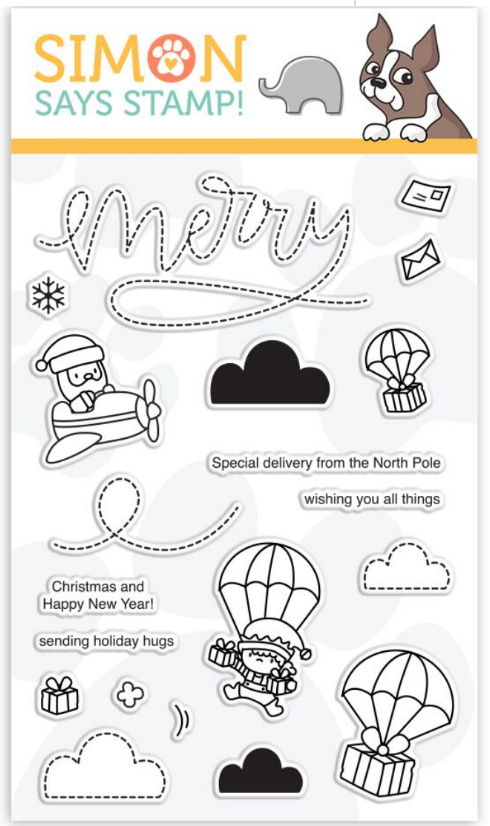
Today is also the day Simon Says Stamp revealed Mama Elephant STAMPtember exclusive collaboration stamp set – isn’t it fun?
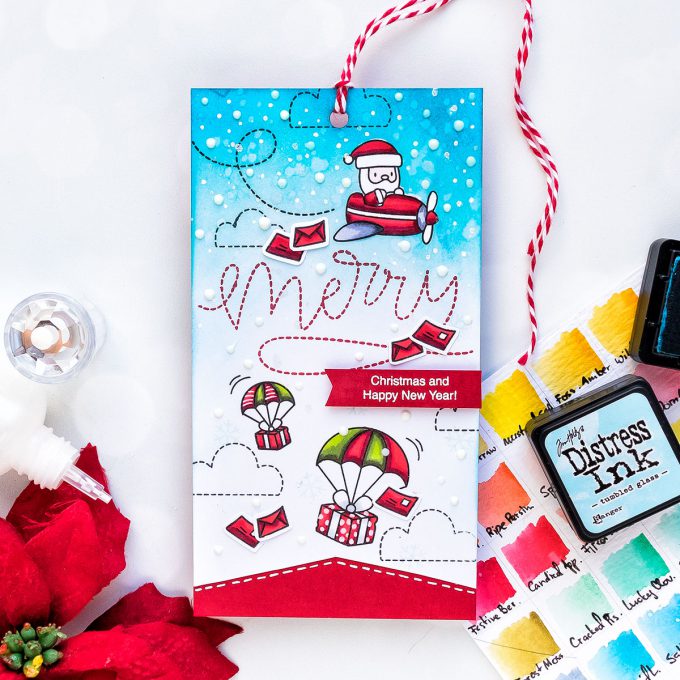
I made a large gift tag with it’s help, but it’s an awesome stamp set to use for Christmas cards and even envelopes! Here’s a look at my handmade tag:
BLOG HOP
Nichol Spohr
Keeway Tsao
Melania Deasy
Amy Yang
Gemma Campbell
Megan Quinn
Yana Smakula – you are here!
Francine Vuillème
Welcome to Mama Elephant’s #celebrating6years Anniversary Release Stampede with our wonderful crafty friends and designers! The wait is finally over! The release is now live and available for purchase in the shop!
To celebrate with you, Mama Elephant has amazing sale and promotion and giveaway! Keep reading to the end!
From 9/15 – 9/17: 10% off entire store! No code required!
From 9/15 – 9/30: Spend $100* – receive 1 free ‘Color Me Letters’ 4×6 stamp set | Spend $150* – receive 1 free ‘Color Me Letters’ 4×6 stamp set and ‘Hilly THANKS’ dies | Spend $200* – receive 1 free ‘Color Me Letters’ 4×6 stamp set, ‘Hilly THANKS’ dies, and ‘Hilly HELLO’ dies.
*Subtotal amount must be met before any shipping fees/tax/customs. Free item(s) valid only a single order/transaction. Limit one of each free offer per order. Orders cannot be combined. New orders only. Limit one free offer per customer/order. We reserve the right to cancel/modify orders. Free offer valid 9/15-9/30 or while supplies last!
GIVEAWAY
To celebrate this mega anniversary release, Mama Elephant is giving away of ten $25 ME gift certificates throughout the 3 day stampede! Winners will be chosen at random from the collective blogs in the Stampede. Winners will be announced on the last day of Stamp Highlights. You have up to 4 chances to qualify to win!
1. Leave a comment on this blog post | 2. Like/share Mama Elephant on Facebook | 3. Follow/tweet Mama Elephant on Twitter | 4. Follow/comment Mama Elephant on Instagram. Each action qualifies for one entry, max 4 entries per stampeder please!
SUPPLIES
I’m listing the products I used below. Click on the link to go directly to the product. Where available I use compensated affiliate links which means if you make a purchase I receive a small commission at no extra cost to you. Thank you so much for your support!
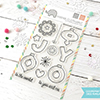 Mama Elephant Joy Ornaments Stamps Shop at: SSS |
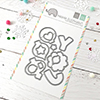 Mama Elephant Joy Ornaments Dies Shop at: SSS |
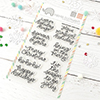 Mama Elephant Scripty Christmas Stamps Shop at: SSS |
 Simon Says Stamp Intense Black Ink Shop at: SSS |
 Neenah 110 Lb Solar White Cardstock Shop at: SSS |
 Copic Sketch Marker R20 Blush Pink Shop at: SSS |
 Copic Sketch Marker R22 Light Prawn Shop at: SSS |
 Copic Sketch Marker R24 Prawn Shop at: SSS |
 Copic Sketch Marker R27 Cadmium Red Shop at: SSS |
 Copic Sketch Marker R39 Garnet Shop at: SSS |
 Copic Sketch Marker R89 Dark Red Shop at: SSS |
 Tonic Aqua Shimmer Pen Nuvo Shop at: SSS |
 White Fun Foam 12 Pack 9 x 12 Shop at: SSS |
 Stick It Adhesive Handy Pack 5 Sheets Shop at: SSS |
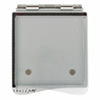 Tim Holtz Tonic Craft Stamp Platform Shop at: SSS |
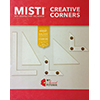 Misti Creative Corners Positioning Pieces Shop at: SSS |
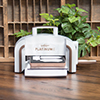 Spellbinders Platinum 6 Die Cutting Machine Shop at: SSS |
 Scrapbook Adhesives White Foam Squares Shop at: SSS |
 Hero Arts Crystal Clear Lacquer Pen Shop at: SSS |
SAVE ME/PIN ME TO PINTEREST
Like this card idea? Be sure to save it to one of your Pinterest boards for future reference!






Yana, I really like your less is more approach and I never thought to create a background with a ruler and the fat tip of a Copic marker! Fantastic!!!!I
I also really like when folks explain their steps via sentences because sometimes I can not get to the videos; so thanks for that & the red color combinations you used! A great trip of products and projects that you showed us. Happy birthday Mama Elephant!mjmm
AWESOME MEGA release, I love your cards, especially the less is more JOY card! Thanks for the video, and yes your cats are adorable!
The scene you’ve created on the large gift tag is amazing. Always enjoy seeing your blog posts.
I love this stamp set and what your created with it! Fantastic!
so beautiful!
Both your cards and your tag are amazing and so adorable! The bold red striped background you created for your first card looks fantastic! I love that you used such traditional Christmas colours.
Love these cards! So fresh an modern. Yeah Mama Elephant, great release
Always love your cards; there is an elegance to them.
A very bright and vibrant, Christmas card.
I never use the chisel end of my Copic markers so thanks for the tip on drawing stripes with them! Love your cards and tag!
Fabulous cards…love the great tips on how to make a striped background.
What stunning cards, I love to make the fast and easy cards, so I Make multiples to mail out. after all Christmas is my favorite time of year to make cards! thank you for sharing these beautiful cards.
Your cards are amazing. Love the bold red and white of your first card.
I love your cards!!! your coloring is Awesome!!
Your cards are beautiful- such a perfect example of how stunning “less is more” can be. Love those beautiful, rich colors!
Pretty, cute and festive!
I love your less is more approach! And your cards are fantastic, I don’t own Copic markers just because my budget is very limited, but I do appreciate your tips. TFS
Fantastic cards! Your colouring is amazing to give such dimension to the ornaments!
Your cards are so fun! I love the cute tag you created, too. 🙂
Thank you Yana for sharing your knowledge ! These two cards are really awesome and don’t seem too hard to make for beginners. The result is just awesome !! Love, Marjorie
[margessw(at)icloud(dot)com]
Love your makes on this release!
So lovely
I’ve never made an ornament card before, but your two ornament cards have changed that thought! I really like the font used on the sentiments in both ornament creations.
1. Oh my!!! Super super cute!!!
2. Liked Mama Elephant FB page and shared as Arianna Barbara
3. Following Mama Elephant on Twitter and just retweetted as @raggiodiluce82 (Arianna Barbara).
4. Follow Mama Elephant on Instagram and reposted the Stampede post as raggiodiluc3
Yana, I’ve never met a cat I don’t like! I really like your cards! Even though they are a design of “less is more”, there is still so much to look at & admire. Love the bold red.
What striking cards you made. Love love love them both. Cannot wait to watch the video. Thank you, you are truly an inspiration!
Beautiful cards. Love the clean simple look.
Thanks so much for sharing..
Love these festive cards!
Yana I just love your coloring… so beautiful. However, I’m looking for an idea for many (90) cards to create this year, so it must simple to create. Hopefully something with more stamping and not so much coloring… I fear I can’t color that much! Hugs
I absolutely love your cards Yana! I actually started cardmaking around this time last year so I really do appreciate your approach to minimal supplies with these cards. They are stunning! Thank you for sharing!
These are lovely! I like the simplicity of the cards and how you layered the ornaments on the second one.
Gorgeous cards as always! Thanks for the great inspiration!
Great cards!!
Clean and simple done to perfection!
Love you projects Yana, especially that first card with the simple background – what a great idea!
I like ME on FB
I like ME on IG
So much to love with this Mama Elephant release and happy YOU are here to inspire us!!
Live these fun cards! The ornaments are fabulous!
I like ME on FB!
Following ME on instagram!
You always make wonderful cards and I love the tips you give. Make your own background paper- so simple and easy-love it!
Wow, I love how festive and bright your Joy ornament cards are! Such a great idea to make your own striped background. The tag using the Stamptember exclusive is adorable! Your kitties are so sweet. I have a black cat as well, and he is extremely spoiled!
Your cards and tag are wonderful!! The joy christmas ornament set is so festive and the red striped background is a perfect match for those stamped images. I adore the stamptember set with that merry trail that is left in the sky by the airplane. Your tag shows it off so well.